Tutorials
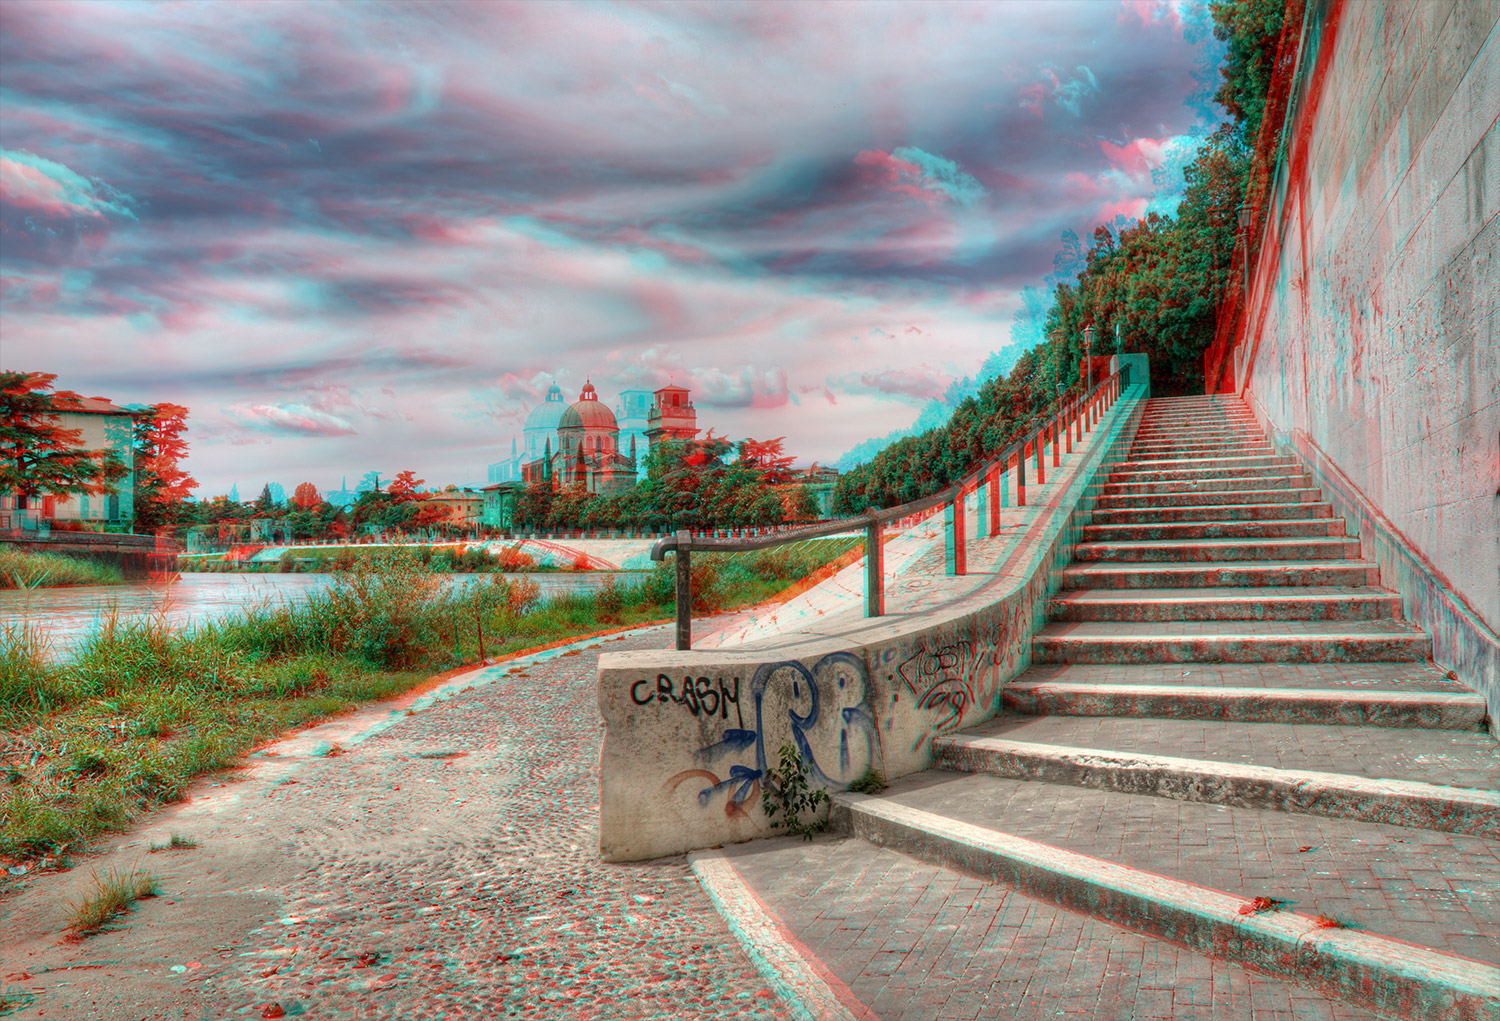
I originally planned to write this tutorial on how to create a retro 3D effect that mimicked the offset red/blue images that were seen in old 3D movies, comics and posters. But then I thought, rather than just recreate the effect, why not try and produce an anaglyph 3D image that actually works?! So I boggled my mind with the science behind stereoscopy and figured out how to create some really cool 3D images that pop out from your screen. Grab yourself some old school 3D specs and follow this guide to learn how to produce your own anaglyph 3D images in Photoshop.
I’ve been posting written tutorials on this site for many years, with most of them now buried deep in my archives. I’ve also been thinking about extending my site to include video tutorials, so I thought why not incorporate the two and produce videos for some of my most popular guides from the past? This will hopefully give newcomers a chance to check those topics out, while also updating them with some new techniques. Follow along with my first video tutorial based on my most popular tutorial of all time; How To Create a Realistic Money Effect in Photoshop. Learn how to create a series of screen patterns then apply them to an image to create an engraved illustration effect, as seen on bank note portraits.
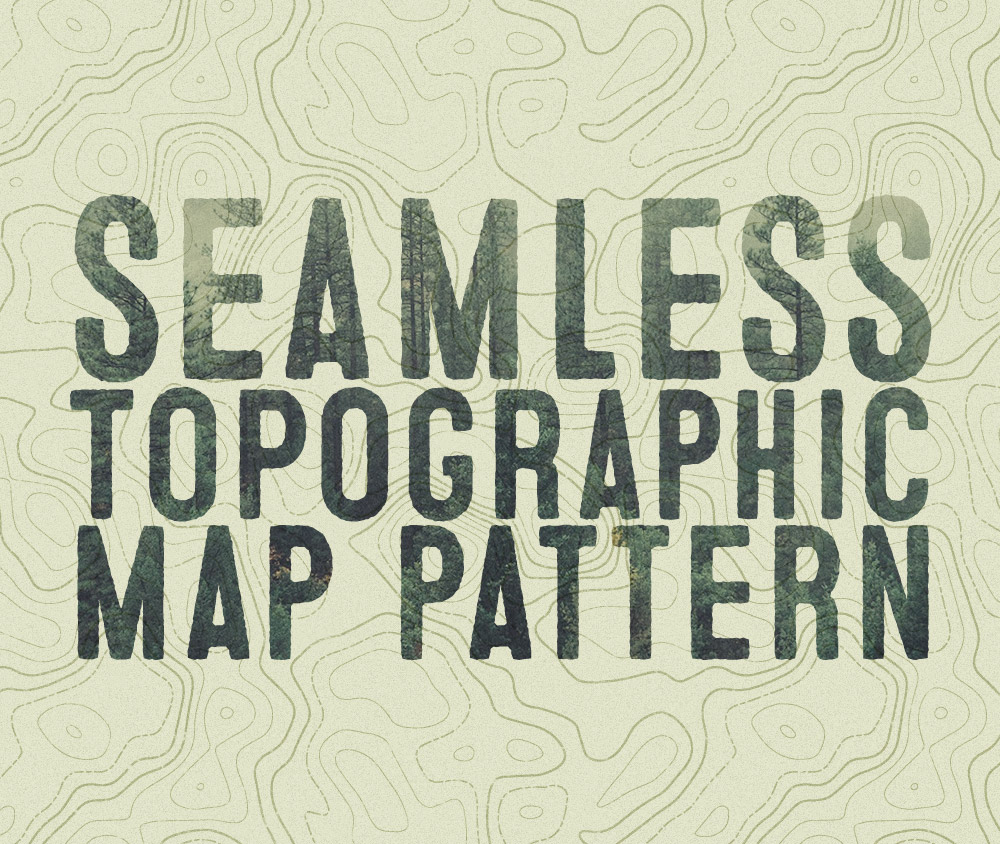
I’ve posted articles about topographic maps before on my blog, namely my contour map effect Illustrator tutorial and my free pack of topographic map patterns. My first tutorial used Illustrator’s Blend tool to draw a series of concentric lines. It worked pretty well, but I went on to develop a technique that would help create more detailed and repeatable patterns, which I used to create that freebie pack. I never explained those new techniques in a tutorial, so that’s the topic for today! Follow this how-to guide to learn how to create a detailed topographic map effect, then convert the design into a seamless pattern.
Last week I posted a showcase of stunning chalk lettering designs, which gave me the inspiration to create some chalk typography myself. Unfortunately I neither have the talent or a chalkboard to produce authentic hand made chalk typography murals, but I’ve come up with a technique that designers can use to achieve realistic chalk lettering effects with their artwork. We’ll use the power of Illustrator to design a concept, then we’ll use some analogue tools to help capture the character of hand lettered art.
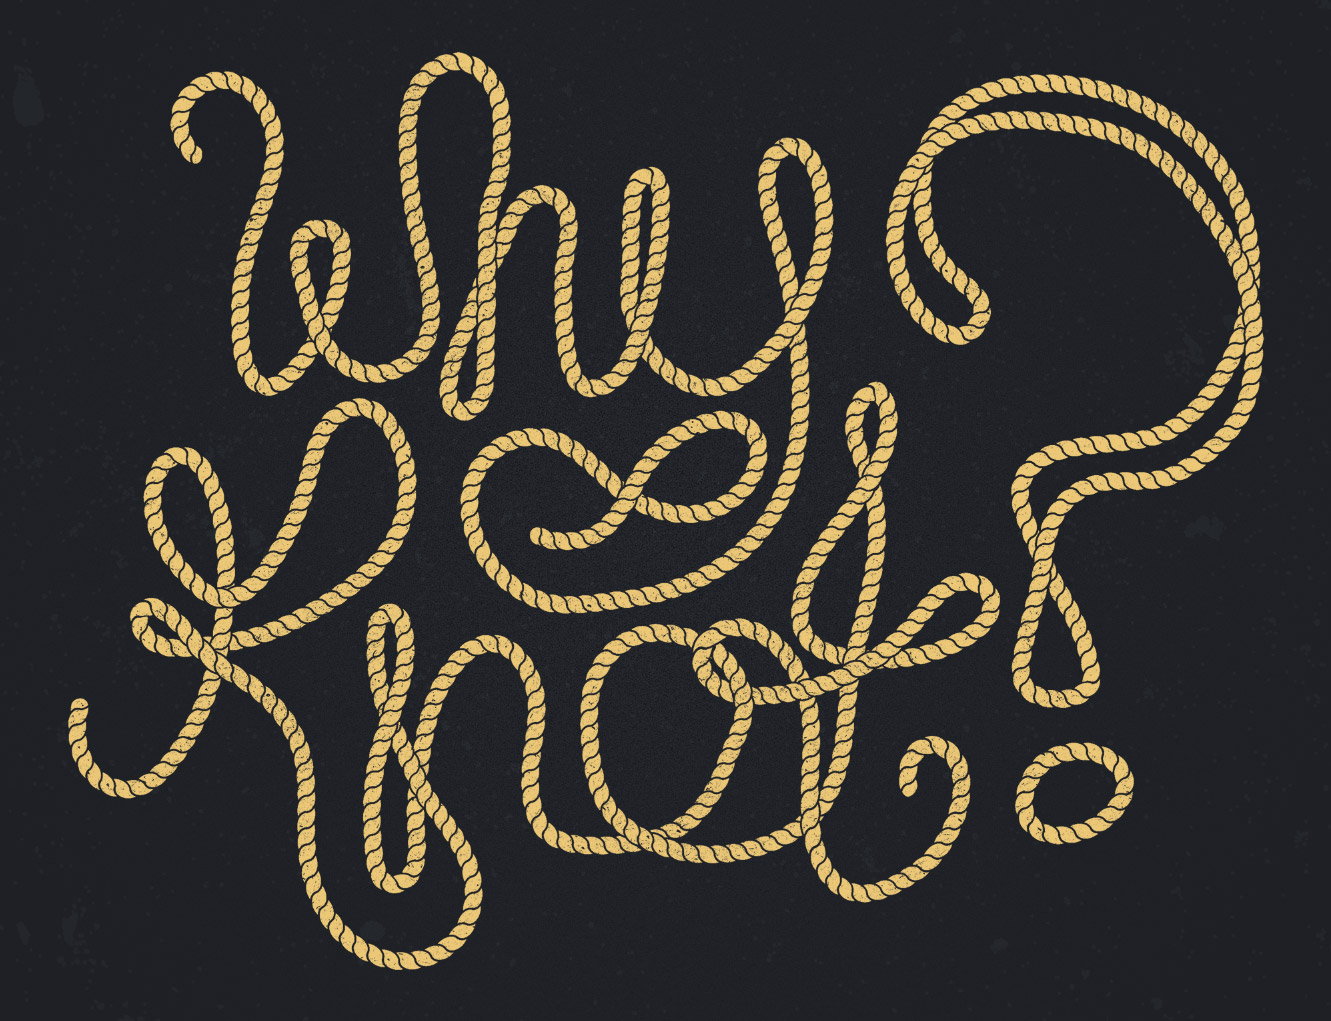
I recently received an email from a reader who asked for advice on how to create ropes and knots in Illustrator, which are particularly common with nautical themed designs. A custom Illustrator brush immediately sprung to mind, so I played around and perfected a technique that can be used to make any path look like a twisted, knotted and entangled length of rope.
Last week I shared a collection of seamless knitted Christmas jumper patterns for my readers to download and get their design in the festive spirit. A few of you guys were interested in seeing how they were made, so today I’ll be showing you the techniques I used to build them. Don’t worry if you’re not into real life knitting, this process uses Adobe Illustrator to compose your design and create a repeating pattern!


