Tutorials
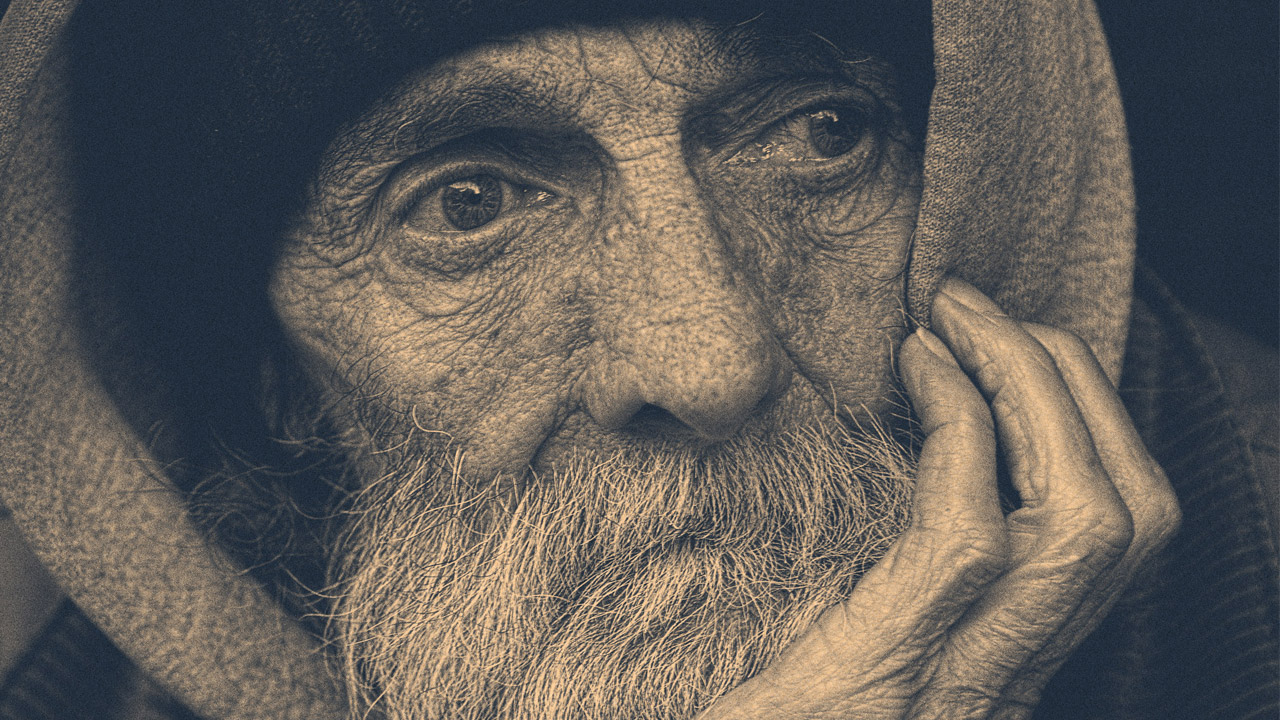
I have a photography themed Photoshop tutorial for you today, showing how to create a washed out matte photo effect that mimics the analog photography techniques of split toning. With just a few steps we can transform a photo into a moody image with unusual tones.
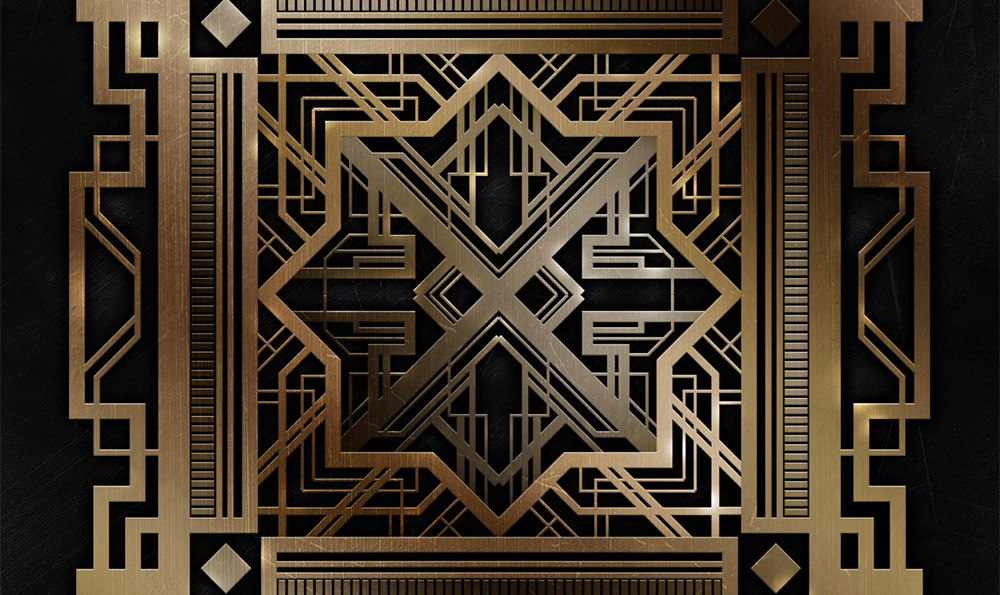
Art Deco is an iconic design style from the 1920s that was recently given a new lease of life thanks to the movie The Great Gatsby. Geometric, angular shapes and symmetry are some of the key features of the art deco style, which produce some beautiful graphic designs when used as backgrounds, frames and patterns. In today’s tutorial we’ll use Illustrator to create a detailed art deco pattern, then we’ll switch over to Photoshop to polish it up with shiny brass metal effects.
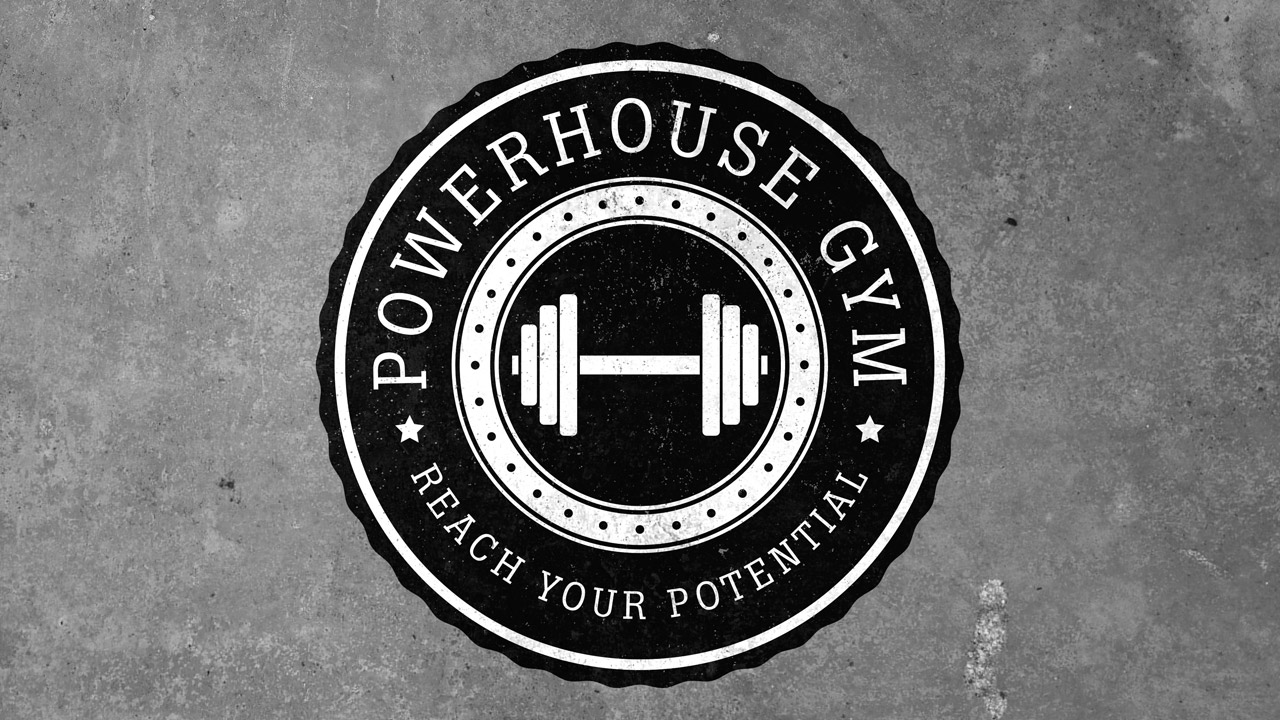
Follow my latest Illustrator video tutorial to learn how to create a retro style circular emblem, which are really popular as trendy logos or badges. We’ll build up the design with vector shapes, then apply some texturing using my free Dust & Scratches textures to give it an aged and distressed appearance.
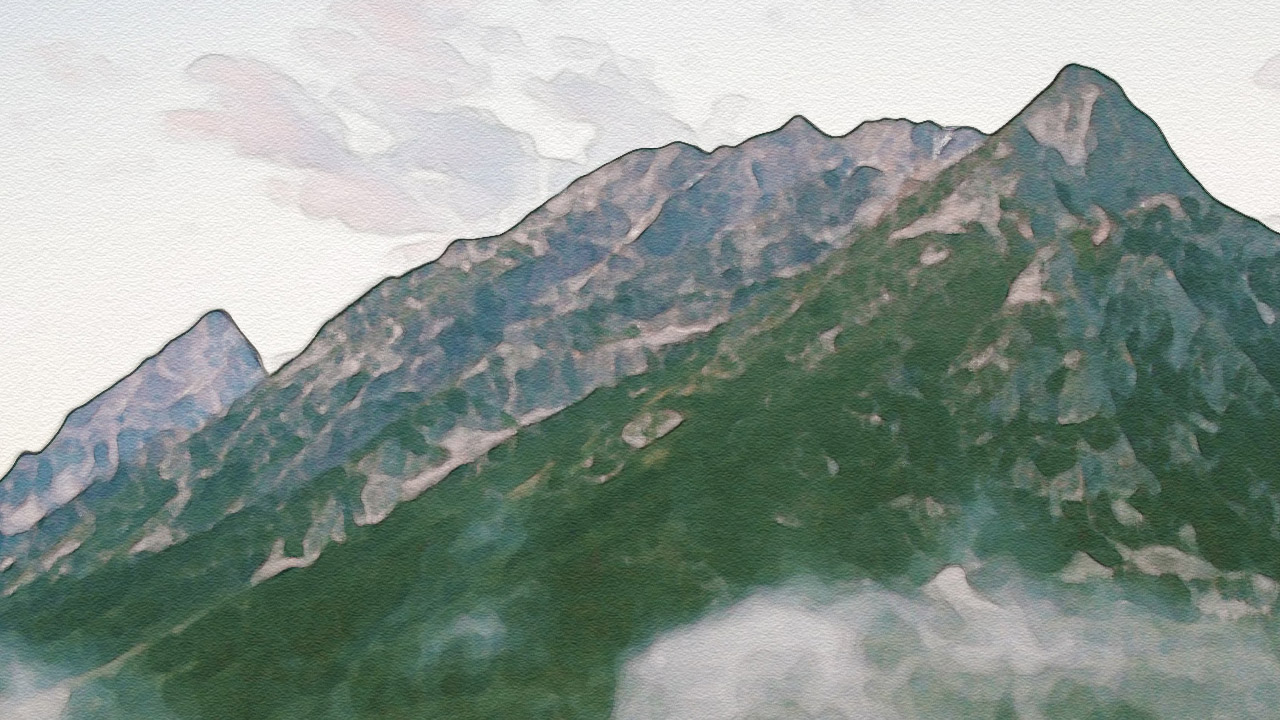
In today’s video tutorial I explain how to create a realistic painted watercolor effect in Photoshop. We’ll use a variety of filters to replicate the mottled appearance of real life watercolour paintings. This technique works particularly well with landscape images, which are also a popular subject for real life watercolour paintings. If you want to save some time, check out my free Artistic Photo Effect Actions, which includes a ready made script for this watercolour effect, along with other painted, inked and sketched styles.
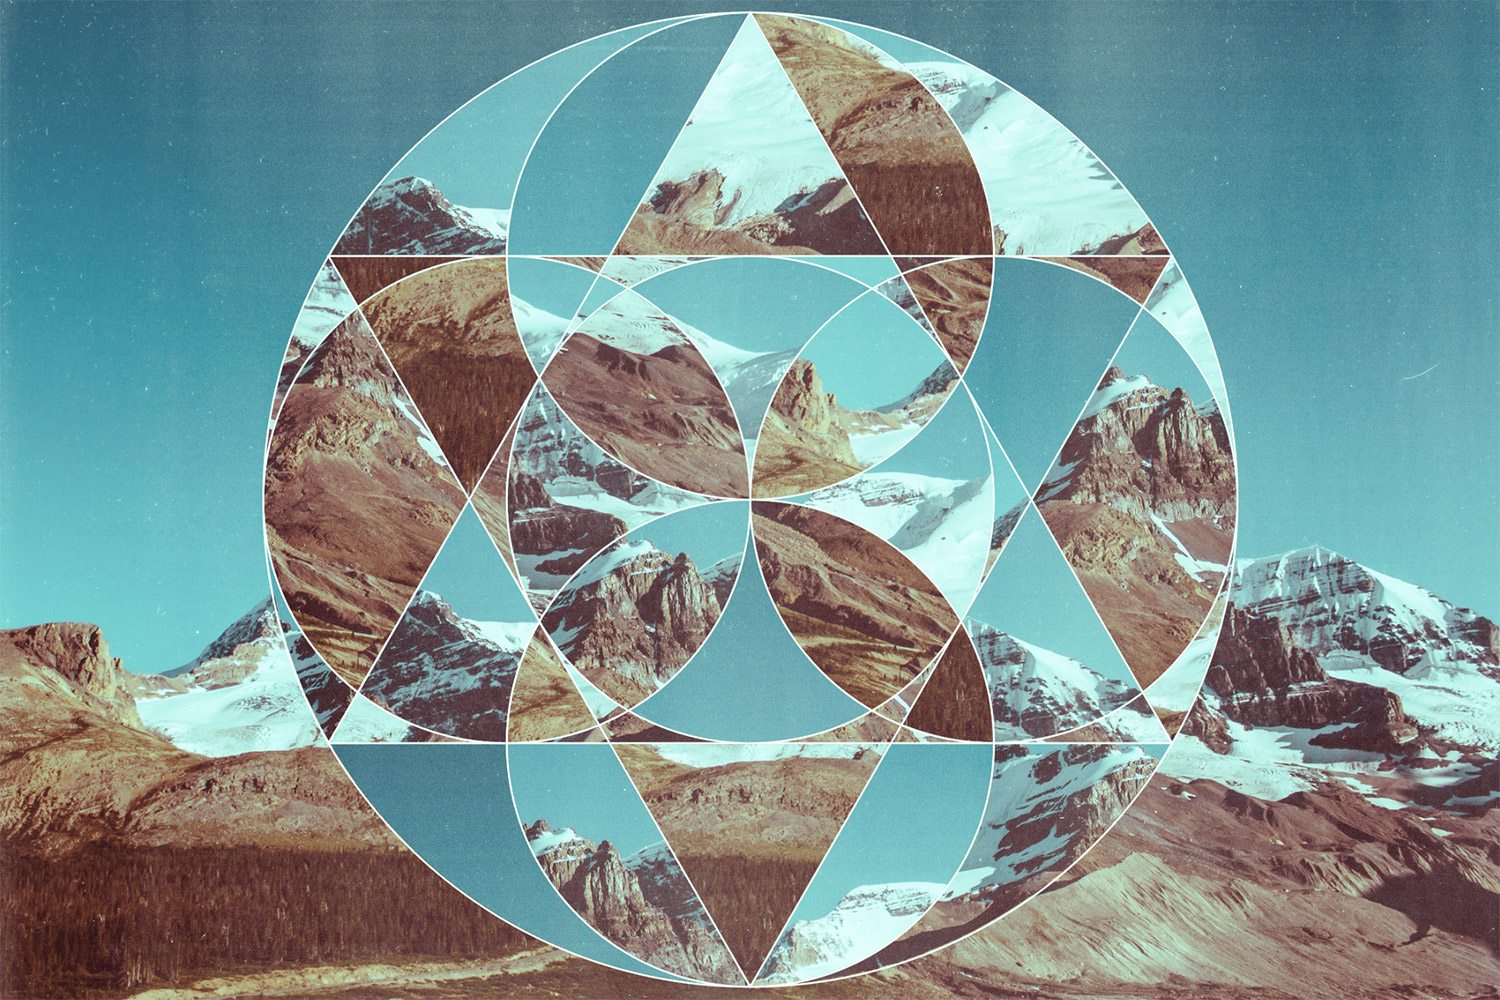
Since posting this showcase of inspiring artwork combining geometry & photography back in 2014 I’ve wanted to give this trendy style of art a try myself. I finally sat down with Illustrator & Photoshop and devised a method of transforming a photograph into an abstract collage of geometric shapes. We’ll begin with Illustrator to build up a series of geometric lines, then cut up an image in Photoshop to create an interesting composition. A series of textures and curves adjustments will then help give the design a trendy retro style with plenty of processed colours and grain.
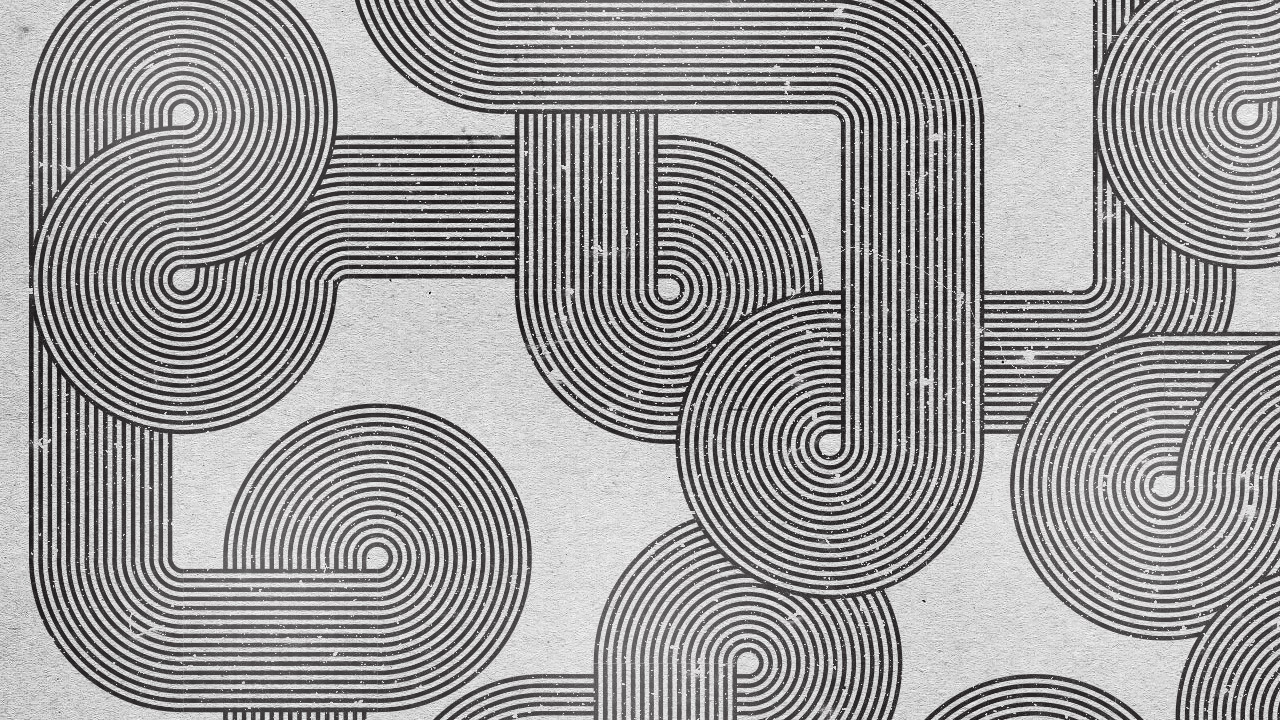
I have a brand new video tutorial for you today based on one of my popular posts from 2011. This time we’re going to play around with Illustrator to create some retro style geometric lines that interweave and loop around each other to form an intriguing composition, which kinda reminds me of a crazy scalextric track! We’ll use the power of Illustrator Art Brushes to create the effect, then we’ll switch over to Photoshop to add some finishing touches to texture and distress the design to give it that awesome aged look.