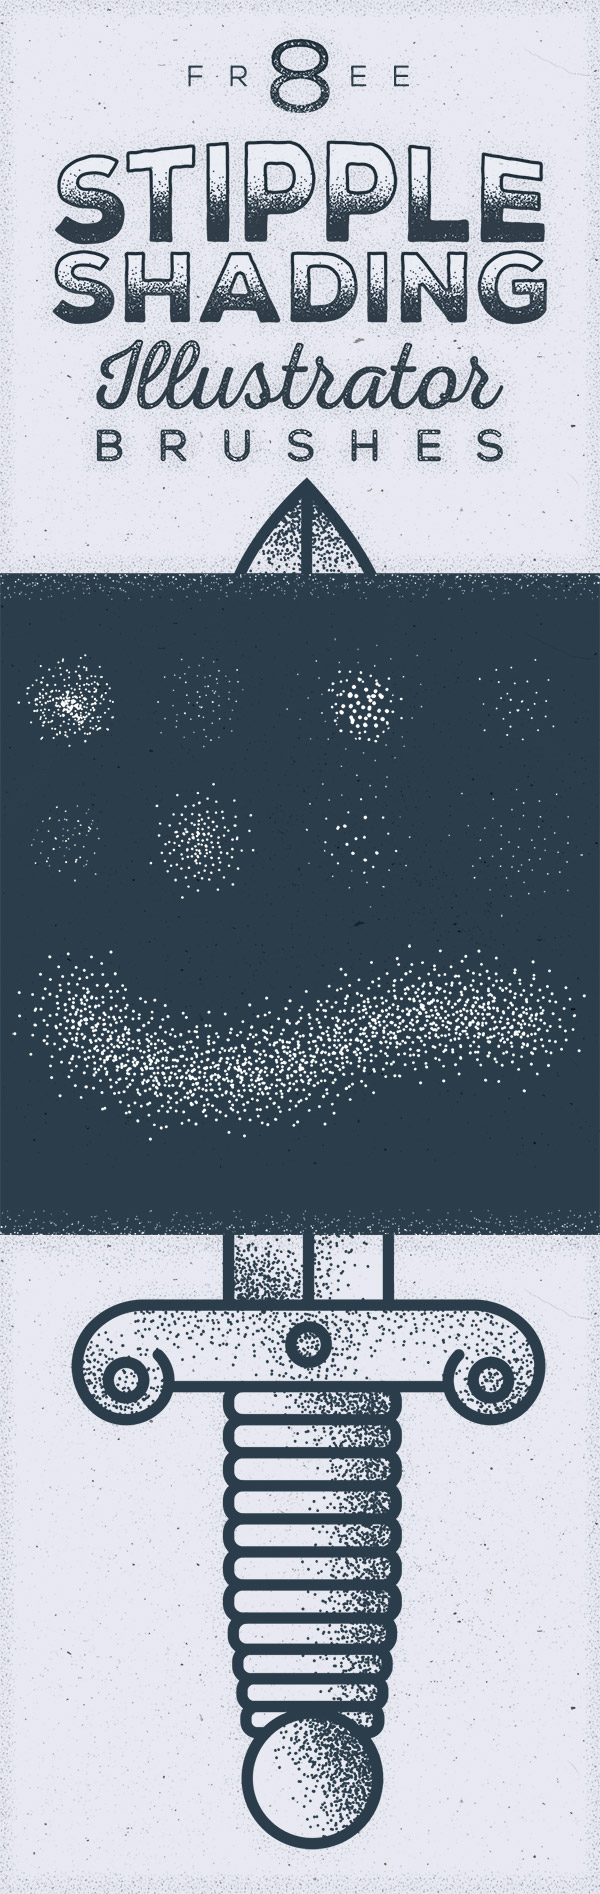
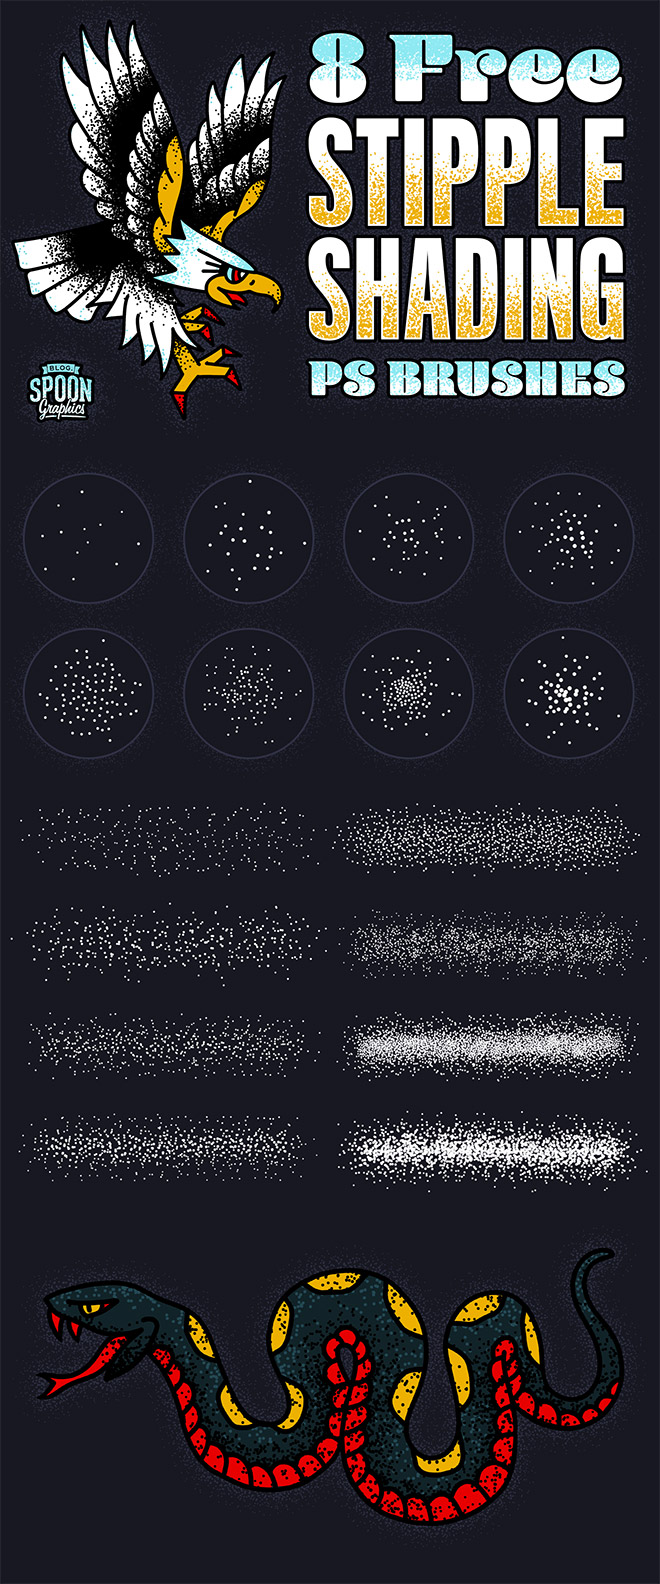
I’ve been admiring some beautiful illustrations and examining the techniques the artists use to add details to their work. One popular shading method I’ve noticed is particularly prominent in apparel design and illustrations with a retro vibe is the use of stippling, where fine vector textures are added to build up tones and shade in areas of darkness. After seeing how effective this technique is, I created my own set of Illustrator scatter brushes to provide myself and my readers the tools required to create this effect. Download this pack of 8 stipple shading brushes to easily paint grungy details onto your artwork with Illustrator’s brush tool.
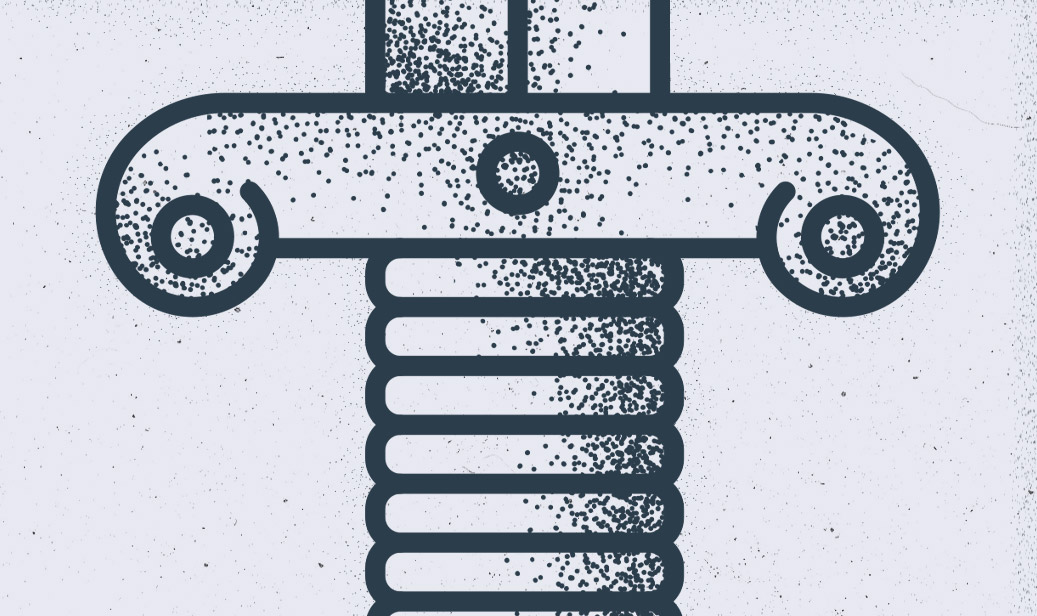
These stipple shading brushes for Adobe Illustrator are perfect for adding grainy details to your illustrations. This popular shading technique gives your artwork a vintage tattoo or retro-style comic book effect by building up tones with tiny vector textures. There are 8 different scatter brushes available, ranging from light grain to heavy stipples with variances in spacing so you can find the best brush for your project.
Buy ‘Stipple Shading Illustrator Brushes’ for $10
OR
How to use the Stipple Shading brushes
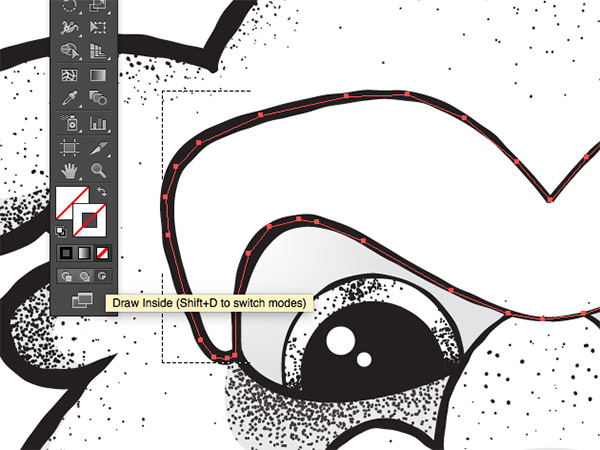
My favourite technique for using these stipple shading brushes is with a Clipping Mask. Use the Pen tool to trace an area of your illustration on a new layer, then activate the Draw Inside mode from the bottom of the toolbar.
Grab the brush tool, then select one of the Stipple Shading brushes from the library. Go ahead and paint over your artwork to build up the tones with lots of tiny vector textures.
You can increase or decrease the size of the stipples by adjusting the stroke weight, which helps control the density and grain size to suit your project.
Check out my Stipple Shading Brushes for Photoshop!
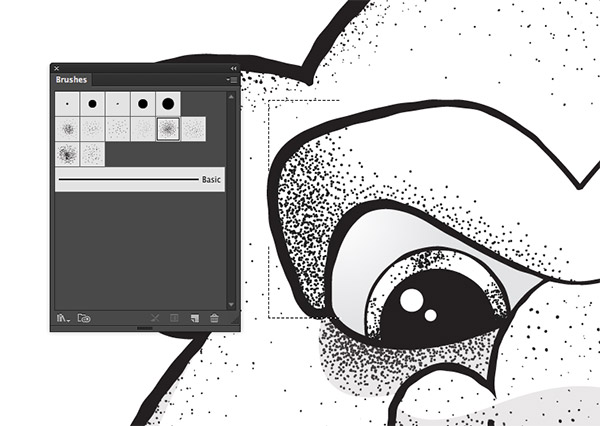
Each brush in my Stipple Shading Photoshop Brushes pack has been saved with the appropriate brush settings to automatically rotate and scatter as you paint to ensure an even distribution of dots. The brush tips range from a light distribution of dots to gradual changes in density to produce fade effects. My favourite technique is to use the Lasso tool to form a mask around the area of your illustration you want to apply shading to, then paint the stippling effect within the mask on a new layer.
Want more? Check out these great related products
The following resources cost a little money, but I definitely recommend checking these related products out to complement my Stipple Shading Brushes.
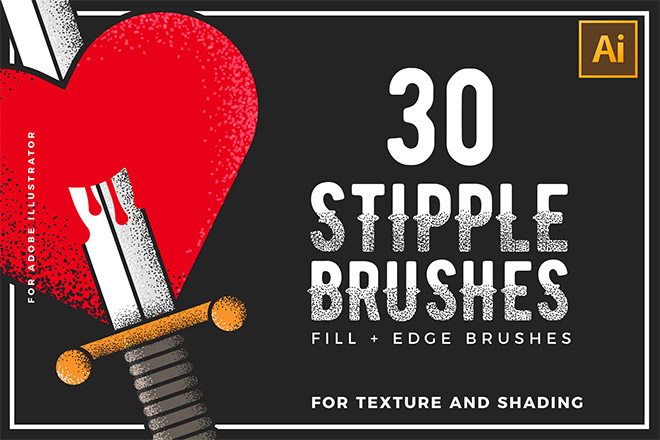
Stipple Brushes For Illustrator
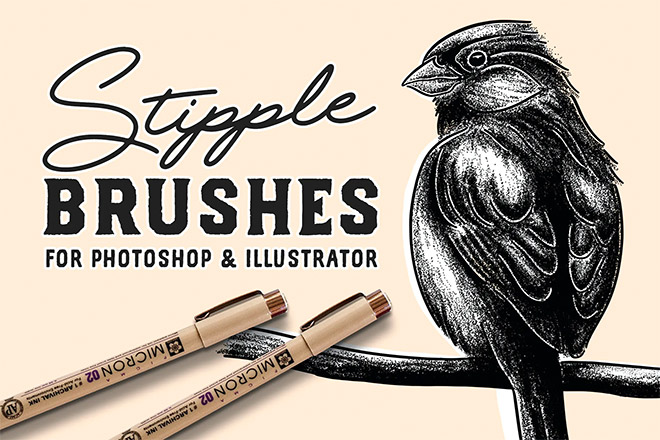
Stipple Brush Set for Photoshop and Illustrator