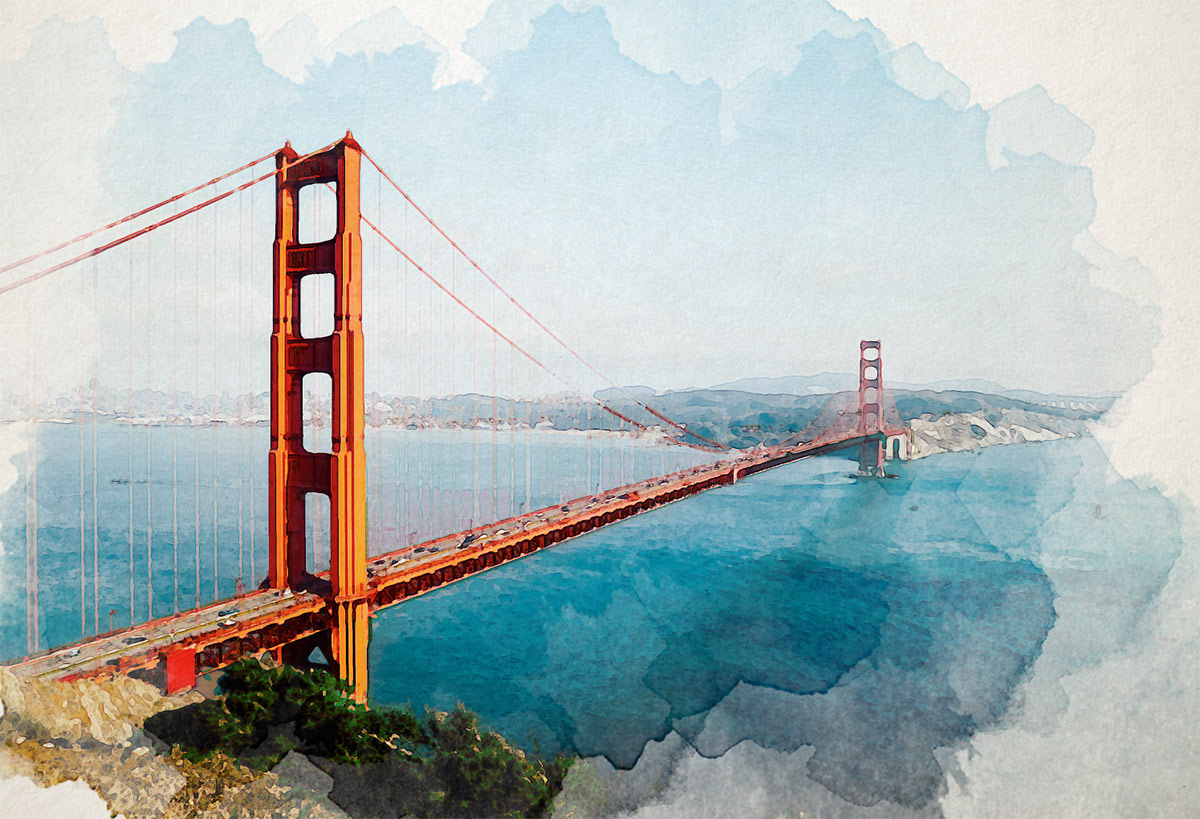
Watercolour paintings are a hugely popular art style that can be incorporated into your design projects, but you don’t need to be a master artist to create such imagery when Adobe Photoshop can produce realistic watercolour effects with a cocktail of built-in filters. In today’s tutorial I take you through a range of settings that will convert any photograph into a hand-made watercolour style painting.
Watch the video
Subscribe to the Spoon Graphics YouTube Channel

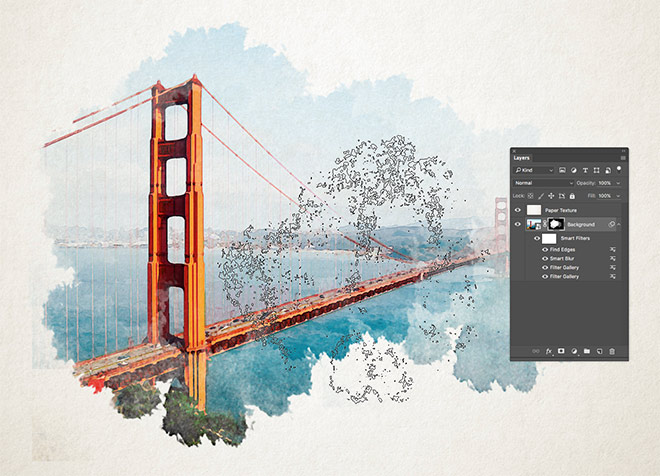
The effect we’ll be producing in this tutorial mimics the aesthetics of a hand painted picture using watercolour paints. A range of Photoshop filters will produce the foundations of the effect, then the addition of a paper texture and deformation with watercolour Photoshop brushes add an extra level of realism to produce a convincing effect.
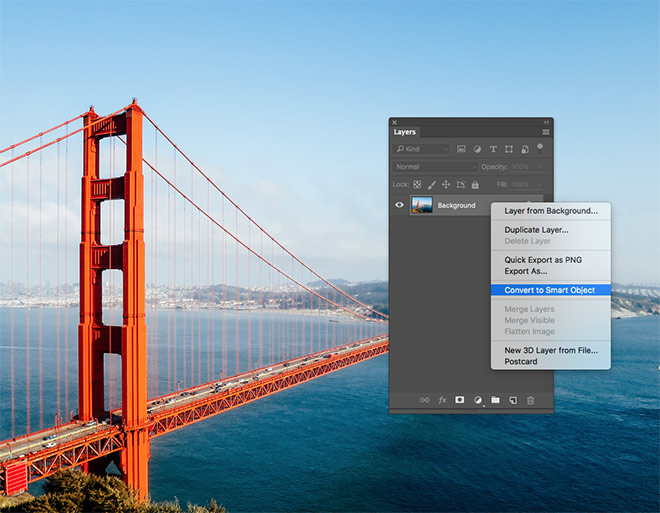
Open your chosen image in Adobe Photoshop. I’m using this photograph of the Golden Gate Bridge by Patrick Tomasso from Unsplash.com. Right click on the background image layer and select Convert to Smart Object.

Head to the Filter menu and select Filter Gallery. Navigate to the Artistic category and select Dry Brush, then change the settings to 10 Brush Size, 10 Brush Detail and 1 Texture. Click OK to apply the effect.

Select the Filter Gallery menu option again, making sure not to choose the option at the top, which would reapply the same effect. This time select the Cutout filter and configure the settings to 5 Number of Levels, 4 Edge Simplicity and 1 Edge Fidelity.
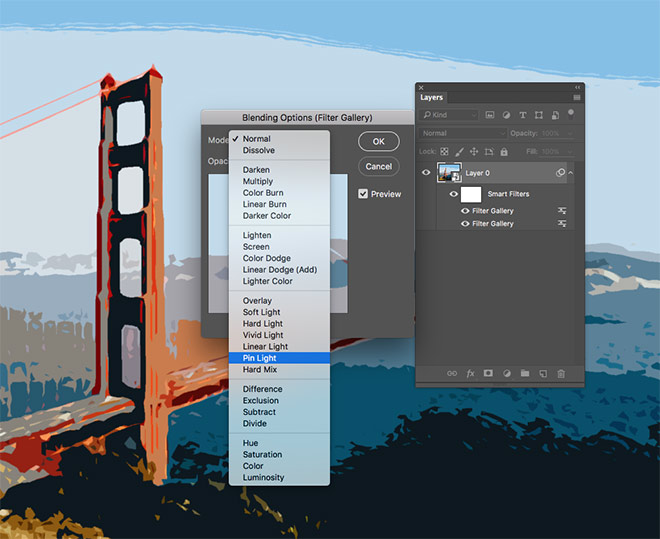
In the Layers panel, double click the tiny settings icon next to the top Filter Gallery entry. Change the blending mode to Pin Light.
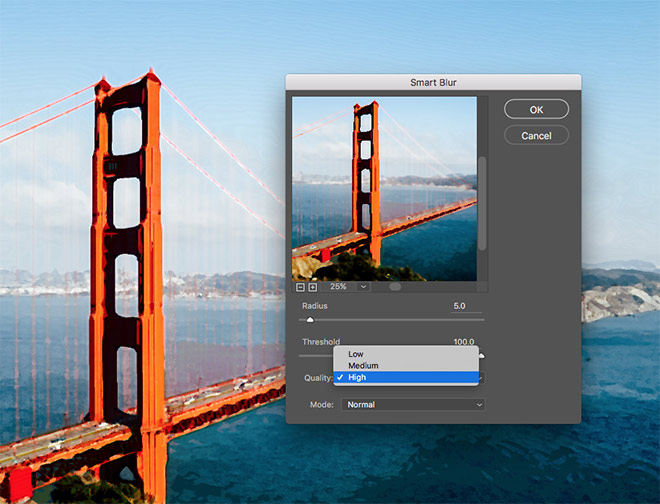
Click the Filter menu again, this time go to Blur > Smart Blur. Enter the settings of 5 Radius, 100 Threshold and change the Quality to High.
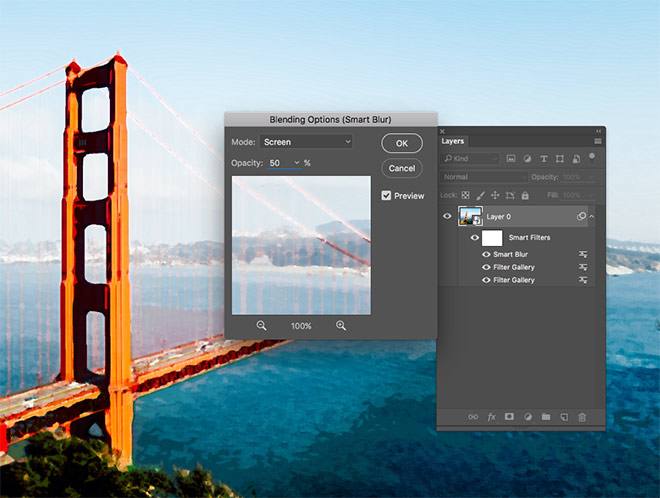
Double click the settings icon and change the blending mode of the Smart Blur effect to Screen and reduce the opacity to 50%.
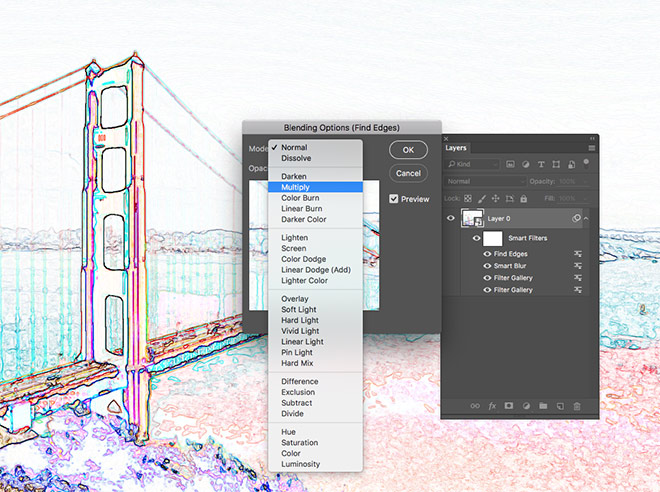
Head to Filter > Stylize > Find Edges. Edit the Blending Options and change the blending mode to Multiply to render this layer’s background transparent, this will leave just the details of the find edges effect to represent pencil sketch lines.
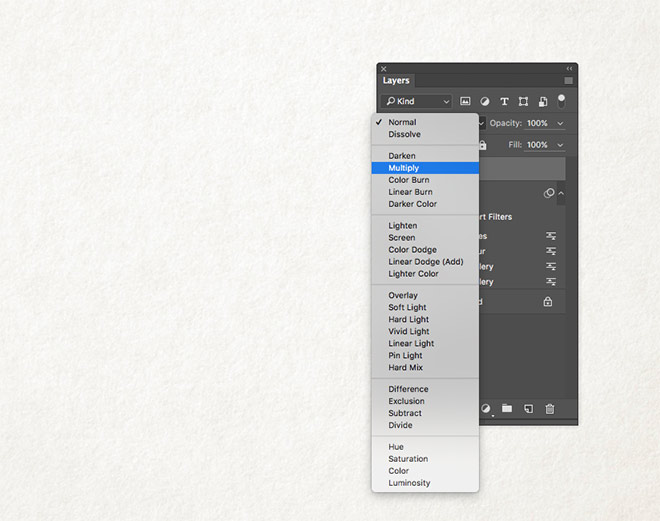
Find a free paper texture, such as this Ivory Off White Paper Texture. Copy and Paste the texture into the Photoshop document and scale it to size to fit over the canvas. Change the blending mode to Multiply.
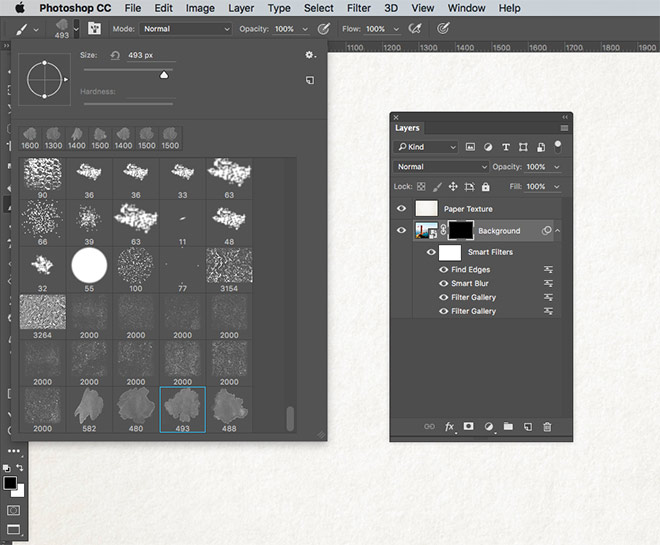
Download and install this free set of Watercolor Photoshop Brushes [Edit: The original brushes used in this tutorial are no longer available. Try these or these instead]. Add a Layer Mask to the Background layer, then use the ALT+Backspace shortcut to fill the mask with black, which will effectively erase the entire photograph. Select the Brush tool and choose one of the watercolour brushes.
Switch the foreground colour to white in the toolbar, then use the square bracket keys to adjust the size of the brush. Click around the canvas to restore the photograph with watercolour style bleeding around the edges.

After a few clicks, change the brush to an alternative watercolour option and continue restoring the image with a range of watercolour tones to avoid repetition.
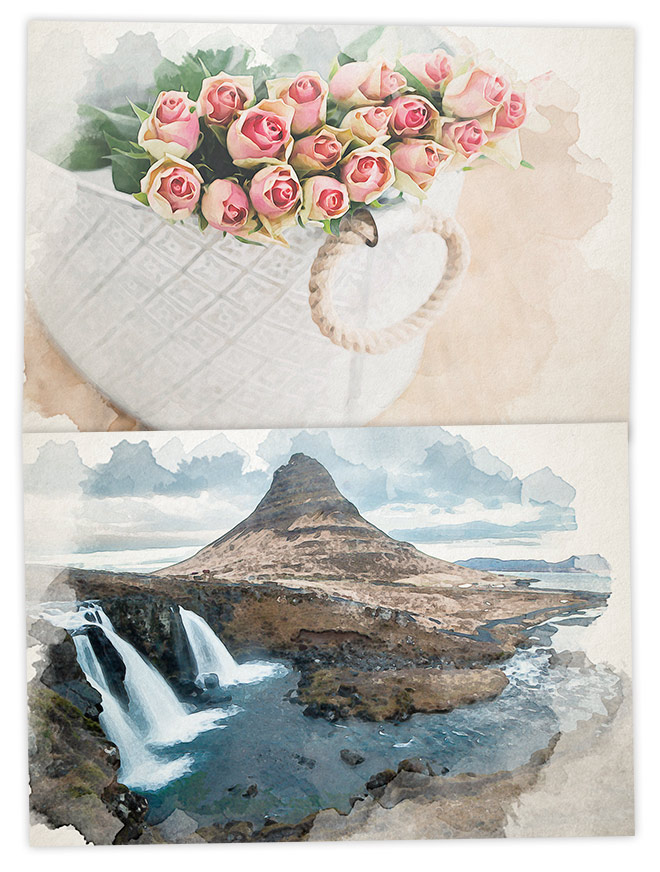
Since all the effects have been set up as part of a Smart Object, then watercolour painting effect can be applied to an alternative photograph by editing the contents of the Smart Object layer. Double click the Smart Object layer’s thumbnail to open the .PSB file. Paste in a different image then save and close the file. Return to the main document to find all the effects have been instantly applied to the new picture.
Want more? Check out these great related products
The following resources cost a little money, but I definitely recommend checking these related products out to complement my watercolour effect tutorial.
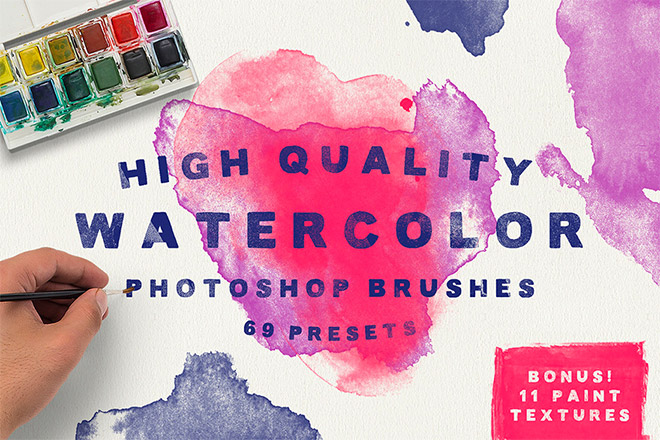
Watercolor Brushes & Bonus Textures
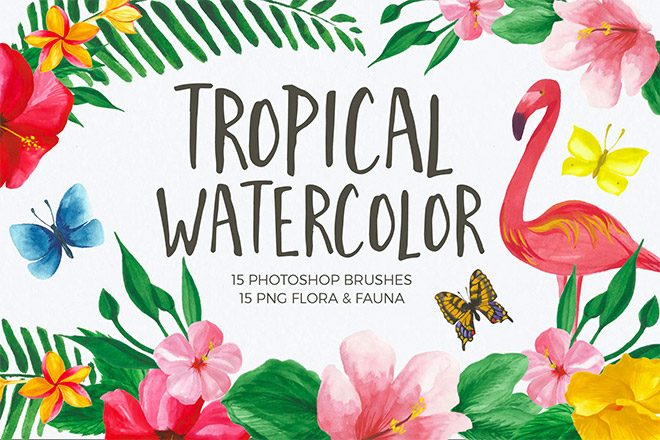
Watercolor Brushes for Photoshop
Watercolor Procreate Brushes
45 Watercolor Brushes
Watercolor KIT for Illustrator

This is an awesome tutorial, thanks Chris! Happy Monday!
Thanks Taylor!
Incredibly simple and awesome way to do this. I have been trying to find a step-by-step tutorial for this for years! I did add a glowing edges filter at the end with a screen blend mode to make the light areas pop – but it depends on the picture you are using too. Thanks for another awesome tut, Chris :)
Glad you liked the tutorial! Nice tip with the filter
Brilliant. How do you come up with all this??
By mixing and matching various techniques I’ve learned to create a variety of outcomes!
This was a lot of fun Chris – and not too hard to do! The brush selection was a bit tricky, but by playing with some of the brush settings in the Brush Panel, a good effect could be achieved. Thanks for sharing!
It’s surprising what new effects you discover when playing! Thanks Syd
Thanks Chris, for this v useful and clearly explained tutorial! Awesome!
Great! Thanks Andrea!
NOTHING beats traditional watercolor methods. Even after all the` filtering in Photoshop, the photo still looks as though it was derived from a photo. Why not be reliant on your own eye, and do the piece on high quality watercolor paper IN WATERCOLOR or gouache, then scan it for use in layouts? Where has traditional art gone?
Robert, for some of us the challenge comes in replicating the illusion. Yes, I could do it in watercolours — and very well, I might add — but this is just something that makes work all the more enjoyable simply because it’s just another way of looking at things.
You did not answer the question. Where has the natural creativity and execution of traditional art gone?? Many graphic designers today want it “quick and easy for speed”… often sacrificing the expression and emotion of a true hand-crafted piece. So, to hell with a pad of watercolor and some paper….right? To hell with natural dexterity and a studying eye? I hate PHOTOSHOP filters because they truly dumb down those with natural talent and a penchant for getting paint on their fingers. Client in a hurry? Ask them…if they want quick or quality?
@Robert, I hear what you’re saying, but this isn’t the place for that discussion. I have hand skills and digital skills, but it’s extremely unlikely that you’ll find the kind of content you’re looking for here.
I can’t speak for anyone other than myself, but I wonder why you visited a site that primarily focuses on digital techniques. There are plenty of digital techniques that are not quick but do produce quality.
Also Chris, great tutorial, book marked and thanks.
Thank you! This is so simple and beautiful! Loved this tutorial!
Glad you liked the tutorial Cierra!
Now, this is a nice effect!! Thank you so much!
Su
Thank you Su!
awesomeness !!!! …. thank you :)
:)
Christ, you are really a master to create awesome result keeping all steps very simple. Thank you.
Thanks for your comment Alexander!
Absolutely amazing once again! Thanks a lot!
Thank you so much, Chris! This shortcut is so helpful for those of us who are so slow at digitally illustrating it in Illustrator too! Bravo!!
http://qbrushes.net/watercolor/
wont load to get brushes
Just go to qbrushes.net and search for watercolour that gets several options. HTH
Thanks Chris, enjoyed this tutorial. I am a keen watercolourist so it was interesting to see how to get this look in a digital medium! Could not access the brushes unfortunately, must have been removed.
qbrushes.net/watercolor/ doesn’t load more than a blank page, unfortunately…any thoughts? Not being blocked by overenthusiastic antiviral.
For some reason that page for the brushes is the only one on the site that doesn’t seem to be working. Here’s an alternative set you could try: http://qbrushes.net/watercolor-brushes/
Thank you for sharing Chris. You are very generous.
Haven’t tried the tutorial but the effect looks great! I too have been looking for a good painting tutorial, as I’m not keen on the “Painting Actions” that are available. Really appreciate the tutorial Chris, as you always put out great content! @Robert, not all of as are able to paint on canvas and create works of art that our clients would appreciate. Artwork is in the eyes of the beholder, digital or otherwise! If you’re against using Photoshop to create artwork, this is probably not the best site to be venting your objections! Good luck and all the best with your painting! Cheers!
Thank you very much for your comment Rich!
Cool. Thank you :)
Thanks for this – great except that I cannot get the brushes to load. Can you correct this?
This is just what I have been looking for, thanks!
Fabulous tutorial! Thank you so much Chris!
thank you so so much Chris!! it’s really educating and helpfull!
Great tutorial. Thank you, Chris!
Very clear & easy to follow. Chris does a great job of teaching about create a watercolor painting effect in photoshop. Great tutorial. I absolutely recommend it for every enthusiast photoshop learner.
Awesome Tutorial Thank YOu
Thanks Chris !
@Robert, If my client wanted a hand painted illustration, I’d hire an illustrator (maybe you) to produce the piece for my client providing he was willing to pay the cost. No question. If on the other hand my client was unwilling to pay the cost of an original hand painted illustration + digital scan, then I’d use a technique like Chris suggests. This blog is devoted more towards the production of commercial art rather than fine art.
Beautiful tutorial, thanks for sharing!
Amazing Water colors effect tut buddy, Will try it with new projects soon.
hello chris,
this is really good. so simple and effective. thank you very much!
LOVE this! Thank you, Chris Spooner.
I love the technique that you apply and how you use the image, it was easy to understand thanks for the tutorial
Beautiful tutorial
I love watercolor painting! Thanks Chris for this amazing tutorial.
Really great tutorial, Chris. I worked my way through it this morning and created a couple of watercolour images for a client with ease. Big fan of your tutorials and content!