Tutorials
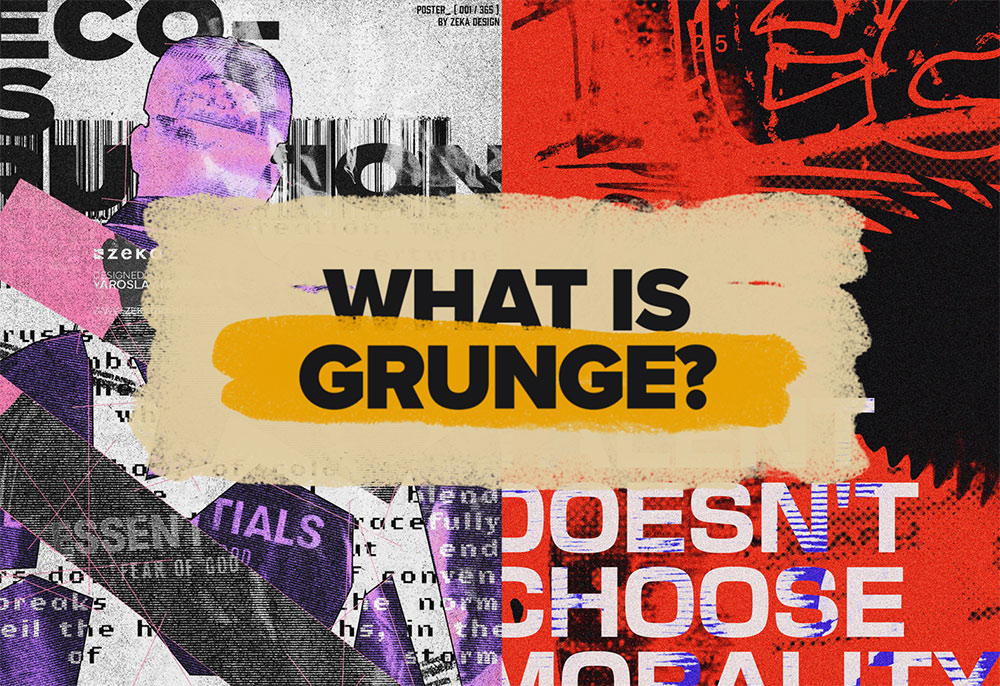
It’s raw. It’s messy. And it refuses to play by the rules. Grunge isn’t just a style—it’s an attitude. From underground zines to modern digital design, grunge has always been a rebellion against perfection. But why does this chaotic, textured look never seem to go away? Let’s break it down in this design trend deep dive.
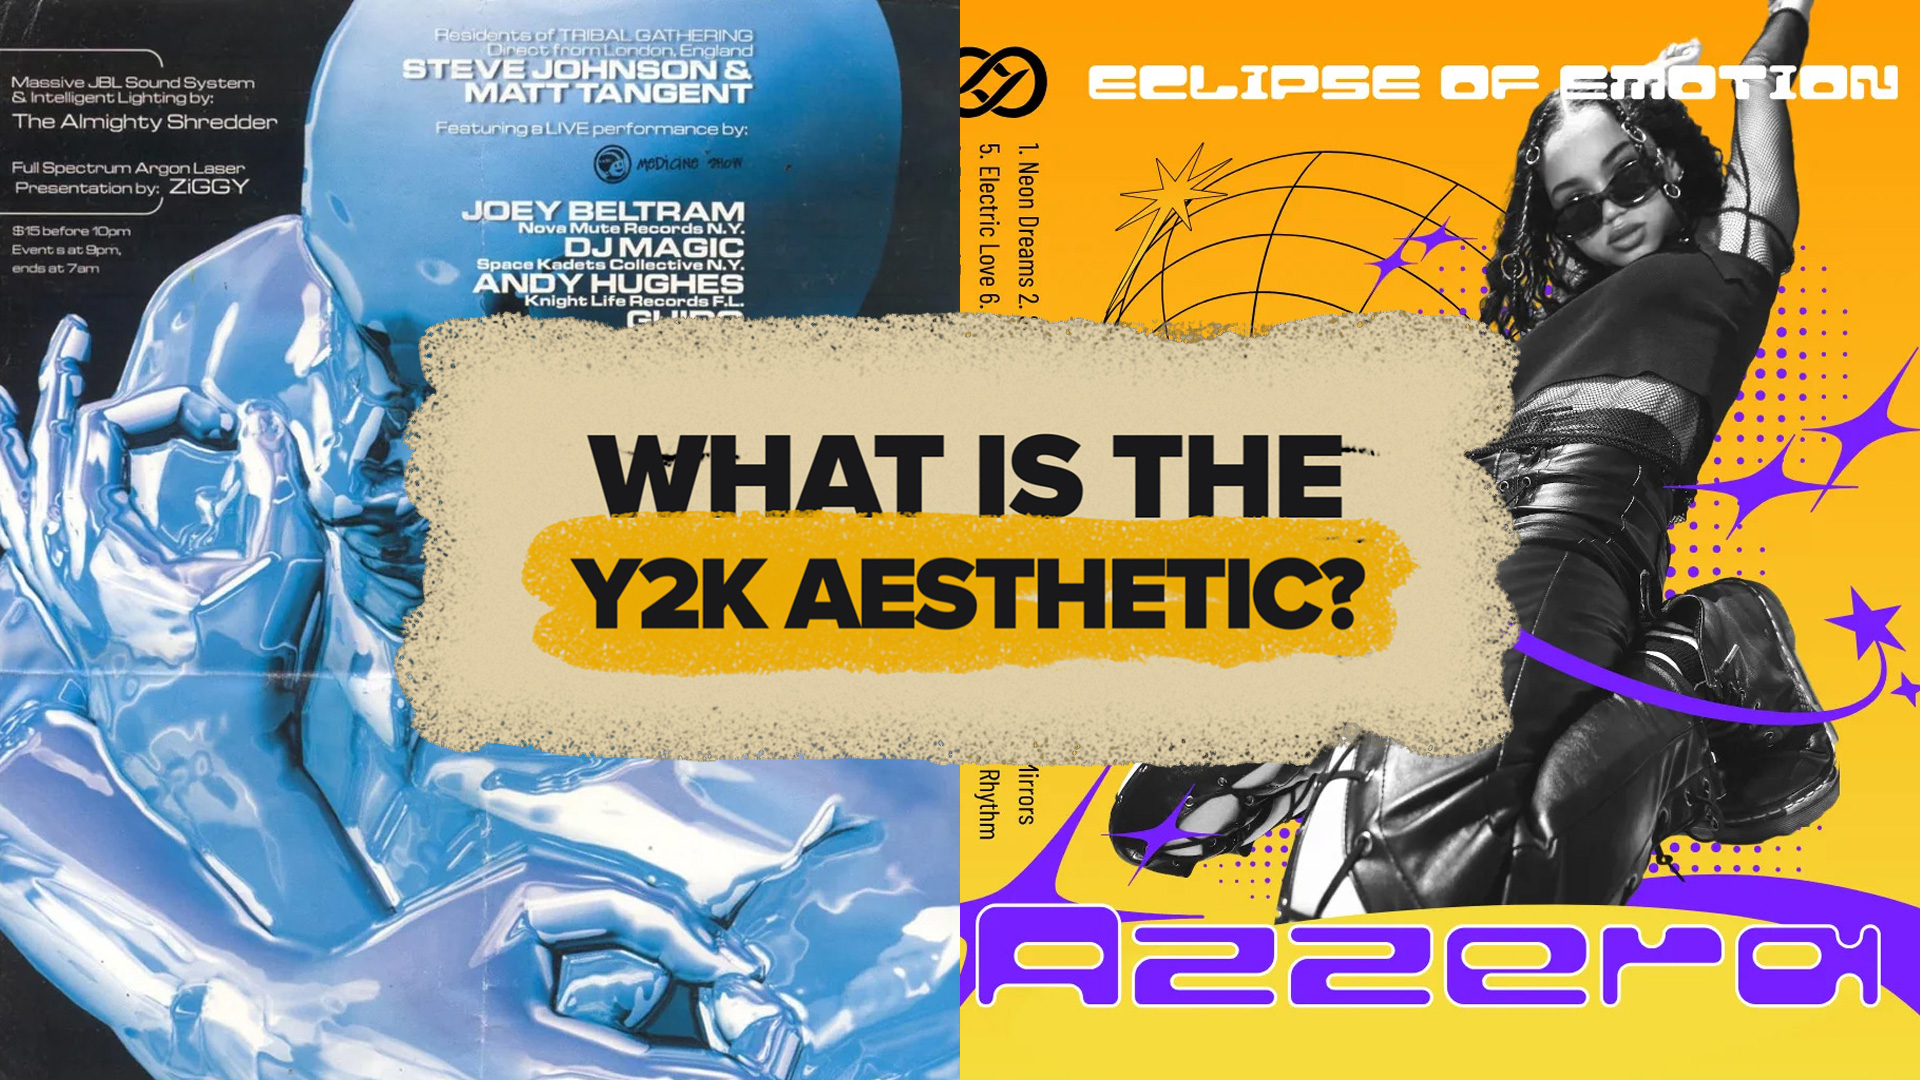
The Y2K aesthetic is back and it’s taking over fashion, graphic design, and even our digital spaces. It’s nostalgic, futuristic, and chaotic all at once. But what makes this turn-of-the-millennium aesthetic so appealing in 2025? And how can you incorporate it into your own designs? Let’s dive into the world of Y2K and see why this retro-futuristic style is making waves again.
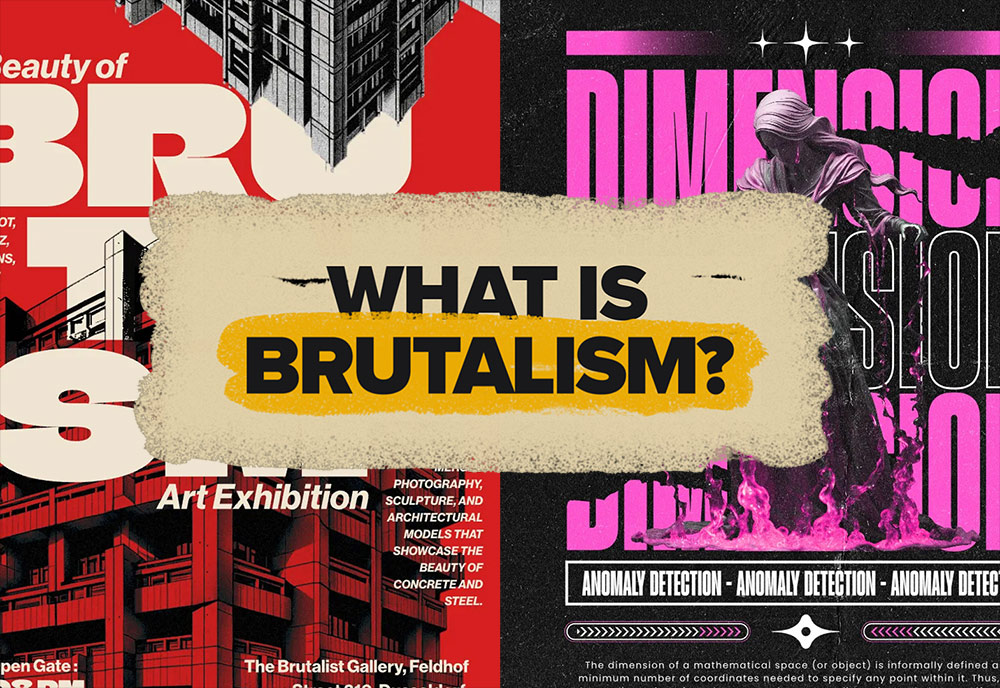
Brutalism: it’s raw, it’s messy, and it’s unapologetically bold. Whether you love it or hate it, there’s no denying its impact on design today. From clunky websites to avant-garde posters, Brutalist design is everywhere—and it’s making a comeback. But why? And how can you use it in your own work?Stick around as we break it all down in this deep dive into Brutalist graphic design.
2024 is coming to an end, so let’s take a look back at my tutorial videos from the past year and see which topics proved to be the most popular. Once again my Neon Light Effect Photoshop Tutorial from back in 2021 continues to dominate my YouTube Analytics as my best performing video, now with 2.8 million total views. Sadly, none of my uploads this year have managed to pull out any extraordinary numbers, my best performing videos are just about on par with 9th and 10th place from my 2023 roundup! I thought my recent Vaporwave Neon Effect Photoshop Tutorial might have followed in the footsteps of that popular Neon Light Effect tutorial with it being the same process with a different result, but the stats aren’t quite living up to expectations yet with 3000 views so far. Hopefully this will be one to watch if the algorithm decides to shine some light on it in 2025.
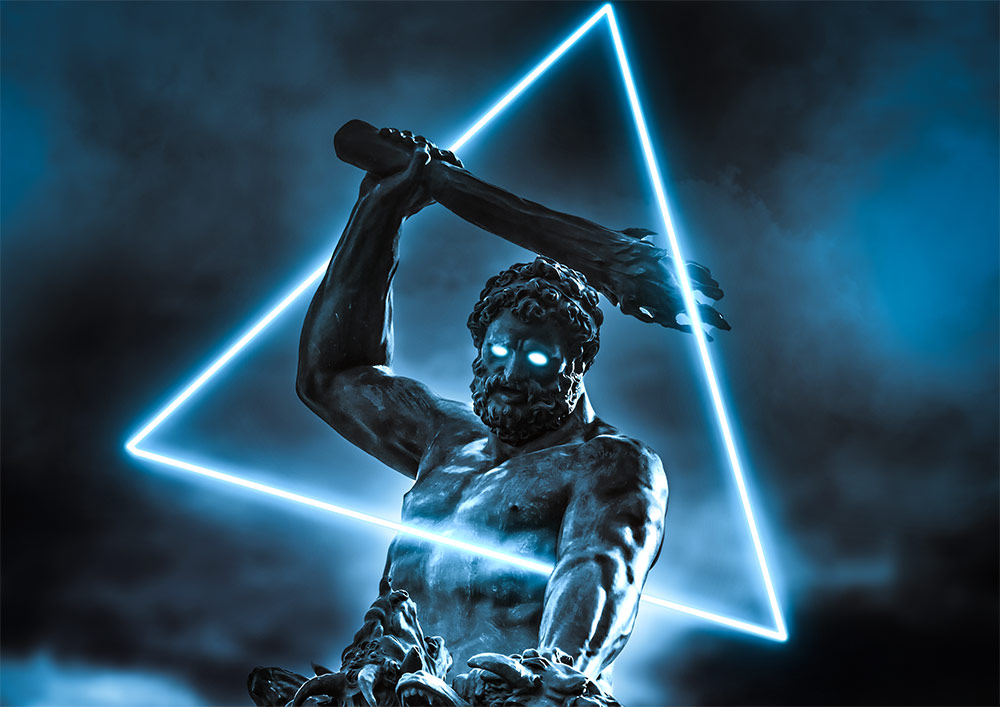
The elegance of classic Renaissance sculptures and the vibrant neon colours of the Vaporwave aesthetic are two contrasting styles you wouldn’t expect to see together, but this combination of imagery has become a popular abstract art style. In this tutorial I’ll show you how to apply a vibrant neon glow to a shape with the help of Photoshop’s layer styles. Then we’ll use a clever technique to apply a colourful ambience to the image, as if it is being illuminated by the new neon light. As a finishing touch we’ll also add some mist effects to give the final art piece a mysterious mood.
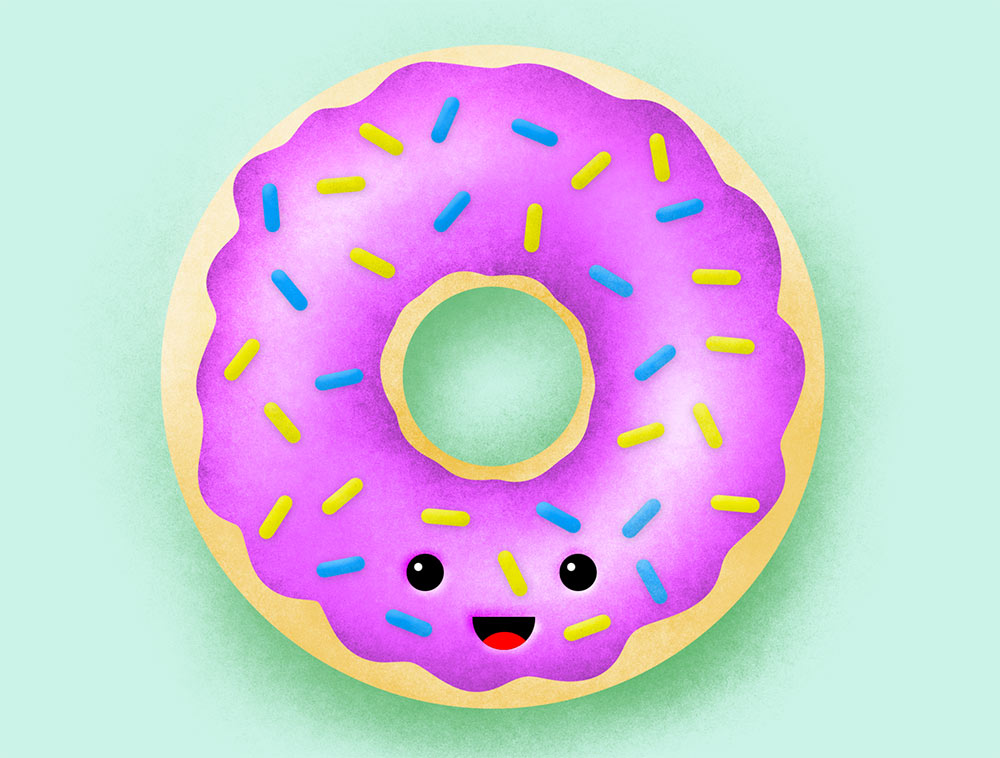
By adding grainy shading to your illustrations, you can bring your flat artwork to life with depth and the sought-after noisy textured appearance. In this Photoshop tutorial I’ll show you how to create a delicious donut illustration. Along the way I’ll show you my favourite technique for easily painting in highlights and shadows, and apply grainy shading effects with the help of my Grain Shader brushes.