Tutorials
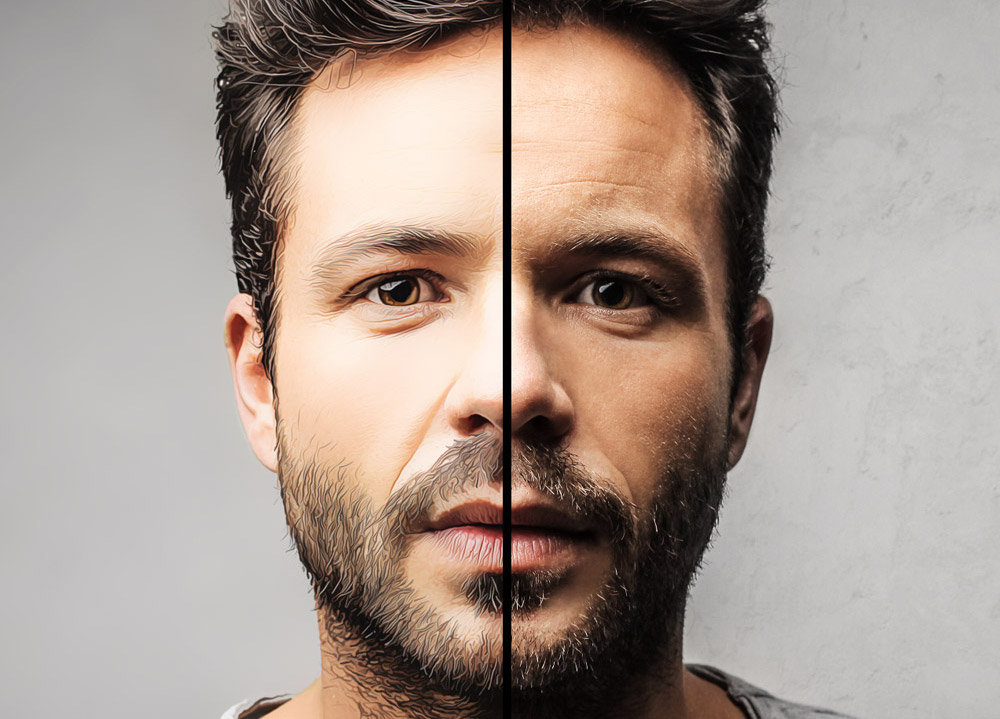
There’s some talented artists out there who can hand paint stunning hyper-realistic art, but those kinds of skills are something us mere mortals can only dream of. Thankfully with the help of Photoshop it’s possible to create cool effects to mimic the style of painted images. In today’s tutorial I show you a few steps that will transform a photograph into a digitally painted piece of art with detailed brush strokes and blotchy colours.
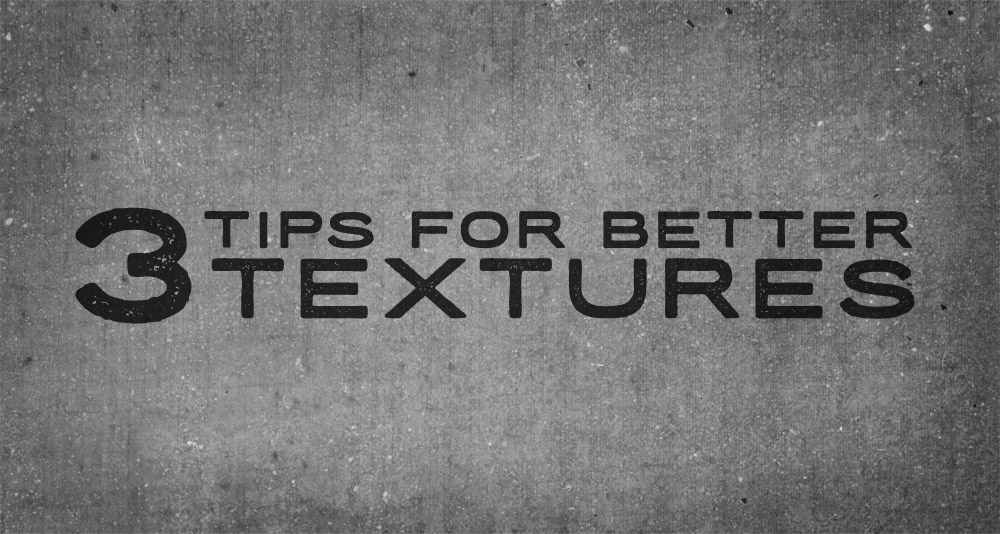
Textures are valuable design resources that can be used as backgrounds to your work or pasted in as overlays to add distressed tones. Anyone with a camera can collect texture resources, with even the latest smart phone cameras being more than capable of capturing high resolution details. It takes more than just a click of the shutter button to capture a great texture though, the most usable textures are the result of some Photoshop editing. In today’s post I share 3 important tips that will help transform your standard images into better textures resources.
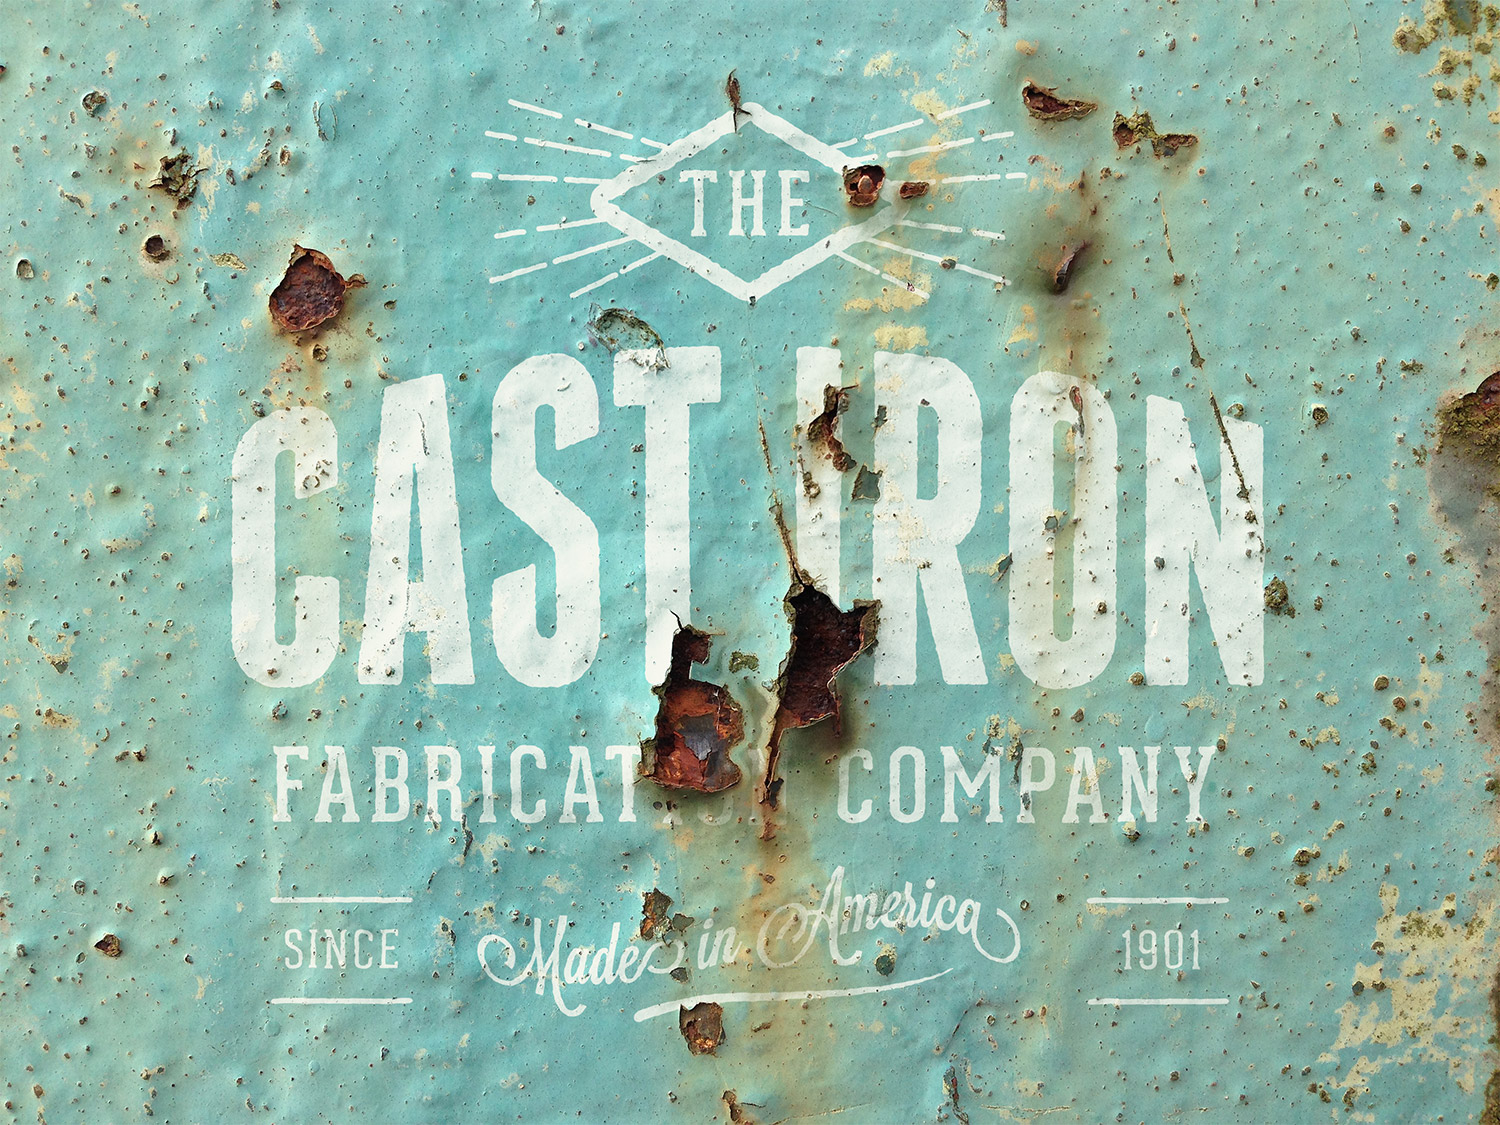
Last week I shared a free set of rusty logo mockup textures that I collected from an old WW2 era aerodrome. The files included a Smart Object layer which allowed you to paste in your own artwork and have it applied to the surface, with all the fine details of the decay and corrosion also affecting your design to create a realistic mock up. I discovered a few interesting techniques when creating those textures, so in today’s tutorial I’ll explain the whole process of creating an aged weathered logo mockup of your own.
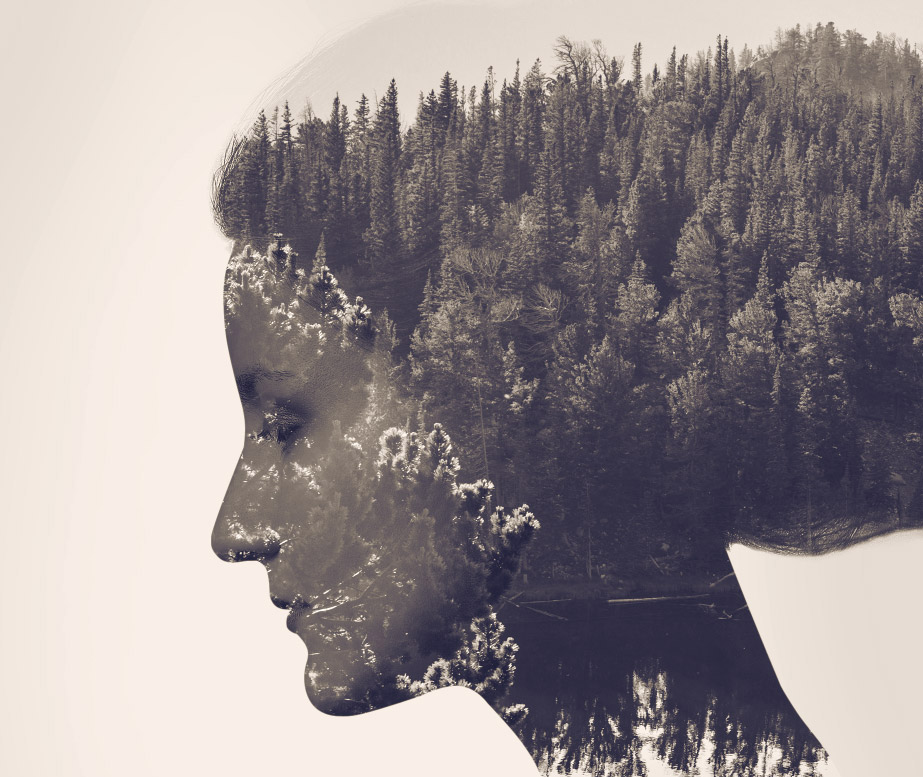
Traditionally the double exposure effect is produced by photographers using nothing but their camera to combine two separate photographs to create an abstract and surreal image. However, we can also mimic the effect in Photoshop, which actually gives us more control over the final output with the ability to adjust and preview the effect as we go. Follow this step by step tutorial to create a double exposure effect yourself, we’ll blend two existing photographs together with the help of some simple clipping and masking techniques.
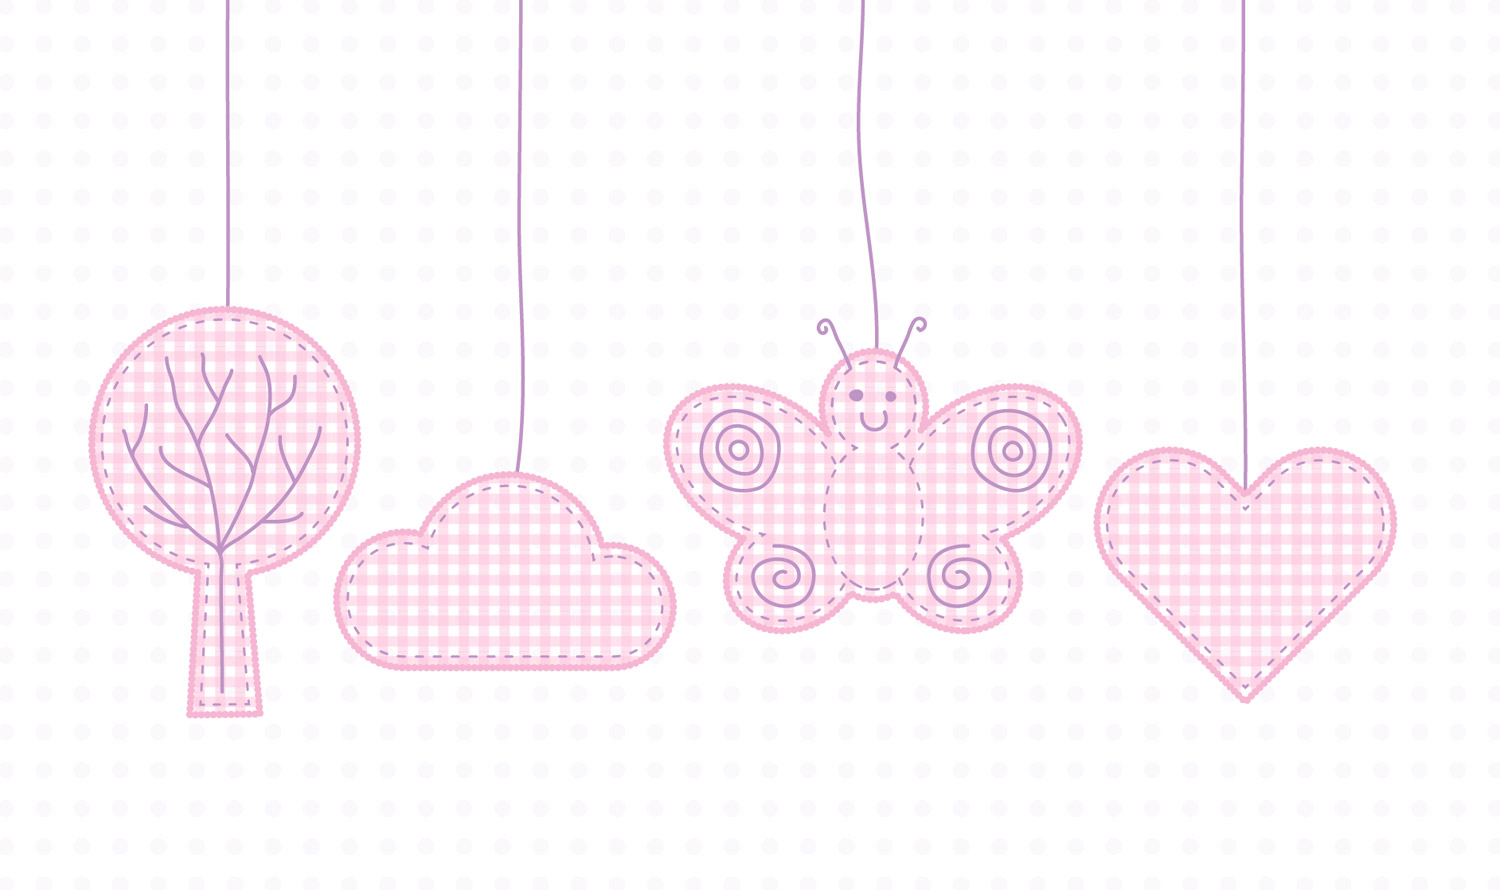
My wife and I are expecting a baby girl in a few months so our house is slowly filling up with everything cute and pink! Seeing the style of art used on the items we’ve collected for the nursery gave me a great idea for a beginner’s Illustrator tutorial, showing how stylish illustrations can be created using basic shapes and patterns. Follow this step by step Illustrator tutorial to create a series of simple vector illustrations, each one employing slightly more advanced techniques to eventually form a complete mobile of objects.
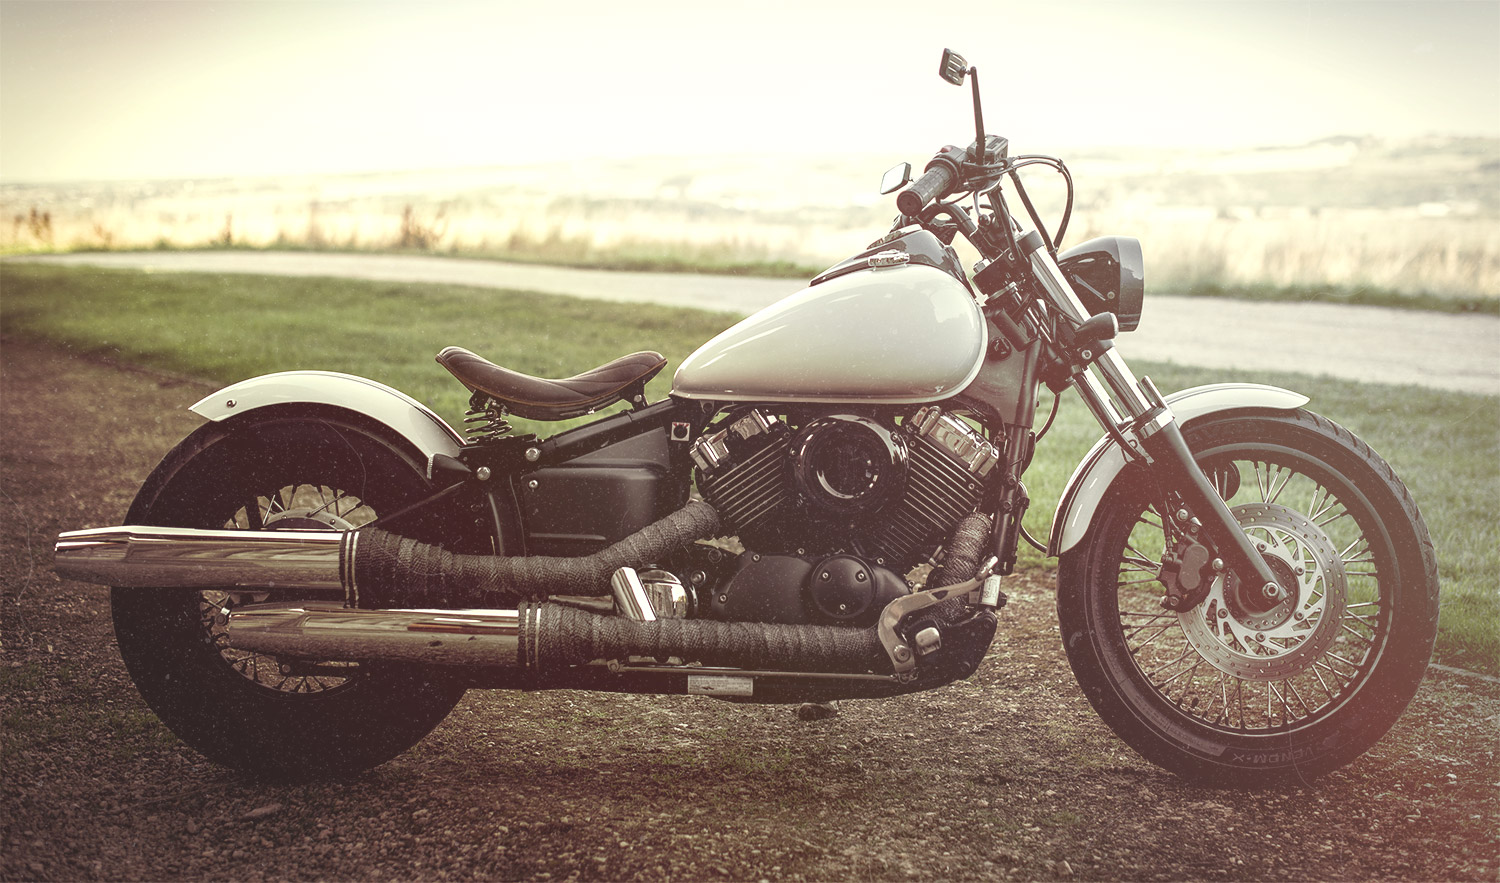
Washed out matte effects seem to be really popular in the Photography scene at the moment. These effects look particular cool when combined with warm vintage tones to add a classic nostalgic feeling to your images. Follow this step by step tutorial to process and transform your shots in Photoshop to create a warm washed out vintage matte effect using non-destructive editing.