Tutorials
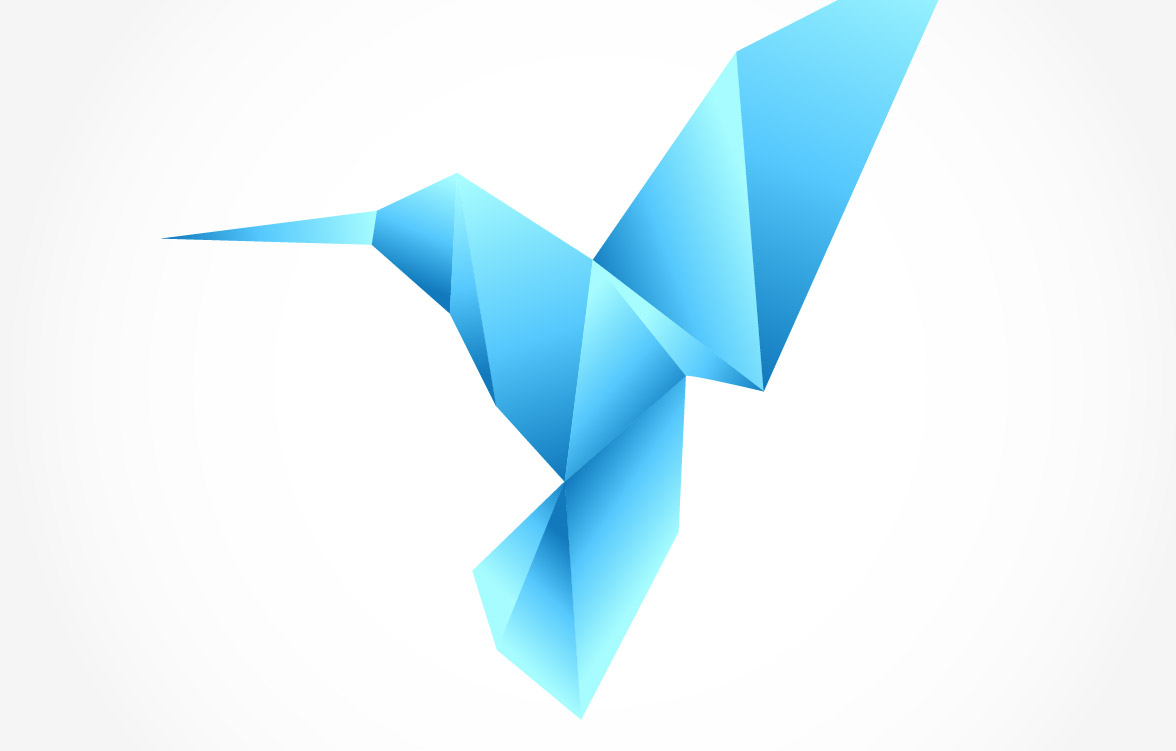
I recently received a great tutorial suggestion from a reader named Brigid who asked if I could create a guide to creating an origami style illustration. We’ll use Adobe Illustrator to tackle this design for its advanced shape editing abilities and make particular use of Smart Guides to perfectly align our vector paths. Once the outline of our origami inspired design is complete we’ll then bring it to life with vibrant colours, resulting in a modern graphic that would look great as part of a logo design.
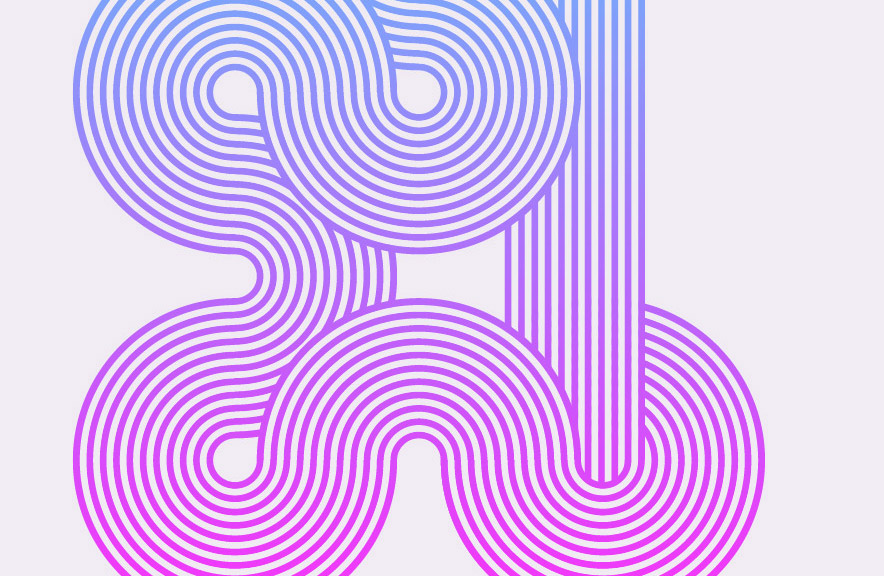
Adobe Illustrator is the perfect tool for creating abstract art with basic shapes and lines. In today’s tutorial I’ll show you how to create this geometric stripy line effect with a custom Art Brush. It’s an effect that looks fantastic yet it’s pretty easy to make, plus it’s a technique that can also be used to create cool logos and typography.
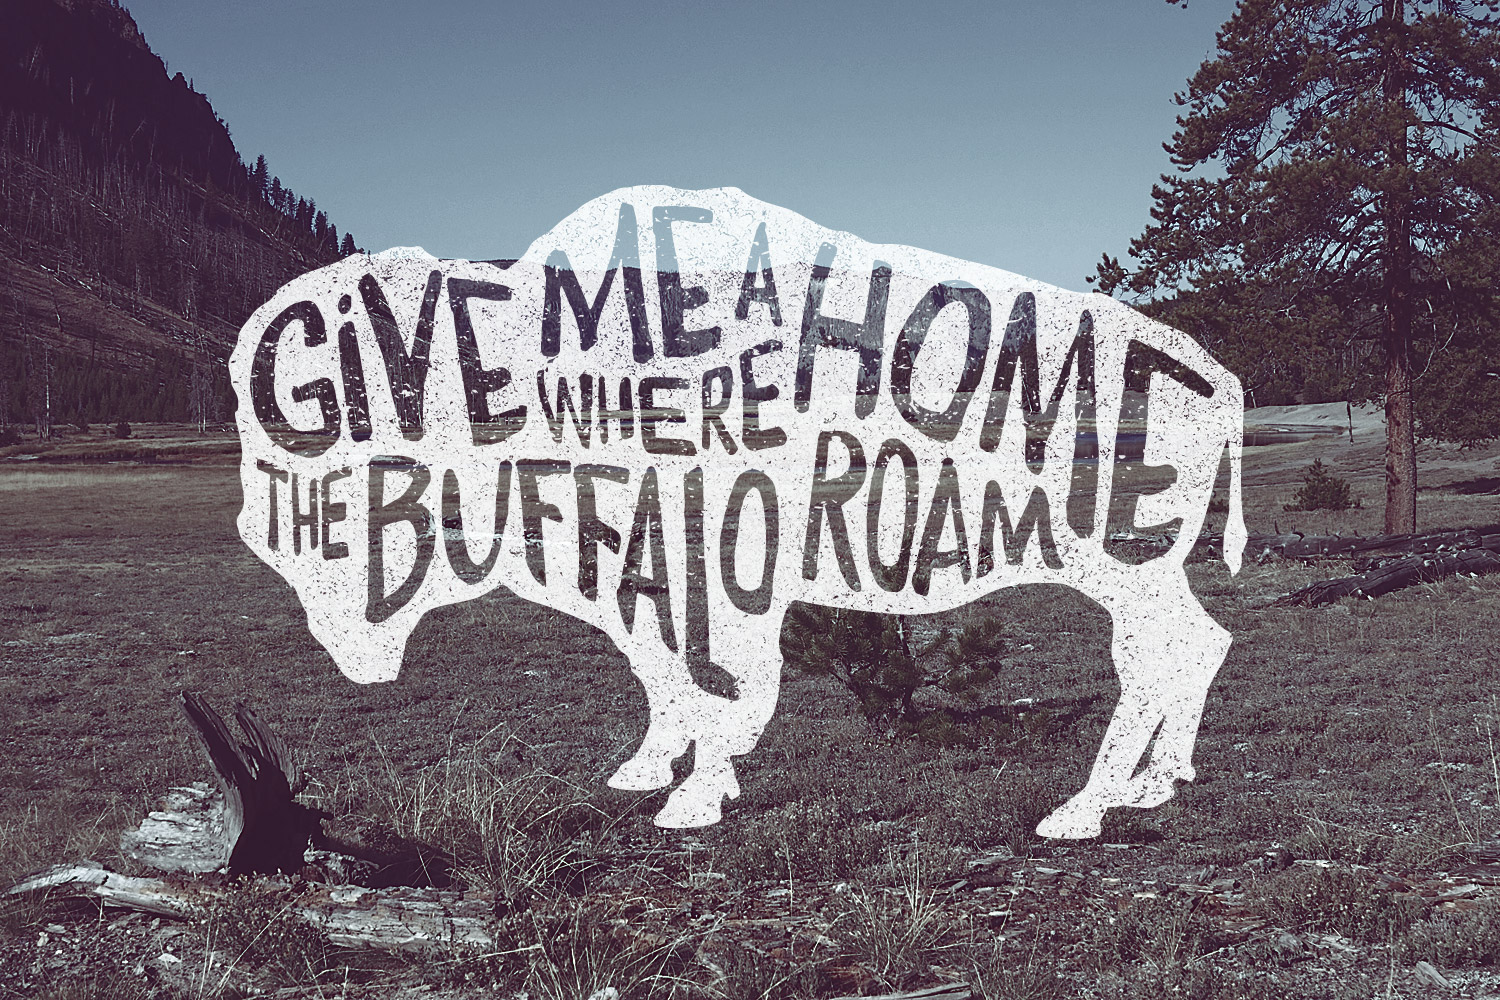
Hand lettering typography illustrations are really cool, but it takes a lot of skill to craft authentic artworks by hand with pen and paper. Typically this style of art is created by elite illustrators, but I’ve found an entirely digital technique that allows us mere mortals to create cool looking artwork too! Follow this step by step Illustrator tutorial to learn how to manipulate text within a silhouette shape and add texturing to produce a realistic hand drawn style typography illustration.
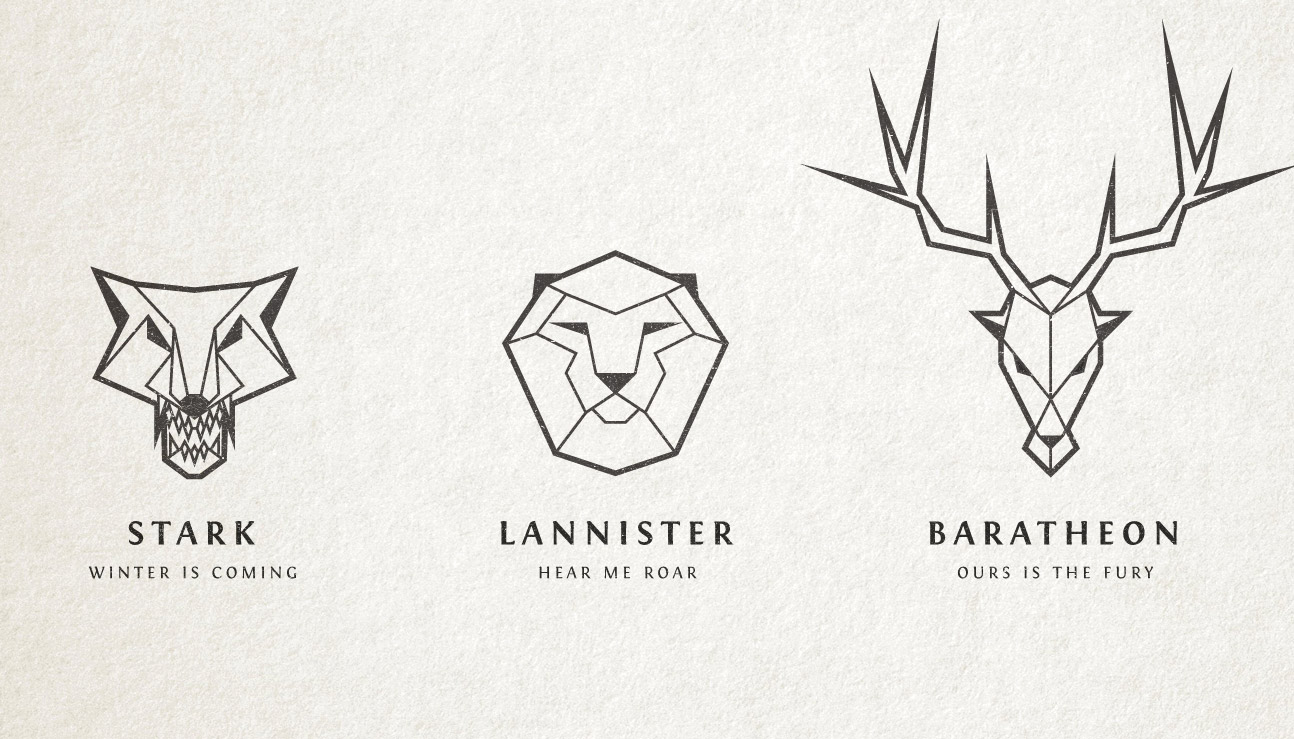
I’ve been having some fun lately creating logo emblems in an abstract design style based on the house sigils from Game of Thrones. This particular style where a subject is simplified and replicated with just straight lines results in cool stylized graphics which make fantastic logo designs. In today’s Illustrator tutorial I’m going to share my process of creating this abstract illustration style to help you create geometric line art of your own.
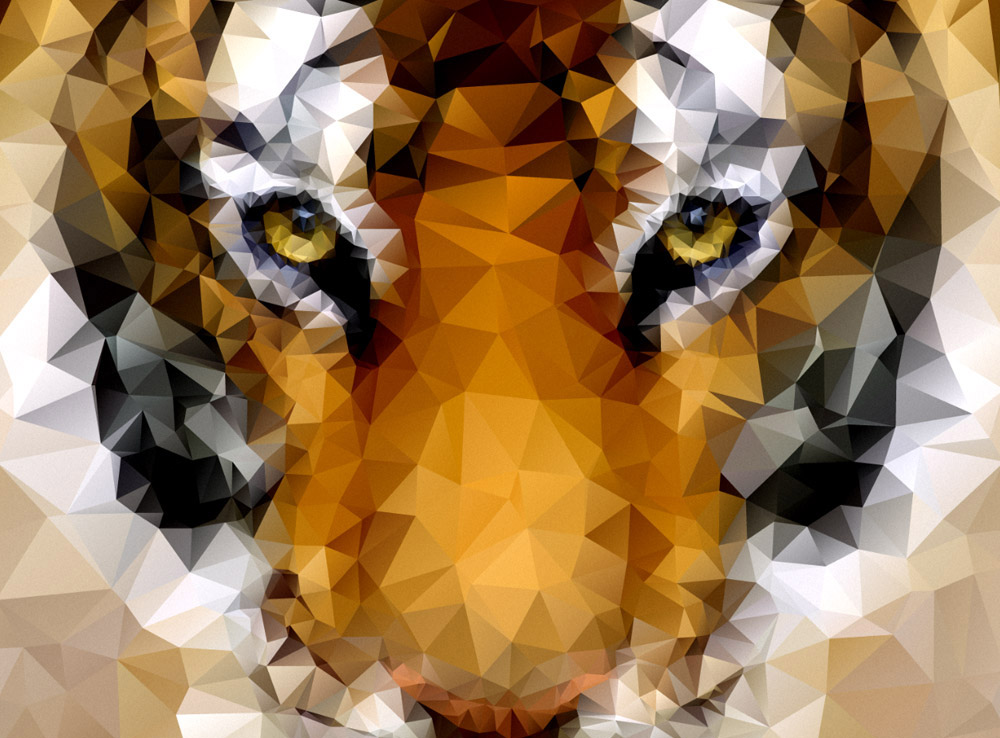
I’m sure we’ve all drooled over those awesome low poly art images and wondered how on earth they are made. You know, the ones that are made up of hundreds of tiny geometric shapes which combine to form an abstract image. I recently discovered a fantastic tool that makes it super easy to create them, so today I’m going to share the secret and explain how you can create your own low-poly geometric artwork using this magical app with some help from Illustrator and Photoshop.
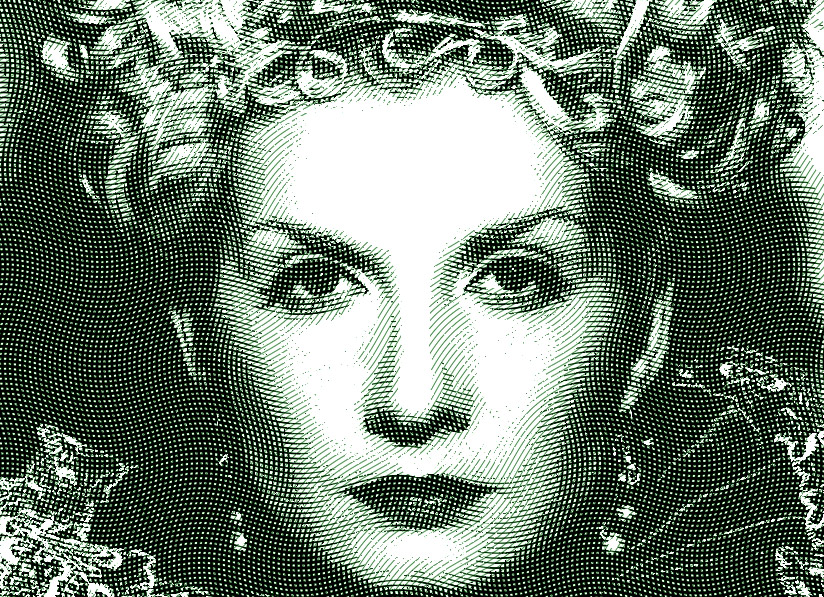
The classic illustration style used on money is something I’ve always wanted to figure out how to replicate in Photoshop. There’s plenty of Photoshop tutorials that show how to create a basic halftone line effect, but they never quite capture that authentic engraved look with plenty of shading and tone. After lots of trial and error I finally managed to figure it out, so here’s an in depth tutorial on how to create a realistic money illustration effect in Photoshop (with some help from Illustrator!).

