Tutorials
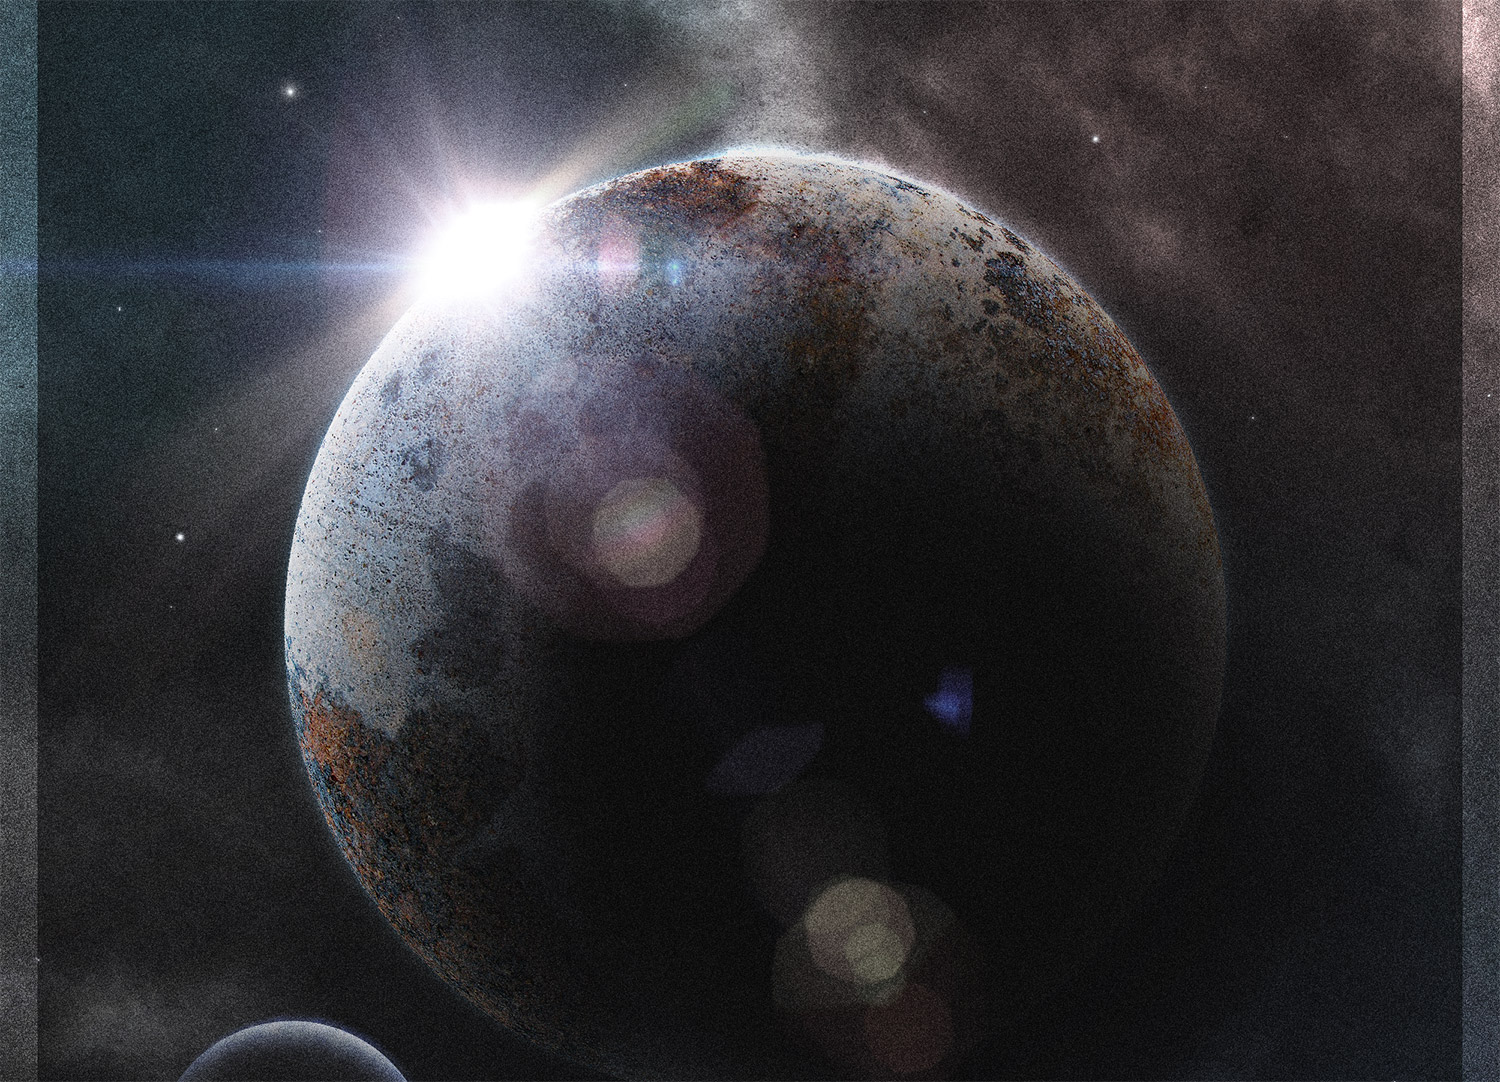
I recently watched the movies Alien & Aliens and marvelled at each movie’s cover art, which gave me the inspiration for this tutorial. Both movies have a futuristic theme but this is combined with heavy grain from the outdated print techniques, creating that awesome retro-futuristic style. Follow this step by step Photoshop tutorial to create your own space themed poster design with intense lighting effects and distressed textures.
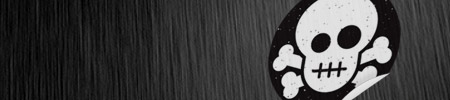
Follow this step by step guide to creating a cool little skull and crossbones sticker design in Adobe Illustrator. This tutorial will hopefully be a great one for Illustrator beginners, as we’ll not only be creating the skull and crossbones design using all the important tools found in Illustrator, we’ll also be setting up the basic print document with bleeds and guides.
Everyone loves photo effects, especially those that are super easy to create and really transform your photos. Today we’re going to take a look at retouching a photo to create a cool cinematic movie effect with high contrast and blueish tones.
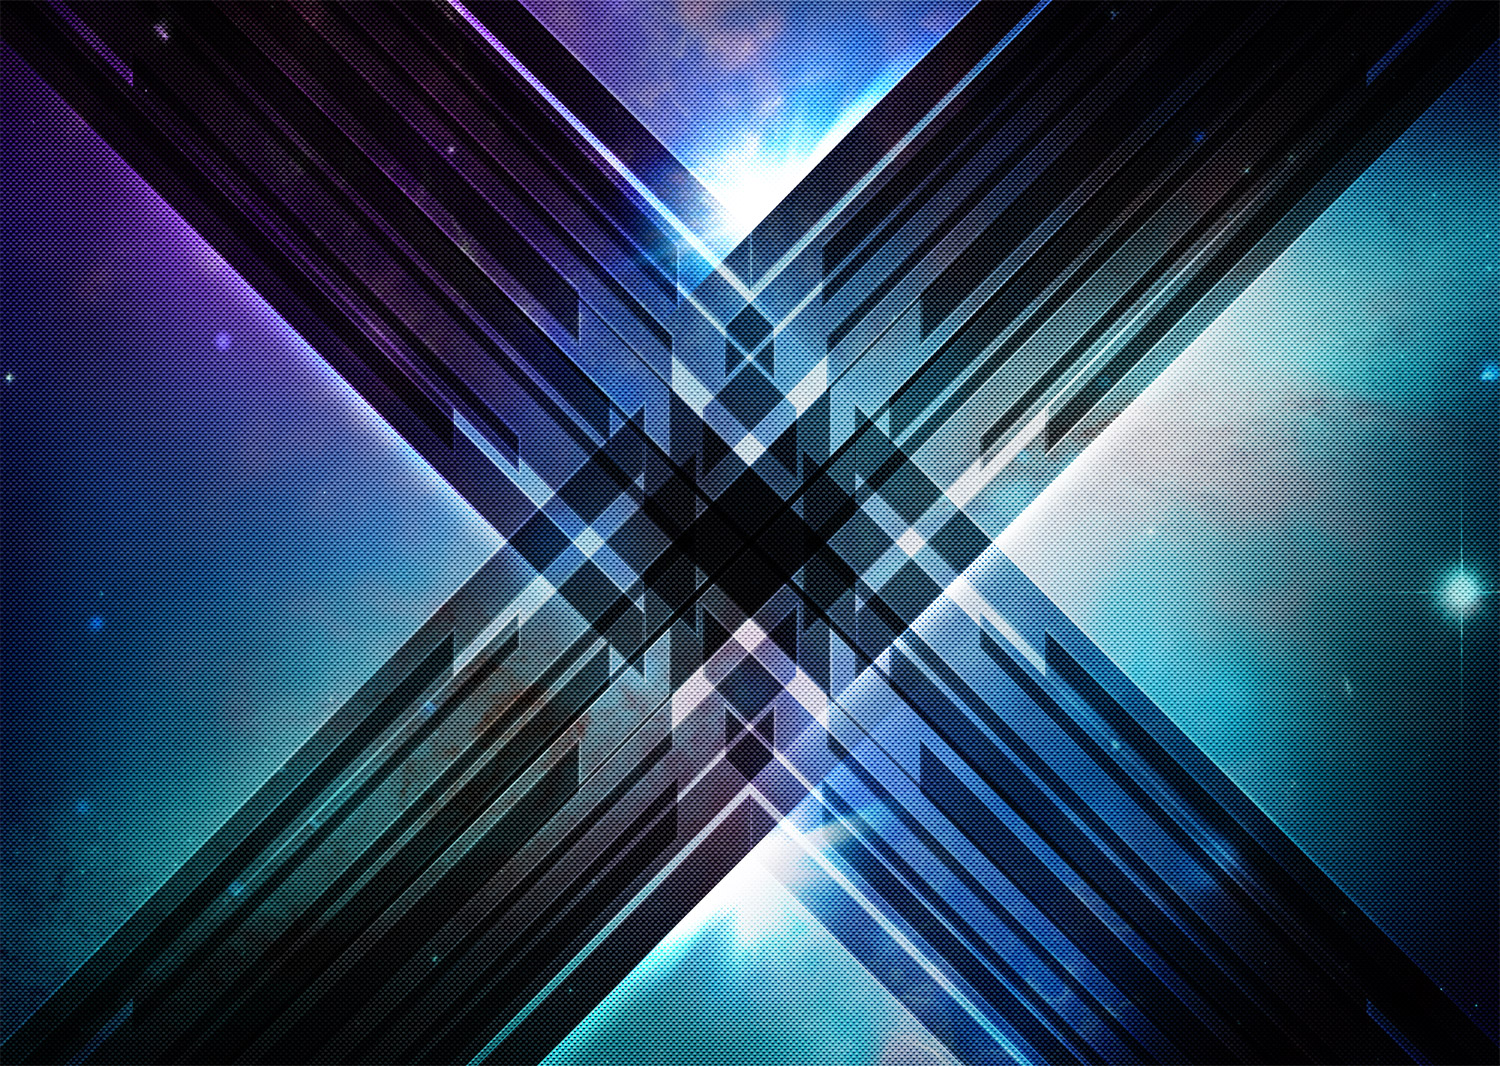
Follow this step by step Illustrator and Photoshop tutorial to create a vibrant poster design featuring abstract vector shards and intense cosmic colours. We’ll begin by constructing the vector shard pieces in Illustrator then combine them with blending modes and lighting effects in Photoshop to produce a cool piece of poster artwork.
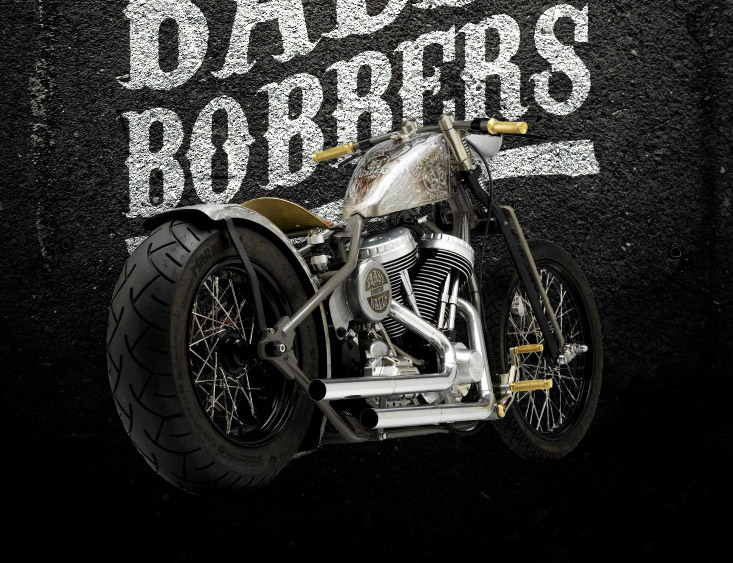
My absolute favourite style of motorcycle is the custom “bobber”. I love the stripped down appearance and the raw vintage styling. It’s my plan to chop up a bike of my own one day, but for now I have to settle with designing custom motorcycle posters instead. Follow this step by step Photoshop and Illustrator tutorial to combine photography and typography and create a dark vintage style motorcycle poster design.
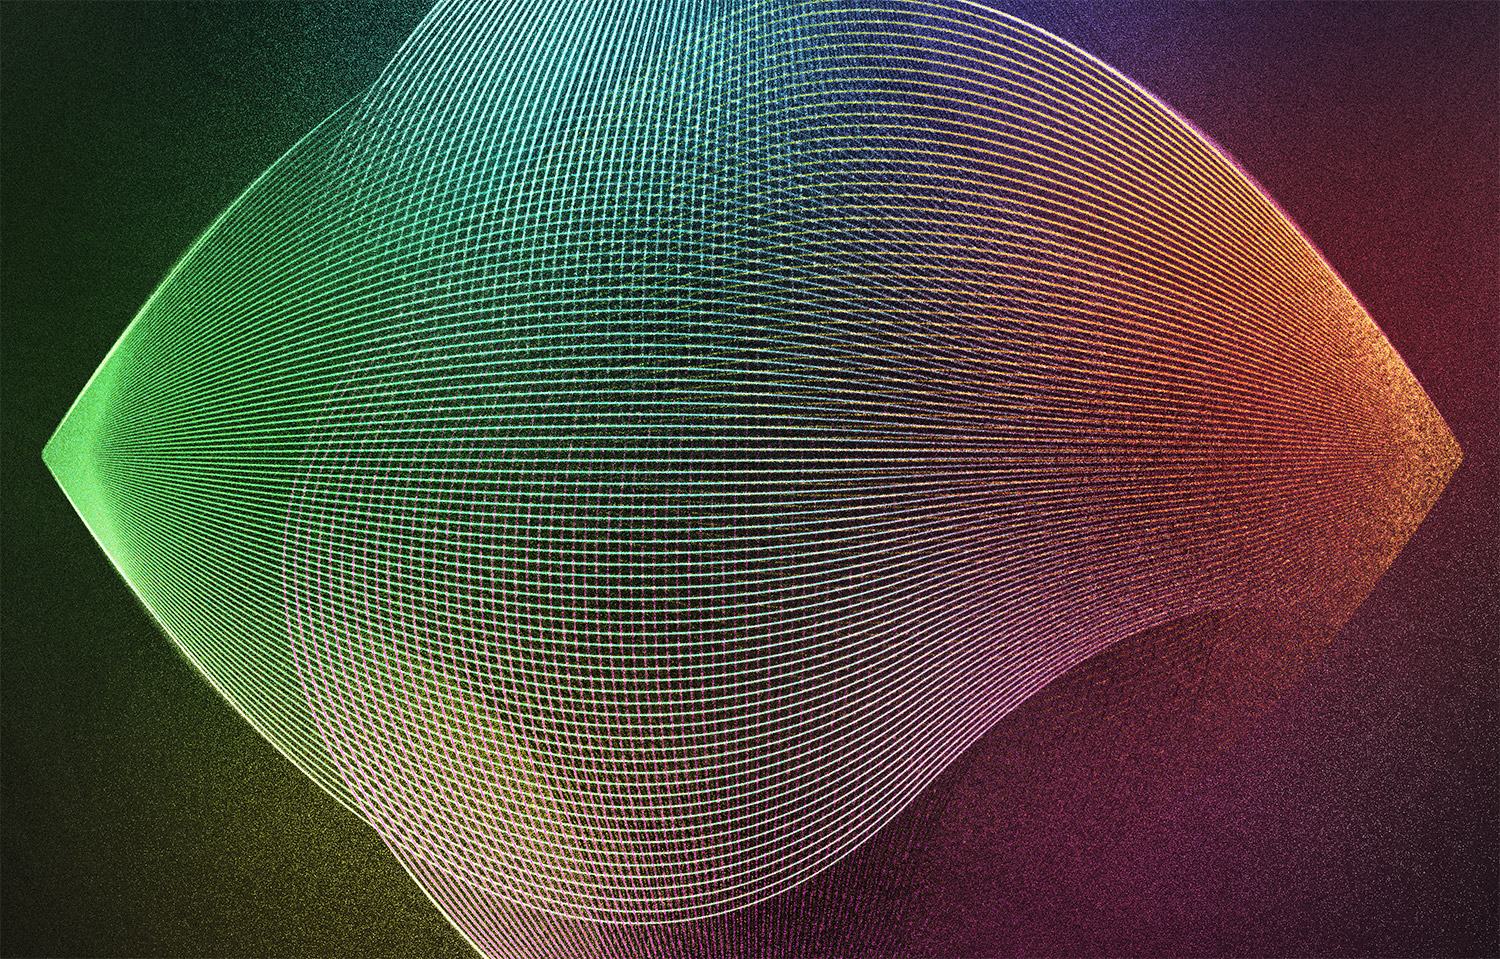
Follow this step by step tutorial to create a cool abstract lines design with awesome vibrant lighting effects. We’ll use Illustrator’s easy tools to create the vector linework then add a range of glows, colours and effects in Photoshop to finish the design with a cool grainy but luminous style.