This post was originally published in 2012
The tips and techniques explained may be outdated.
Follow this step by step Illustrator and Photoshop tutorial to create a vibrant poster design featuring abstract vector shards and intense cosmic colours. We’ll begin by constructing the vector shard pieces in Illustrator then combine them with blending modes and lighting effects in Photoshop to produce a cool piece of poster artwork.
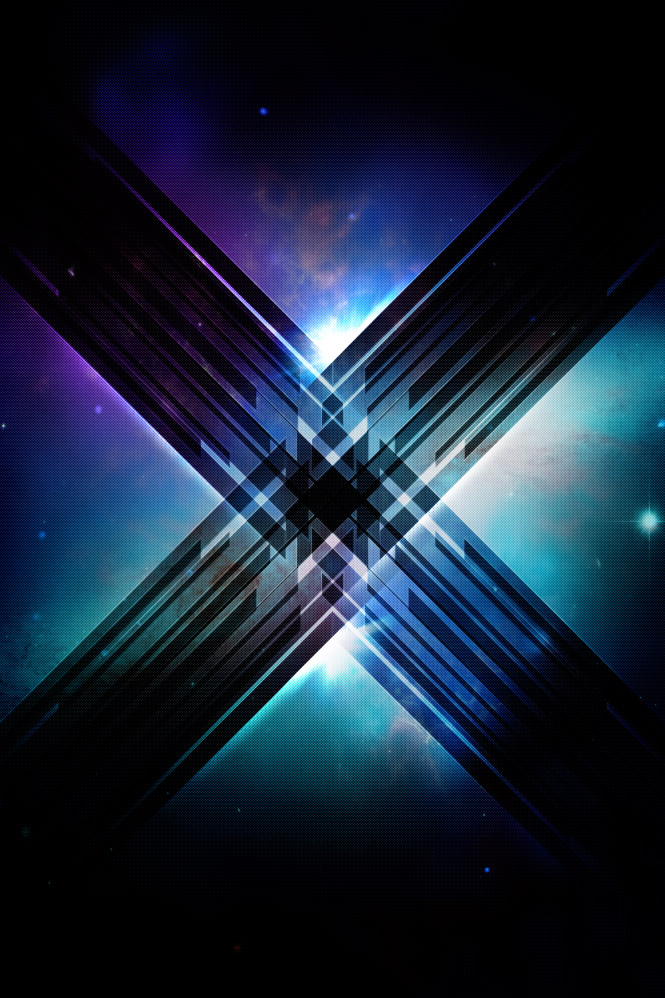
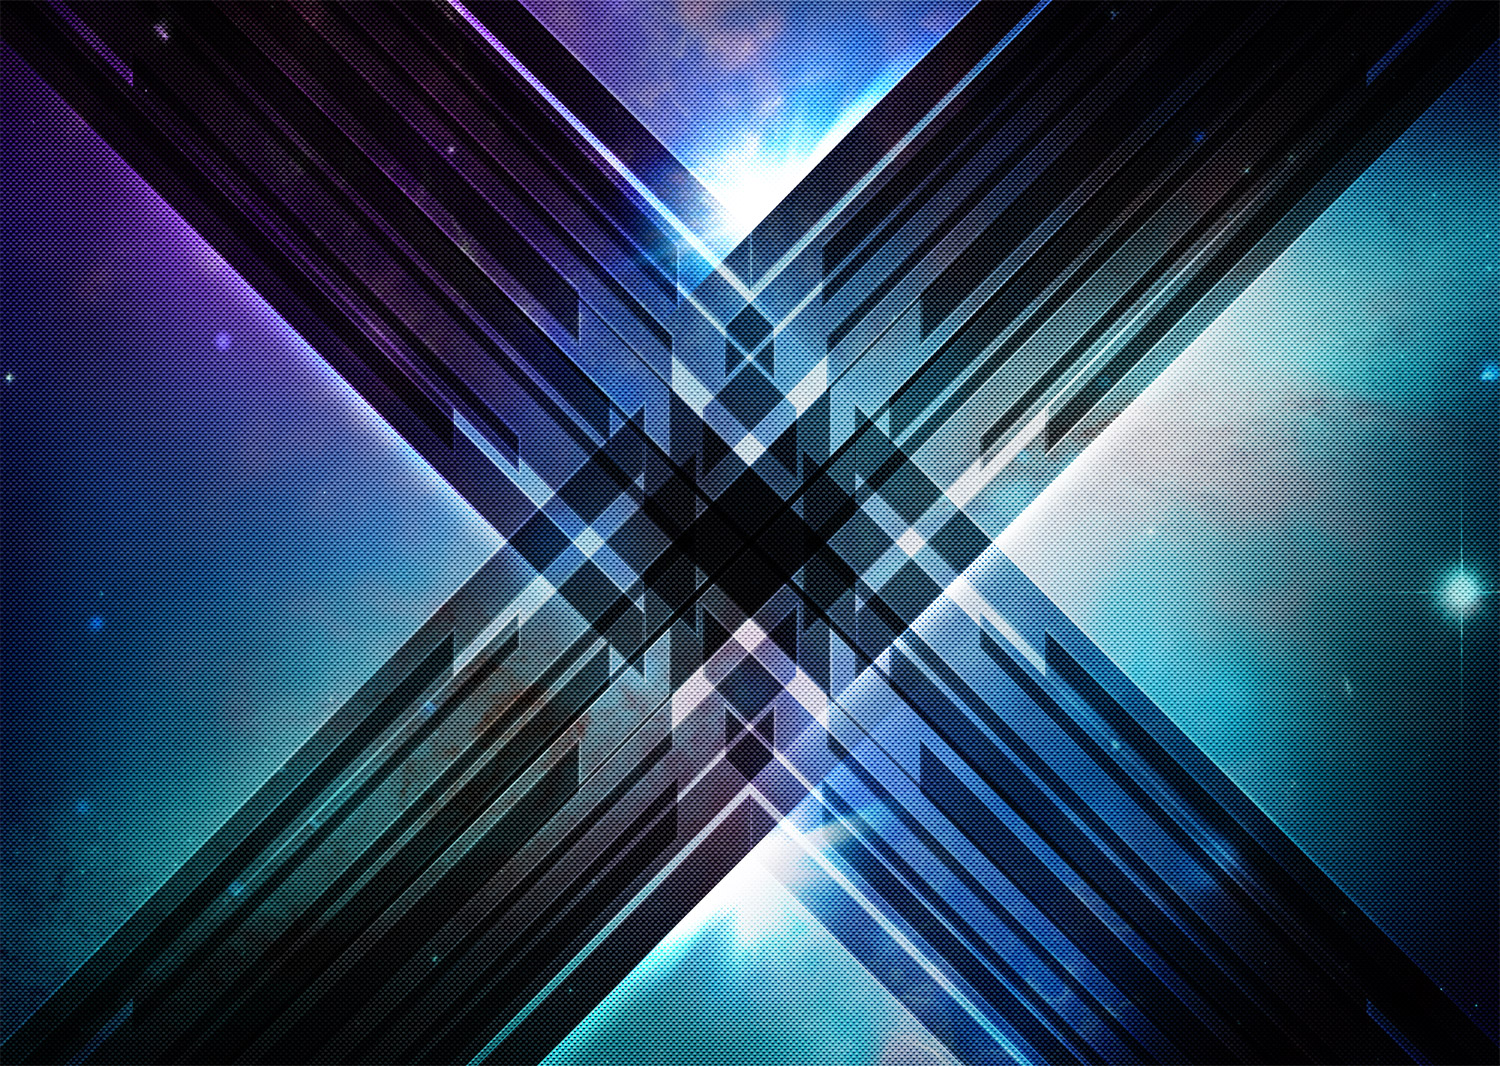
The cosmic abstract shards design we’ll be creating features an array of sharp vector objects that overlap to create a cool translucent pattern effect. A combination of cosmic background, intense lighting effects and a subtle pattern overlay gives the design a sleek futuristic style.
View the Cosmic Abstract Shards Poster Design
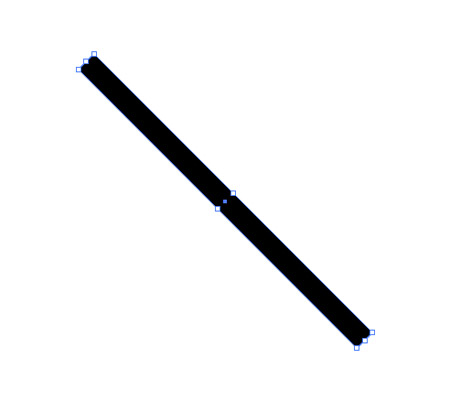
Open up Adobe Illustrator and draw a long thin rectangle on the artboard. Rotate it by 45 degrees by holding the Shift key while clicking and dragging the object’s corner handle.
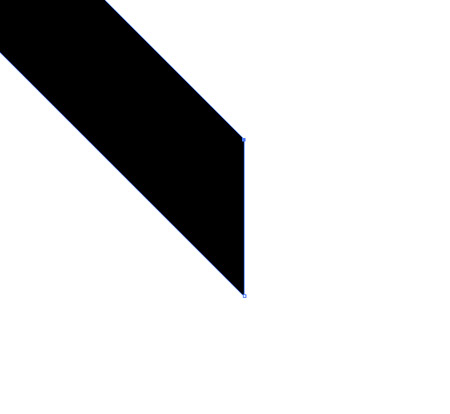
Select the two upper most points with the Direct Selection tool and nudge them upwards and left to shear the shape and leave vertical edges.
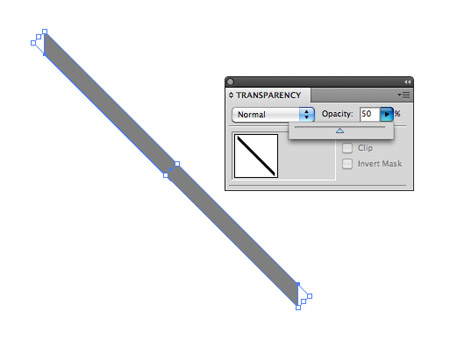
Change the opacity of the object to 50% in the Transparency window.
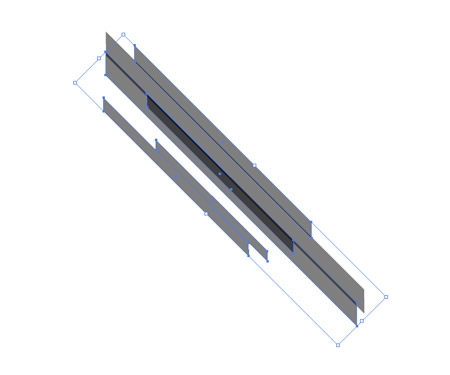
Hold the ALT key while clicking and dragging the shape to create multiple duplicates. Scale each shape up or down while holding Shift and position them randomly near the previous shapes.

Continue duplicating the shards until you’re left with a cool looking overlapping effect. Make any final adjustments if there are any awkward gaps between the shapes.
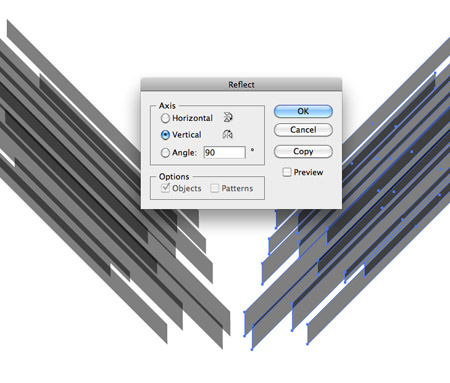
Select all the elements and go to Object > Transform > Reflect. Choose the Vertical option and press the Copy button to create a mirror effect.
Move all the reflected shapes into position so some of the shards match up against their vertical edges while allowing others to overlap further.
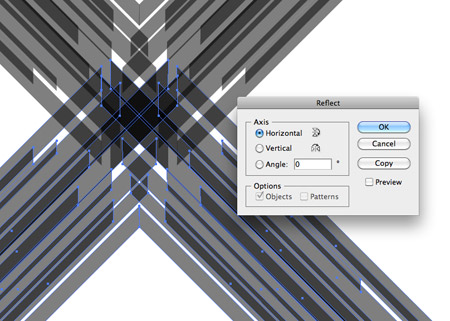
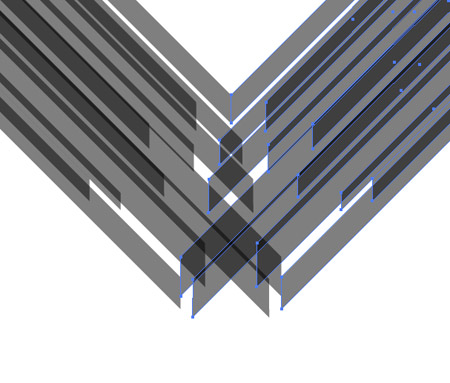
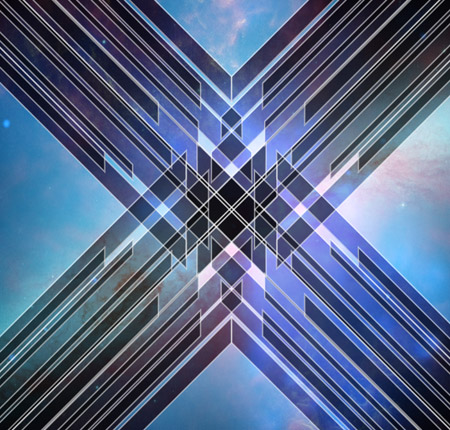
Select the two sets of shards and reflect them once again, this time selecting the Horizontal option. Align these shapes to create an intricate overlapping pattern in the centre of the layout.
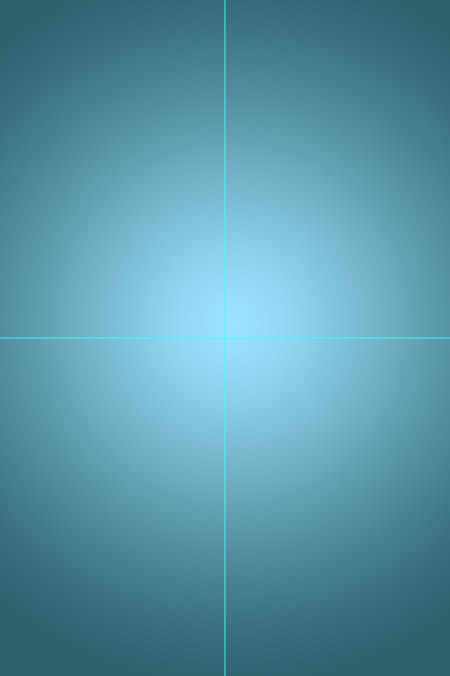
Switch over to Adobe Photoshop and create a new poster sized document. Begin by adding a blue radial gradient in the centre.
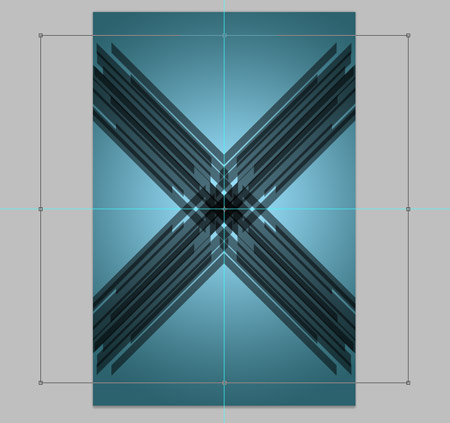
Paste in the shards from Illustrator and scale them to size so they reach out beyond the edges of the canvas.
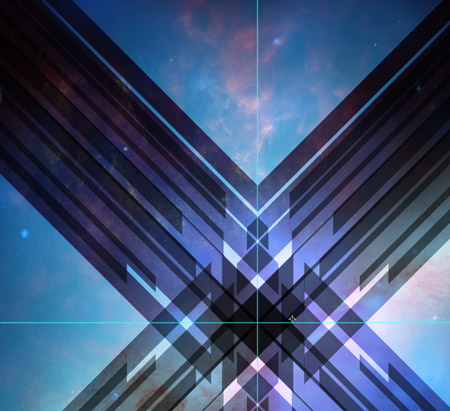
Download a cool cosmic image from NASA’s library of free images and add it to the Photoshop document. Change the blending mode to Overlay to allow the colours to interact with the design.
Switch back to Illustrator and change the black fill of the shards to a white stroke, then paste them into Photoshop and align the outlines to the original shapes.
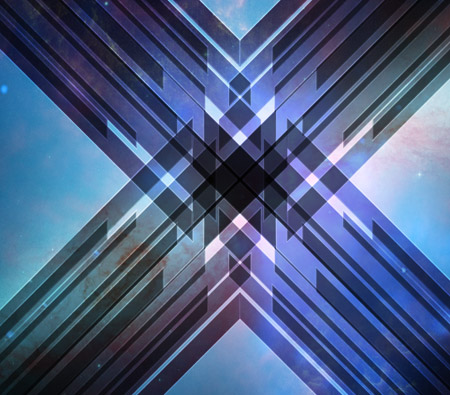
Change the outline layer to Overlay then add a Layer Mask and dab away portions of the outlines with a soft brush to allow the strokes to fade in and out.
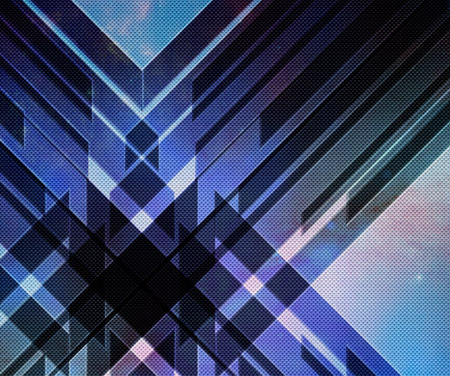
Download a cool subtle pattern and cover the whole document. Here I’m using a pattern named Foil with the blending mode set to Linear Burn.
Dab a few spots of white on a new layer with a large soft brush. Change this layer to Overlay and adjust the opacity to control the intensity of these highlights.
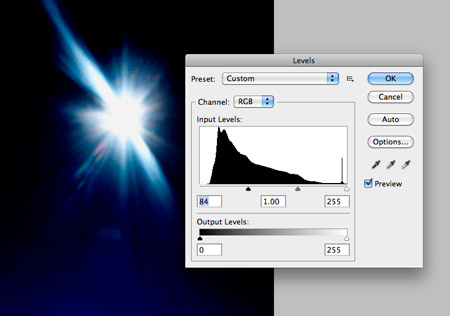
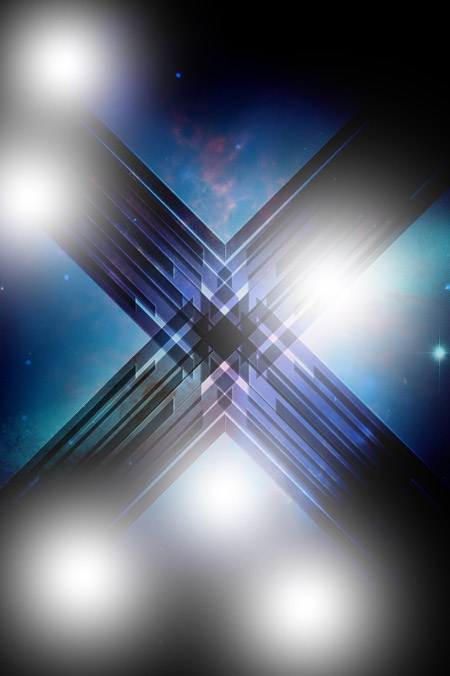
Search for a stock photo featuring a bright sun flare. Use the Levels to darken the sky until it appears black, then draw a selection around the flare.
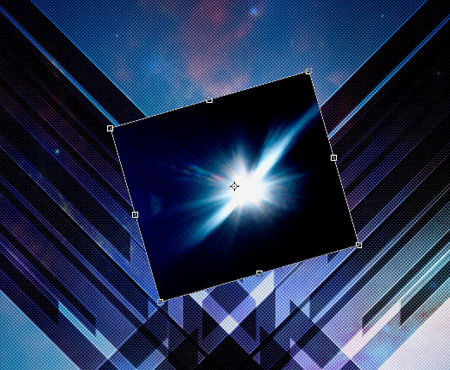
Paste the flare selection into the design document then scale and rotate it into position over the intersection of the shards.

Change the blending mode to Screen to render the black areas transparent, then delete away a portion of the flare by following the line from the shards with the Lasso tool.

Deleting away half of the flare helps add an extra level of depth to give the appearance of multiple levels.
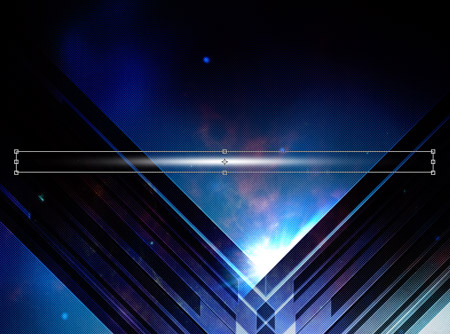
Dab a spot of white on a new layer then squash and stretch it into a long flat shape.

Draw a selection over the lower half and delete it, then change the blending mode to Overlay to create a linear highlight flare.

Position a collection of linear flare shapes across the design to highlight random edges within the shard shapes.
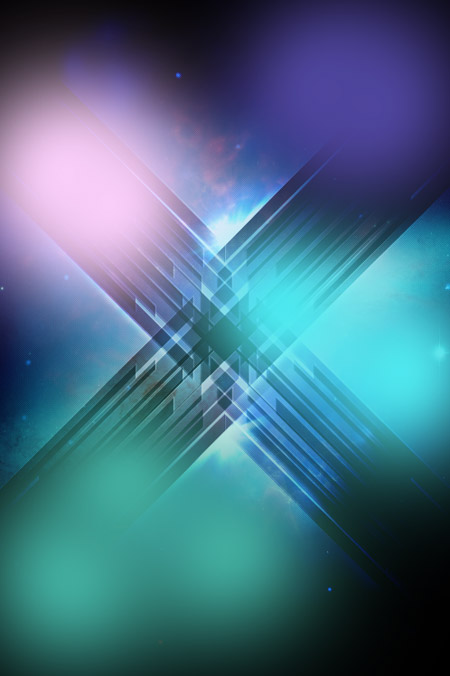
Pick a few colours from the original space image and paint over areas of the design on a new layer.
Change this colour overlay layer to Hue to allow these colours to interact with the layers below it, then adjust the opacity to control the overall colour scheme of the final artwork.

The eighties are back! :)
I like it! Thank you!
Nice one. Thanks!
Great tutorial this one is awesome as usual :-) thanks for the share!!!
Thanks for sharing!
wow.. cool tuts, thanks Chris for share..
Chris, this is awesome. I’ve seen shards posters like this in the past and never attempted it because I thought they were created with the aid of a 3D program. It’s amazing how easy it really is when you break it down step by step. Thanks so much for the awesome tut.
This is awesome! I love this style of design! Very, Signalnoise ;) Great tutorial, Chris!
Very nice tutorial. I gave it a quick go and got some decent results considering how little time I put into it. You always deliver quality content.
thank you for this very useful and easy-to-follow tutorial! i like the way you show how one can make something of nearly nothing in no time :-)
keep going on like this!
my version: http://cmyk4us.wordpress.com/2012/06/08/outer-space-poster-versuch/
Wow! Thank!! Nice share info!!
Nice! I like how the tutorial is so easy to follow and it’s not too complicated, Thank you, just the inspiration i needed :)
Very nice tutorials, thank you Spooner :)
Very nice tutorials, I will try to do the same in home today.