This post was originally published in 2012
The tips and techniques explained may be outdated.
Follow this step by step tutorial to create a cool abstract lines design with awesome vibrant lighting effects. We’ll use Illustrator’s easy tools to create the vector linework then add a range of glows, colours and effects in Photoshop to finish the design with a cool grainy but luminous style.
It’s difficult to describe this style of artwork without referencing Andy Gilmore’s awesome work. The overall design mixes geometric shapes from the vector linework with vibrant colours and grainy textures to create an intricate design perfect for use as a printed poster or maybe even a band’s album art.
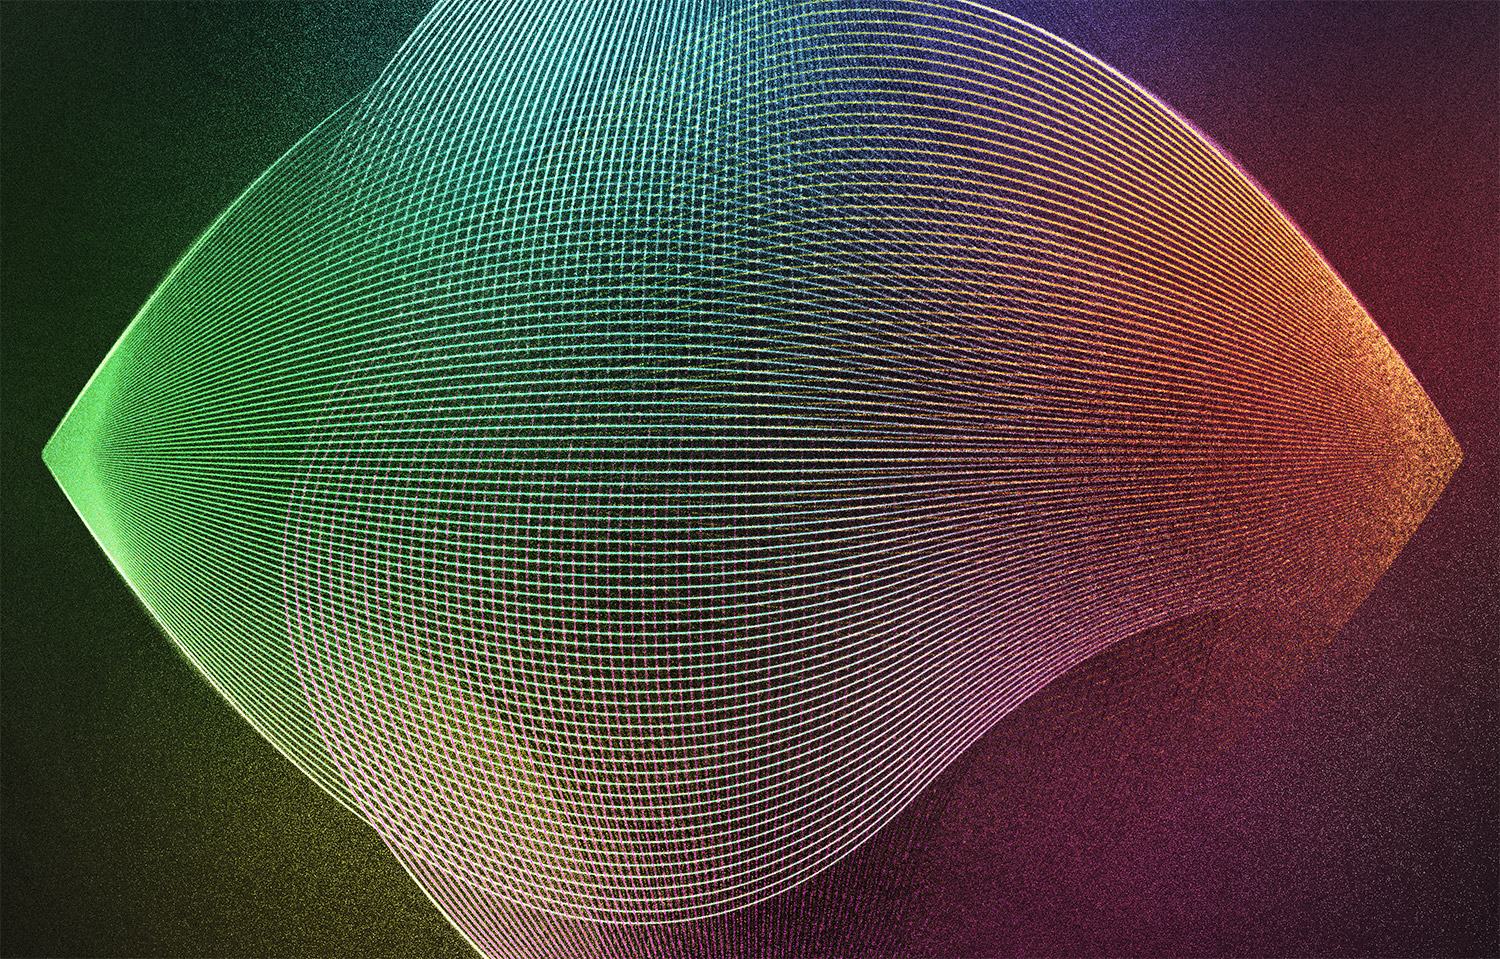
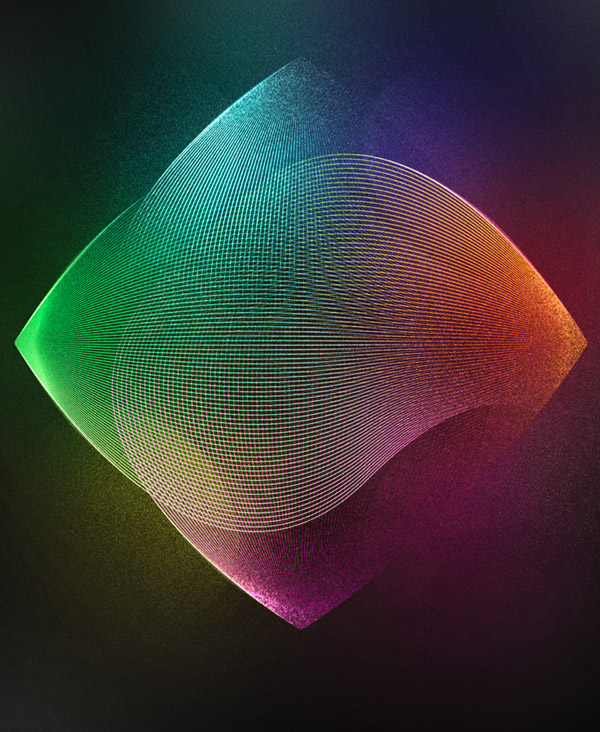
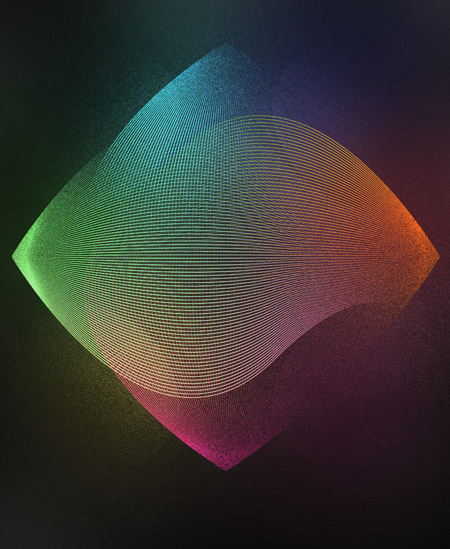
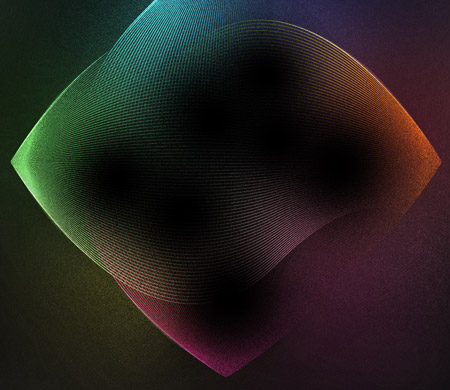
View the final grainy abstract lines design
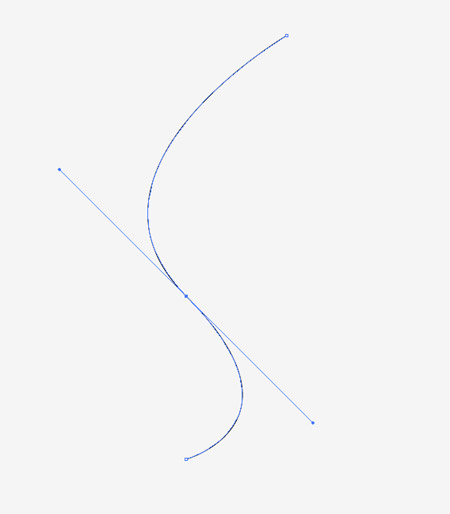
Open up Adobe Illustrator and use the Pen tool to draw a wavy line on the artboard. Keep the bezier handles long to allow for a smooth curve.
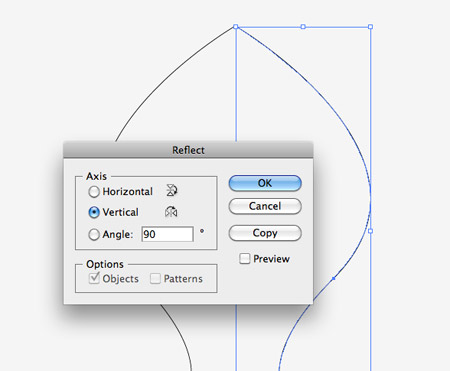
Copy (CMD+C) and Paste in Front (CMD+F) a duplicate of the line, then go to Object > Transform > Reflect. Choose the Vertical option then position the copy next to the original.
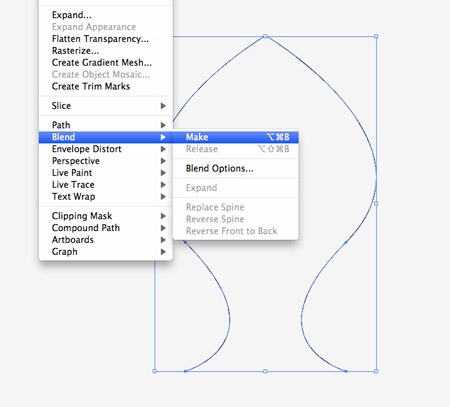
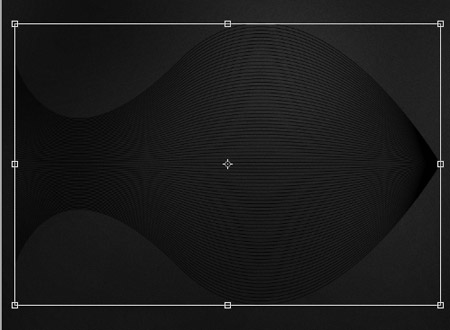
Select both items and go to Object > Blend > Make.
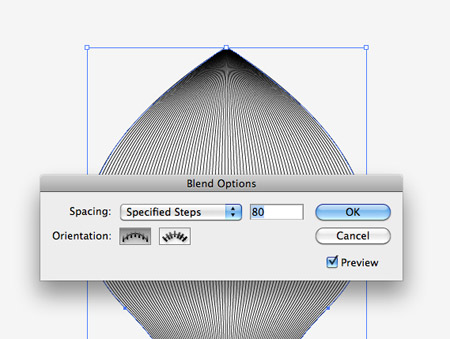
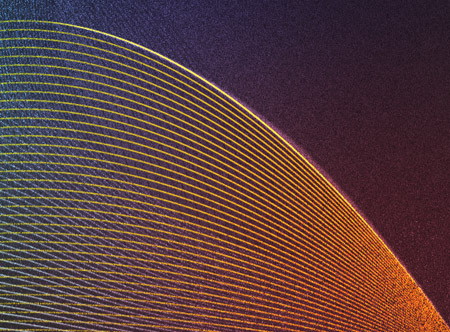
Head back to Object > Blend then select the Blend Options menu item. Change the Spacing to Specified Steps and enter a figure of around 80.
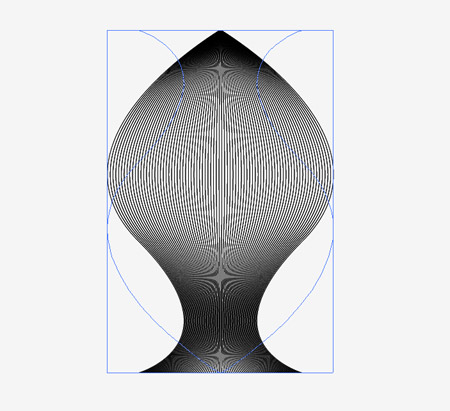
Copy and Paste in Front a duplicate of the blend, then hold the Shift key and rotate the copy by 180°.
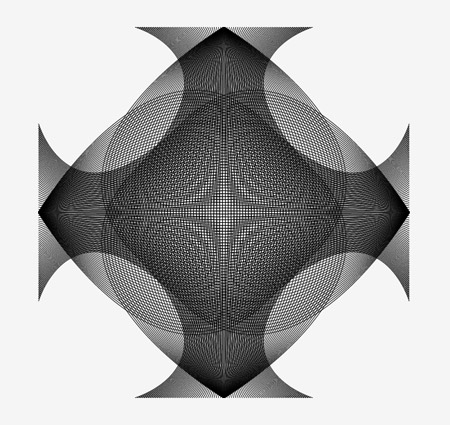
Paste in two more duplicates of the shape and rotate them so that they overlap equally to form an intricate pattern.

Switch over to Adobe Photoshop and create a new document. Fill the background with black but add a few subtle spots of grey with a large soft brush. Add a Noise filter to produce a grainy effect.
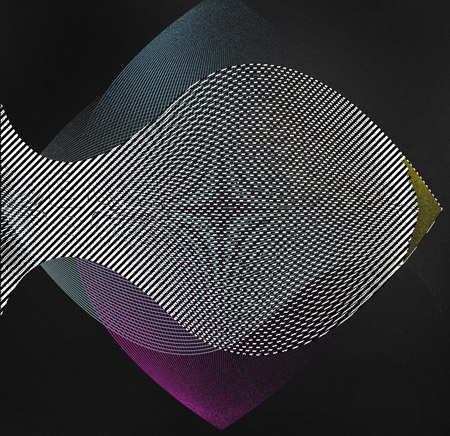
Copy one of the blend shapes from Illustrator and paste it into the Photoshop document. Scale the shape to size before rasterizing it by hitting Enter.
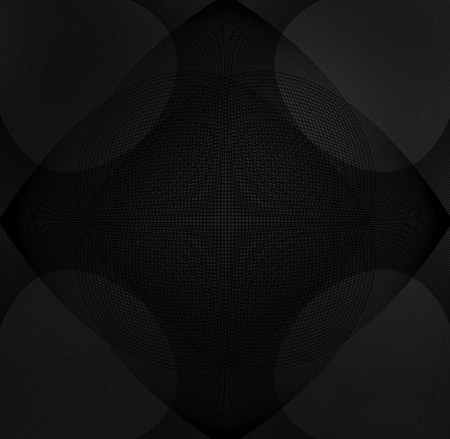
Drag the blend shape layer into the New icon in the layers palette to duplicate the layer, then press CMD+T and rotate each layer to match the pattern originally created in Illustrator.
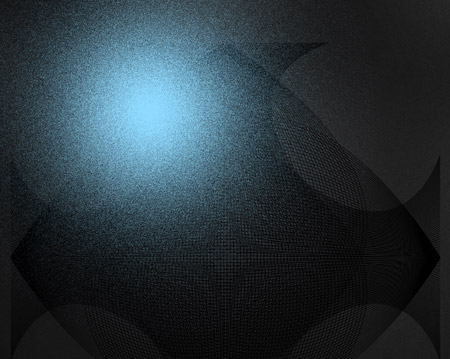
Select a nice bright blue colour and dab a large soft spot on a new layer. Change the blending mode to Dissolve, then blend this layer with a blank layer to render a cool grainy light spot.
Hold the CMD key and click the thumbnail of the top blend lines shape to load its selection. Press CMD+Shift+I to inverse the selection then delete the excess from the blue spot layer.
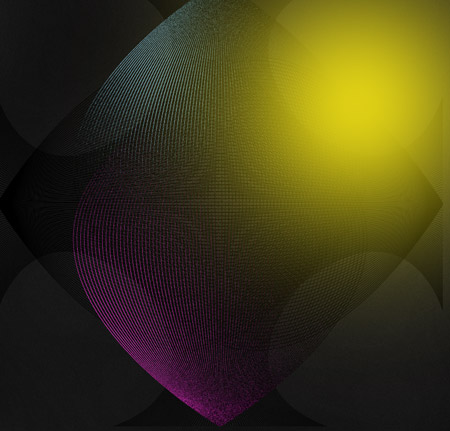
Repeat this process with a pink, yellow and a green spot on each quarter of the design.
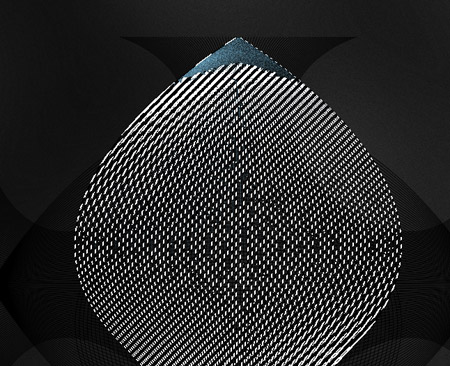
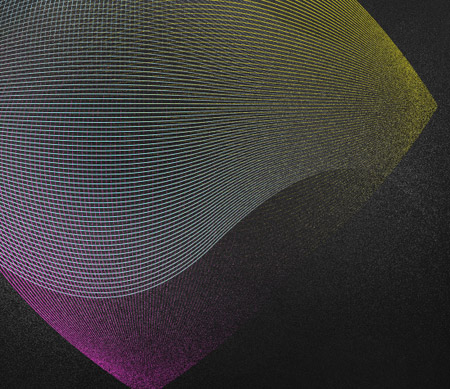
Load the selection of the nearest blend lines shape and delete out the excess to leave a vibrant copy of the lines that gradually fades out.
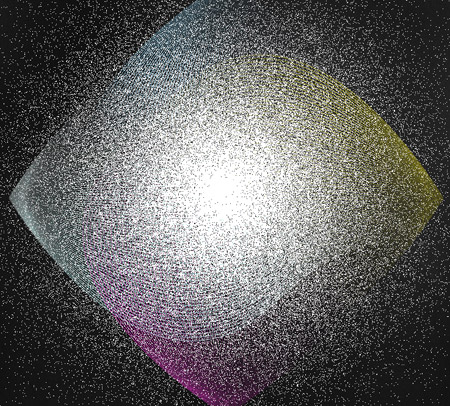
Dab a large spot of white on a new layer in the centre of the design then change the blending mode to Dissolve. Merge this layer with another blank layer to render out the dissolve effect.
Add a Layer Mask and use soft brushes to erase away the white grain leaving subtle scatterings around the edge of the main geometric shapes.
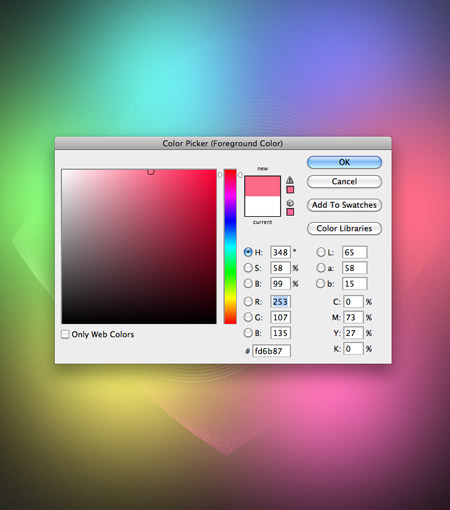
Create a new layer and use a large soft brush to add various colours around the design, blending in order of the spectrum.
Change the blending mode of this layer to Overlay to allow the colours to interact with the rest of the design.
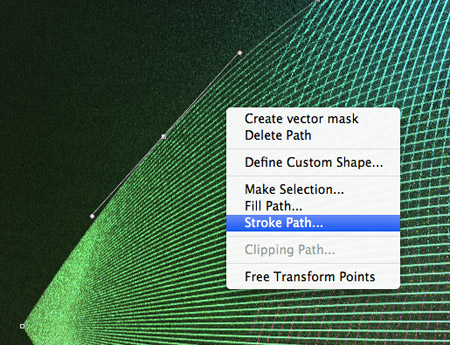
Set up your brush with a small soft tip, then use the Pen tool to carefully trace the curvature of one edge of the the geometric shape. Right click and select Stroke Path.
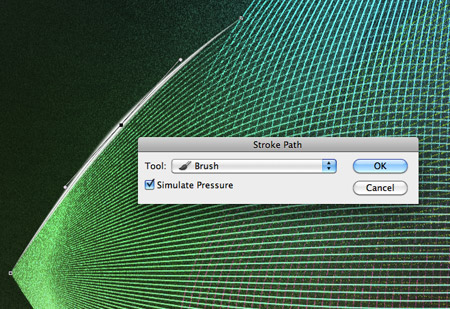
Change this Stroke Path option to Brush and select the Simulate Pressure option. Delete the path then change this layer to Overlay.
Repeat this process of stroking paths to add highlights to the other edges of the design. The Overlay mode does a great job of intensifying the colours.
Use a soft brush to fill in areas of black around the inner portions of the design, then change this layer mode to Soft Light to add more variety in tone.
Press CMD+A to select all and CMD+Shift=C to Copy Merged, then paste the copy at the top of the layer stack. Change the blending mode to Color Dodge and reduce the opacity to tweak the overall vibrancy of the final design.

Great tutorial! Thanks a lot
Very cool. I always enjoy the tutorials that mix the use of illustrator and photoshop.
very nice tutorial, from the same time that project into the bookmarks and remember for the next
Hi Chris,
I have read your tutorial and I am working on my own version of the poster, I want to try different blending techniques and a different color-scheme than the one you presented. When I am done I would have liked to upload and share my work with the guys from http://www.creattor.com. I just joined and they’re looking for people to upload stuff to their assets portal, and I thought it couldn’t hurt to add this background, in EPS format.
I first wanted to run it by you, to see if everything’s OK. Thanks!
excellent result and creative inspiration for me as designer.
Great tutorial Chris. I was actually going to be needing a similar effect for an upcoming project, so i’ll be able to adapt the technique to my needs.
Thanks :)
http://cl.ly/2a1e0x0K2j0i2z0J1m3l
I went a bit nuts with the tutorial lol. Awesome inspiration though ;d
Very Good.
I don’t think that I’ve seen these designs before. Thanks for sharing with us….
Thanks very much for the link, Gabriel. I just registered some of my work, but it isn’t approved yet. Hope it wouldn’t last. Cheers!
Awesome tutorial…..So inspiring. Thanks
This is a great tutorial however I get stuck on doing ”Change the blending mode to Dissolve, then blend this layer with a blank layer to render a cool grainy light spot.”
I’m new to Photoshop but for some reason the dissolve effect stays very crisp there’s no smoothing anywhere. Merging the layers aren’t helping. What am I doing wrong? Thanks in advance.
wondering about the same thing…stuck here.
Same here. Its a good tutorial, but i hate when these happens D: Need more detailed tutos.
Hmm…welcome to the “stuck crowd” ;-)
the tutorial can’t be _that_ good if people don’t understand it. But the would-be-result surely looks nice.
I mean it’s quite a bit of work creating such a tutorial, why not make it fool proof?! /rant
perfect tutorial :) Chris.. good job!
This is very useful in my upcoming projects ;)
Well I never tried it but I think now I have to try it.
Like…. abduzeedo?
Very useful tut! Thanks
nice tutorial, very well have set the standard for the web roundup style post on all things web design and graphic design…!!
well, good stuffs. Never tried it but will.
Gotta love the simple yet elegant tutorials. It allows you to take the practicalities to other projects. Thanks!
Brilliant mate!
The poster “Ricket” is right – the blending of the dissolved layer is not clearly described. How should blending with a blank layer have any effect on anything?! Some further hints would really be appreciated :)
Still haven’t figured it out how to do lol. Hope to get indeed some help… :-)
Nice and easy to do- Many thanks
Ok..so for those who got stuck like me on ”merging” a ”blank” layer with the dissolve one, was easier than I thought which is just duplicating the dissolve layer and set it to normal blend instead of creating a new layer. If I’m right lol..
Chris, once again, you don’t fail to impress, I really enjoyed this one, surprisingly simple but very effective, good work
thanks a lot.
https://www.facebook.com/nadeem.shaan1
Hi!
This tutorial is perfect! Thank you for sharing :)
Very detailed and easy to follow.
Great tutorial! Really helped me with an article I was working on. Thanks!