This post was originally published in 2012
The tips and techniques explained may be outdated.
I recently watched the movies Alien & Aliens and marvelled at each movie’s cover art, which gave me the inspiration for this tutorial. Both movies have a futuristic theme but this is combined with heavy grain from the outdated print techniques, creating that awesome retro-futuristic style. Follow this step by step Photoshop tutorial to create your own space themed poster design with intense lighting effects and distressed textures.
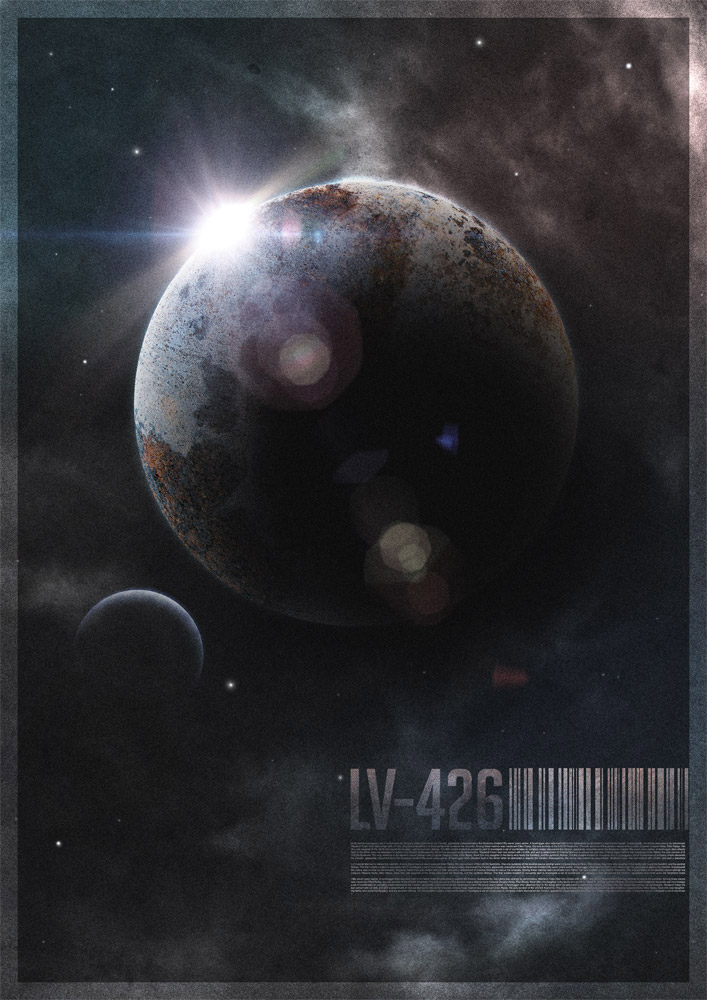
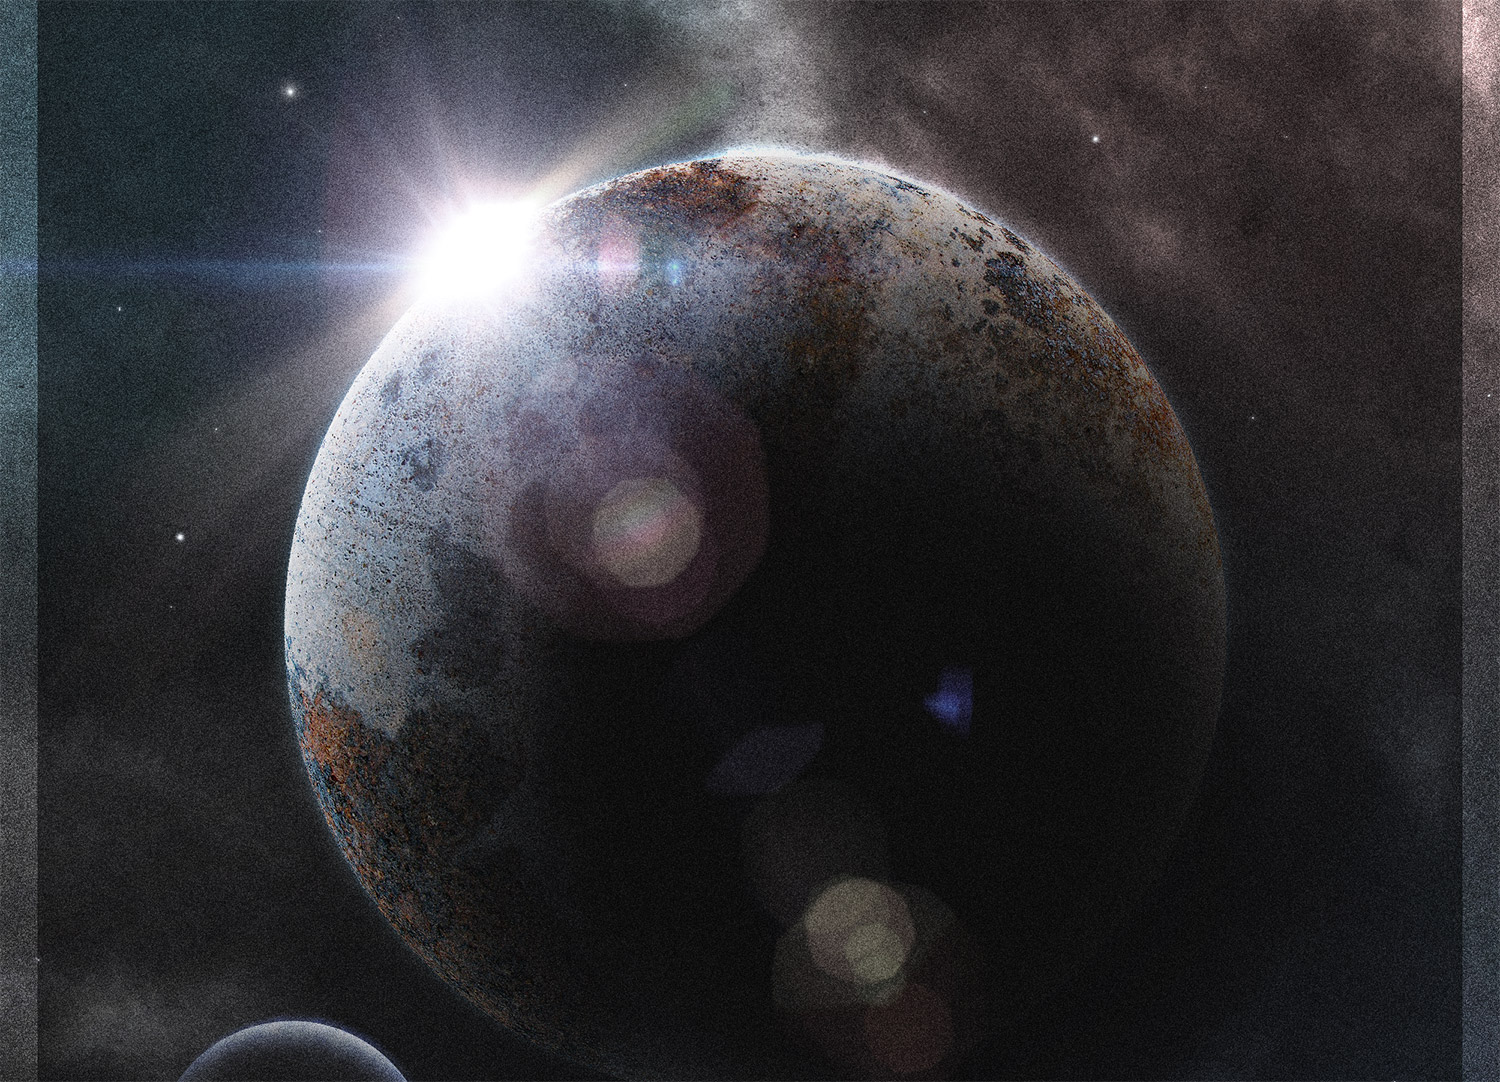
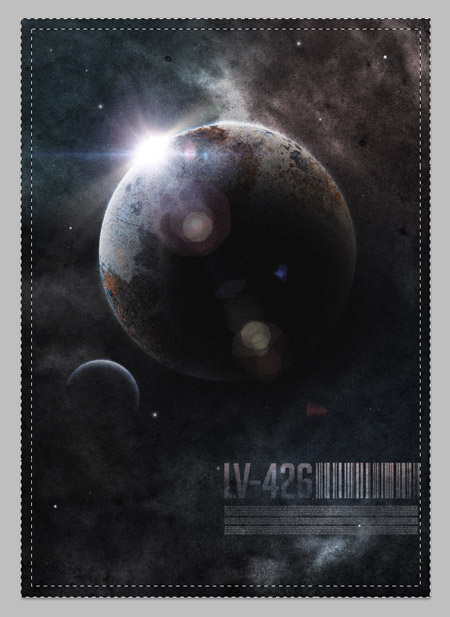
The space poster design we’ll be creating features a fantasy sci-fi scene with the planet LV-426 and its moon being the clear subject. We’ll use various resources to create the planet, as well as the array of whispy nebulae, then give the whole poster that aged retro style with some heavy grain and muted colours.
View the retro futuristic space poster design
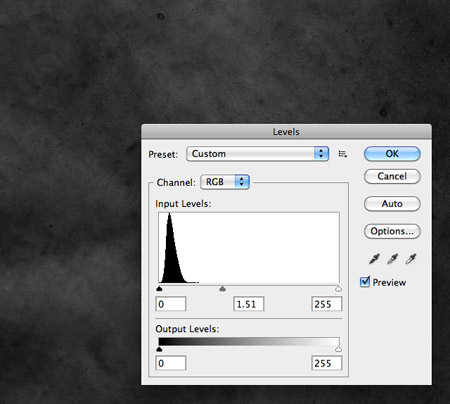
Begin by opening up Photoshop and creating a document at your desired poster size. Download a paper texture for use as the background. Desaturate it and reduce the levels until it’s barely visible. This paper texture not only provides a grainy texture to capture the retro poster style, but the lighting effects we’ll be adding later will only work against a tonal background (not pure black).
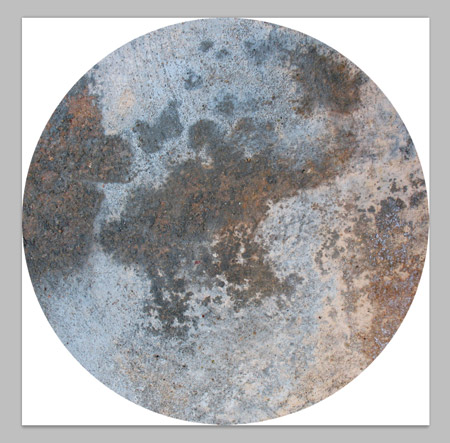
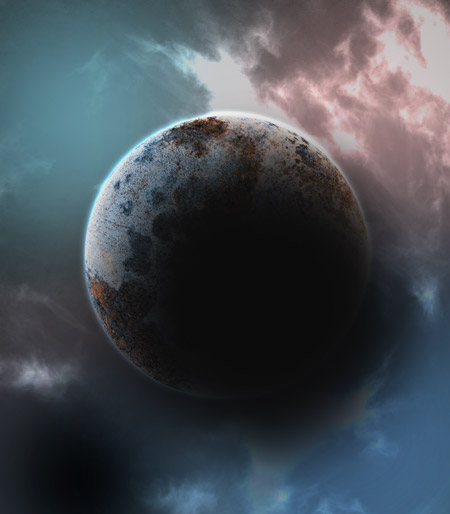
Download a rust or concrete texture to represent the land mass of your planet. Use the Elliptical Marquee tool to crop the texture into a circle.
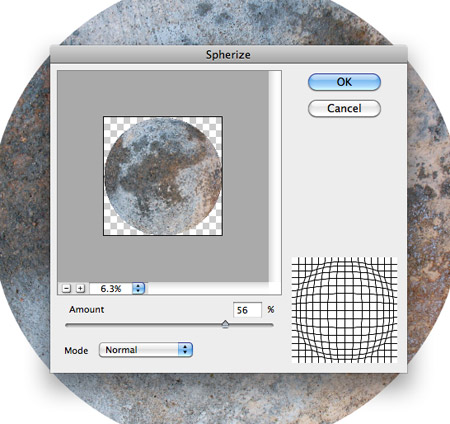
Go to Filter > Distort > Spherize and alter the amount to around 50% to warp the flat circle into more of a three dimensional object.
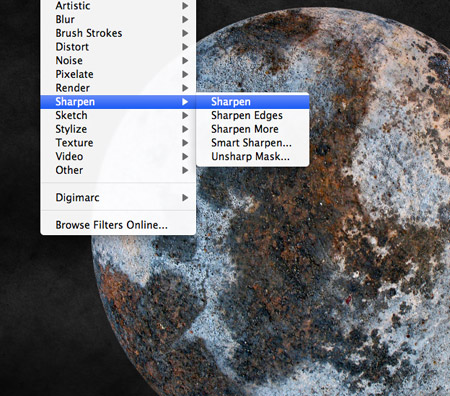
Paste the planet into the main composition and adjust the levels to increase the contrast, then add a couple of Sharpen filters to bring out the details.
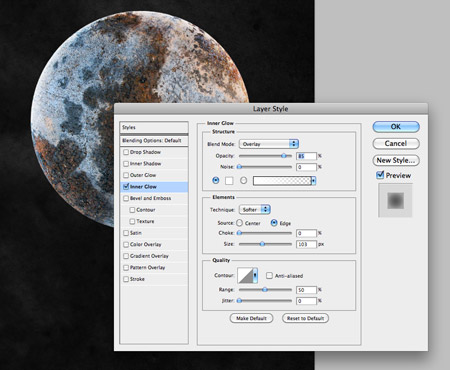
Open up the layer styles window and add an Inner Glow to the planet using the settings white, Overlay and Size of around 100px. This gives the planet an atmospheric glow.
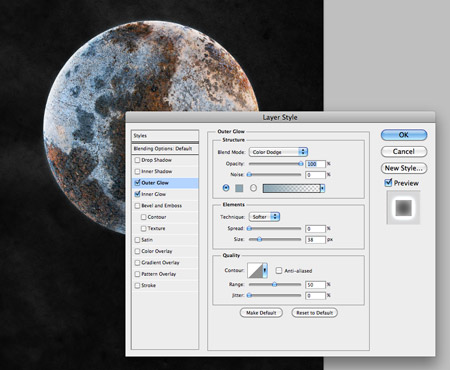
Add an Outer Glow layer style using the settings grey-blue, Color Dodge and around 40px Size to take the hard edge off the planet outline.

CMD+Click on the planet layer’s thumbnail in the Layers palette to load its selection and fill the circle with black on a new layer. Move the black circle diagonally to mask a portion of the planet.
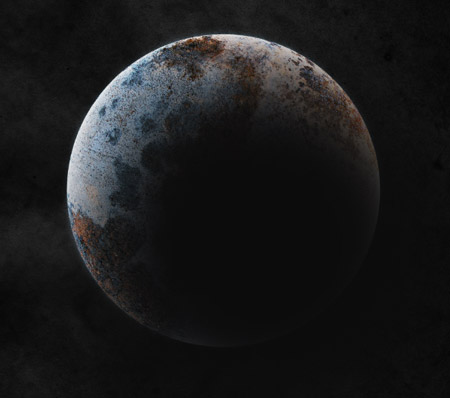
Go to Filter > Blur > Gaussian Blur and add a substantial amount of blurring to create a realistic shadow effect.
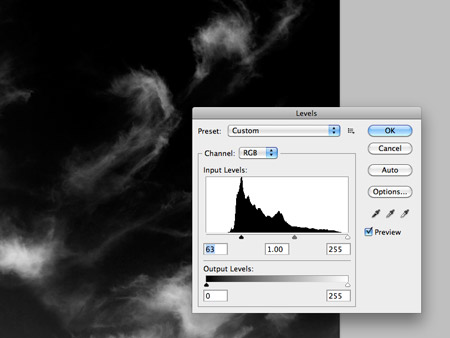
Browse the stock photo galleries for some cirrus cloud images. Desaturate the image then adjust the Levels to render the background sky black.
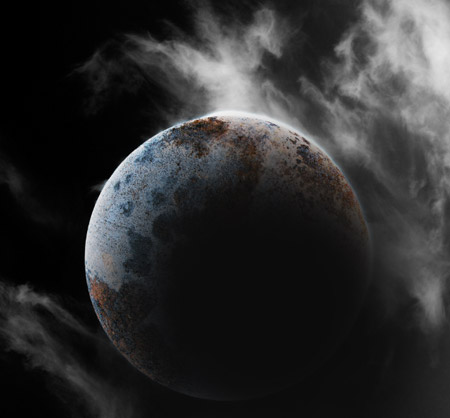
Paste the cloud images into space composition and change the blend mode to Color Dodge. Adjust the opacity to tone down the impact of these nebulae clouds.
Position the cloud images underneath the main planet layer to allow the Color Dodge Outer Glow to interact with the nebulae and create cool flare effects.
Eyedrop colours from the planet texture and dab large soft spots around the background on a new layer. Change this layer’s blending mode to Color to add some vibrancy to the design.
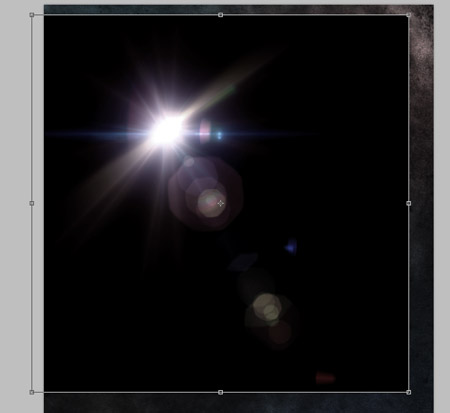
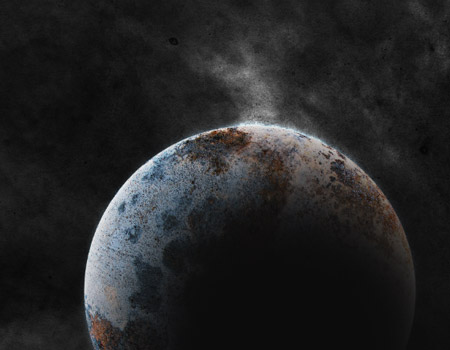
Download a set of lens flare images and position a flare over the edge of the planet.
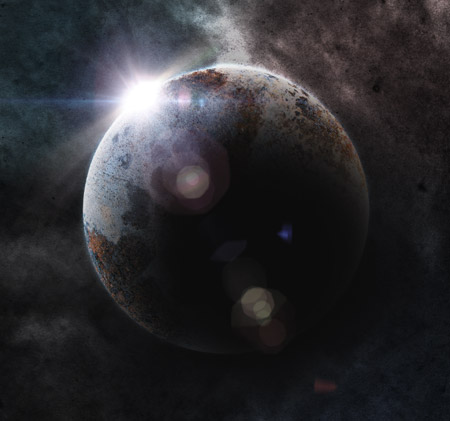
Change the blend mode of the flare to Screen to render the black area transparent. Overlap two flare images for an intense light effect.
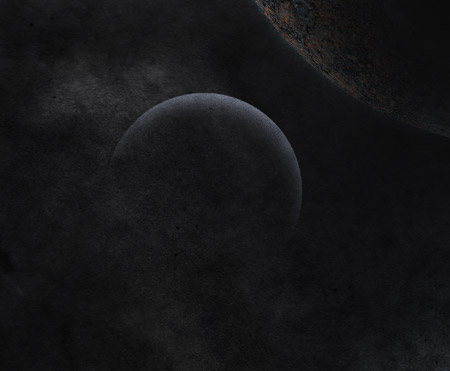
Build another planet using the same steps to create a small orbiting moon, but this time make a selection of the black shadow layer and delete it from the texture to allow the moon to blend with the nebulae clouds.

Duplicate the moon layer and change the blending mode to Color Dodge. Add a Gaussian Blur of around 5px to create a luminous highlight on the top edge.
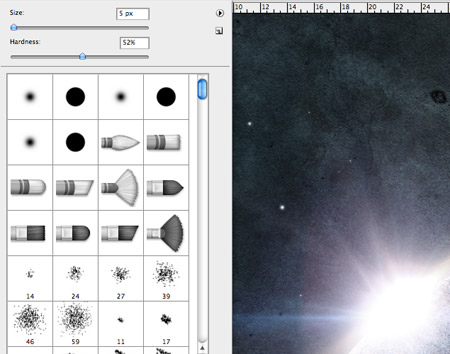
Set up a small brush with 50% hardness and sizes between 2-5px. Randomly dab spots around the document to create stars, using the shortcuts [ and ] to increase and decrease the brush size.
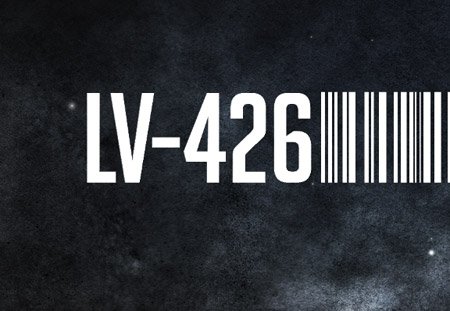
Finish off the design with some futuristic typography and design elements. Here I’ve used inspiration from the Alien movies with the planet name LV-426.
Paste in a portion of the texture used for the planet, load a selection of the design elements by CMD+Clicking on each layer thumbnail while holding Shift, inverse the selection and delete away the excess from the texture. Trash the original text and design element layers and change this new layer to Soft Light.
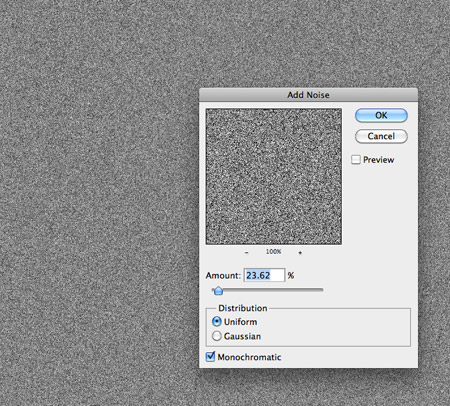
Add a new layer at the top of the stack and give it a mid-grey fill. Go to Filter > Noise > Add Noise and fill the layer with grain. Change this layer to Soft Light to capture that retro print effect.
Press CMD+A to select all, then right click and Transform Selection. Minus 100px from the width and height then inverse the selection to leave a border selection. Fill this with white and change the blending mode to Overlay.
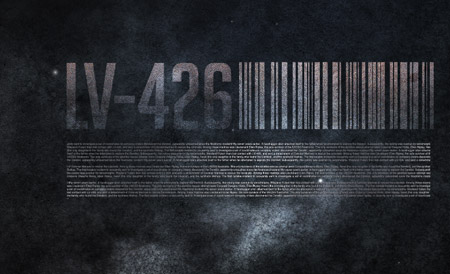
This leaves our cool space scene poster complete. The textures recreate the planet and nebulae effects perfectly while the lighting effects and lens flares bring the scene to life with a futuristic sci-fi theme. Add some grain and subdue the colours and it sends the design back a couple of decades to capture that aged retro poster appearance.
This looks so great! I always enjoy looking over your tutorials! :)
Awesome tut Chris! I have to try this later, thanks a lot!!!
Great tutorial! Love these ‘quick’ exercises with amazing result
Awesome tutorial! Lots of great techniques in this one.
I had to give this one a try. Here’s my creation: http://bit.ly/R4tqds
Great try! – One recommendation is that your stars look too evenly spaced. Try getting some clusters and bring some in closer to your planet as well (looks like your planet has an even gap\shield around it warding off the stars). Also, make other stars brighter and some dimmer- like in real life.
Amazing, love how much you care about details, Would love to see more Illustrator Typography tutorials since you are so good in it!
Youssef – Egypt/Cairo.
Wow!
Beautiful result for a not so lengthy tut. Definitely have to give this one a go.
Cheers!
Nice, real cool!
Hope LV-426 doesn’t stand for EA-RTH, well, the way things are going, who knows, we might end like that.
Such a nice tutorial. Love how you just taught me to make a planet. :)
Did you use the “BigNoodle Titling” font for typography?
Great tutorial Chris!!!
really easy to follow instructions, i wish i had seen this when i learned this technique, it would have saved so much time. the one i followed had about 40 more steps but with similar results.
I have been working on a personal project using this method for a while now, but i have been adding citys to the planets, trying to create a futuristic area of space with small inhabited planets with highways connecting them
Great tutorial and brilliant final design
Great tutorial!!! It creates realistic impression on mind. Thanks for the wonderful share.
Sweet as. Mix of image manipulations, grunge effect.
On my list to implement it.
thx for the awesome tutorial, it is exactly what i was looking for (:
and here is my work: bit.ly/T6htCs
A Great inspirational tutorial! Thanks
This is exactly what I was searching for. I’ve bookmarked your post. I’ve learned a lot from this tuturial.
Such a useful information sharing and it’s really very helpful for everyone. Thanks for sharing that.