Tutorials
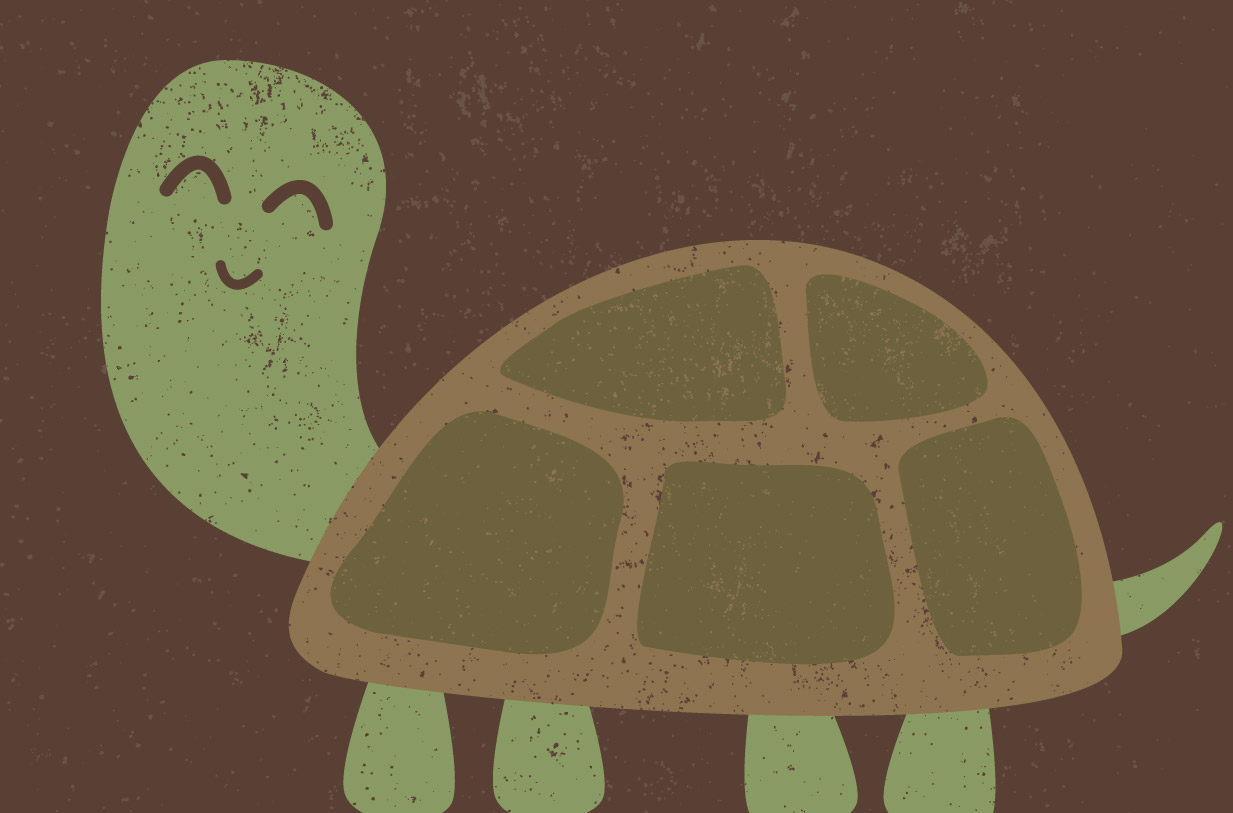
I’m sure we all remember painting with sponge (or potato!) stamps as a child, but back then we didn’t really appreciate the cool distressed effect the printing technique created. Today designers and illustrators strive to add that retro/vintage style to their work with textures, so in this tutorial we’ll cover the process of creating a cute kids style illustration complete with a vector sponge stamp effect.
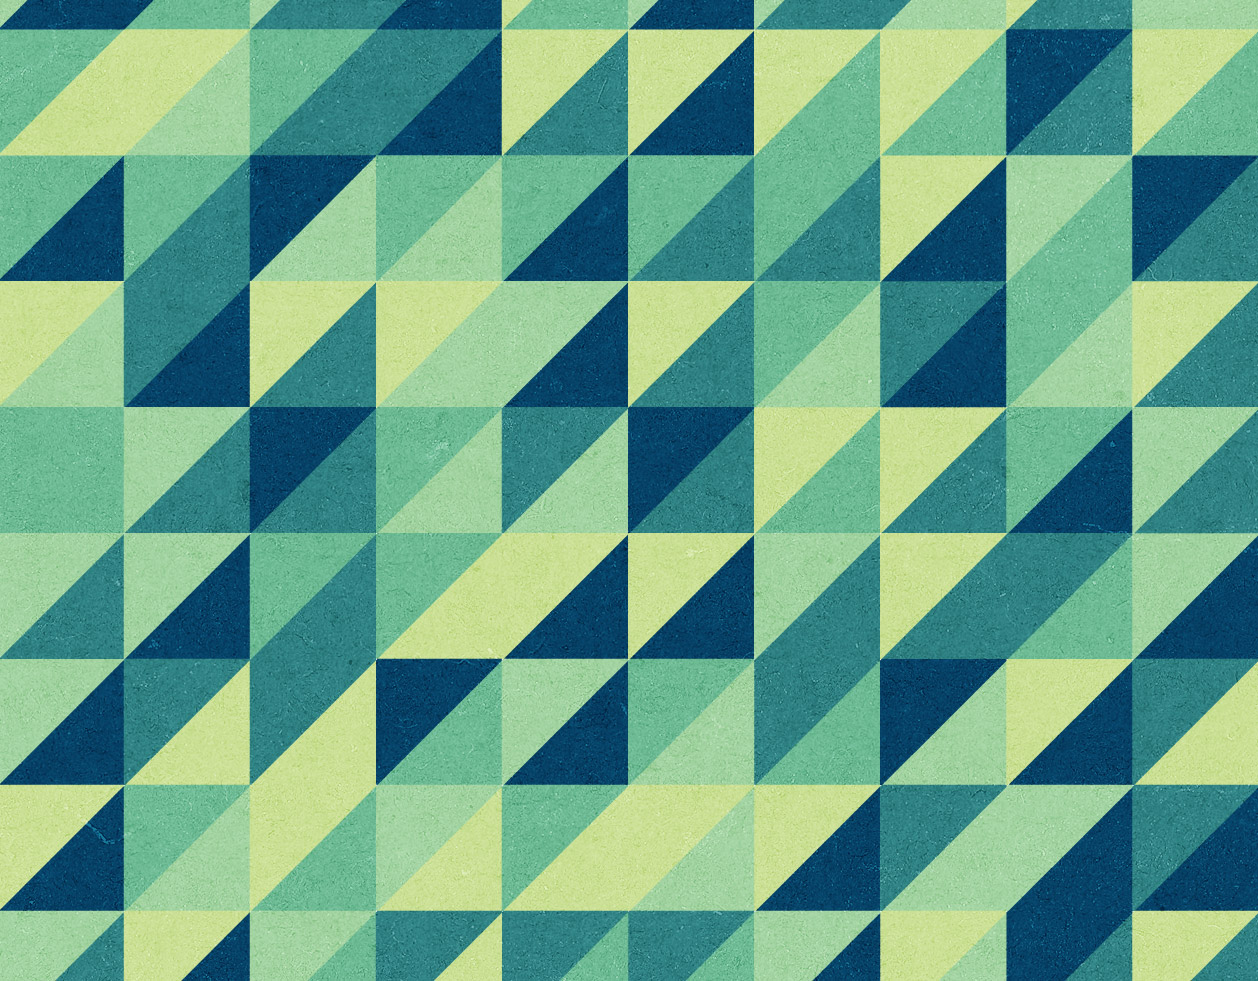
Follow this step by step Illustrator tutorial to create the popular retro style pattern design made up of lots of colourful squares and triangles. The process is pretty simple, making this a good tutorial for newcomers to Adobe Illustrator. We’ll be using tools to accurately align our elements, then see how the Pathfinder can easily create custom shapes.
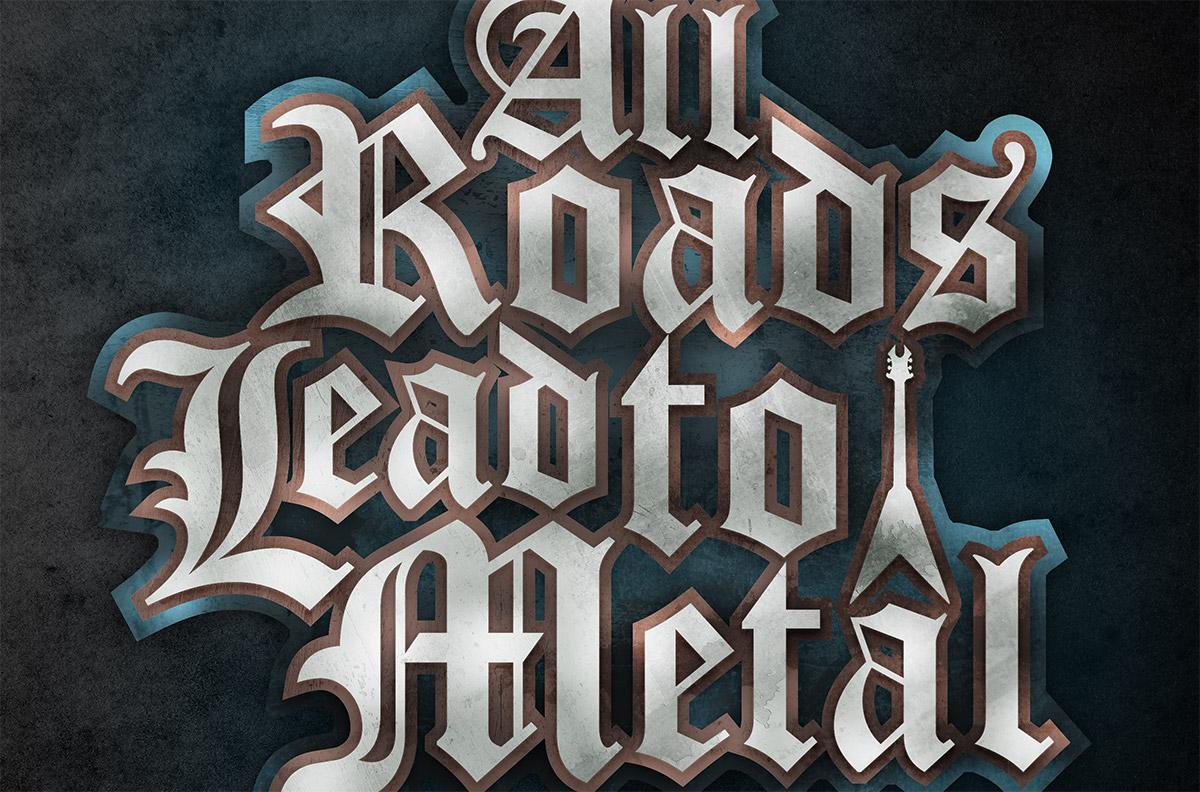
In today’s tutorial we’re going to create a typographic blackletter layout full of character with dirty textures. We’ll begin by creating the layout in Illustrator before importing everything into Photoshop to bring the design to life with colour, tone and weathered textures.
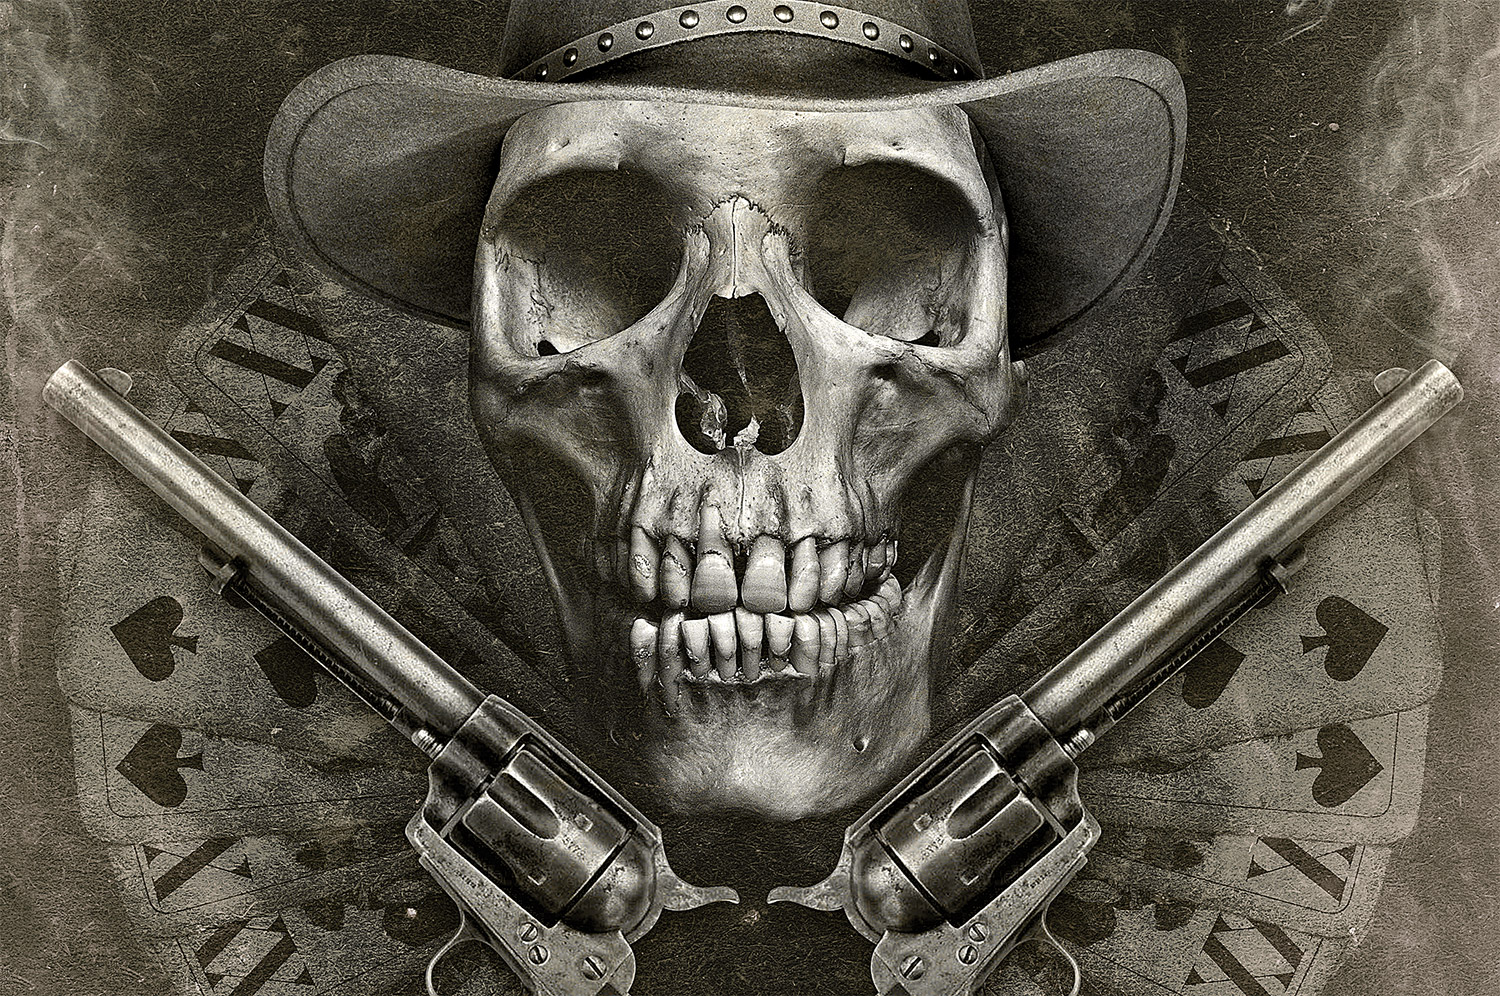
I recently watched the movie Tombstone (1993) on TV, which gave me the inspiration to try my hand at designing a wild west themed movie poster. Follow this step by step tutorial to create a grungy western poster design, see the whole design process from start to finish as the various stock resources are manipulated to complete the composition.
Follow this step by step Illustrator tutorial to create a cool vector Yeti character. We’ll use as many basic shapes as possible to achieve that quirky style of illustration, then bring the character to life with a palette of cold colours. Despite the use of basic shapes this tutorial includes a good spread of intermediate to advanced tools and techniques.
Follow this step by step Illustrator and Photoshop tutorial to create a cool poster design of vibrant shard graphics. We’ll create the array of shapes with Illustrator’s vector tools before finishing off the poster with some subtle textures in Photoshop.