This post was originally published in 2012
The tips and techniques explained may be outdated.
In today’s tutorial we’re going to create a typographic blackletter layout full of character with dirty textures. We’ll begin by creating the layout in Illustrator before importing everything into Photoshop to bring the design to life with colour, tone and weathered textures.

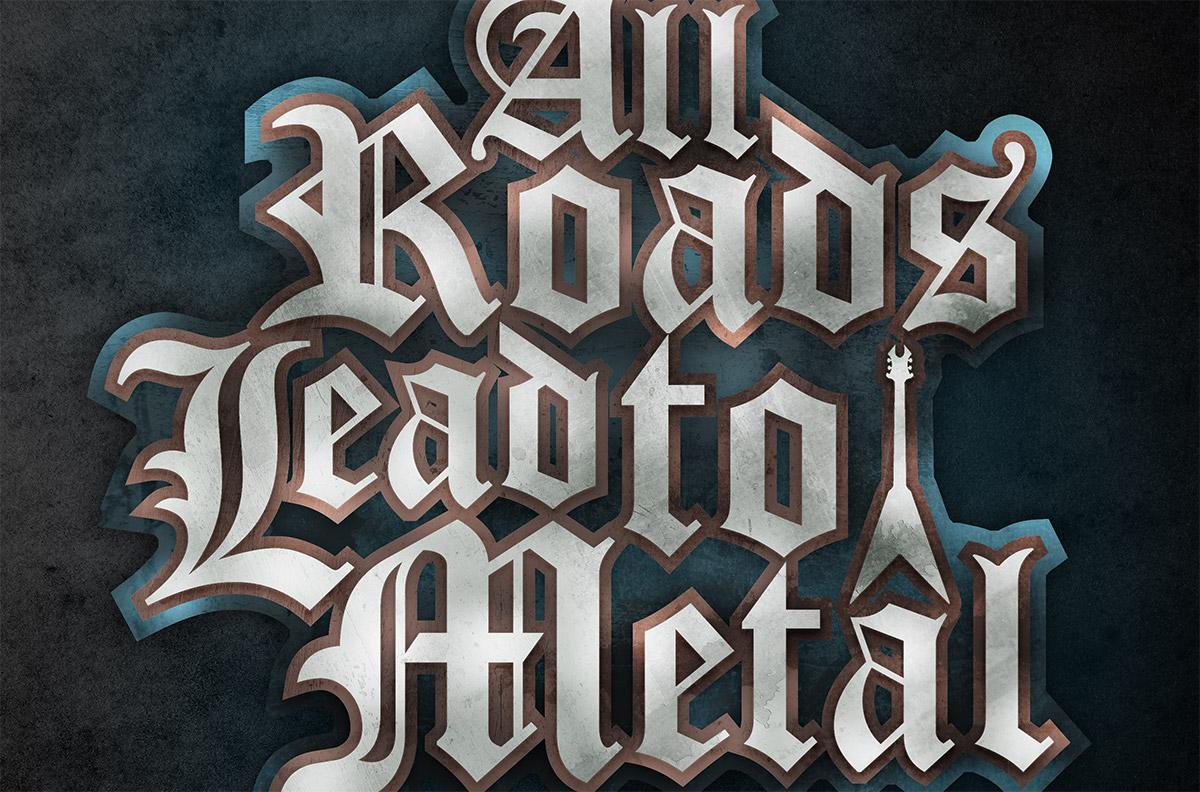
The typographic design we’re going to create is the quote ‘All Roads Lead to Metal’, set in a suitable blackletter font. The letters and words are laid out in a stylish composition before being given a range of treatments in Photoshop to enhance the design with colour and texture.
View the typographic blackletter design
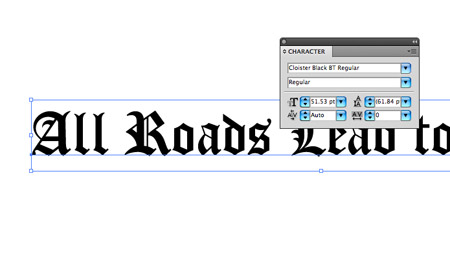
We’ll use Illustrator’s vector capabilities to make the composition of the text elements much easier than it would be in Photoshop. Begin by typing out a quote of your choice in a suitable blackletter font. Here I’ve chosen Cloister Black.
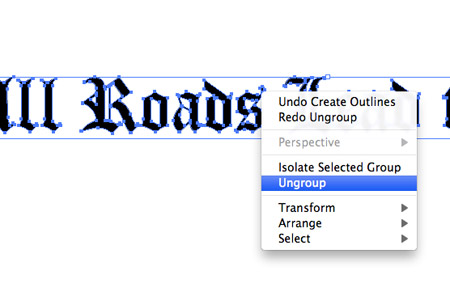
Press CMD+Shift+O to create outlines, then right click and select Ungroup to split each word and letter into individual objects.
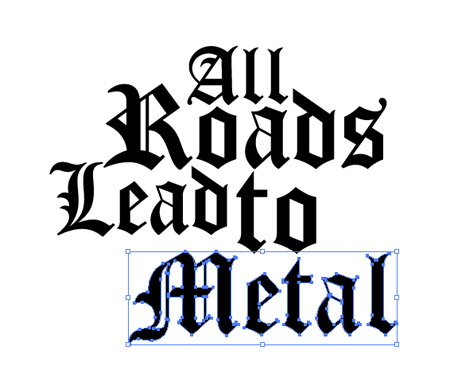
Drag a selection around each word and move it into place to create a natural flow between the words. Scale some words up or down in size to allow their shapes to interlock in the best possible fit.
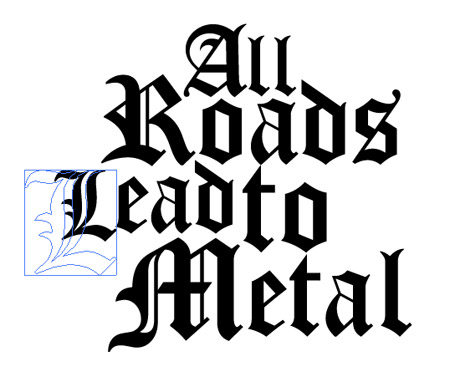
Select the first letter of each word and increase its size to fill out more of the space between the words.
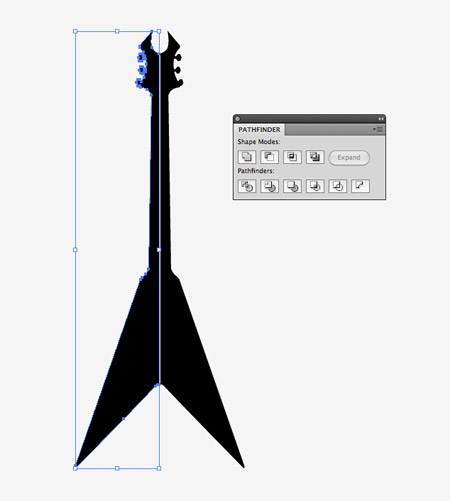
This particular quote is heavy metal related, so a little icon can be traced from a guitar photograph to add an extra visual touch to the design. Trace one half of the guitar, then flip a duplicate for the opposite side. Merge both sides together with the Pathfinder tool.
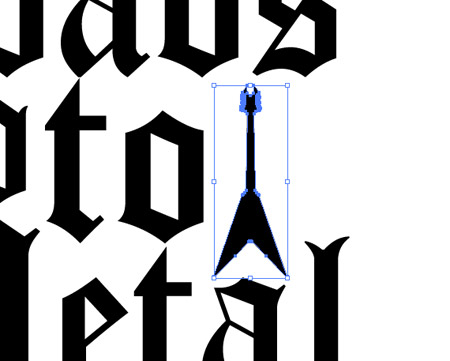
Scale and position the icon into the composition to fill out some white space.
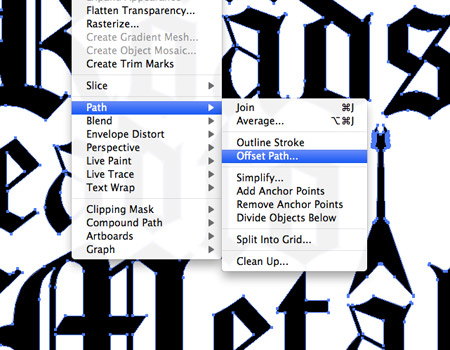
Select all the elements and group them together, then go to Object > Path > Offset Path.
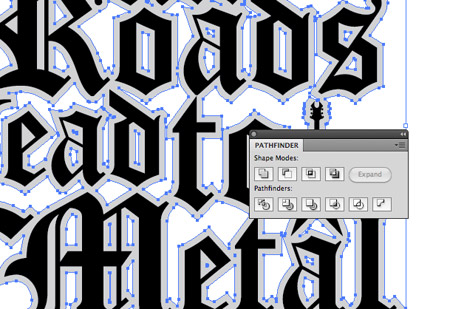
Enter 2mm in the options window, then hit the Merge option from the Pathfinder palette to blend all the separate shapes into one. Press CMD+Shift+[ to send this shape to the bottom of the stack, then give it a random fill colour to differentiate it from the original text.
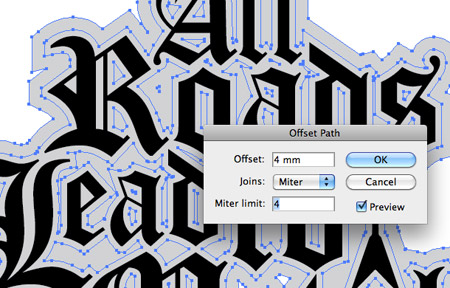
Add another offset path, this time at 4mm in size to create an extra outline around the text. Give this shape another random fill so all three layers can be seen.
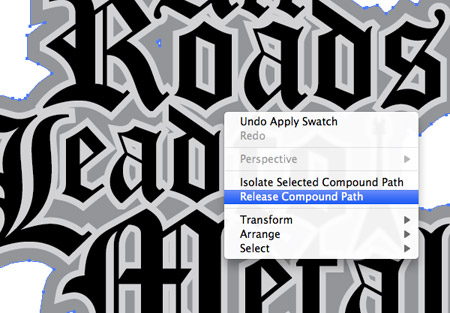
Remove the holes from the largest offset path by right clicking and selecting Release Compound Path, followed by the Merge option from the Pathfinder palette to blend it all together.
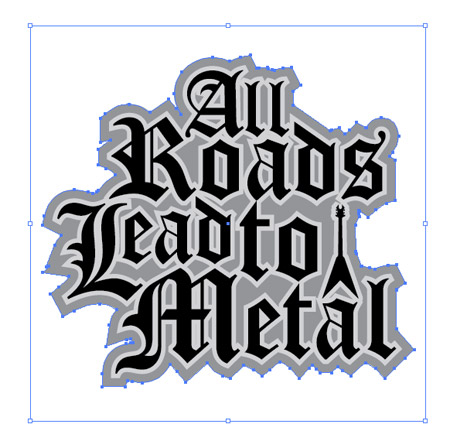
Draw a random square with no fill or stroke around the design then hold Shift and add the outer layer to the selection. This square will help keep the three pieces aligned when pasted into Photoshop.
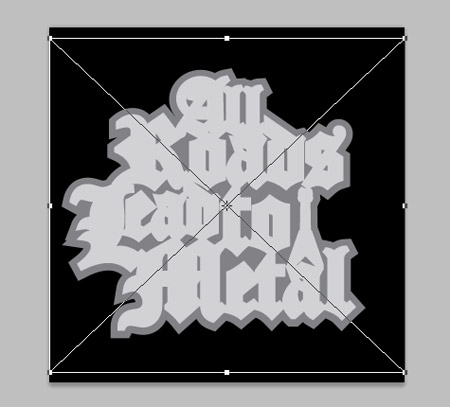
Create a new Photoshop document and fill the background with black. Press CMD+V to paste in the first layer, then scale it to size to fill the canvas. Repeat the process with the second and third layers, scaling each one to the canvas bounds. That invisible square helped keep everything to size so all three pieces would be aligned perfectly.

CMD+Click the layer thumbnails of each piece and fill the selection with a different colour. I’m using a dark blue (#39525a), a muted orange (#5e4e44) and a light grey (#c3c7c2).
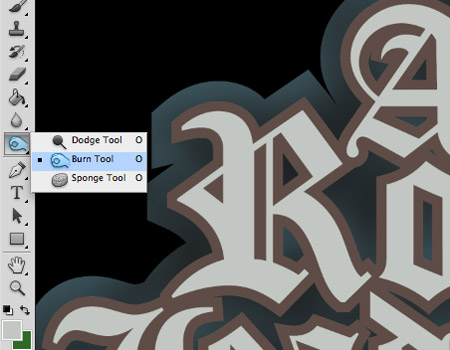
Select the Burn tool and lower the Exposure to 50%. Paint across the blue layer to add a range of tones around the text to create the impression of depth from the shadows. A pen tablet will allow for greater precision, but the same effect can be created with just a mouse.
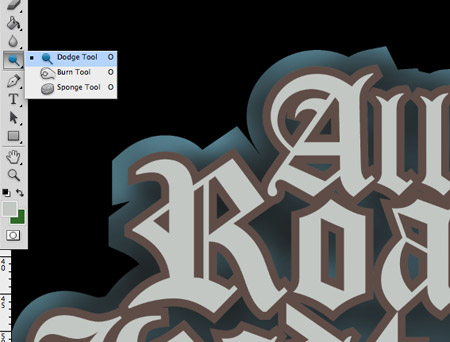
Switch over to the dodge tool and set the Exposure to 50%. Paint over the untouched areas of the blue layer to add highlights and further enhance the tones.

Repeat the process with the other two layers, adding various tones with the Burn and Dodge tools.

These Dodge and Burn additions help add depth to the design and gives the appearance of a shiny metallic surface.
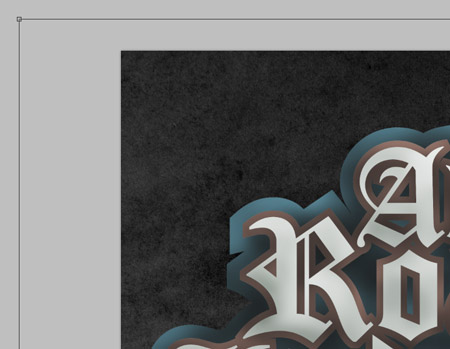
Open up a grungy texture and paste it just above the background layer. Alter the Levels and Contrast to highlight the fine details then lower the opacity so it blends into the black background.
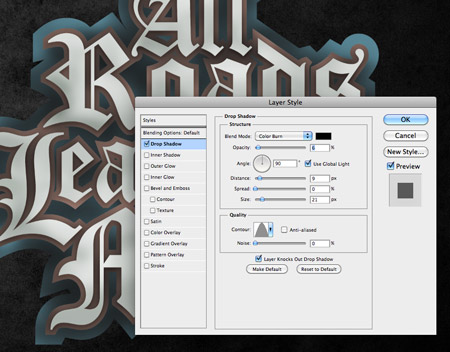
Double click the top text layer and add a Drop Shadow effect. Adjust the settings to Color Burn at 90 degrees, 9px Distance and 20px Size, then drop the opacity right down to 6%. Add Drop Shadow effects to the two other text layers, with the bottom layer being large and soft to blend into the background.

Paste in another grunge texture file, this time above the outer text layer. CMD+Click on the text layer’s thumbnail to load its selection then inverse and delete out the excess from the texture.

Desaturate the texture then change the blending mode to Color Burn at 50% to allow the dirty texture to interact with the colours of the text layer.

Paste in the same texture file, but arrange it so the pattern is different to the previous copy, then repeat the process of deleting the excess and changing the blending mode for the remaining two text layers.

Using three separate texture files helps add variety to the design, whereas one single texture would continue across all layers and look out of place.

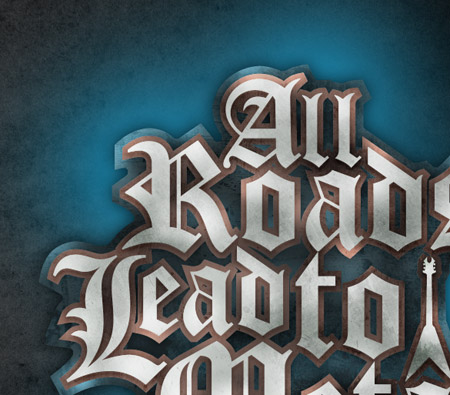
Dab a range of spots across the design using a soft white brush, then change this layer to Overlay to create a series of highlights.
Load the selection of the outer layer and delete out any excess from the white highlights, then change the blending mode to Overlay and reduce the opacity to around 70%.
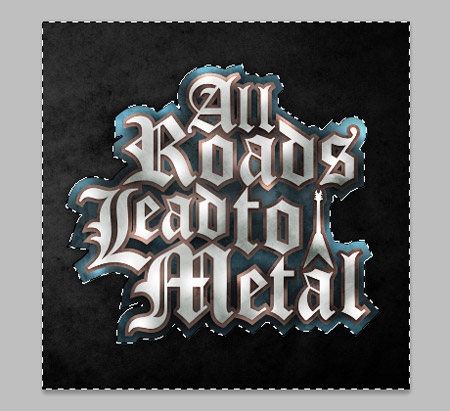
Finish off the design with a few spots of blue on a layer above the background texture. Change this layer to 20% opacity to leave a faint touch of blue to help blend the design with the background.
This leaves our typographic blackletter design complete. The original layout was easily created in Illustrator where the vector editing allowed us to scale the shapes up and down without loss of quality. Then the design was really brought to life with the addition of various tones and textures to add depth and definition to the design.

Love the colours used here. Thanks for another awesome tut! :D ..B.
Very nice tutorial. Thanks Bonita :)
Nicely done, there’s some great ideas here. Thanks for sharing,
Cool and Simple.
Awesome Chris…
:)
A good blance of colours used. Great effort.
PS Your website is sweet!
That’s a really good graphic, some great subtle detail. Thanks for posting it.
http://www.paperacrobat.blogspot.com/2012/03/keep-it-simple.html?m=1
Very nice your tutorial the final result is amazing.
Really nice~Thank you
Easy to learn tutorial. Thank you.
Buy items from – AliExpress . com — DhGate . com
Nice tutorial. Looks quality :)
Guides, FAQs & Troubleshooting Tech Support
Always wanted to learn how to do one of these. Thanks.