Tutorials
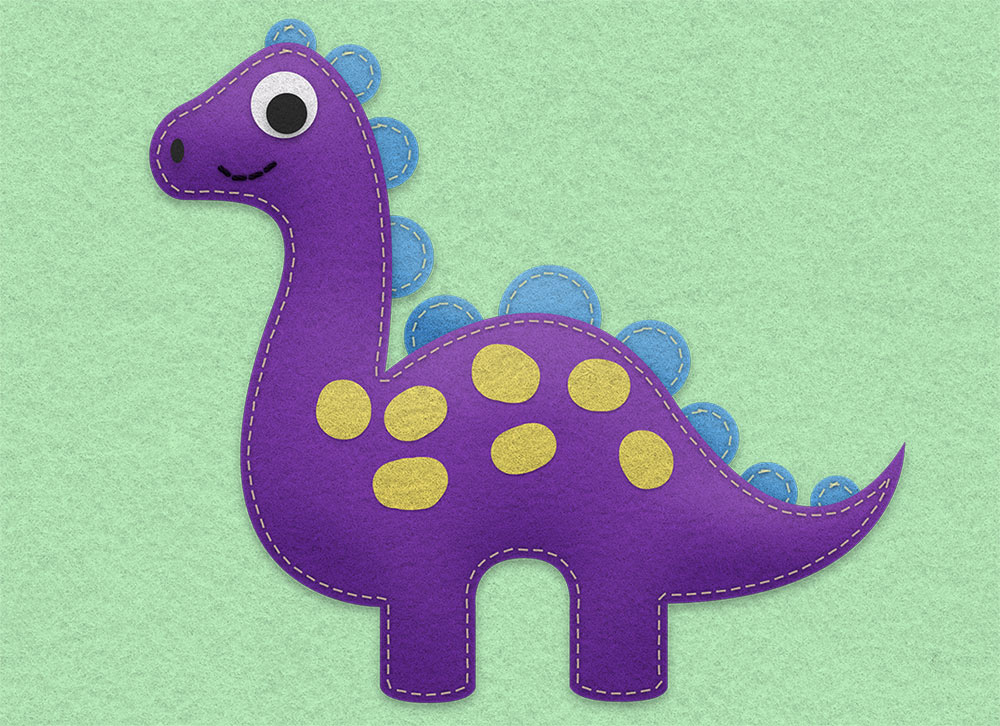
I recently shared a free resources kit for creating felt effects within your designs, so I thought I’d use that subject for today’s video and show you how to use the tools to create cute craft inspired artwork. What we’ll be creating is a cute dinosaur character in Adobe Photoshop, that makes use of the Styles, Brushes and Patterns from my free Felt Craft Kit. The tools make it easy to apply these textures to your artwork to give it a realistic fuzzy fabric appearance, with little details like stitches to complement the hand-made look.
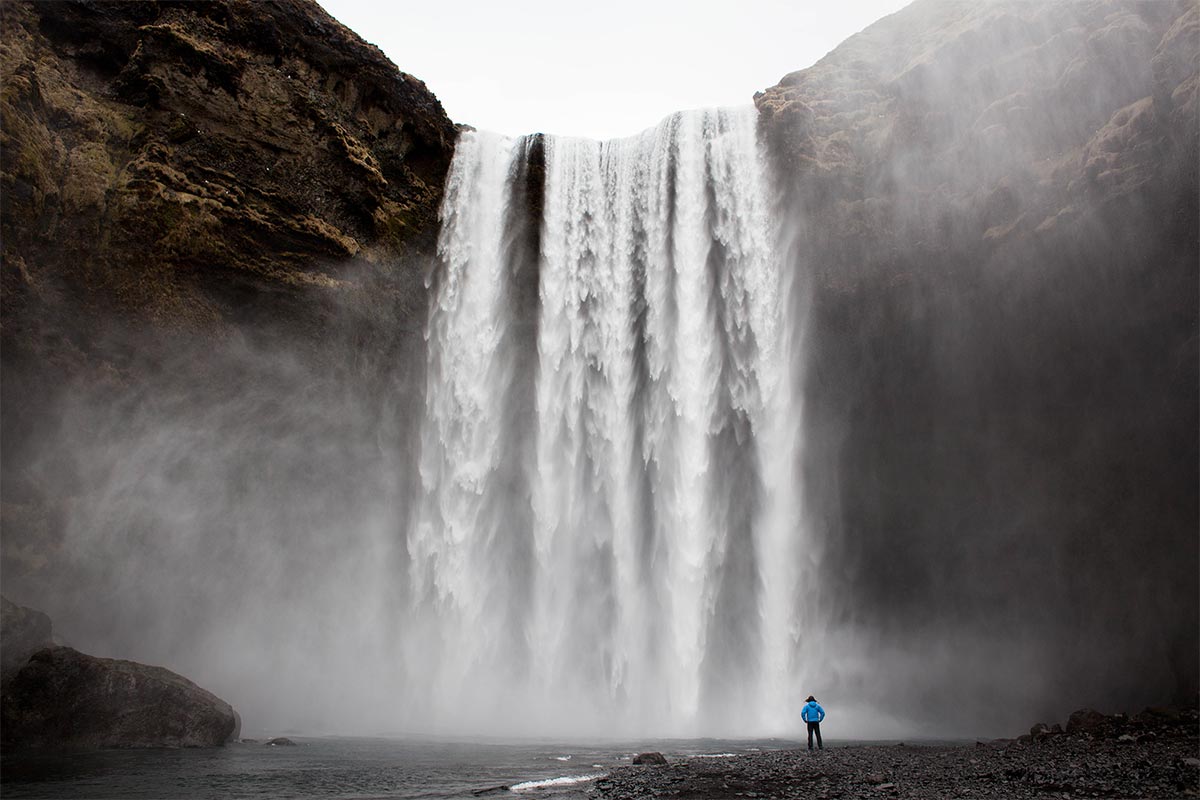
In today’s video tutorial we’re going to have some fun creating what’s known as a Plotagraph, which is a motion picture effect similar to Cinemagraphs, but it’s created from a single still image, rather than a video clip. The name Plotagraph comes from the brand name of the software and the associated community based on this effect, which you can find at Plotagraph.com. The full software is pretty expensive, so I’ve been playing around in Adobe Photoshop to figure out how to create the effect manually. It works by stretching a certain portion of the image using keyframes in the Photoshop animation timeline. Repeating this simple transformation in a loop gives the illusion that the picture is moving.
The multi-faceted and polygonal logo design style still seem to be really popular, especially with brands in the tech and digital industries. These logo designs are often quite detailed with lots of gradient colours and shading that gives the graphic an icon-like appearance. Follow along with today’s Adobe Illustrator tutorial to create a stylised gemstone logo graphic in Adobe Illustrator. We’ll use a range of tools to produce the design in vector format, resulting in a crisp design that could form the basis of a modern brand identity.
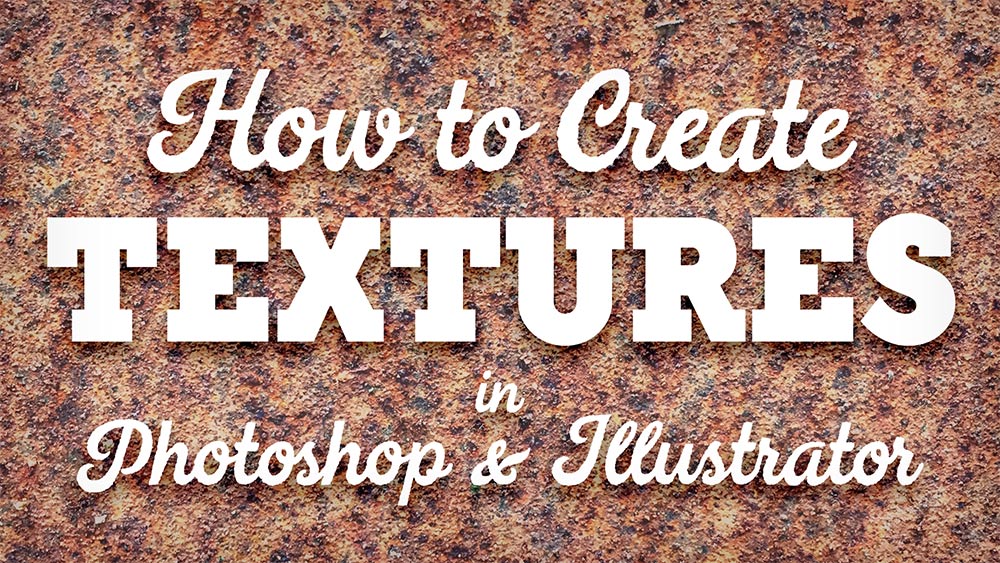
In today’s tutorial I have some tips and techniques to share for creating texture resources in Photoshop and Illustrator. Rather than being a guide with a particular final result, this video will instead show you how to make custom assets that you can use as tools to produce awesome artwork, or even sell them as premium design resources on sites such as Creative Market.
In today’s Adobe Illustrator tutorial I’m going to show you some techniques for creating cool retro style text effects using Illustrator’s Appearance panel, which preserves the live text so you can still edit the wording and change the font. Since we’re working with retro type effects, the artwork we’ll produce is based on those old “Come in, we’re open” signs.
I recently received a great tutorial suggestion from a reader named Alix, who asked if I could show how to make a vintage style logo design in a similar style to the fighting T-Shirts over at Roots of Fight. I’ve produced a few vintage logo tutorials in the past, but since I’m a big fan of this design style, I’m always happy to play around with that kind of artwork! Follow along with today’s tutorial to create a distressed type based logo design in Adobe Illustrator. We’ll apply a range of adjustments to form the layout using fonts, then finish the artwork with texturing to achieve the aged look.

