Tutorials
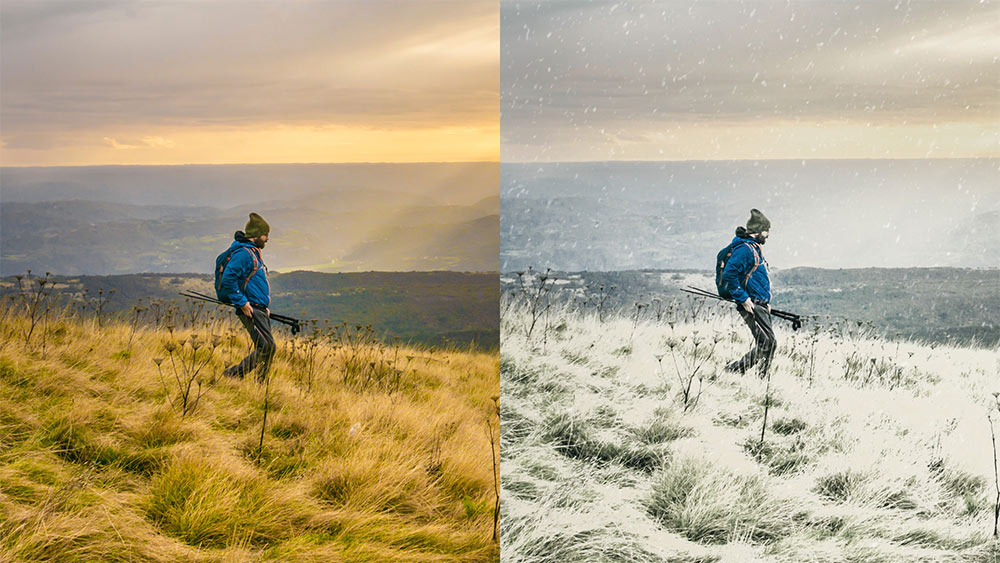
In today’s Photoshop video tutorial I’m going to show you a few tweaks you can apply to an image to transform a sunny Summer scene into a cold and snowy winter blizzard. The process starts with some colour adjustments to remove the warm hues, then we’ll add a white overlay to certain parts of the image to represent frost or snow. I’ll then show you some easy steps to add realistic snow to your photographs.
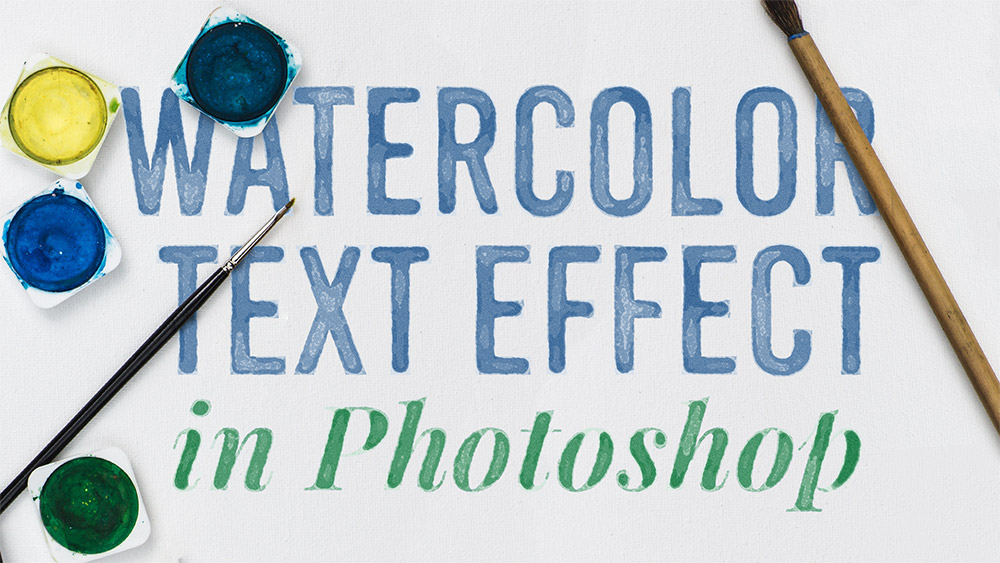
In today’s Photoshop tutorial I’m going to show you a cocktail of Photoshop filters that produce a pretty cool watercolour style effect. One of the best features of this effect is it uses a Smart Object to allow the styling to be added to live text, this means you can go back and edit the wording and fine tune the settings to alter the result.
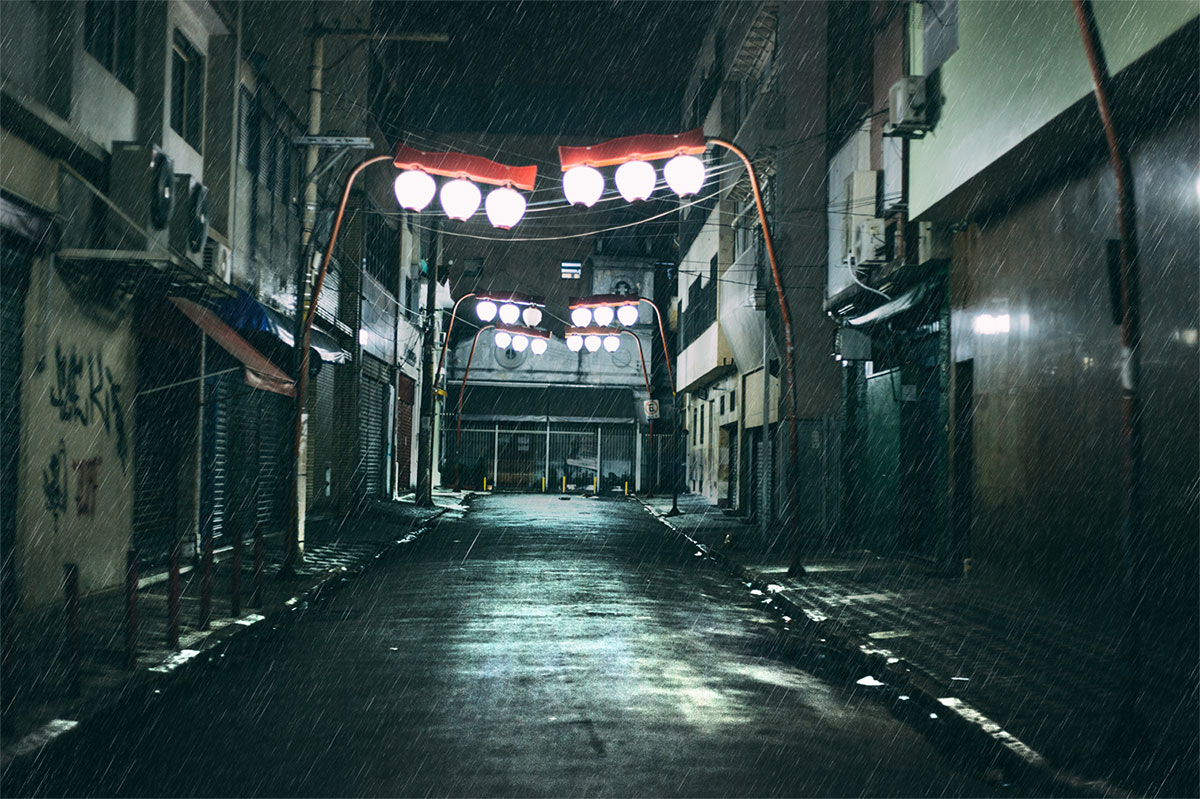
In today’s Photoshop tutorial we’re going to have some fun changing the weather in a photograph by adding a heavy rain shower. The effect works best on night shots of dark streets to give the image a dramatic mood. We’ll amplify the subtle light reflections on the pavement to simulate the appearance of a wet surface, then add three layers of rain drops, each at different sizes to achieve the illusion of depth.
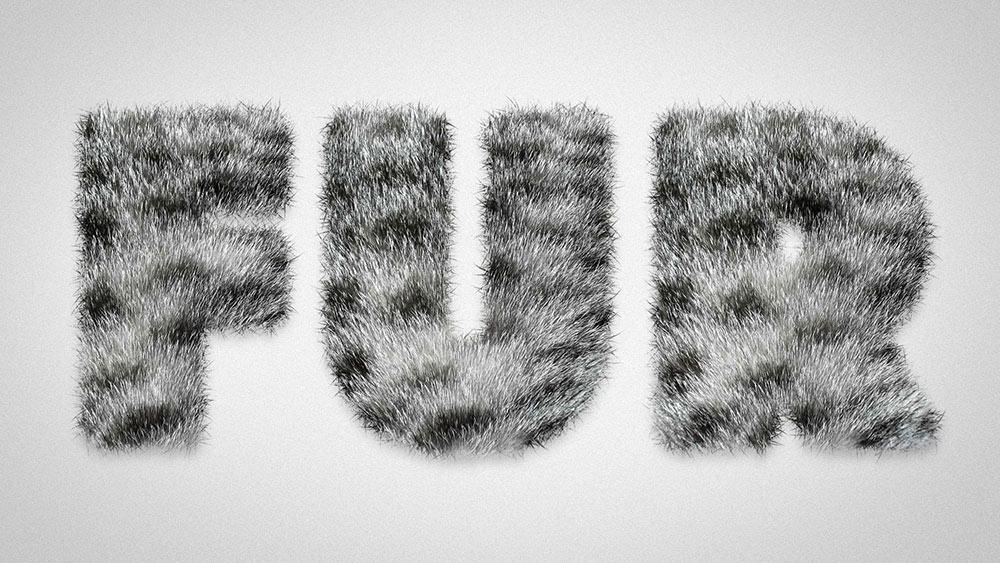
In today’s Adobe Photoshop tutorial we’re going to create a furry text effect by combining a real fur texture image with type, then we’ll use a clever Photoshop Brush trick to eliminate the hard edges from the type to give it a fuzzy appearance with lots of tiny hairs. My example uses the fur of a tabby cat, but you can use the same process with any animal pattern, such as Cheetahs, Zebras and Tigers for a cool safari themed type style.
In today’s Adobe Illustrator tutorial we’re going to play around with various shapes to build a simple little rocket spaceship. We’ll use basic shapes to not only make creating the illustration easy, it also gives it a stylised, cartoon like appearance. After building the outlines we’ll add some colour to bring it to life, then I’ll show you some techniques for producing different kinds of illustration styles.
Don’t you just love those old superhero comic book covers? The early ones are really cool, especially the titles that were illustrated in a blocky 3D type effect. Follow along with today’s tutorial to reproduce a superhero comic book style text effect, similar to the original Superman title logo. We’ll lay out the text in Photoshop and generate a 3D appearance with some clever layering techniques, then bring the effect to life with bold colours and a halftone print effect.

