Tutorials
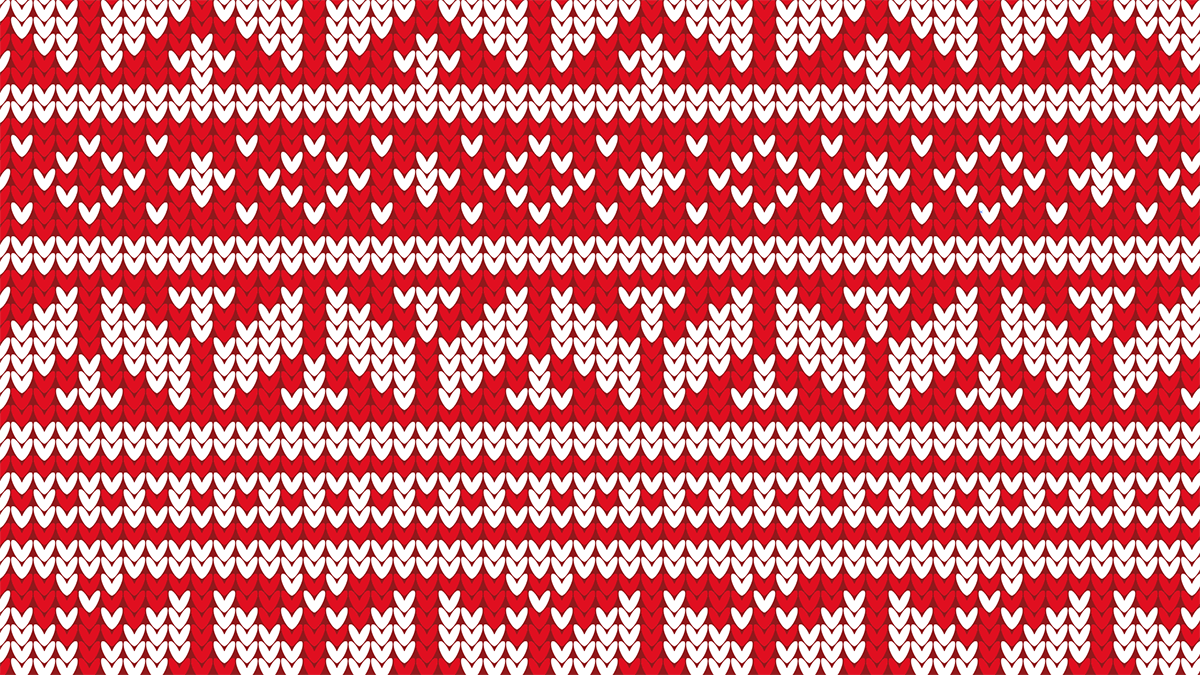
It’s Christmas Jumper day on the Spoon Graphics YouTube Channel so grab your virtual knitting needles because we’re going to make ourselves a garish fair isle style pattern in Adobe Illustrator. We’ll begin by creating a tiny stitch-like graphic, which we’ll then re-colour using the Live Paint tool to build up an intricate festive knitted pattern. The kind of pattern you create is entirely up to you. It all depends on much patience you have to sit and craft complex patterns, or even scenes of reindeer, Christmas trees and snowflakes out of the stitches.
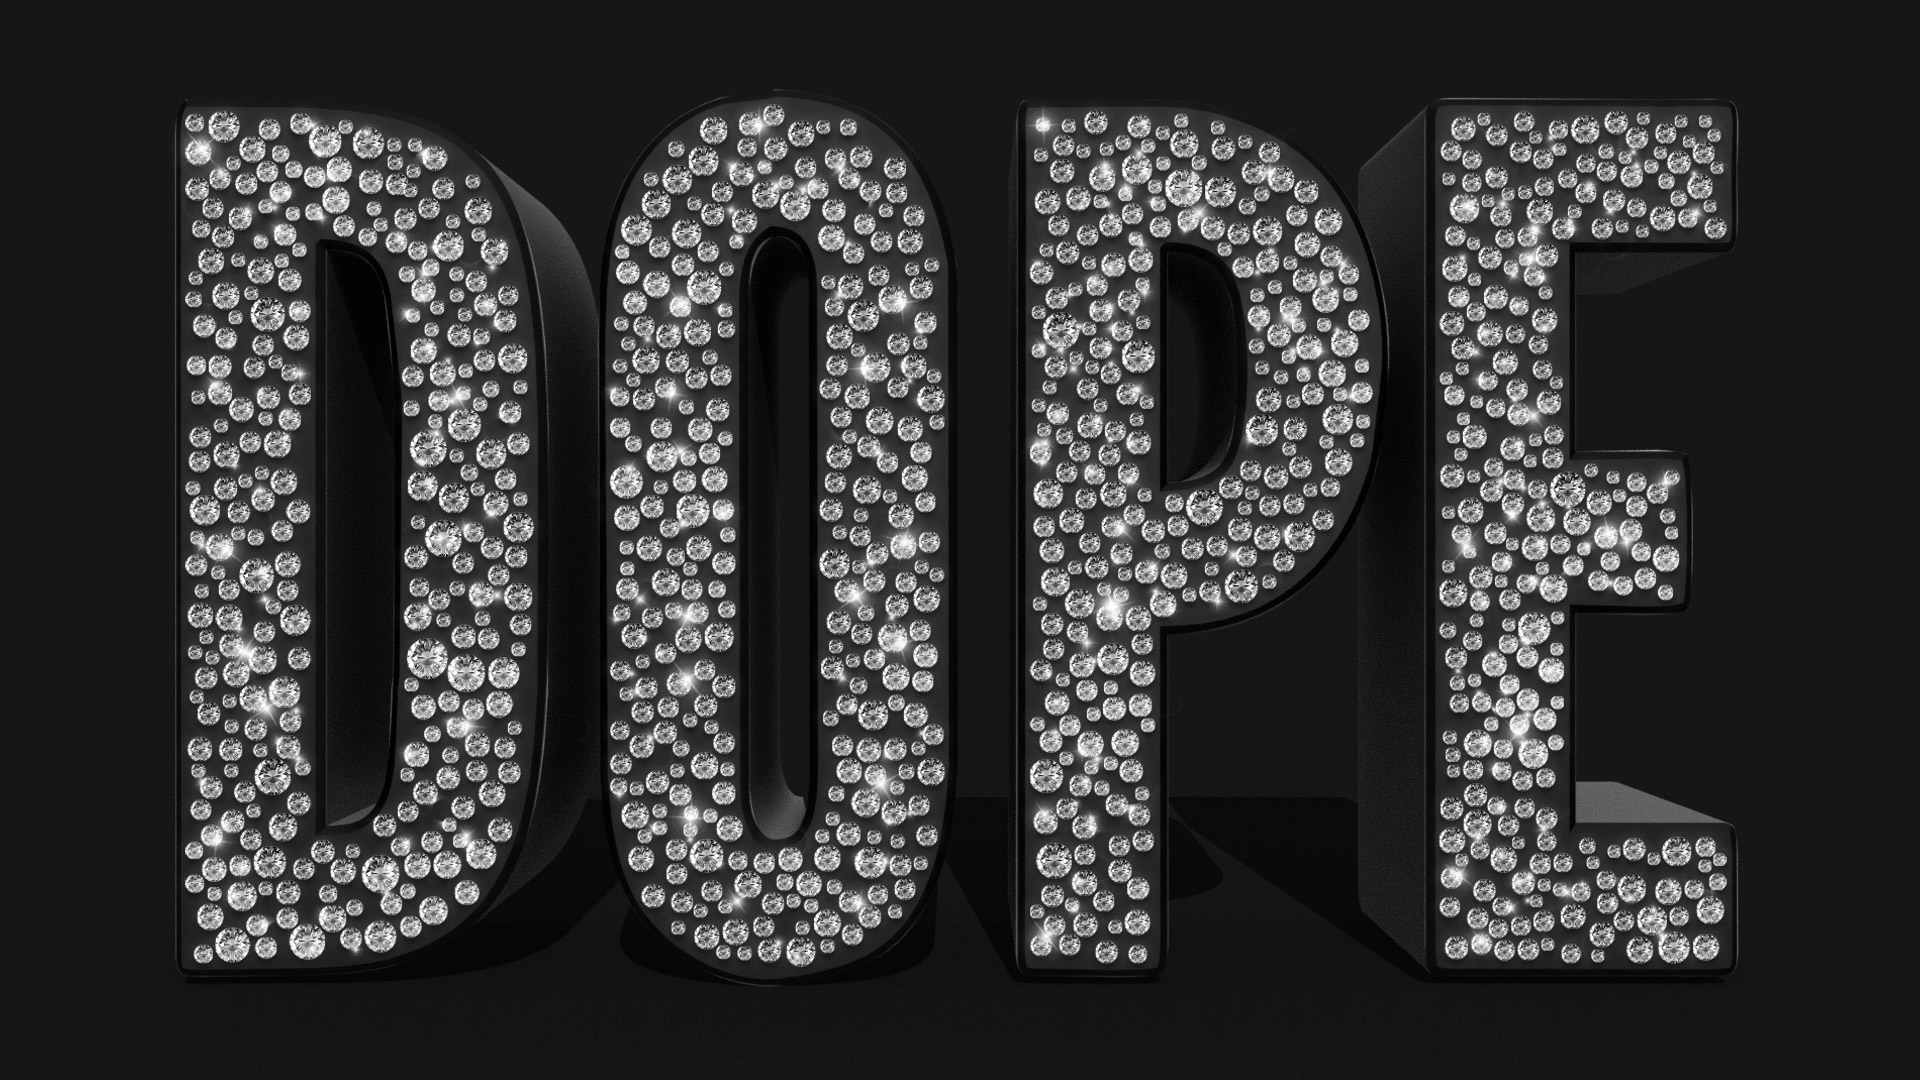
In today’s video tutorial we’re going to combine the powers of Adobe Photoshop and Adobe Illustrator to create a diamond embellished text effect. Illustrator will be used to produce the initial layout, with the help of a couple of third party scripts, then we’ll transfer the artwork over to Photoshop to add some finishing touches and really bring the effect to life.
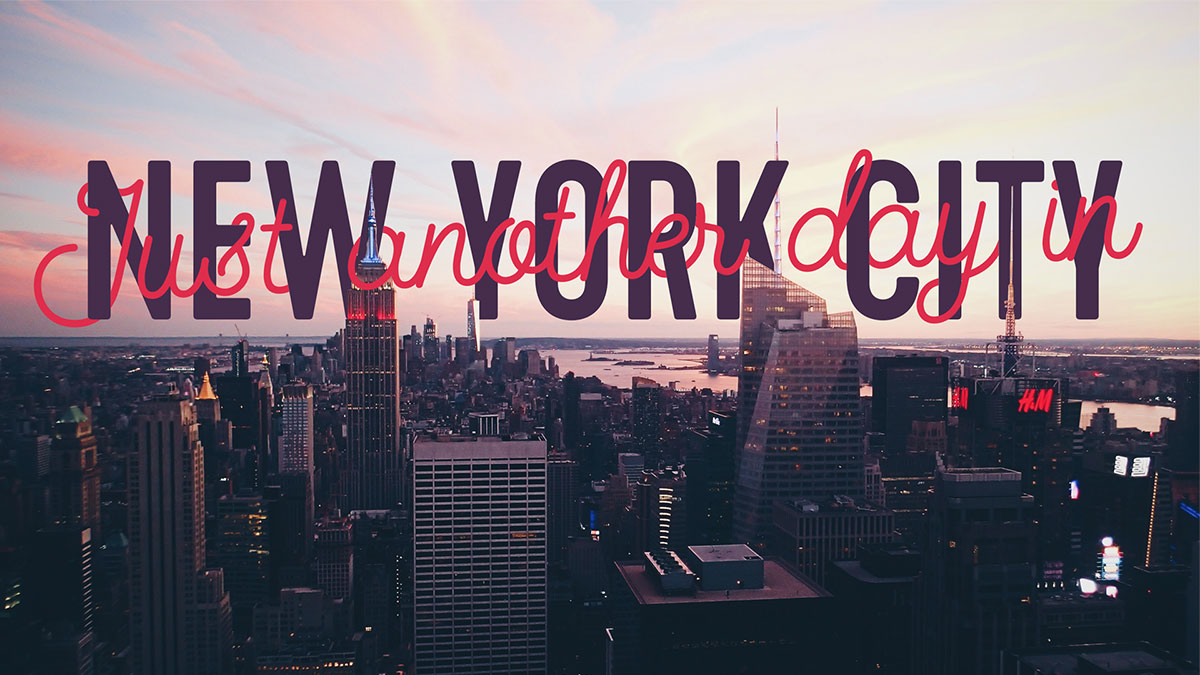
I recently created some artwork for my free subtle grunge brushes where I overlapped some text to make it look like the letters interweaved. I thought it looked like a cool effect so why not make a tutorial?! So in today’s video I’ll take you through the process of creating a fun design that combines the wording “Just another day in New York City”. The words ‘Just another day in‘ are set in a cool mono weight script, which are overlaid against ‘New York City‘ in a tall bold sans serif. We’ll then use a Layer Mask to erase certain bits of the text to give the impression that the script weaves in and out of the other letters. To finish off the artwork, we’ll also use a similar technique to place the typography within a scene of New York City, masking out the text so it seems to sit behind the skyscrapers.
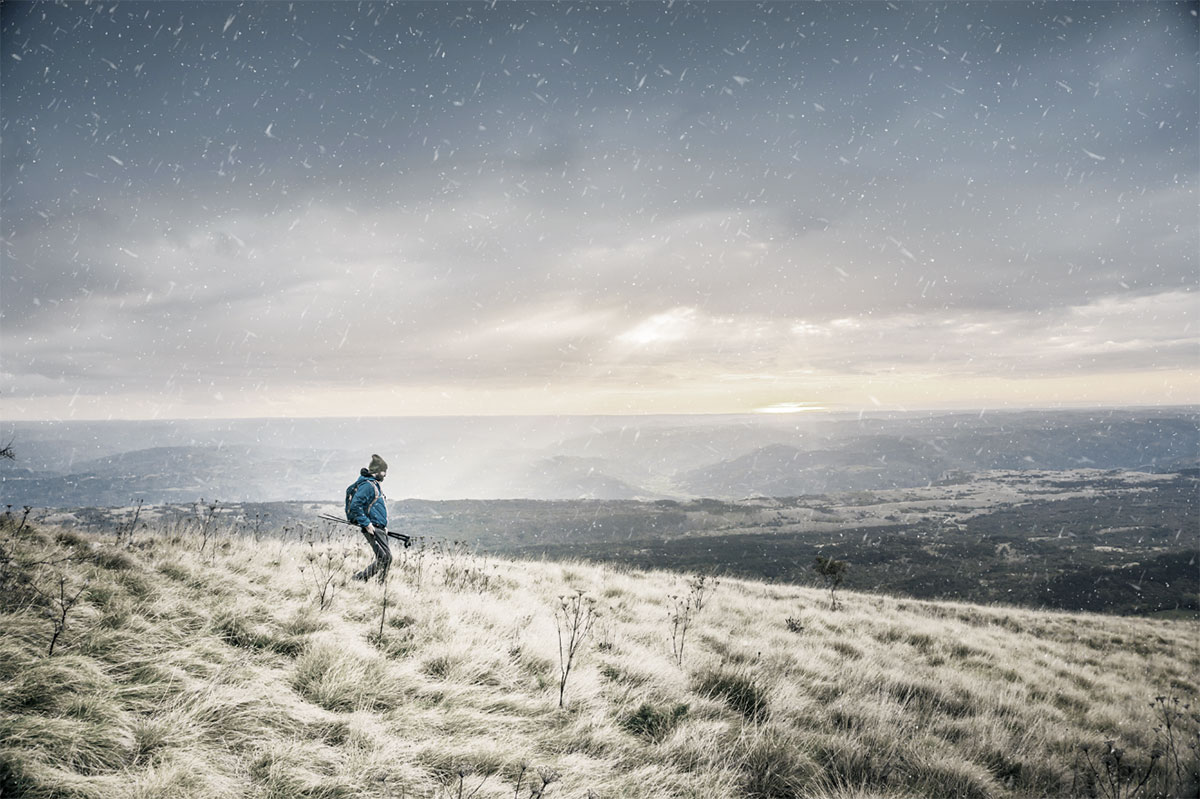
In today’s Adobe Photoshop tutorial we’re going to take control of the seasons with some Photoshop trickery by converting a bright and sunny summer photograph into a snowy wintry scene. We’ll make adjustments to wash out the colours and give the photo a cold atmosphere, then use a clever selection technique to add a covering of frost. We’ll even change the weather by adding a flurry of snow to completely transform the scene!
I received a great topic suggestion on Twitter recently from Furquan101, who asked if I could make a guide on creating a folded logo in the style of Android N or the new Medium branding. In this Adobe Illustrator tutorial I’ll show you how to create a design based on the letter M, but this folded style gives you plenty of options for producing various initials, or an abstract ribbon type icon. We’ll create the full colour primary logo graphic, then follow up with flat and mono versions that would be used in specific design scenarios.
In today’s Adobe Photoshop video tutorial I’m going to show you how to create a popular photo effect that goes by many names, including selective colour photography, spot colour photography, colour isolation photography, partial colour photography, colour splash photography, colour accent photography and many many more! No matter what you want to call it, it’s where a photograph is converted to black and white with a single colour preserved to highlight specific areas.

