Tutorials
Clipping a subject from its background is one of the fundamental procedures that is required for a variety of Photoshop projects. I’ve covered the best selection methods for a range of situations in my video titled How To Cut Anything Out in Photoshop, but cutting out hair always proves to be the most challenging, especially when dark or detailed backgrounds are involved where there isn’t sufficient contrast between the portion you want to keep and the areas you don’t. In today’s Photoshop tutorial I’ll show you some advanced techniques for cutting out hair, even difficult real world scenarios where the subject isn’t conveniently placed against a clean studio backdrop!
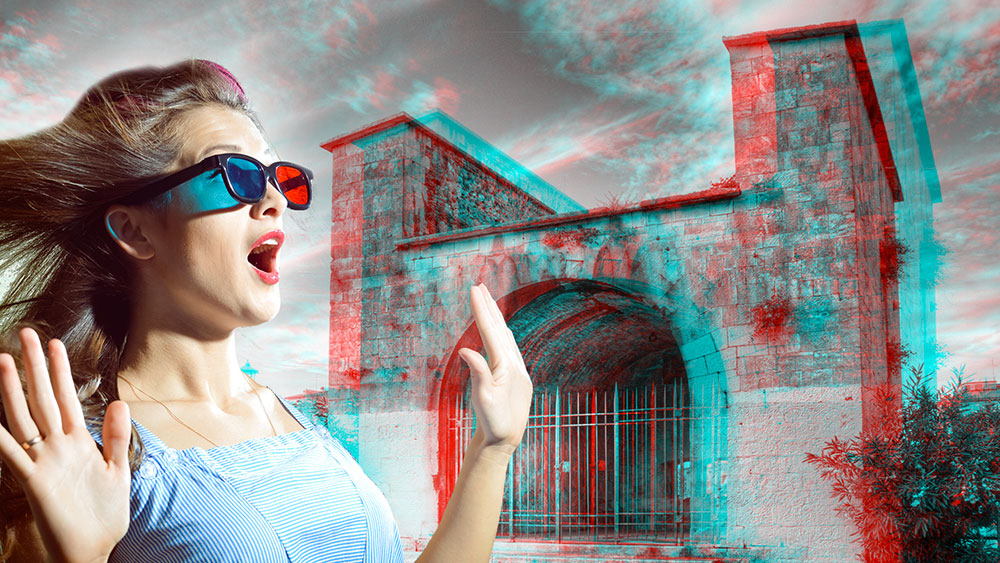
In today’s Photoshop video tutorial we’re going to have some fun creating a retro 3D effect that really works. If you cast your mind back to the 3D movies, comics and posters from your childhood, you’ll remember those comedic glasses with red and blue lenses that bring the effect to life. Stereoscopy is the scientific term behind how these images work. By overlapping two images using the red and blue channels, it produces an anaglyph 3D image that jumps out from the screen when viewed with colour filtered specs.
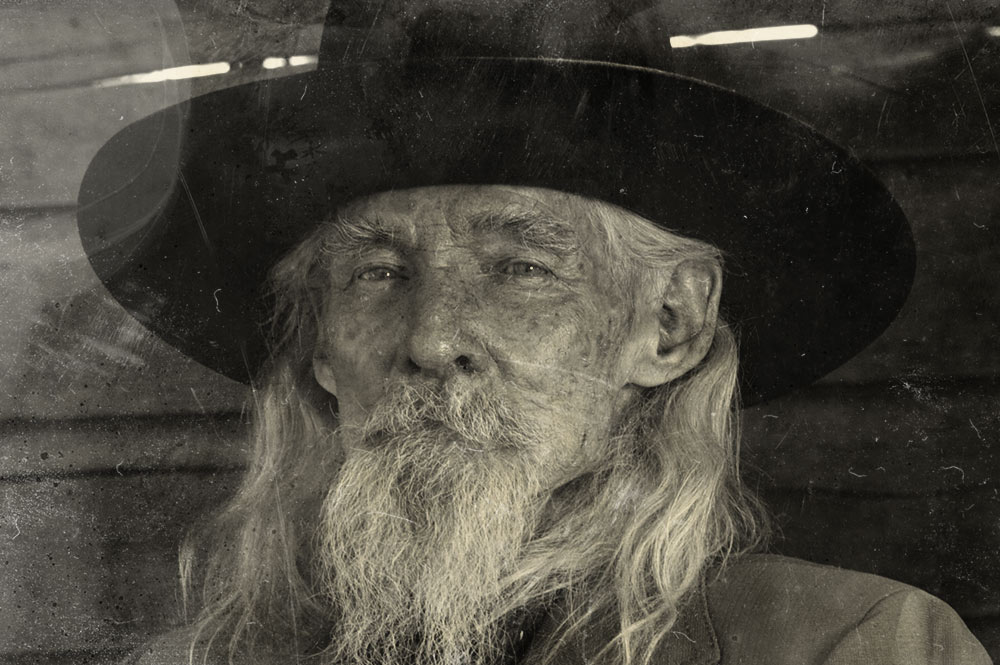
In today’s Photoshop tutorial I’m going to show you how to create a vintage photo effect, based on Daguerreotypes from the 1800s. Being the most common photography method in the 19th century, this photo style is often associated with old portraits and scenes of the wild west. Daguerreotypes were exposed onto polished metal plates which were easily tarnished and scratched. This has become one of the main aesthetics of these antique images, so we’ll be using some texture images to mimic the appearance. And to achieve the most realism, we’ll be using the real thing! I recently found some public domain scans of authentic Daguerreotype photographs, which I processed into design resources by Photoshopping out the subject to leave just the texture of the tarnished metal plate.
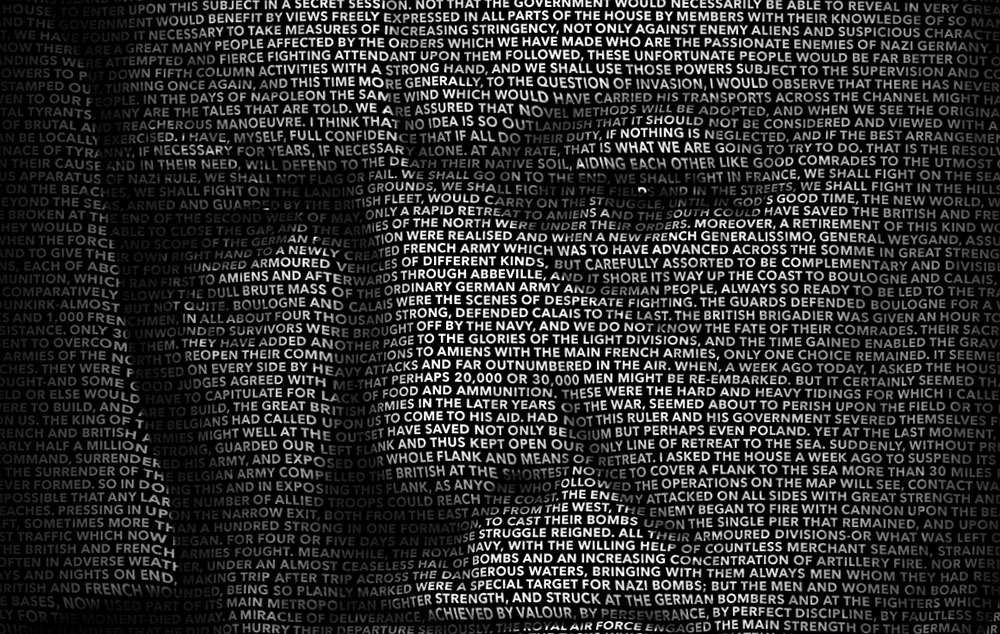
In today’s Photoshop video tutorial we’re going to create a clever text portrait effect where a passage of text bends and warps to form the contours of the subject’s face. This effect is particularly powerful when used to present famous speeches by depicting the orator with their own words. It could also be used to produce artwork of musicians and their song lyrics, writers and stories, poets and their poems, or any other popular figure who is remembered for their words. The process uses just a small selection of Photoshop’s tools, with the Displace filter and a clipping mask being the key ingredients to making the effect.
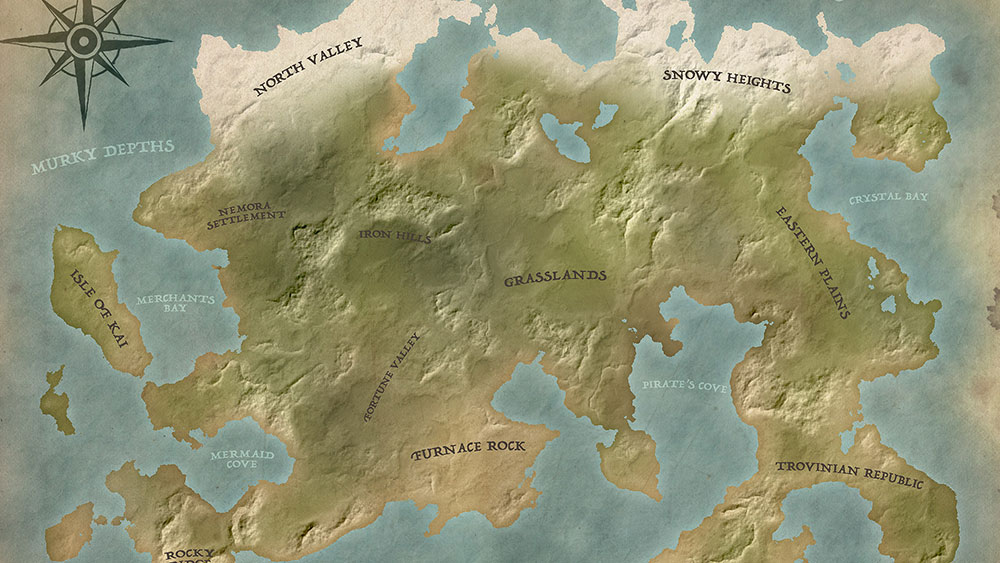
In today’s Adobe Photoshop video tutorial we’re going to have some fun creating a map of our own fantasy world, just like the fictional story settings of Neverland, Middle-Earth or Westoros. We’ll use Photoshop’s built in tools to establish the landmass and sea, then construct hills, mountains and deserts with some simple filter combinations, before finishing off the artwork with a vintage paper texture and place names to simulate an old world map.
One of my Spoon Graphics readers recently sent me an email with a great tutorial suggestion based on one of the promo graphics of the free font named Manrope. The cited artwork featured a collection of letters as long three dimensional shapes of varying heights, densely packed together in the scene. Clearly some kind of 3D modelling software was used to produce the original concept, but I experimented with Photoshop’s built-in 3D tools to see if a similar effect could be made. Follow along with today’s tutorial to learn how to use Photoshop’s 3D capabilities to create the effect yourself.