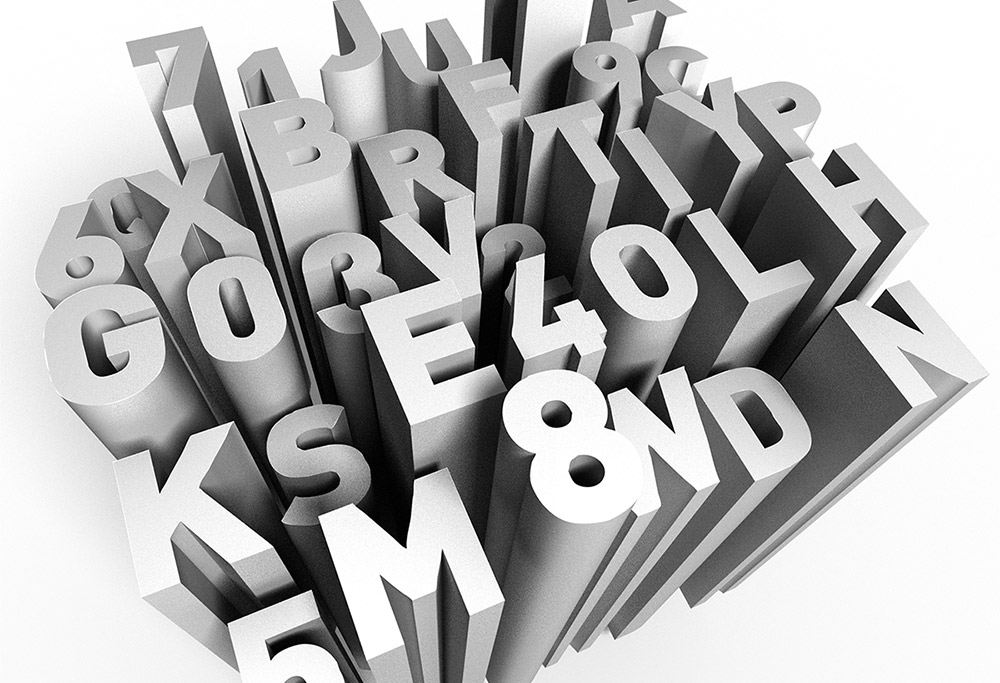
One of my Spoon Graphics readers recently sent me an email with a great tutorial suggestion based on one of the promo graphics of the free font named Manrope. The cited artwork featured a collection of letters as long three dimensional shapes of varying heights, densely packed together in the scene. Clearly some kind of 3D modelling software was used to produce the original concept, but I experimented with Photoshop’s built-in 3D tools to see if a similar effect could be made. Follow along with today’s tutorial to learn how to use Photoshop’s 3D capabilities to create the effect yourself.
The artwork we’ll be creating in this tutorial features a bunch of long, extruded character shapes, arranged at various heights. By just configuring a few options, Photoshop’s 3D features then bring the effect to life with realistic perspective, shading and lighting.
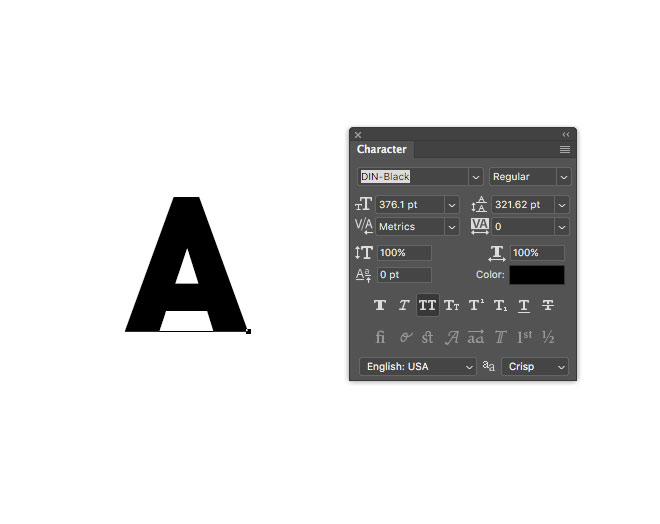
Create a new document of around 2000x2000px in size. Set out the first of many letters as an individual text element using the font of your choice. Checking the Uppercase option will make it easier to edit each subsequent character without the need to hold the Shift key to capitalise the letter.
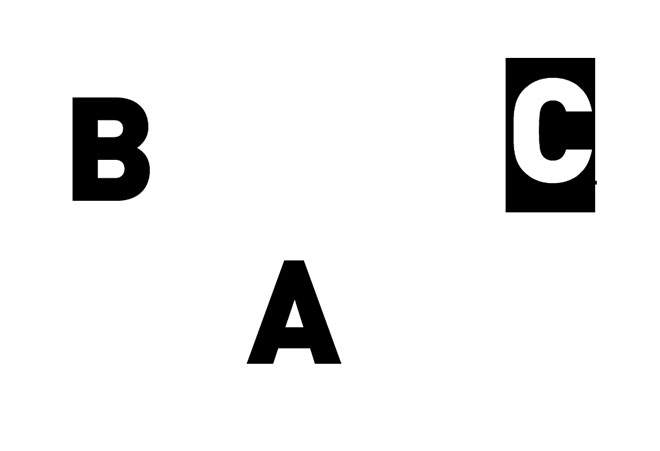
With the Move tool activated, hold the ALT key and drag a duplicate of the text element into some empty space. Double click to edits its contents and change the character. Continue duplicating the element to lay out the entire alphabet.
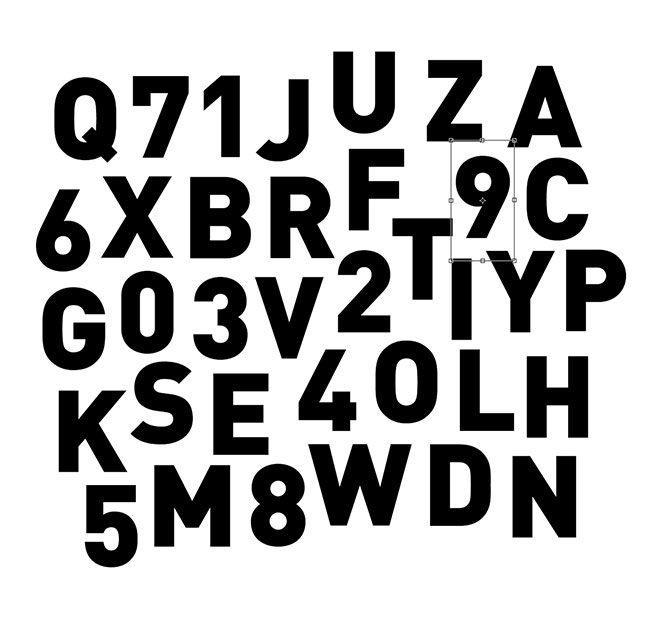
Neatly lay out all the characters in close proximity. Numerals can also be used to fill out any gaps within the composition.
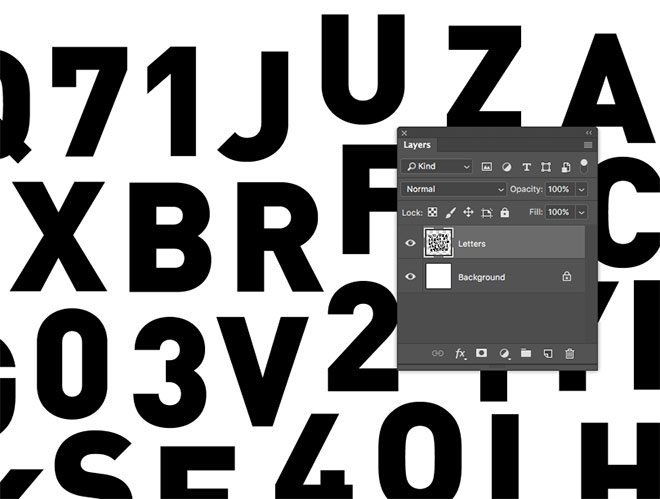
Combine all the letters into one layer by activating the uppermost layer, then hold Shift and select the lowermost layer. Use the CMD+E shortcut for Merge Layers, then rename this layer to ‘Letters’.
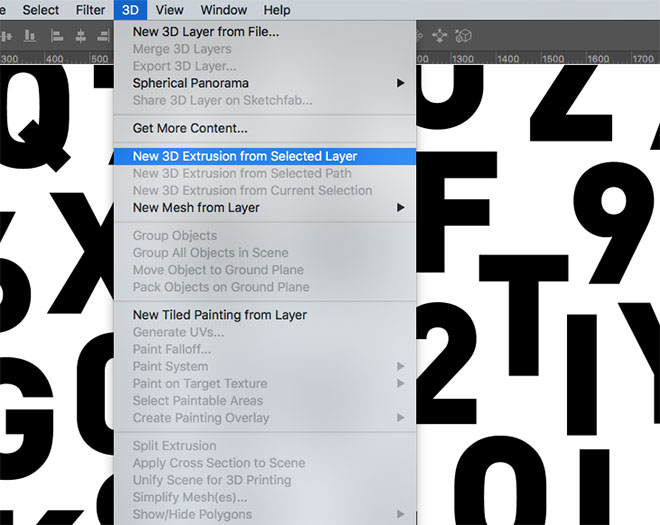
To convert this flat artwork into 3D, go to 3D > New 3D Extrusion from Selected Layer. The Photoshop workspace will then switch to 3D mode.
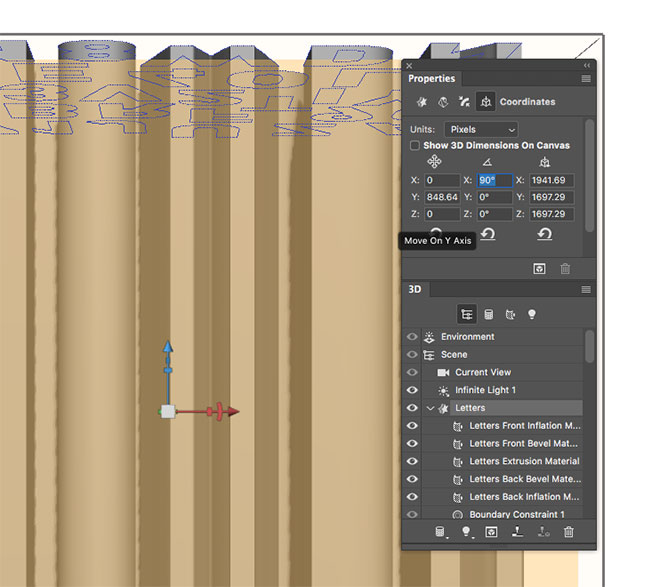
In the 3D panel, activate the Letters object, then in the Properties panel, alter the X rotation value to 90° under the Coordinates section.
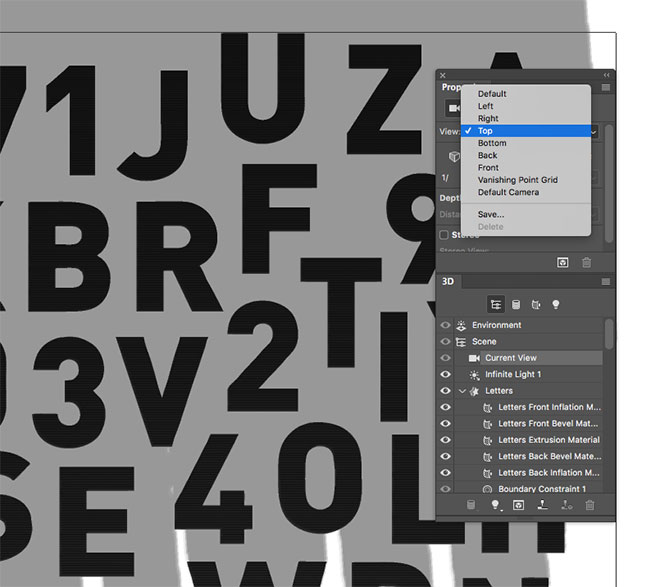
Activate ‘Current View’ in the 3D panel, then in the Properties panel change the view menu to Top.
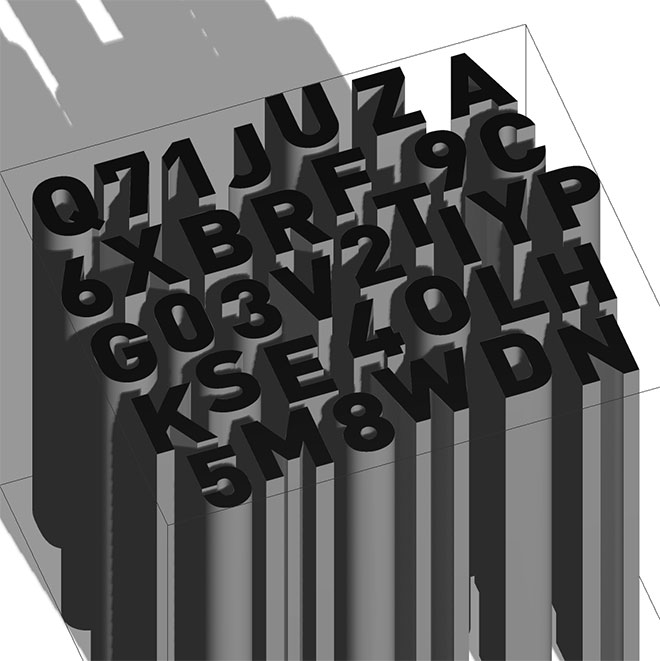
Use the navigation tools in the top toolbar to orbit, pan and scale the view to effectively position the text at an angle.
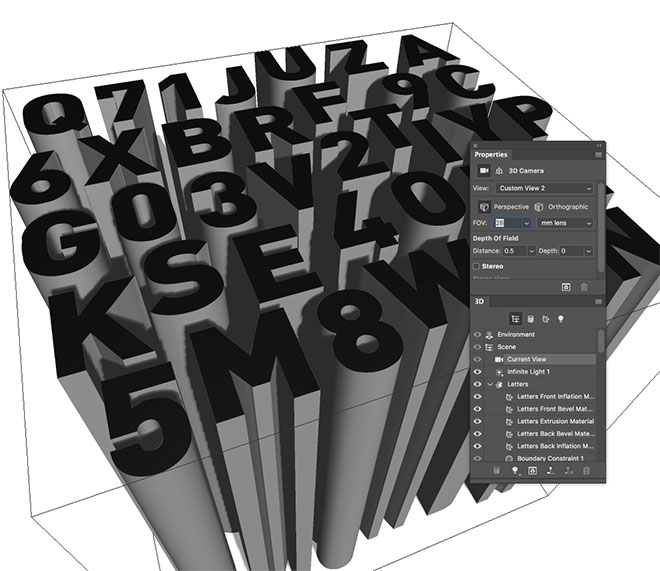
By default, the 3D artwork is created as an Orthographic view, but checking the Perspective option in the Properties panel generates an alternative effect.
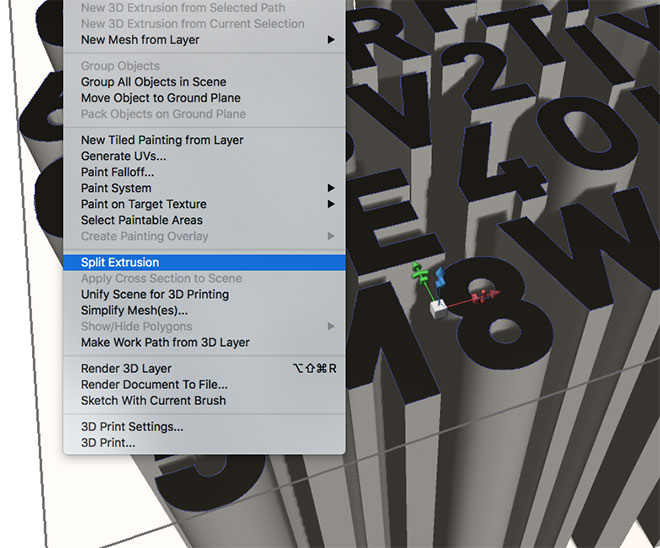
Select the Letters object again in the 3D panel, then go to the 3D menu and choose Split Extrusion to break it apart into individual letter shapes.
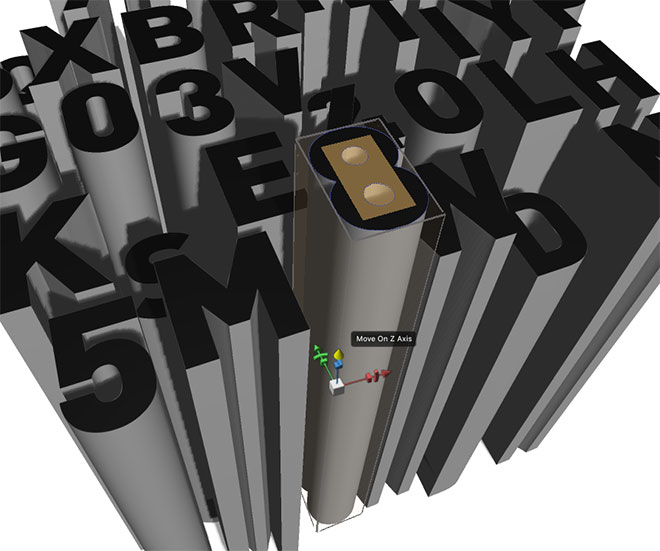
Click each letter shape in turn and use the blue arrowhead of the 3D tool to move the letter upwards or downwards along the Z axis.
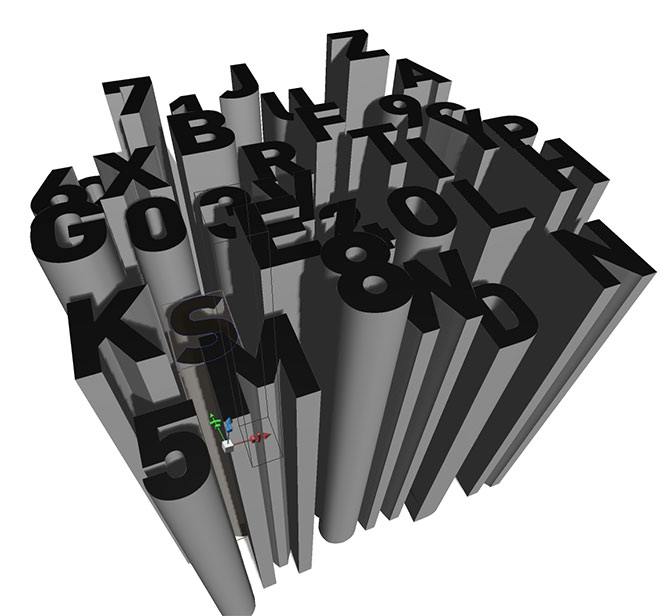
Move each letter by a random amount to set the shapes at irregular heights.
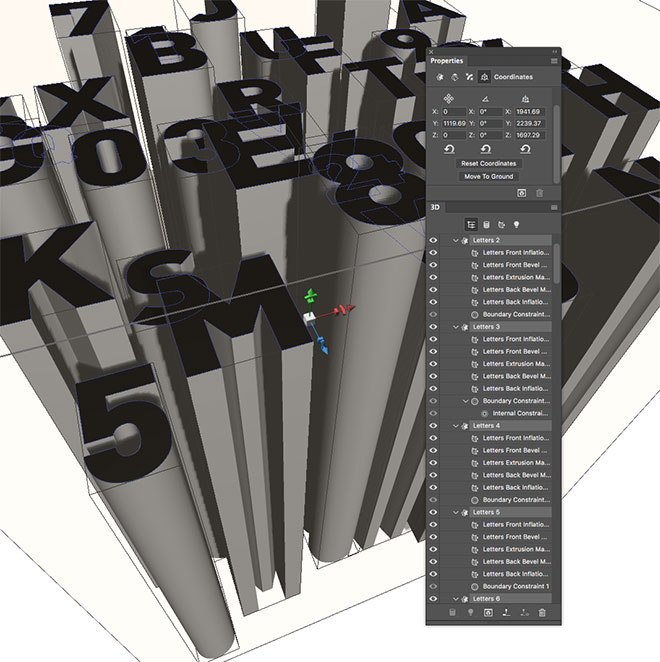
To ensure no letters are floating in space, Shift-click to select all the letter elements in the 3D panel, then click the Move To Ground button in the Coordinates section of the Properties panel.
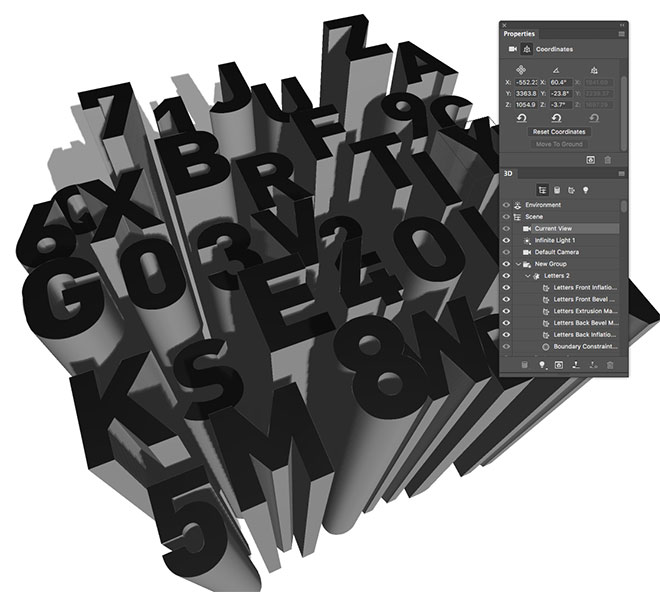
Activate ‘Current View’ again and reset the scene if necessary to centre up the 3D view within the canvas.
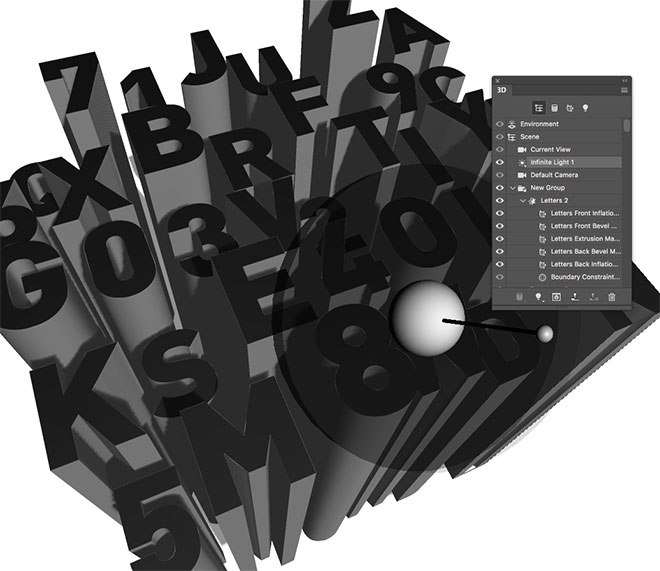
Select the Infinite Light element within the 3D panel and move the smaller handle of the on-screen icon to reposition the direction of the light.
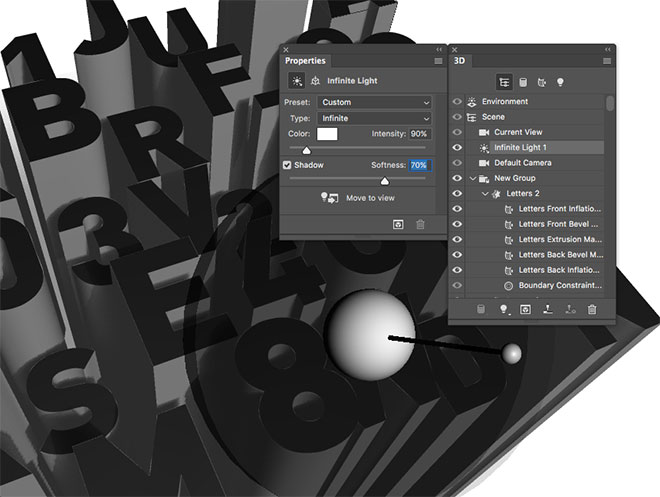
In the Properties panel, increase the Softness of the shadow to around 70%.
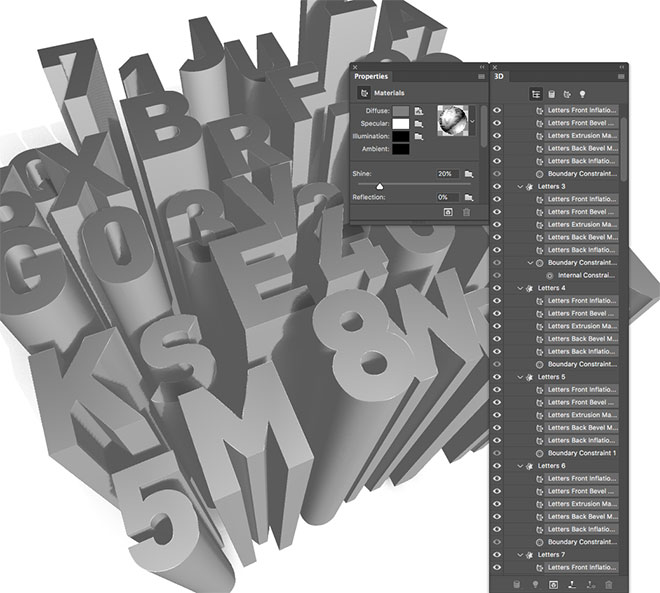
Back in the 3D panel, select the first Front Inflation Material, then hold Shift and click the very last Back Inflation Material to make a selection of every single one in between.
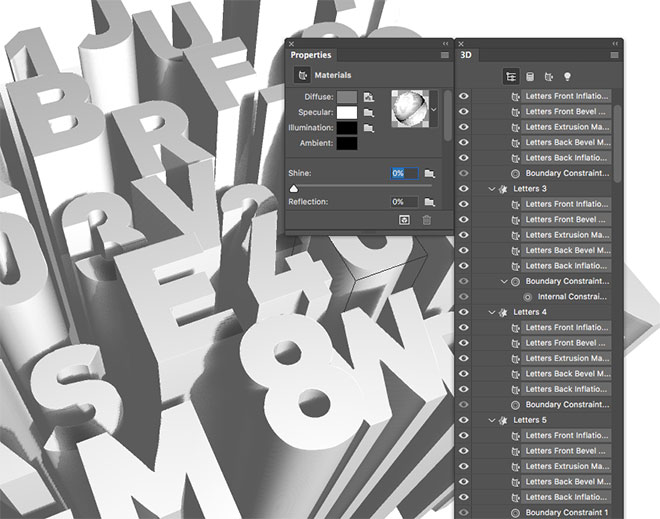
In the Properties panel, change the Specular colour to white and reduce the Shine value to 0%.
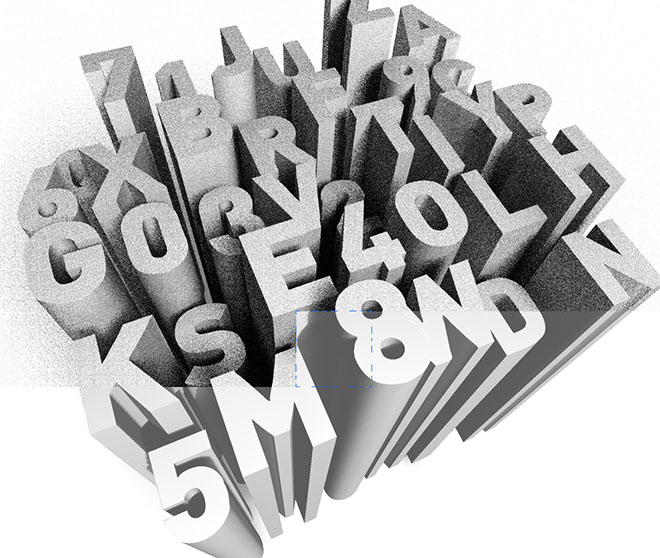
The 3D effect currently doesn’t look great. It now needs rendering to process the finer lighting effects. Go to 3D > Render 3D Layer, then sit back and wait it to complete. After a few passes once the bulk of the shading has been established, you can press the Escape key to stop the rendering. Stopping the render early does leave some subtle grain behind, rather than a perfectly smooth surface, but it can actually enhance the artwork.
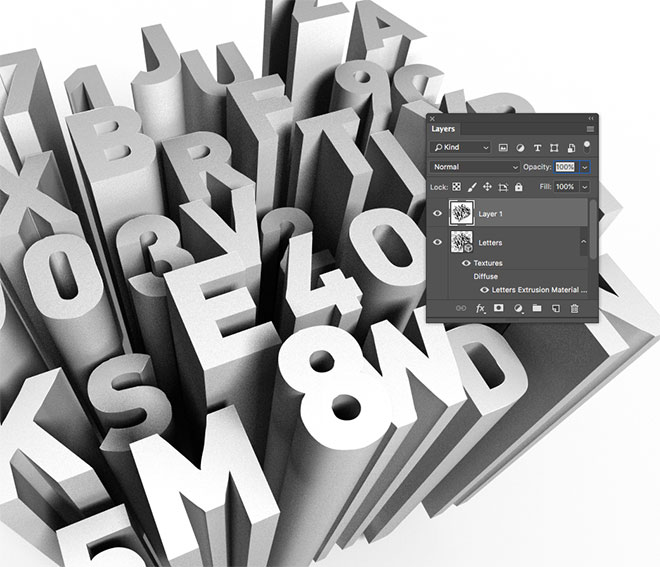
To avoid making any changes to the 3D layer and have to render all over again, use the CMD+Shift+E shortcut to make a merged copy of the artwork on a new layer.
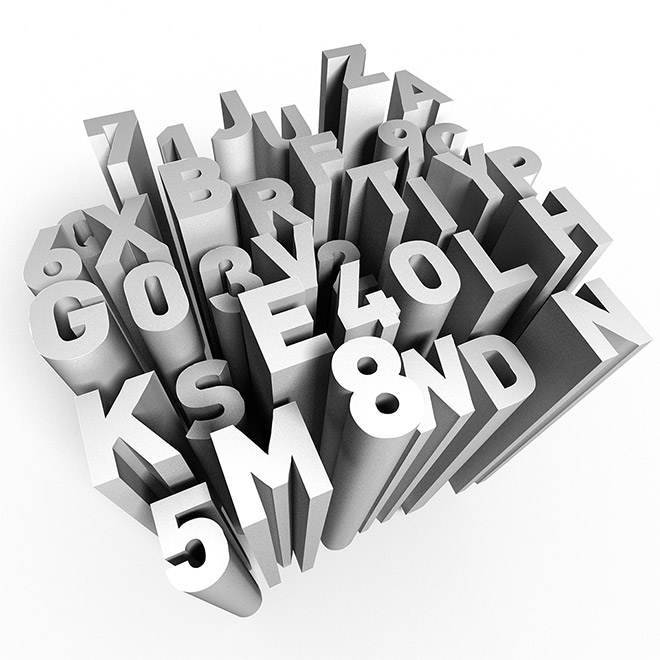
The final result is a cool 3D composition of extruded letter shapes with realistic shading and lighting effects. This artwork was left with a basic grey appearance, but Photoshop colour adjustments, or alternative surface effects could be used to enhance the effect further.


Great tutorial man. I would like to try it now and follow your tutorial from start to end. Thanks!!
thanks sir i’m new on photoshop and this article is really awesome for me its helps me to do 3D text and i have done … again thanks dude
Very useful & Well explained, thanks You for your time & Good wive .!
I just want to tell you how much I appreciate your sharing of tutorials with us. I bookmark them all!
Thanks for a great tutorial!
Great tutorial! The effect looks really awesome :)
Why am I not able to convert my image to 3D form? The only selections available under the “3D” window are “Spherical Panorama” and “Get More Content”. Somebody, please explain to me how this works. Thanks!
very informative and well explained guide.
Thanks
Nice article, very useful for novice like me. Please keep it up in future too.
Thanks,
Nisha
Excellent Blog Post.Thanks for sharing this post with us.
successful course! Thank you :)
This one is very helpful for me. Thanks Chris
Thanks, Buddy, I always open your blog whenever I need some graphics tutorials.
you explained very well Step by step.