Text Portrait Effect in Adobe Photoshop
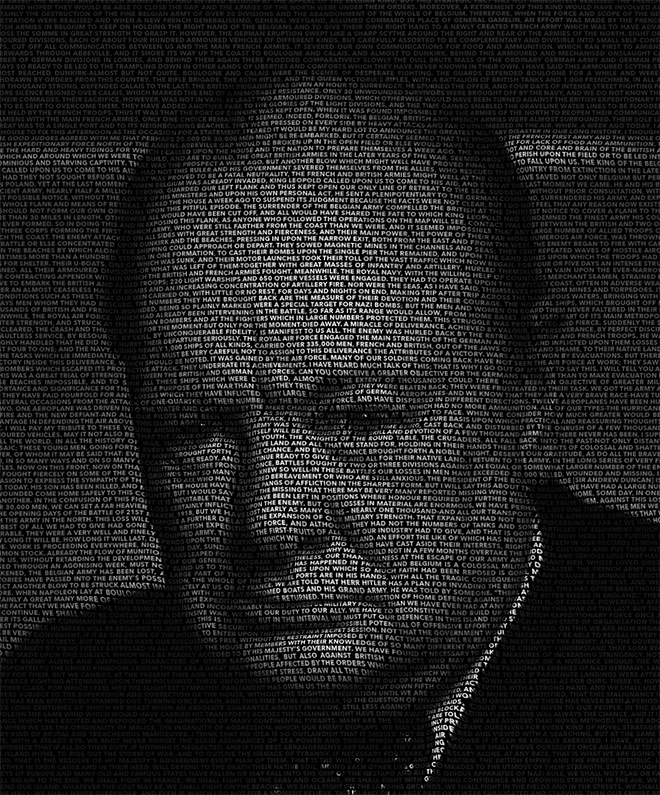
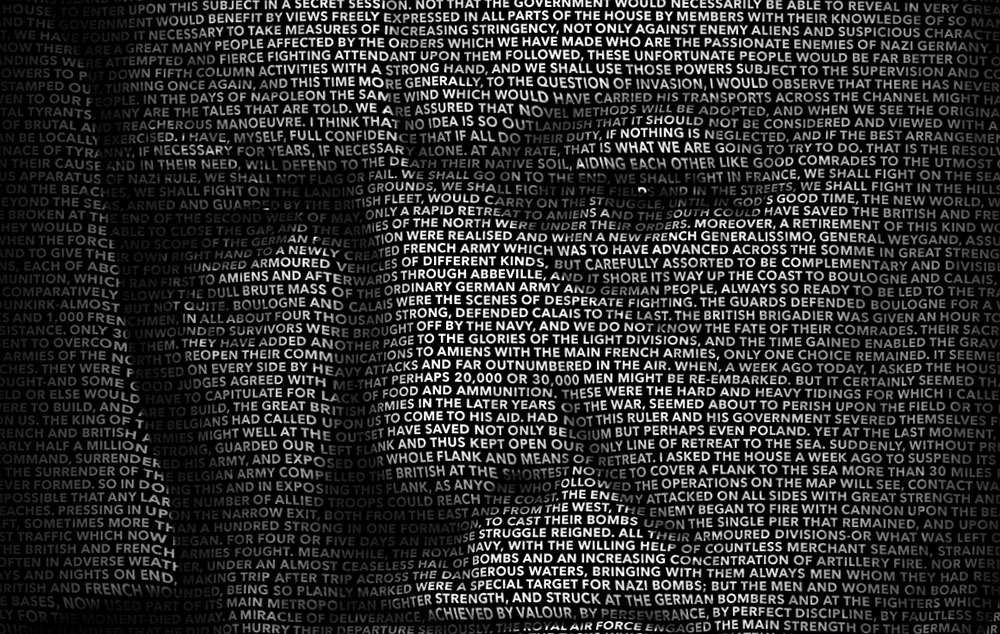
In today’s Photoshop video tutorial we’re going to create a clever text portrait effect where a passage of text bends and warps to form the contours of the subject’s face. This effect is particularly powerful when used to present famous speeches by depicting the orator with their own words. It could also be used to produce artwork of musicians and their song lyrics, writers and stories, poets and their poems, or any other popular figure who is remembered for their words. The process uses just a small selection of Photoshop’s tools, with the Displace filter and a clipping mask being the key ingredients to making the effect.

Check out Envato Elements for design & stock templates – https://spoon.graphics/2CP92M9


This is a great tutorial. But I’d like to see a text portrait tutorial that is more organic, with less uniform text in all directions and actually taking the shape of the face. Can you do that?
Well explained tutorial with powerful results!
Great idea and great video – as always! One suggestion that I know would help me (and therefore hopefully others): when you get to the main “tricky” parts of any process – in this instance, applying the displace filter which connects to the Guasian Blur map image previously created – sloooooooowww down the narrative. Give us a second to connect that we have to go outside to that other file in order to make the filter work and to see what has happened or understand the effect. The task is no doubt second nature to an expert, but when trying to follow along or take notes, I become thoroughly lost with one or two unexpected turns in the road. Yes, I can always back up the video and watch again – but it would be a great help to give more attention to the most important steps and less to the simpler ones. Even a change in the tone of your voice would help to distinguish the critical steps from the mundane ones. Hope thats a constructive suggestion and I’ll definitely share the link to this tutorial.
Specially when english is not your first language. Besides that, thank you very, very much, really, your tutorials and freebies are very helpfull.
Thanks John, I get carried away when recording the steps and often just read the words without consideration for what I’m actually explaining! I’ll have to start adding some gaps in my script to make me pause longer
Cool! This is a neat effect! You make it so easy to try!
Thank you!
Spoon Graphics is my #1 choice for tutorials. No needless chit chat and a fast pace with detailed instructions.
Thank you very much Jerry!
So very cool—I have been looking for something different for a Martin Luther King, Jr. program ad. Thanks for making this happen!
Thank you Kim, I appreciate your comment!
Very well explained tutorial. Really helpful idea.
Thank you!
A very helpful tutorial! Thank you! I have only one problem I want to share with you. When I do the ‘displace step’ on the text, the letters which are already turned into smart object, are not clear. It seems like one letter is above the other. What I am doing wrong? Maybe it has to do with photoshop edition? I have CS6.
It could be the case that you need to blur the displacement map a little more? If you’re working on a larger image, the 10px I used in the video might not be enough to smoothly distort your text.
informative and well explained thanks for helping me out.
Thank you James!
Indeed i can never stop following your blog, very nice post you got here thank you for the above tips, hope to implement it soon on my blog.
Nice photoshop tutorial.
Thanks Chris – great stuff!