Tutorials
Making geometric patterns in Adobe Illustrator is always a fun creative project. You can follow the same basic technique each time but experiment with different shapes and colours to create endless pattern styles. Follow along with today’s Adobe Illustrator tutorial to create a colourful geometric pattern based on a series of triangle shapes. I’ll show you how developing a simple rule to follow can transform a basic pattern into a much more complex layout with less repetition.
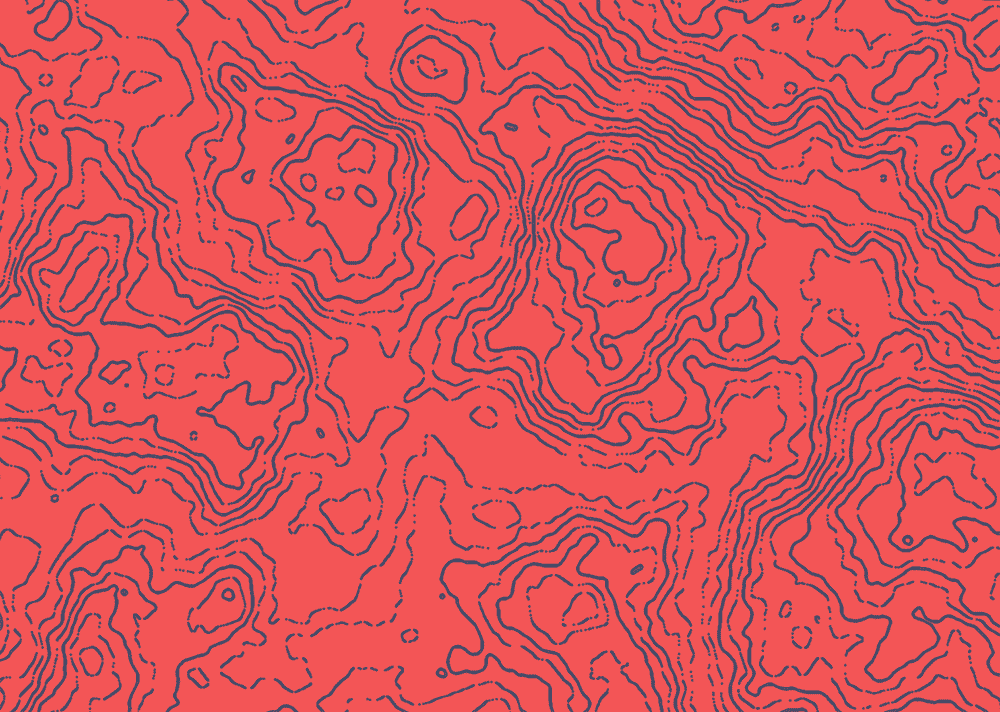
Follow along with today’s Photoshop tutorial to create a topographic map effect. I’ll show you how you can quickly create a detailed pattern with a combination of Photoshop Filters, then show you how the parameters of those filters can be adjusted to customise the effect. This new technique provides some really useful advantages over my previous Contour Map tutorial, such as infinite scalability and a super-fast way to process unique pattern styles.
I’ve been admiring the lettering work on vintage insurance maps lately. These old documents were originally drawn up by hand by master penmen, who illustrated the title page with ornate lettering and detailed embellishments. Painstakingly illustrating artwork like this by hand is a dying art form that would have taken years of training to become a master of penmanship, but we can create similar text styles with the help of digital fonts and modifications in Adobe Illustrator. Follow along with this Illustrator tutorial to create a vintage text effect with decorative details. We’ll take inspiration from the authentic examples with fine line work, drop shadow effects, and warped text layouts.
In today’s Adobe Photoshop video tutorial I’m going to take you through my process of creating a vintage style advertisement poster with letterpress print effects. We’ll start by laying out the design with a selection of fonts inspired by the era of wood type, along with some hand-drawn graphic elements using a limited 3-colour palette. Then I’ll show you some useful tricks to simulate the visual traits of old prints with the help of some Photoshop filters and my free brushes and texture packs.
In today’s Adobe Illustrator tutorial I’m going to take you through the process of creating a colourful embroidered patch, based on the kinds of designs associated with National Parks. The artwork will incorporate a landscape scene at sunset, which helps to keep the design simple with a silhouette graphic and a warm colour palette. Stick around until the end of this tutorial to discover an easy way to make your digital design look real with stitching and embroidery effects.
In today’s Adobe Photoshop tutorial I’m going to show you how to turn anything into gold using this simple combination of Photoshop filters and tools. The effect smooths out the details of a regular image and adds an array of shiny reflections to mimic the appearance of a polished metal statue. A gradient overlay gives the effect the yellowy tones of gold, then a few finishing touches add some bright highlights.


