Tutorials
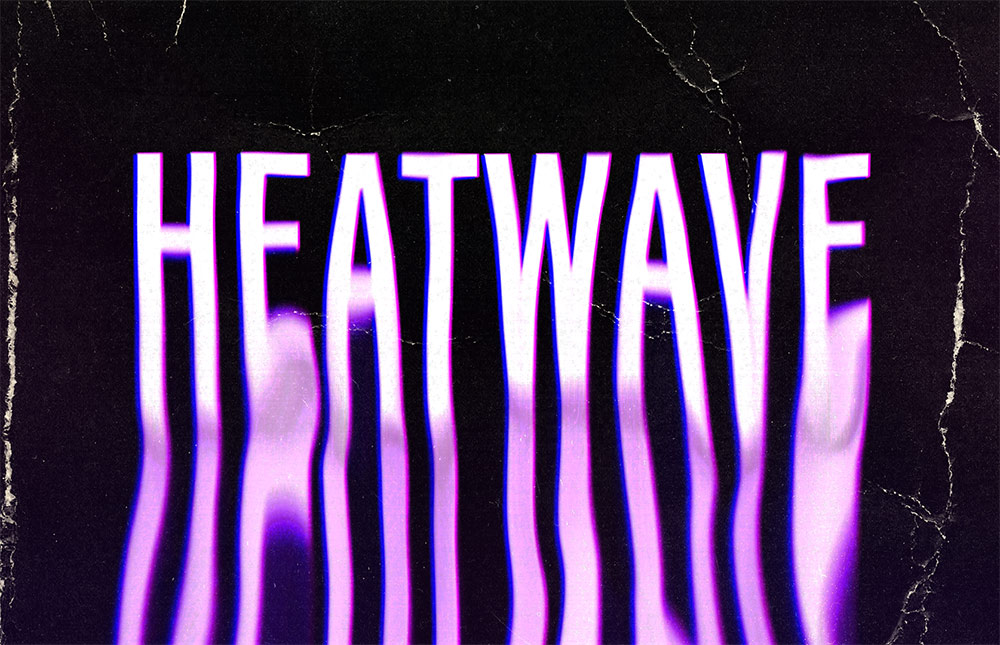
In today’s Photoshop tutorial I’m going to take you through the process of creating a melting liquid RGB text effect with somewhat of a retro 80s aesthetic with its vibrant colours and grainy texturing. This effect is ideal for creating poster art or an album cover design with a retro-futuristic style. We’ll use a couple of simple tools within Photoshop to create the effect, then finish off the piece with textures to enhance the retro vibe.
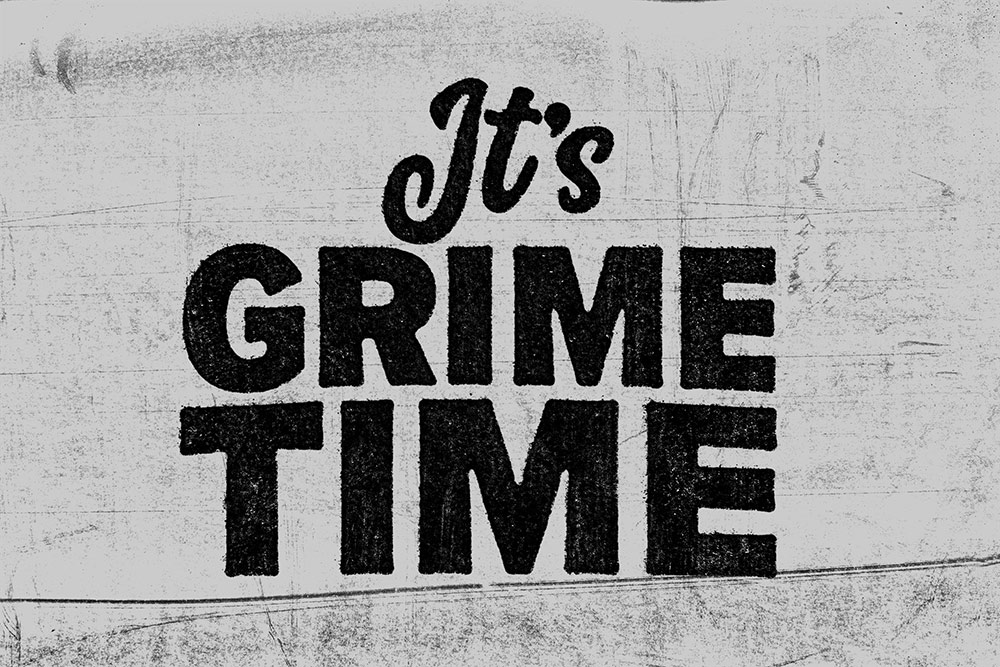
In today’s Photoshop tutorial I’m going to show you how to add grungy, distressed, ink stamped effects to your type, logos, or illustrations. The effect resembles the letterpress printing style, or any other impact print method, like a rubber stamp, or an old typewriter. I’ll show you how to distress your clean digital artwork to give it a fuzzy, irregular appearance as if the ink is bleeding to distort the outline of the artwork, causing some areas to blend together. I will provide you with my free Dirty Surface textures to simulate how parts of a stamped print don’t have enough ink coverage, giving it that lovely textured retro print look. Then we’ll use those same dirty surface textures to finish off the artwork with a complementary dirty background to completely transform the clean digital art into a cheap letterpress print with gritty details.
In today’s tutorial I’m going to take you through the process of designing a sticker using Photoshop & Illustrator, but more specifically, I’ll show you how to set up your print artwork file to create cool sticker effects with a colourful holographic finish. By cleverly setting up the print file to allow the holographic effect to show through in key areas of the image, you can create some totally awesome sticker designs!
In today’s Photoshop video tutorial I’m going to share some useful tips for creating visually interesting panoramic posts on Instagram that seamlessly pan back and forth to show a larger image within the regular viewport area. These kinds of posts are perfect for wide images that you just can’t seem to crop into a square ratio, or to add a little creativity to your social media profile. There are all kinds of apps available that can achieve this kind of effect directly on your mobile device, but as professional designers and photographers it’s nice to create our images manually to have full control over the outcome. I’ll show you how to use Photoshop to crop your images into the correct ratio, showing 3 different size options so you can keep in mind for when you’re processing your own images.
Patterns come in all kinds of styles, from simple repetitive shapes to complex graphical arrays. In today’s Photoshop tutorial I’m going to share some tips for creating detailed pattern effects that are made with full-colour illustrations. We’ll first use a must-know technique for filling the canvas with randomly placed graphics, then I’ll show you a couple of manual methods for creating seamlessly repeating pattern designs.
In today’s Photoshop tutorial I’m going to show you how to create a vibrant visual effect by adding neon lights to a photo. This popular art style often incorporates simple shapes or text for the neon lights, which are illuminated in bright colours. I’ll explain how to use Photoshop to draw a custom shape and give it a vibrant glow with the help of Photoshop’s Layer Style options, then we’ll use a clever technique to apply a colourful ambience to the original photo as if it is being illuminated by the new light source. As a finishing touch, we’ll also add some smoke and particle effects to create a neat cyberpunk art piece with a futuristic vaporwave style.


