How to Create a Neon Light Effect in Photoshop
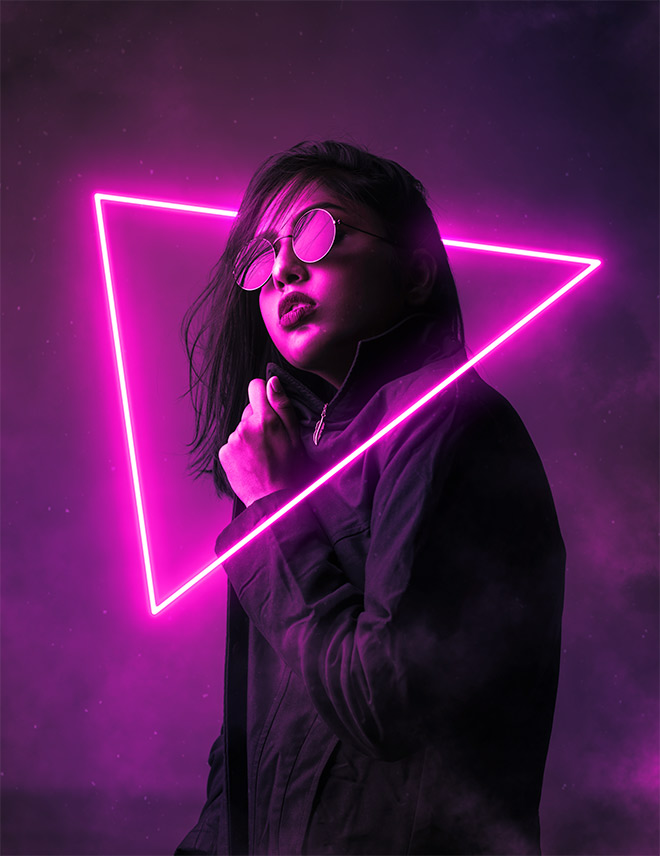
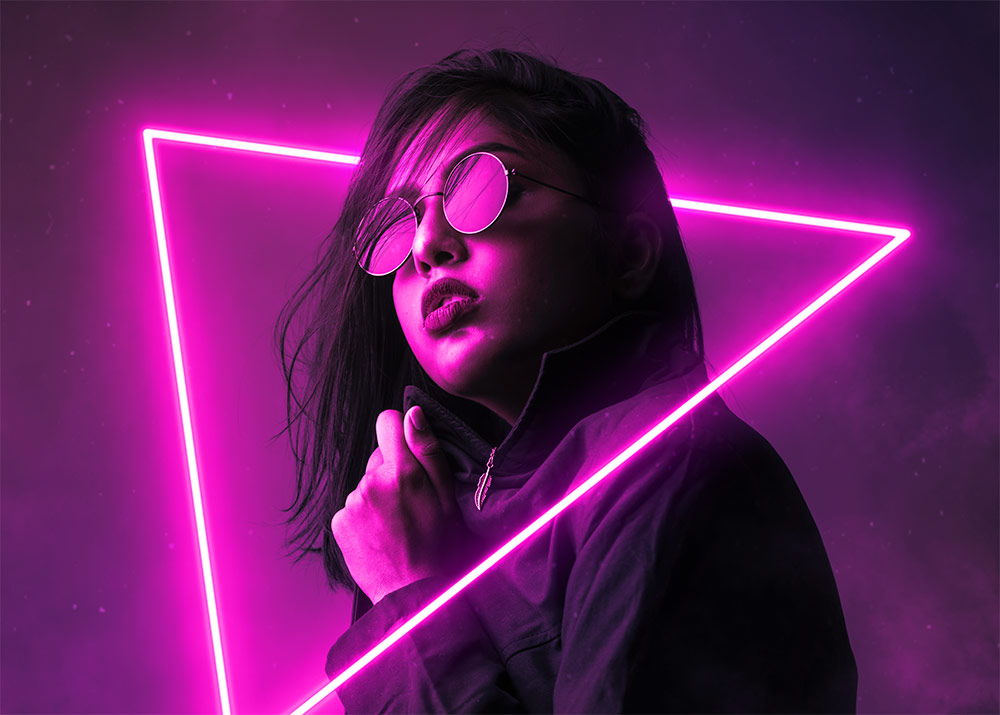
In today’s Photoshop tutorial I’m going to show you how to create a vibrant visual effect by adding neon lights to a photo. This popular art style often incorporates simple shapes or text for the neon lights, which are illuminated in bright colours. I’ll explain how to use Photoshop to draw a custom shape and give it a vibrant glow with the help of Photoshop’s Layer Style options, then we’ll use a clever technique to apply a colourful ambience to the original photo as if it is being illuminated by the new light source. As a finishing touch, we’ll also add some smoke and particle effects to create a neat cyberpunk art piece with a futuristic vaporwave style.

Assets used
► Portrait photo by Harsh Kushwaha – https://spoon.graphics/2Q8w0Ws
► Krist’s Smoke Brushes – https://spoon.graphics/2GeYjw7
► Download my Free Grain Textures – http://spoon.graphics/1kEqt49
⭐️ Buy The Neon Toolbox – https://spoon.graphics/neontoolbox


I love the Hue sat tricks. I didn’t know you could tweak the saturation levels to affect the highlights and shadows like that. Awesome tutorial!
such a cool effect. You are a wizzard of vibrant visual effects!!
You are a real design ‘whizzkid’ Chris and I love how you make seemingly complex effects look really simple. Keep going!
I Really like the neon Light effect, but I was not sure how to add this effect now after reading your post I can easily add this effect thanks for sharing
Brilliant effect. I’ve used it with other pics, with different colors and the fundamentals you’re preaching work. Thanks.