Tutorials
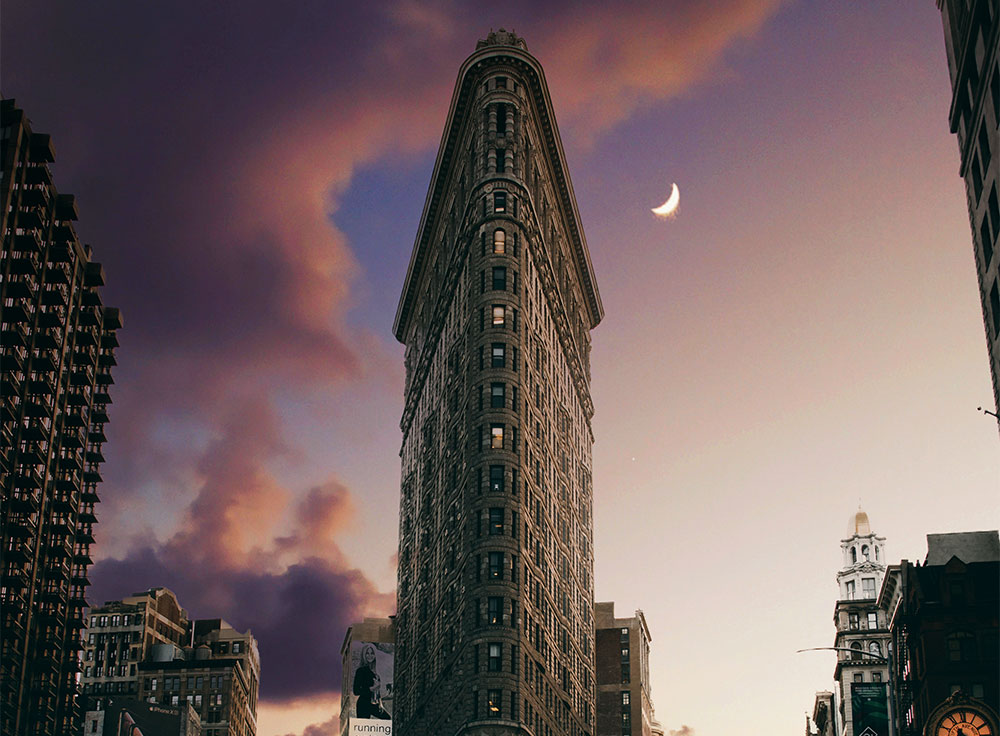
In today’s video tutorial we’re going to take a look at a few different methods of replacing the sky within a photograph. You know how it is, you capture a great shot, but the weather at that particular moment results in a lacklustre grey, overcast sky in the background. With just a few simple steps you can replace the sky with much more interesting clouds and colours to enhance the sunset vibe or create a moody atmosphere. I’ll first show you the old-fashioned technique of manually selecting the sky, but Photoshop now has a built-in Sky Replacement feature that does the job in one click. Stick around until the end and I’ll also show you a great toolkit you can use to build your own custom skies.
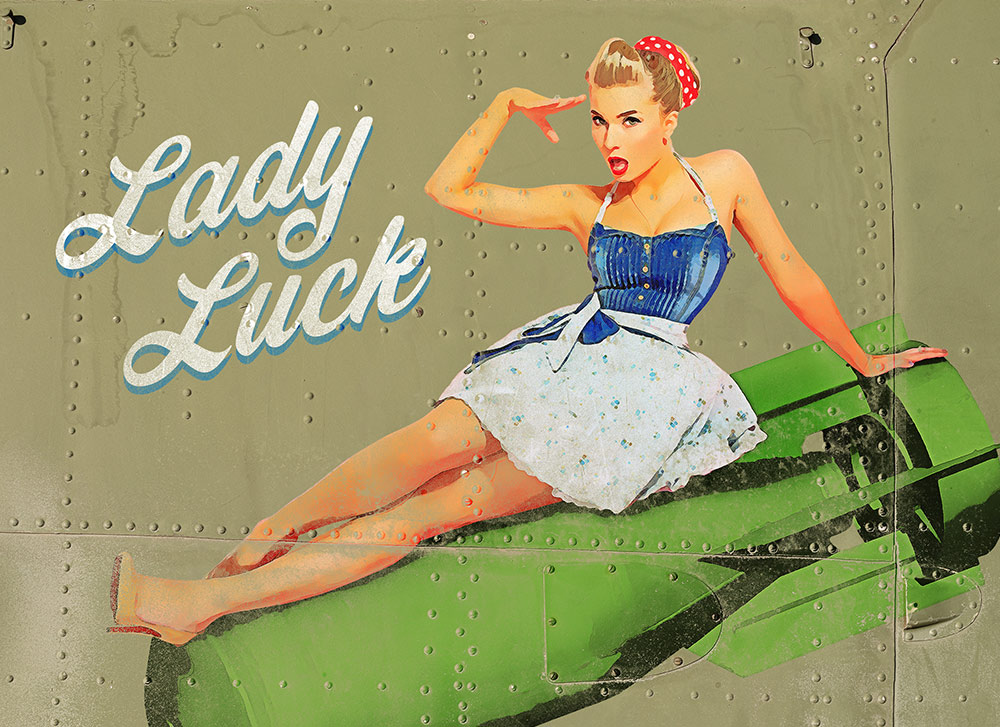
In today’s Adobe Photoshop tutorial I’m going to take you through the process of creating a WW2 aircraft ‘nose art’ inspired image, featuring the classic ‘girl-riding-a-bomb’ style pin-up. Traditionally this style of artwork was hand-painted on bombers to boost morale and to bring good luck to the planes, perhaps the most well-known being the B-17 Memphis Belle. These days it’s an iconic art style that can still be found on custom trucks or hot-rod door panels, on the back of motorcycle jackets, or vintage style posters and signs. Rather than painting the artwork by hand on the fuselage of a plane, we’ll be making use of a handful of stock images to digitally compose the layout. A series of Photoshop filters and effects will give the lifelike photographs a painted appearance, then the whole design will be placed on a riveted metal surface and processed so the texture gives it the weathered appearance of an old bomber plane’s decorative nose art.
In today’s Photoshop tutorial I’m going to show you how to create a series of surreal ripped paper collaging effects that give the appearance of an image being ripped away to reveal a different image underneath. We’ll use a variety of fundamental tools and techniques, such as layer masks and adjustment layers, which makes this tutorial perfect for Photoshop beginners.
In today’s Adobe Illustrator video tutorial I’m going to show you how to create an outdoors themed badge design, featuring a simple mountains graphic and colourful sunset effect using a retro colour scheme. This style of logo is based on embroidered National Park patches, and has become a popular design trend for all kinds of outdoors, adventure, or camping themed brand identities. We’ll use Illustrator’s basic shape tools to construct the vector badge design, then stick around until the end of this tutorial to discover an easy way to make your digital design look real with stitching and embroidery effects.
In today’s video tutorial we’re going to use the power of Photoshop to change the weather by making it rain within a photograph. We’ll incorporate various tools and filters to not only create a downpour of raindrops, but also make adjustments to the image to give the appearance of a wet surface with reflections of the surrounding environment. This effect works best with street images set at night because the darker backdrop helps make the raindrops visible, and the hard asphalt roads and pavements can be adjusted to create realistic puddles.
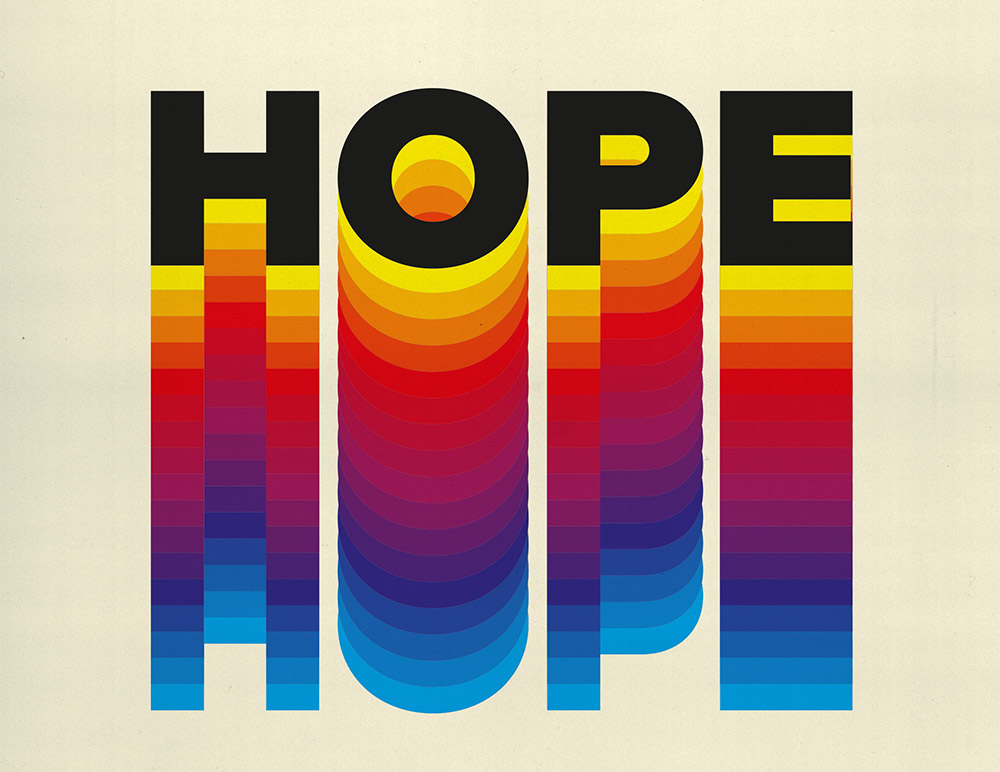
Follow along with today’s Adobe Illustrator tutorial to create a colourful text effect, which comprises of a stack of text elements that transition through the colour spectrum to produce a rainbow effect. This text style has somewhat of a retro vibe, with it being the kind of effect you might see on an old VHS tape box or brand identity for a 70-80s tech or media company. Illustrator’s Blend tool will form a core part of the procedure, but I will also share a useful tip that enables you to alter the wording of all the text instances at once.


