This post was originally published in 2016
The tips and techniques explained may be outdated.
I’ve featured what I’ve always called ‘Geometric Photo Collages’ on my site numerous times before in inspiration showcases and tutorials. It turns out they’re actually known as Polyscapes in the design community, which is a fitting name considering they’re a combination of polygon shapes and landscape or cityscape photographs. I always have fun creating these images, so I jumped at the opportunity to produce a fresh tutorial on the topic. In today’s step by step guide I’ll take you through the process of creating an abstract polyscape in Adobe Photoshop. The final effect is achieved with just a few simple techniques, so hopefully this will be a great one for beginners to experiment with.
Watch the video
Subscribe to the Spoon Graphics YouTube Channel
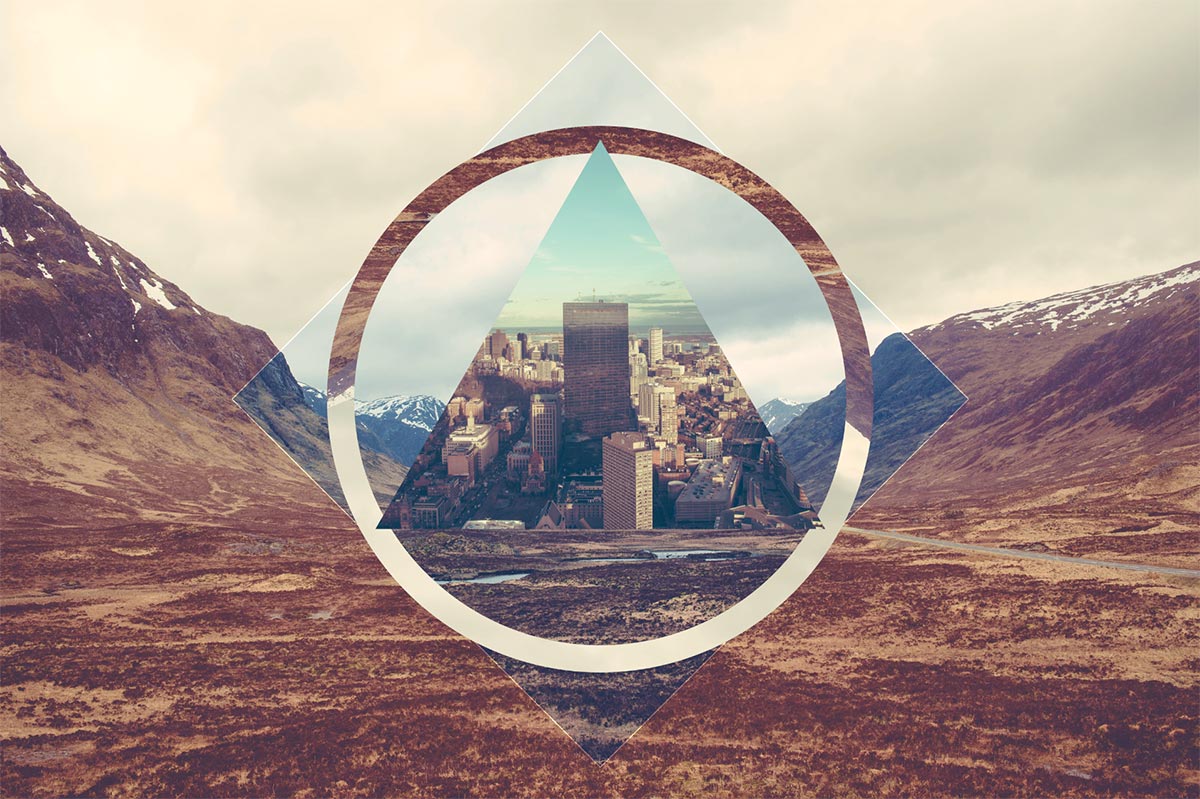
The image I’ll be creating as part of this tutorial combines the photographs of rural Lochearnhead and a contrasting cityscape. Polyscapes often make use of beautiful landscape images, or even pictures from outer space. These photos are then cut and pasted into a digital collage, using Photoshop’s editing tools rather than scissors and glue. The addition of geometric shapes add an abstract element to the artwork, I’m using a mix of squares, circles and triangles. Follow these steps to recreate this design, or experiment with different assets to achieve a unique result every time!
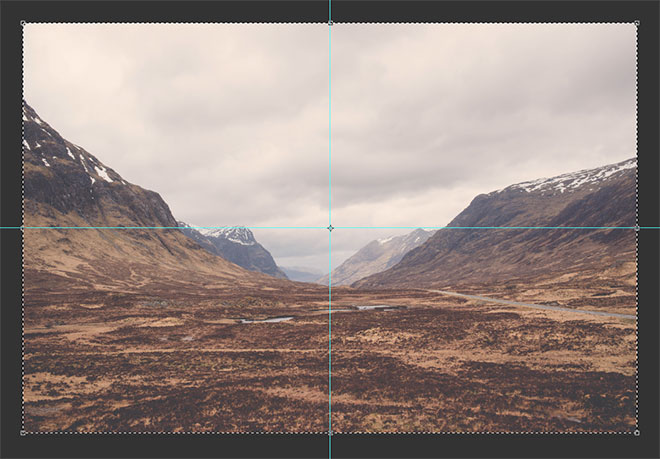
Begin by finding a base photograph to work with. I used the wonderful Unsplash.com to find this landscape photograph of Lochearnhead by Drew Collins. Open the image in Photoshop and centre two guides on the screen. The method I prefer is to Select All (CMD+A, or CTRL+A on Windows), right click and select Transform Selection, then drag out guides from the rulers and snap them into place onto the selection handles.
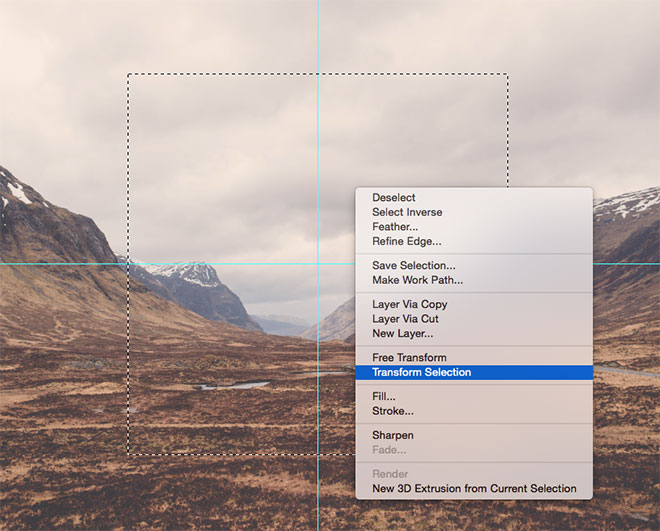
Select the Rectangular Marquee tool and hold the Alt and Shift keys while dragging out a square from the centre of the guides, then right click and select Transform Selection.
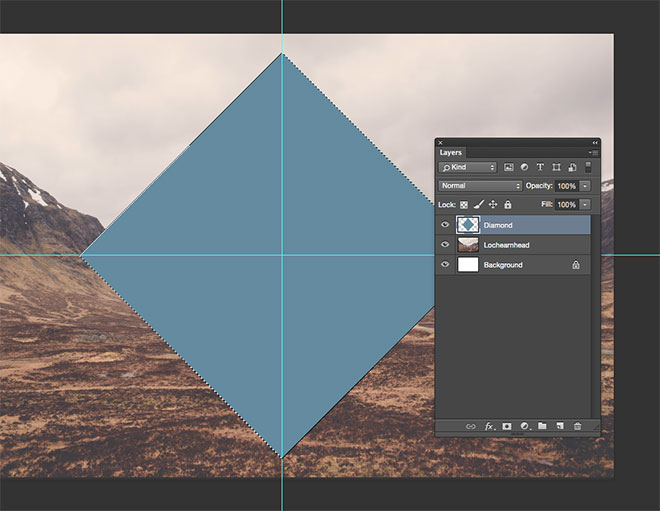
Rotate the selection by 45°, then choose a fill colour from the foreground colour picker (such as #51788f) press CMD+Backspace to fill the area. Use the shortcut CMD+D to Deselect.
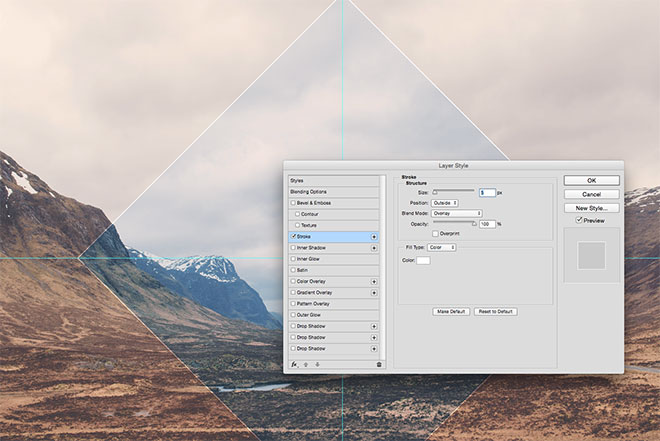
Change the blending mode of the square layer to Overlay, then double click the layer and add a Stroke layer style. Set the options to 5px, Outside, Overlay and White (#ffffff).
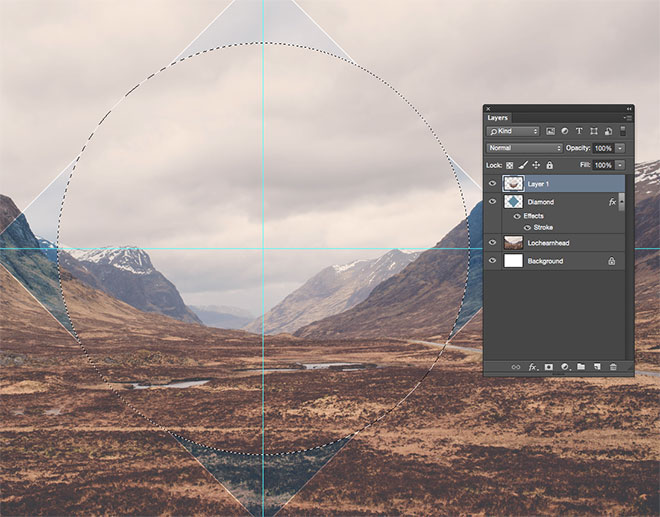
Select the Elliptical Marquee tool and draw a circular selection from the centre that’s slightly bigger than the diamond/square shape. Activate the photograph layer and take a copy using CMD+C, then paste the clipping onto a new layer and drag it to the top of the layer stack.
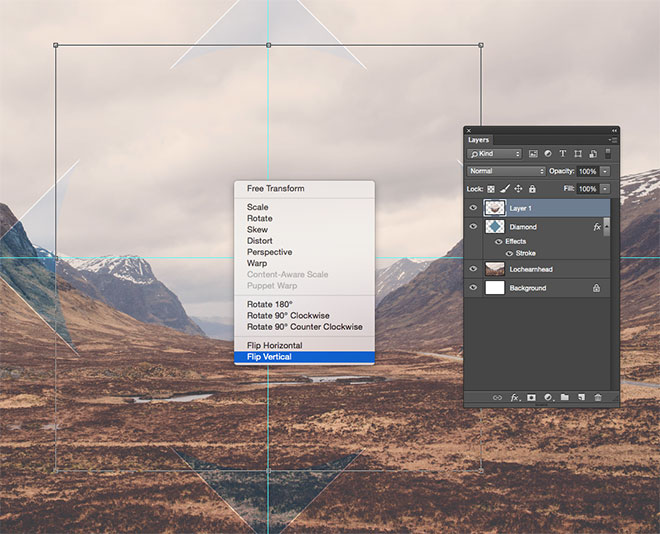
Press CMD+T to Transform, then right click and select Flip Vertical from the menu. This mirrored effect is commonly used in Polyscape images.
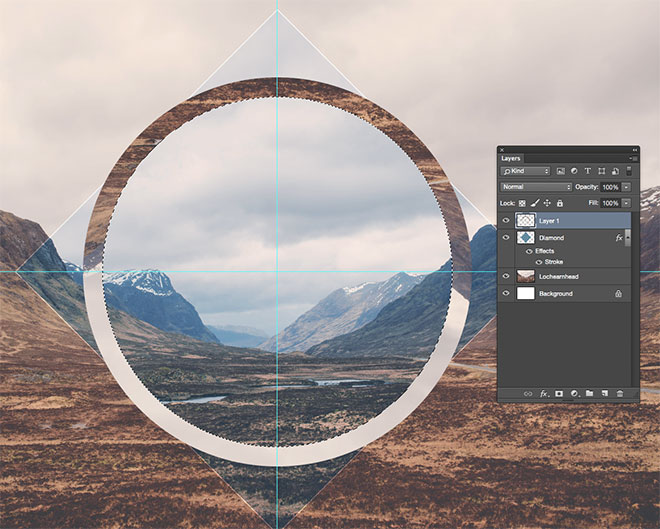
Hold the CMD key and click the thumbnail of the circle layer to loads its selection. Right click and choose Transform Selection, then scale the selection down while holding Alt and Shift. Hit Enter and delete the selection to leave a ring shape.
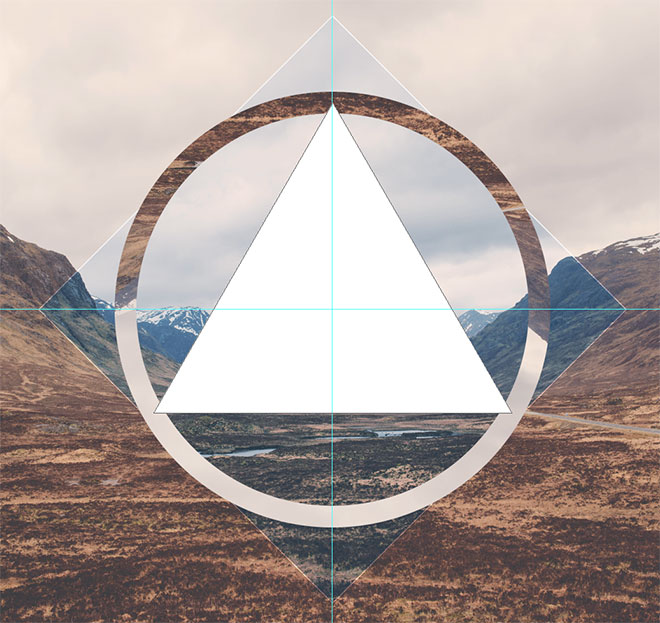
Choose the Polygon tool and set the number of sides to 3 in the top toolbar. Drag a triagnle shape from the centre guides while holding Shift (no ALT key this time!). Enlarge it enough to overlap the circular ring.
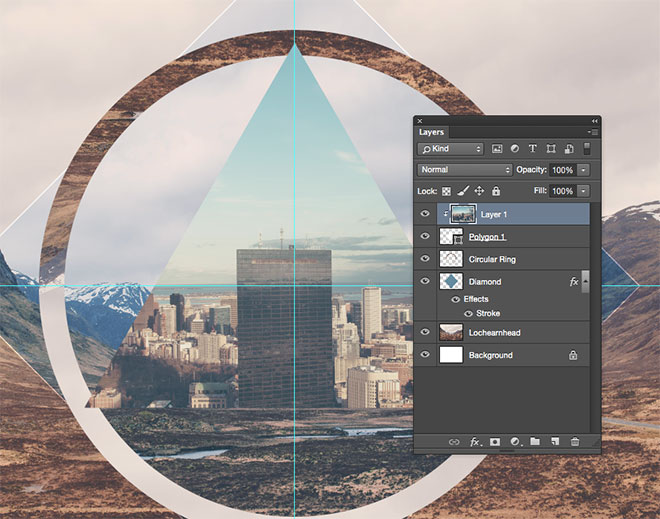
Find a second image to use in the polyscape, such as this city photograph by Anthony Delanoix. Paste it into the Photoshop document, then hold the ALT key and click between this layer and the polygon layer below it to create a clipping mask.
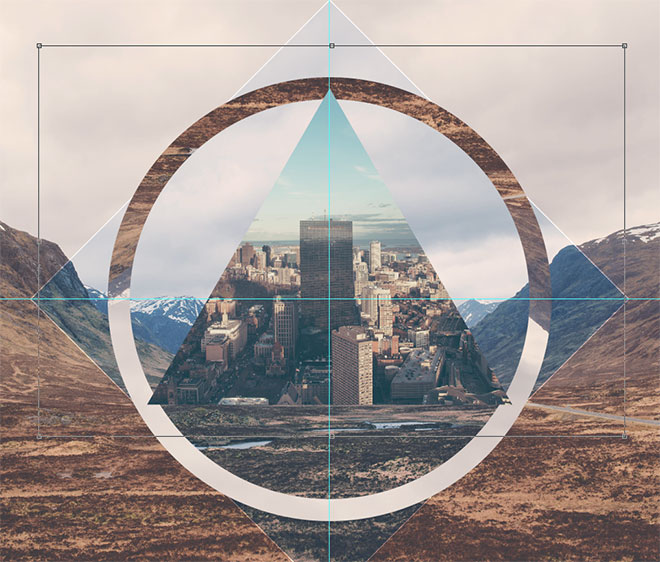
Use the CMD+T Transform shortcut to scale the cityscape to size so its contents fill the triangle shape.
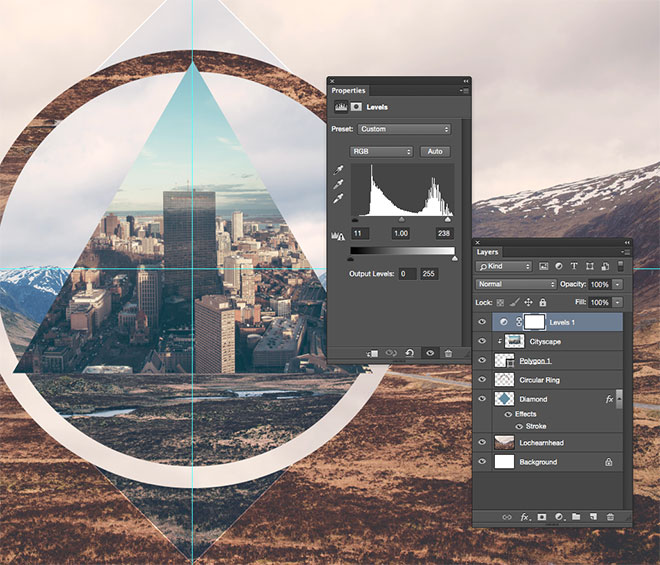
The Polyscape layout is complete, now let’s add some colour grading and finishing touches. Add a Levels adjustment layer and move the shadows and highlights sliders inwards slightly to boost the contrast.
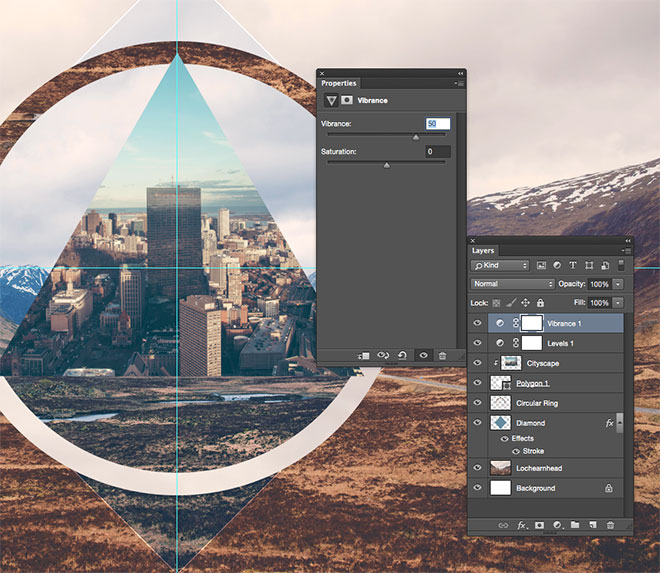
Add a Vibrance adjustment layer and increase the Vibrance level to around 50 to enhance the colours.
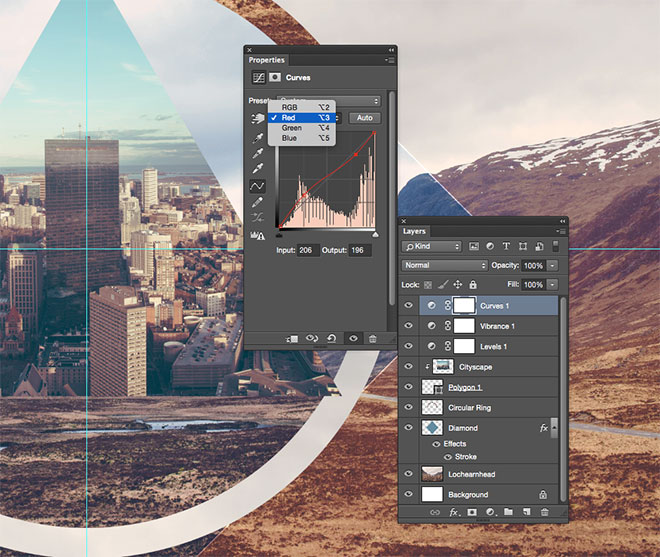
Finally, add a Curves adjustment layer and change the drop down menu to select only the Red channel. Move the curves line to increase the reds in the shadows and decrease them in the highlights.
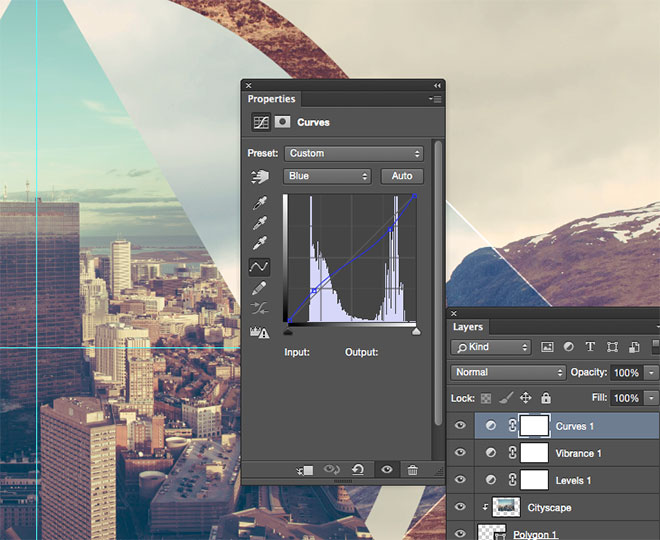
Repeat the process with the Blue curves channel, keeping an eye on the live preview to alter the colouring effects to suit your preference.
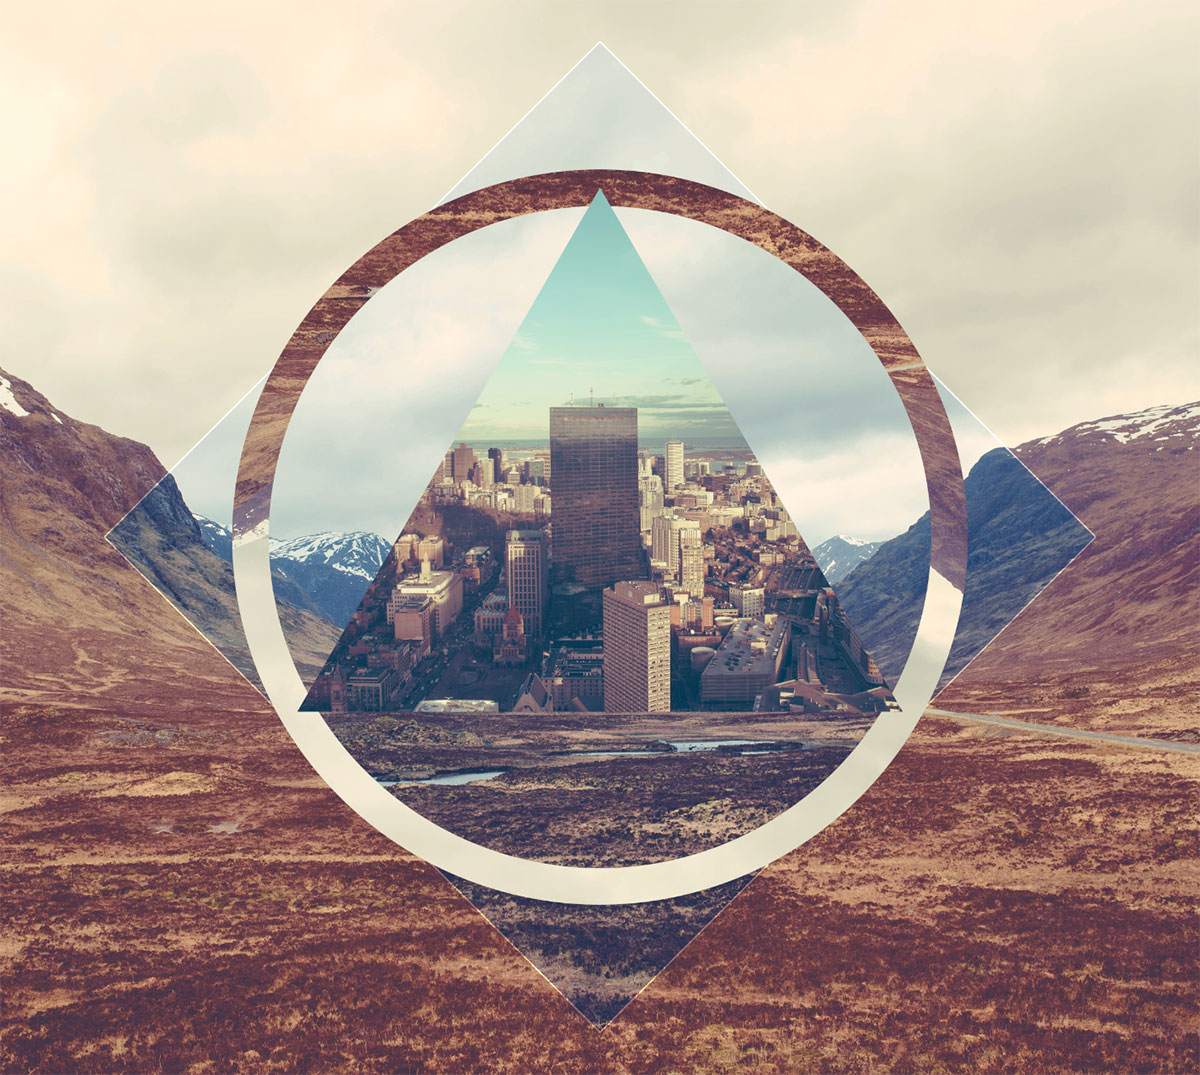
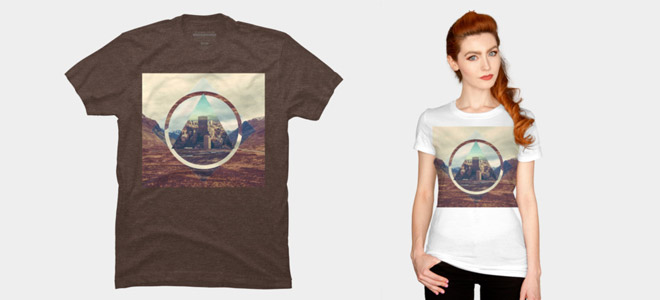
The final artwork boasts all the popular aesthetics of the Polyscape style, with a mix of landscape and cityscape images, geometric shapes, mirrored clippings, colour overlays and grading effects. Use these steps to create a series of Polyscape artworks each with different shapes and photographs, or try out my Geometric Collage tutorial for a similar effect that combines shapes and images.
Love this design? Get the t-shirt!

Great tutorial mister Chris, thanks a lot.
Thank you very much!
A very nice funny tutorial. I learn some new tricks.
Thank You
Thank you Garder. I’m glad you learnt something new!
This was very helpful&cool thank you very much :)
Pleased to hear you found it helpful!
A very nice tutorial. Thank you very much!!!
Thanks monique!
Great tutorial, I’ve learned a lot. Thank you!
Great! Thanks Margie
I’m a bit of a Photoshop newbie, so the instructions were sometimes a bit vague, but I managed to figure things out, and created a pretty striking image. Thanks Chris!
Hi Anastasia, I will see what I can do :). Link me to your design if you wish to share
this tutorials is great one for beginners (like me). With this one and the futuristic neon one, i will create an amazing invitation card for the Vzug party.
Thanks a lot
I’m glad you found the tutorials useful and let me know how your invitation card turns out!
Great tutorial. It’s always good to learn something new :)
Thanks Tom, it’s great you learnt something new!
Hi Chris I really love this tutorial. Pls I wanna download AI, can you please help me with that. Thanks. Reply me via my email: michaelayodele24@yahoo.com
Hi Chris, thank you so much for doing these tutorials – this one is awesome. Curves are hard to master! Mine end up all over the place…
Hi jael, I’m glad you like the tutorials! I’m sure you will master the curves soon! :)
Merci Chris, c’est intéressant et très bien expliqué.
J’essaierai de faire d’autres ” polyscapes ” avec des images différentes mais en suivant votre tutoriel, qui est comme toujours bien détaillé.
Merci !
http://imagizer.imageshack.us/v2/800x600q90/923/sthdpM.jpg
Thank you! I’m glad to hear you find the tutorials interesting and clear to follow :)
Nice in depth tutorial – Keep it up!
Thank you Silas!