Videos
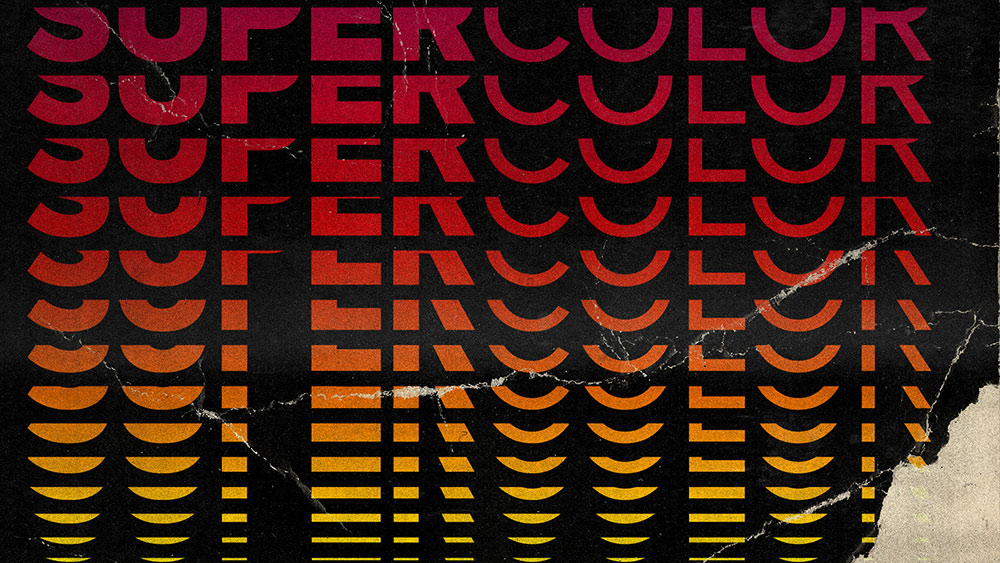
In today’s tutorial I’m going to show you how to create a colourful text effect with several stacked text elements that are progressively spaced further apart and transition through the colour spectrum to produce a rainbow effect. It reminds me of the kind of retro design you might see on an old VHS tape box or an ad for an 80s technology brand. Illustrator’s Blend Tool will be used to create the basic stacking text effect, but I will also show you a trick to alter the spacing of the text with a cool easing effect and show how to give the vector artwork the look of an old, damaged VHS tape box by adding textures in Adobe Photoshop.
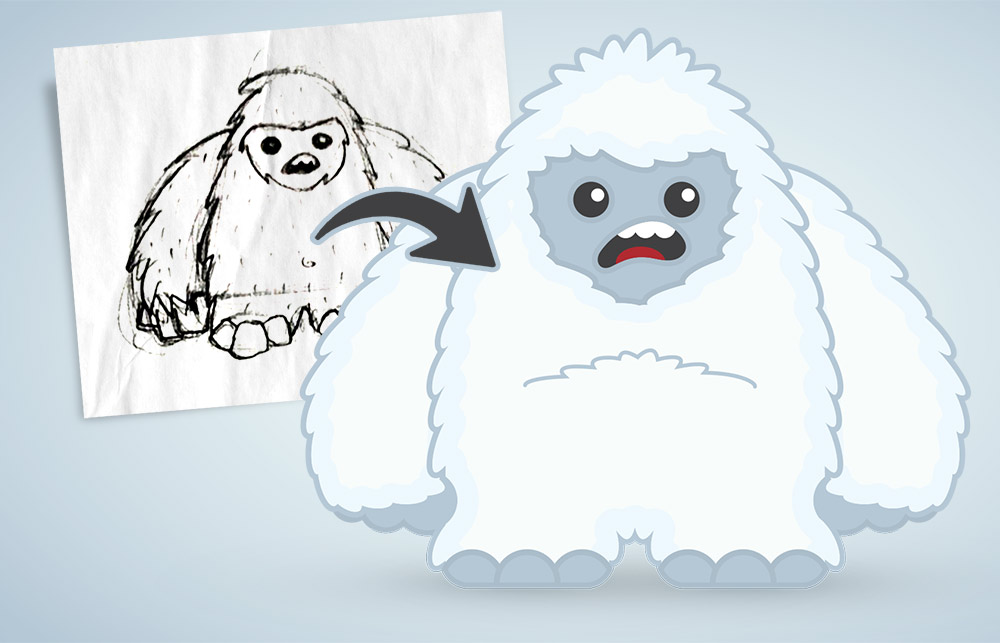
In today’s Adobe Illustrator tutorial I’m going to show you my process of converting a rough sketch into a vector illustration by turning one of my old doodles into a cute yeti cartoon character. By tracing the initial sketch with as many basic shapes as possible, we can achieve a simple ‘flat’ illustration style. The addition of colour fills and strokes using a cold palette of pale blue hues really brings the character to life, then I’ll show you an easy shading technique that enhances your illustration while retaining the simplified ‘flat’ vector look.
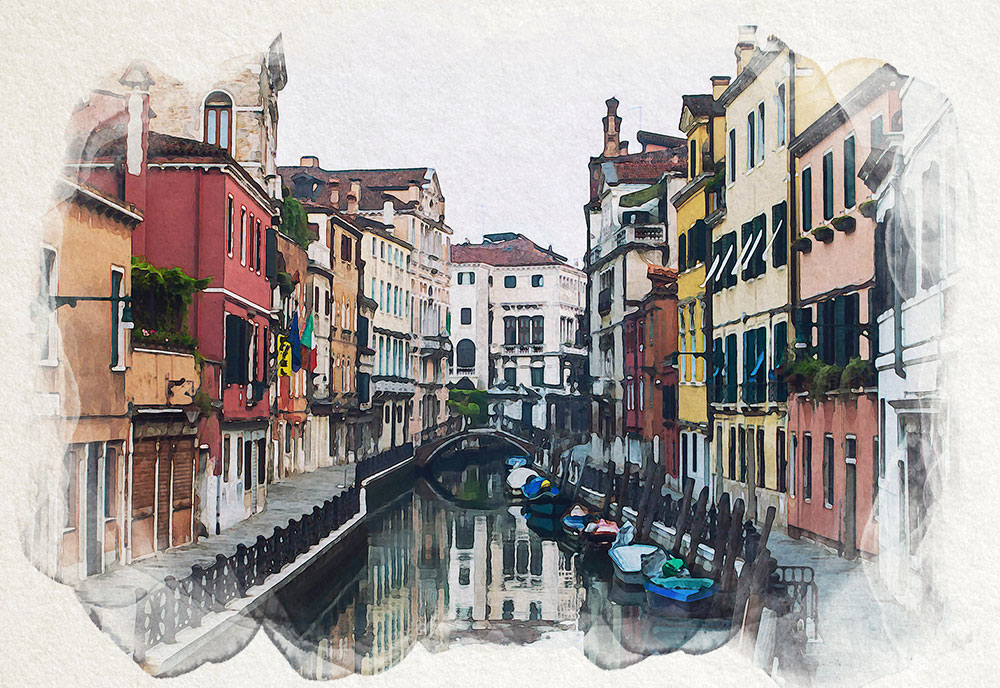
In today’s Photoshop tutorial I’m going to show you a clever combination of Photoshop filters that converts an image into a realistic looking watercolour painting effect. A range of built-in filters will produce the foundations of the effect, then the addition of a paper texture and some finishing touches with a watercolour Photoshop brush pack adds an extra level of realism to produce a convincing final result.
In today’s Adobe Illustrator tutorial I’m going to show you how to create a geometric pattern using tessellating triangle shapes with a randomised colour scheme. This detailed mosaic effect is ideal for adding colourful backgrounds to your designs, or even as interesting abstract poster art. I’ll share a secret that helps to dramatically speed up the process by randomly adding colour fills to each shape automatically, and keep watching to see how this pattern can be processed to seamlessly repeat across an infinite area.
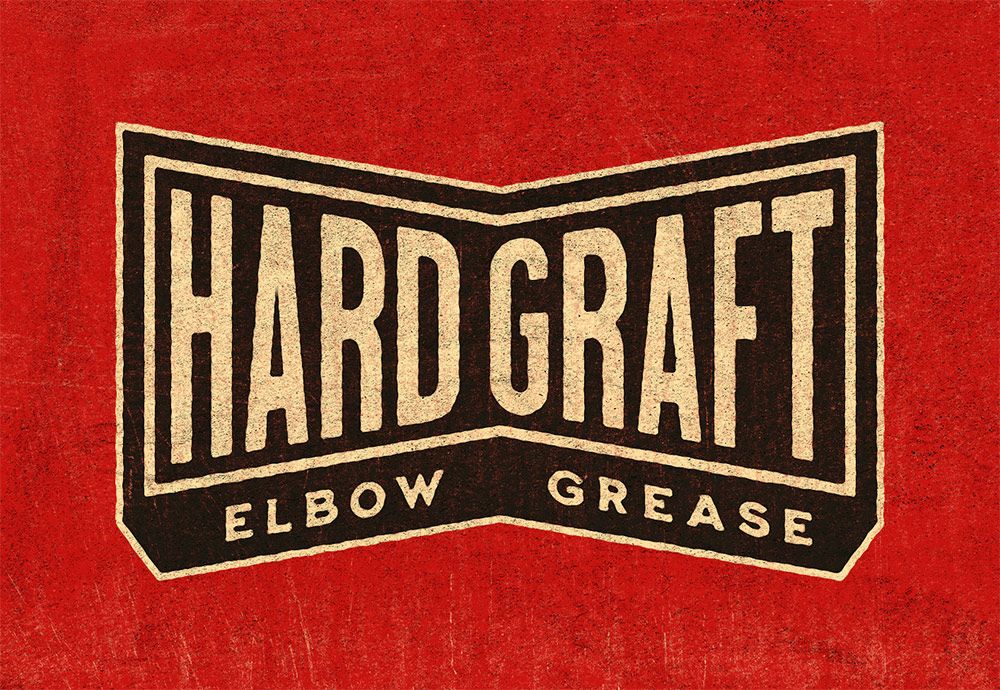
I recently came across the website Junk Type, which is a compilation of nostalgic labels and packaging designs from various antique household products. Seeing all those old brand logos gave me the inspiration to make my own, so in this tutorial I’ll take you through the process of creating a retro logo design for the fictional brand ‘Hard Graft Elbow Grease’. Many of those original logos contained the brand name within a geometric shape, so we’ll use Illustrator’s type and shape tools to construct a similar layout. After decades of wear and tear those old product boxes are aged and damaged, so watch until the end to discover some additional techniques to add distressed effects to your design to give it a true retro look in both Photoshop and Illustrator.
In today’s video tutorial I’m going to share some useful techniques for creating a glowing effect in Photoshop to make objects appear as if they are illuminated. I’ll be applying the effect to the antlers of a deer in this example to create a surreal fantasy image, but the same process can be used to add lighting effects to all kinds of objects within a scene.


