Videos
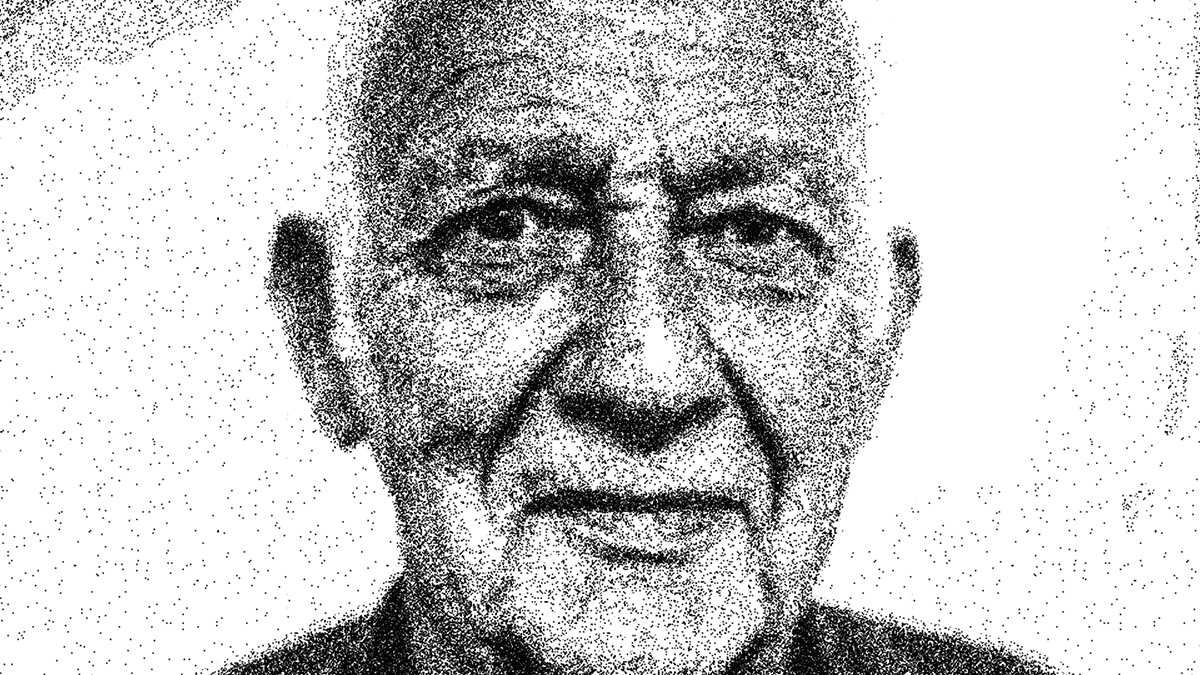
In today’s Adobe Photoshop video tutorial I’m going to show you a technique I come up with to replicate those intricate stippled illustrations that are made out of thousands of tiny dots, but without the tedious process of dabbing each dot with a pen.
When it comes to traditional art styles like this, the best results are always achieved by painstakingly working by hand for hours on end, but I think this digital effect actually looks pretty authentic. We’ll create a series of patterns which will help us fill out the spread of dots much faster, then use some simple filters to apply the stippling to an image.
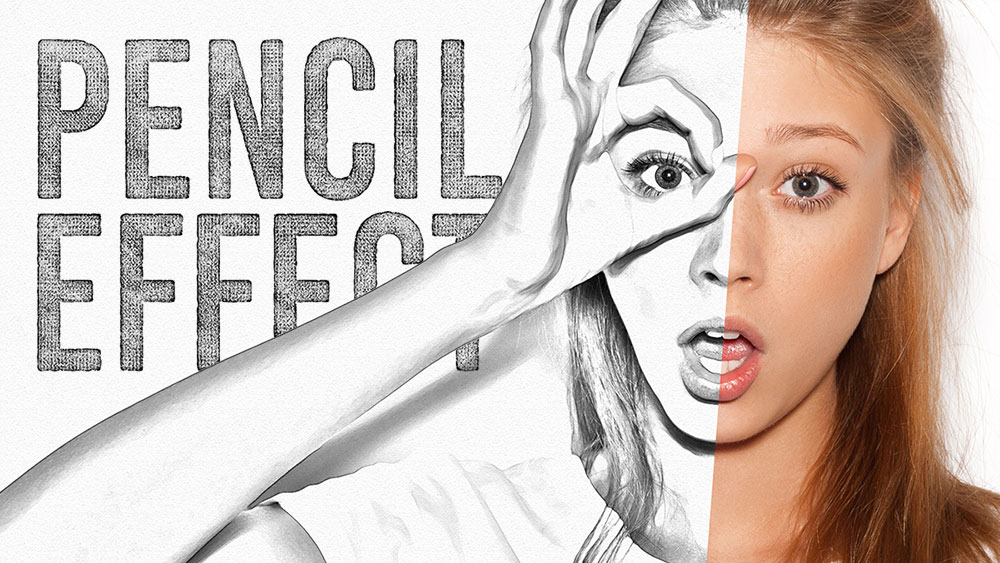
In today’s Adobe Photoshop video tutorial we’re going to create a pencil sketch effect that quickly converts a photograph into a realistic drawing. The result features a mix of rough sketch lines and shading, along with a subtle paper texture which makes the effect much more believable. Choose between a traditional graphic pencil appearance, or toggle off the Black and White adjustment layer to produce more of a coloured pencil crayon look.
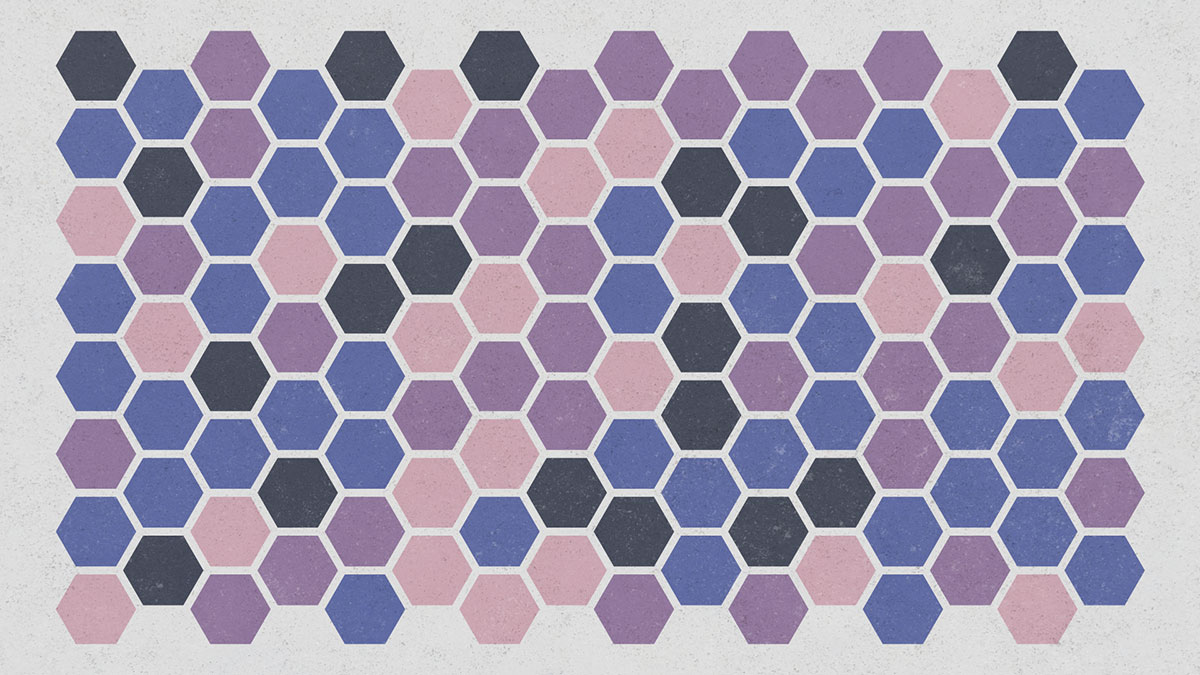
In today’s Adobe Illustrator video tutorial we’re going to create a simple geometric pattern using a bunch of hexagons and a nice colour scheme, finished off with some subtle textures. I’ve done a couple of tutorials based on this style of artwork in the past, but I’ve since been enlightened about a third party script that alleviates the tedious process of manually applying the colours, which is the technique I showed in my previous videos.
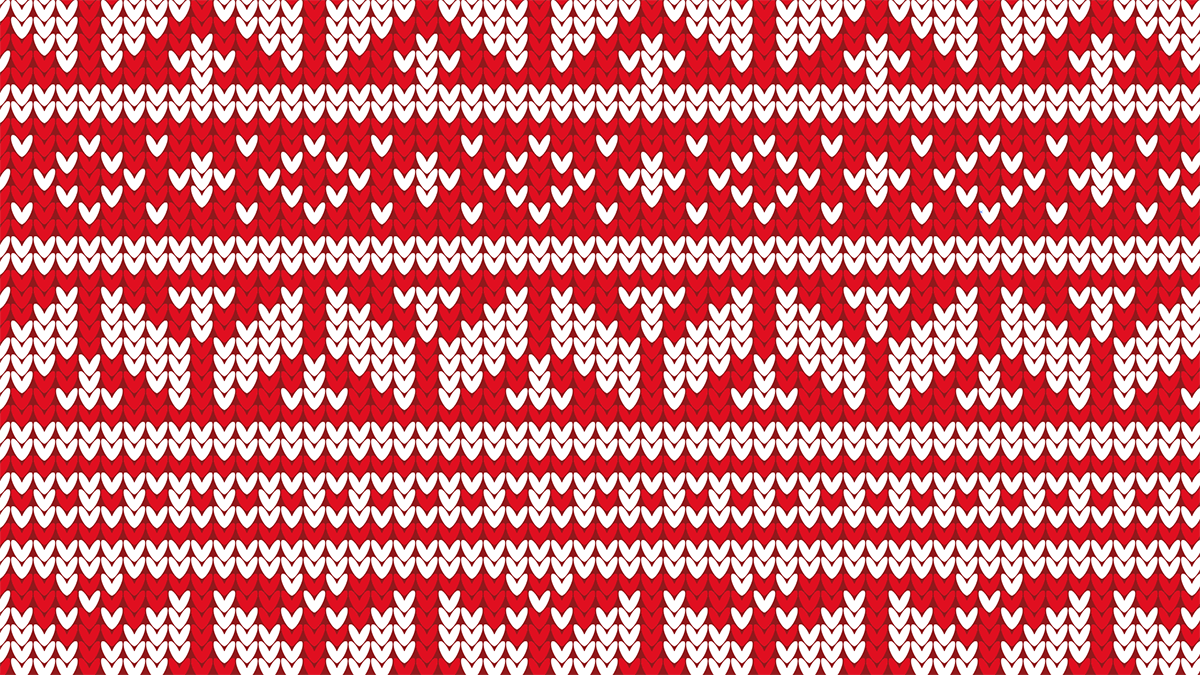
It’s Christmas Jumper day on the Spoon Graphics YouTube Channel so grab your virtual knitting needles because we’re going to make ourselves a garish fair isle style pattern in Adobe Illustrator. We’ll begin by creating a tiny stitch-like graphic, which we’ll then re-colour using the Live Paint tool to build up an intricate festive knitted pattern. The kind of pattern you create is entirely up to you. It all depends on much patience you have to sit and craft complex patterns, or even scenes of reindeer, Christmas trees and snowflakes out of the stitches.
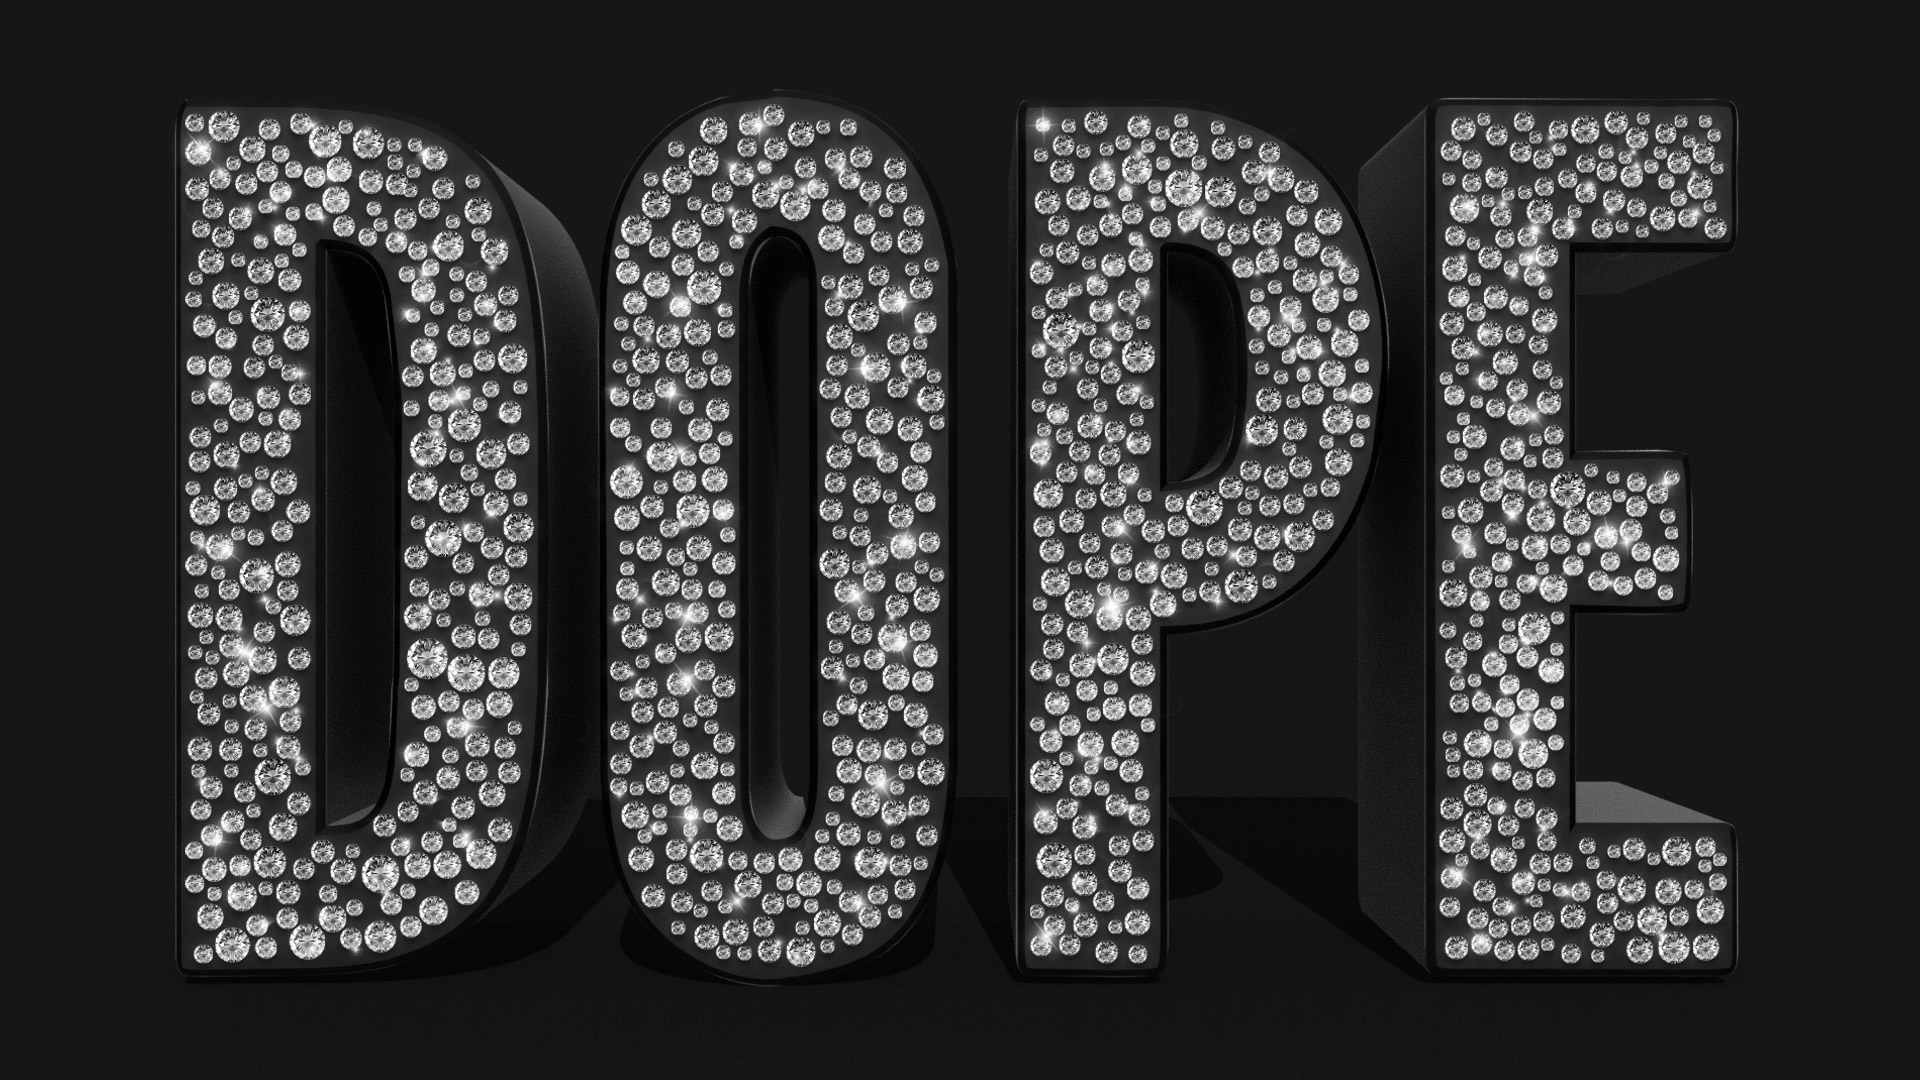
In today’s video tutorial we’re going to combine the powers of Adobe Photoshop and Adobe Illustrator to create a diamond embellished text effect. Illustrator will be used to produce the initial layout, with the help of a couple of third party scripts, then we’ll transfer the artwork over to Photoshop to add some finishing touches and really bring the effect to life.
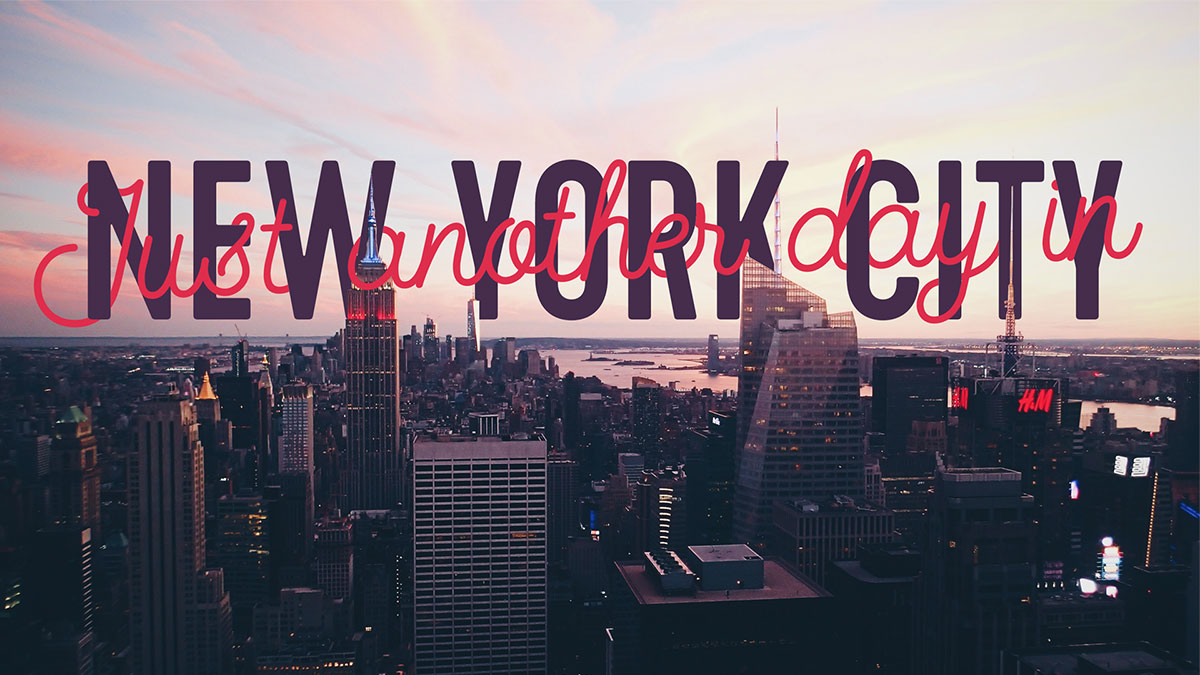
I recently created some artwork for my free subtle grunge brushes where I overlapped some text to make it look like the letters interweaved. I thought it looked like a cool effect so why not make a tutorial?! So in today’s video I’ll take you through the process of creating a fun design that combines the wording “Just another day in New York City”. The words ‘Just another day in‘ are set in a cool mono weight script, which are overlaid against ‘New York City‘ in a tall bold sans serif. We’ll then use a Layer Mask to erase certain bits of the text to give the impression that the script weaves in and out of the other letters. To finish off the artwork, we’ll also use a similar technique to place the typography within a scene of New York City, masking out the text so it seems to sit behind the skyscrapers.

