Tutorials
In today’s video tutorial I’m going to share some useful techniques for creating a glowing effect in Photoshop to make objects appear as if they are illuminated. I’ll be applying the effect to the antlers of a deer in this example to create a surreal fantasy image, but the same process can be used to add lighting effects to all kinds of objects within a scene.
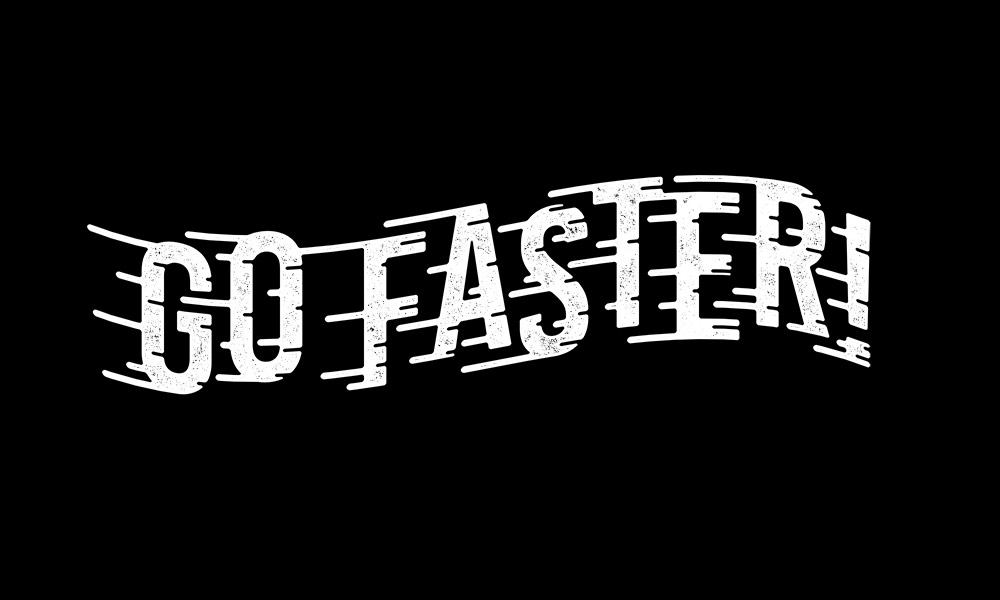
In today’s Photoshop tutorial I’m going to show you how to create a ‘speed lines’ text effect. This tutorial is an alternative to my original Speed Lines Type Effect tutorial for Adobe Illustrator from back in 2017. In that video, I showed how Illustrator’s shape building tools helped to add the fast movement lines, but I actually found this method for Adobe Photoshop to be much easier. The result isn’t a vector lettering illustration, but the use of Photoshop does give us the opportunity to easily add texturing effects.
In today’s tutorial I share my process of designing a business card and highlight some important considerations when designing for print. It’s super important that you get things like bleed, color mode and resolution right when you’re creating your artwork, otherwise you might end up having your files rejected by the printer, having to start again from scratch or even worse, receiving hundreds of prints back that look nothing like your design!
In today’s Adobe Illustrator tutorial I’m going to share some useful techniques for creating a vintage style engraved text effect just like the illustrations you see on paper money or banknotes. By applying transformations and effects using Illustrator’s Appearance panel we can preserve the live text, rather than have to first outline the text into shapes, which means it can’t then be edited. Using this same technique, you can combine various colours and effects to craft a variety of retro and vintage text styles, just like my free download of Retro Text Effect Graphic Styles for Adobe Illustrator.
In today’s Adobe Illustrator tutorial I’m going to share some tips and techniques for creating vintage badge logos. This popular design style is based on the way brand identities were created in previous centuries, with hand-lettered layouts that clearly described the company, unlike modern logo designs of today that are condensed into a simple icon graphic. I’ll show you how Illustrator’s vector tools can help you create interesting vintage-style logos, combining text effects and shapes to build the layout. My artwork will be based on a fictional 19th-century denim workwear brand called Hamilton, similar to the early days of Levis or Carhartt, but this vintage style has become popular for all kinds of logos, packaging and T-shirt designs.
In today’s Adobe Illustrator tutorial I’m going to take you through the process of creating this cool type-based artwork that combines wavy distortions with 3D text effects. It’s ideal for creating interesting quote art or visually interesting poster designs. We’ll begin by applying the wavy distortion to the type, then I’ll show you how you can really enhance your text effects with Illustrator’s 3D tools. To turn the vector art into a grungy poster, we’ll finish it off with one of my photocopy textures from Spoon Graphics.


