Videos
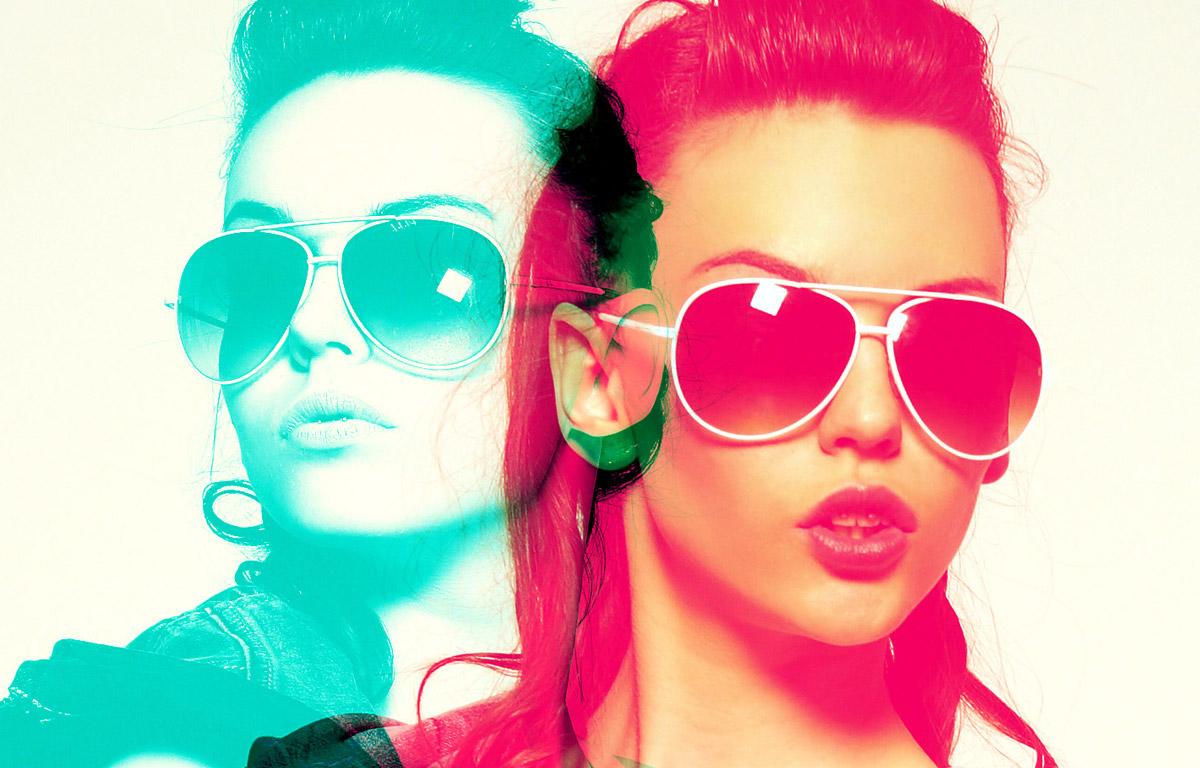
My most popular Photoshop video tutorial on the Spoon Graphics YouTube channel is my guide to creating the trendy Double Exposure effect, where two photographs are blended into one image to create a surreal picture. I’ve since noticed that a new style of double exposure photography is becoming pretty popular, where two different coloured images are overlaid to create Double Color Exposure effect. Follow along with this tutorial as I show you how to create this effect using two model poses with the Channels in Photoshop.
The kinds of tutorials I love creating are those that produce a really cool result from quite a simple tool or technique. The artwork I’ll be showing you how to create today fits right into that category. It makes use of Photoshop’s Liquify tool, along with a few additional edits to create the kind of trendy artwork that’s popular on album covers or as abstract backgrounds that could form part of a brand. One of the fun things about this process is you can achieve a different result every time, either by using an alternative base image, or even by just using the Liquify brushes randomly.
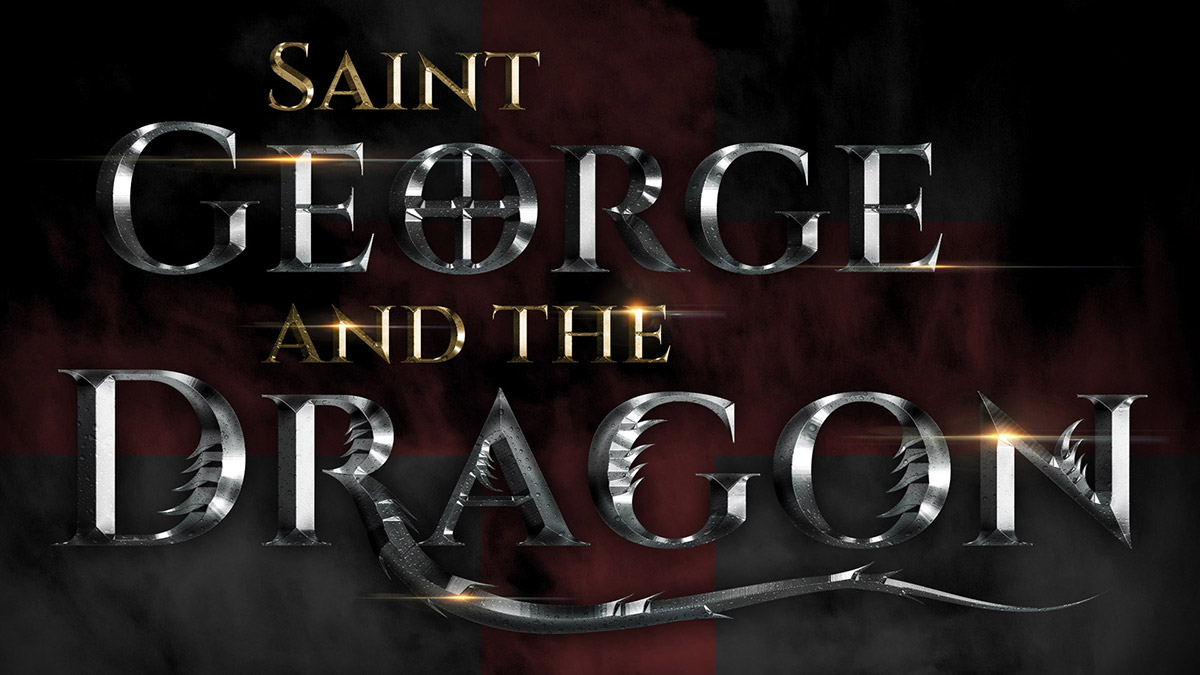
Today’s Adobe Illustrator and Photoshop video tutorial is based on the metal text effect from the title artwork for the movie Fantastic Beasts. It’s a really nice shiny metal, almost chrome like effect with a mix of water droplets, lens flares and some really cool custom type that adds sharp scales to depict the scary fantasy beasts the movie is based around. I’ll show you how I made my concept artwork for Saint George and The Dragon in a similar style, from the type customization in Illustrator through to the creation of the metal effect using Photoshop layer styles.
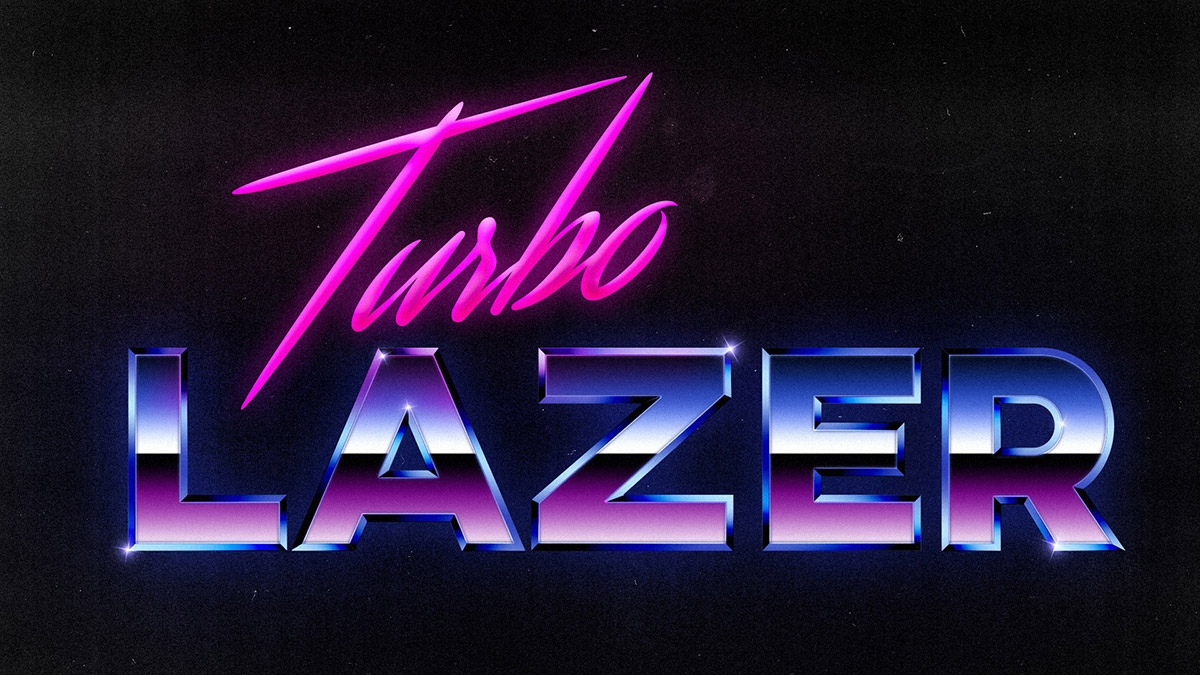
In today’s Photoshop tutorial we’re going back to the 1980s to create a rad text effect based on those 80s style chrome logos we used to see for games, movies, TV shows and more. The overall design incorporates the classic bold chrome text effect with a hot pink script font. It’s all done in Photoshop using a mix of layer styles and colour overlays to reproduce the shiny metal effects and vibrant colours.
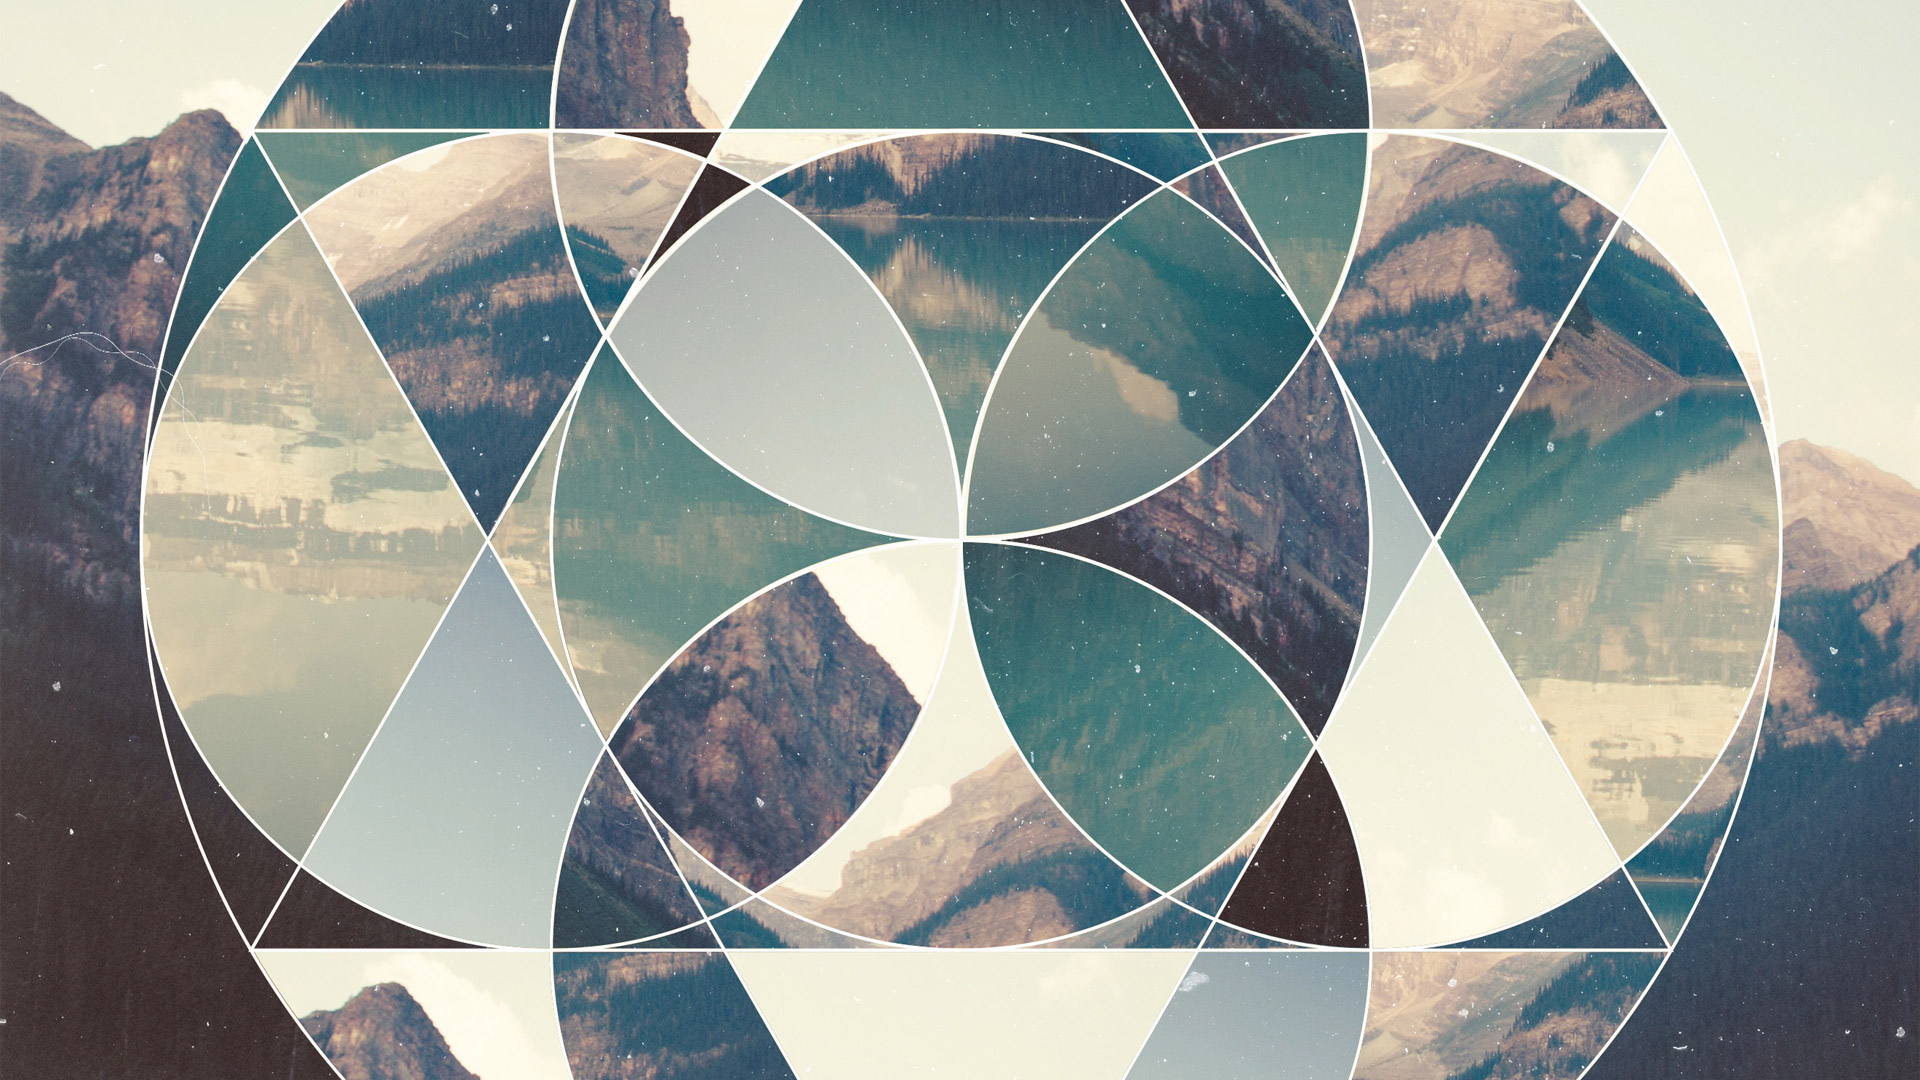
In today’s video tutorial we’re going to combine the powers of Adobe Illustrator and Adobe Photoshop to produce a trendy geometric photo collage. This style of artwork has a somewhat retro vibe and it’s the kind of art you would see on album covers or as a series of abstract poster prints. We’ll be using Illustrator for its powerful shape building tools to construct a geometric vector pattern, then we’ll transfer the artwork over to Photoshop to use the image editing tools to digitally cut and paste snippings of a photograph into a cool looking collage.
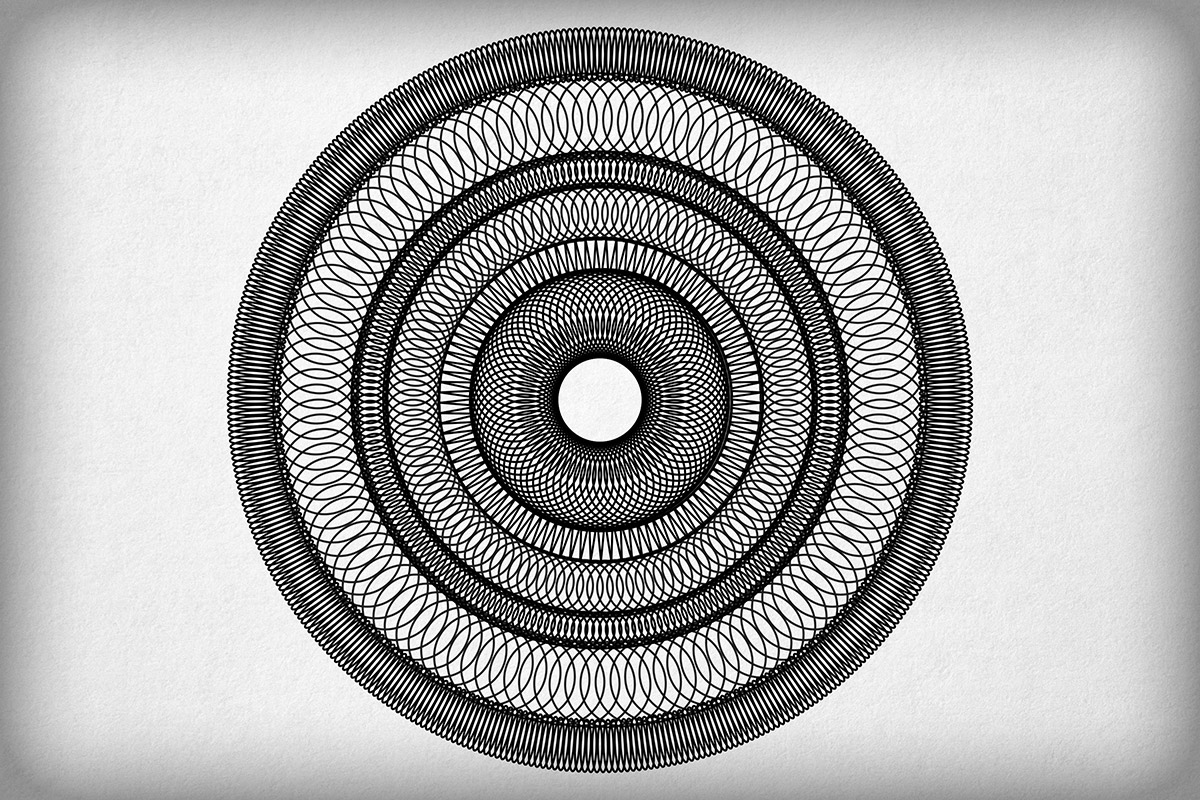
In today’s video tutorial we’re going to take a look at some nifty tricks in Adobe Illustrator that can be used to create some extremely detailed patterns. I’ll show you how to make a complex circular pattern that consists of thousands of intricate paths that loop and overlap each other to produce a variety of bands that form the overall circle. It might look super complicated, but it’s actually all done with Illustrator’s Blend Tool!