Videos
In today’s Adobe Illustrator tutorial we’re going to build a vintage logo design. Mine is based on inspiration from my recent Canada road trip, but you’ve probably seen these kinds of vintage style badges and emblems scattered across inspiration galleries.
We’ll use some ready made graphics from my free Wilderness Logo Survival Kit, which will allow me to focus mostly on the typographic aspect in this tutorial, where we’ll use a mix of type based tools in Adobe Illustrator to construct the layout.
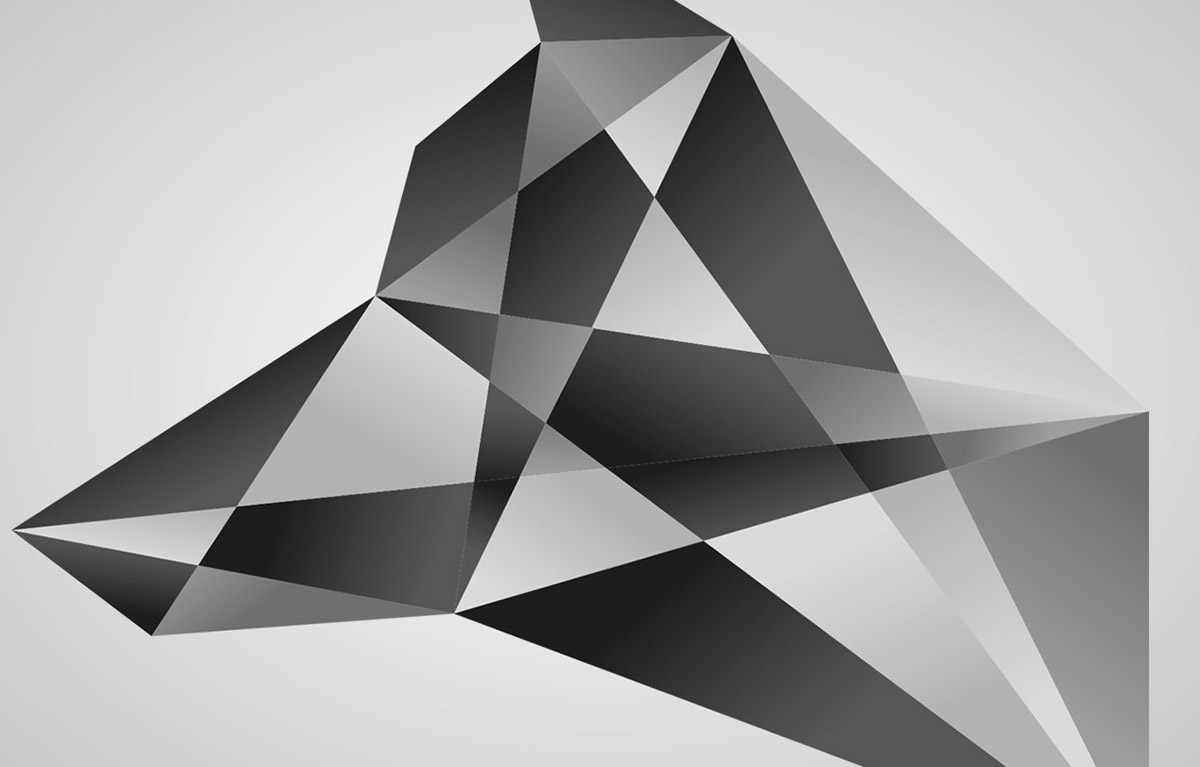
In today’s Adobe Illustrator tutorial we’re going to create a vector polygon style logo graphic that’s made up of numerous shapes, each with a gradient fill which gives it a faceted diamond kind of appearance. I’m using the image of a wolf’s head in this tutorial, but the same process can be used to create all kinds of abstract graphics.
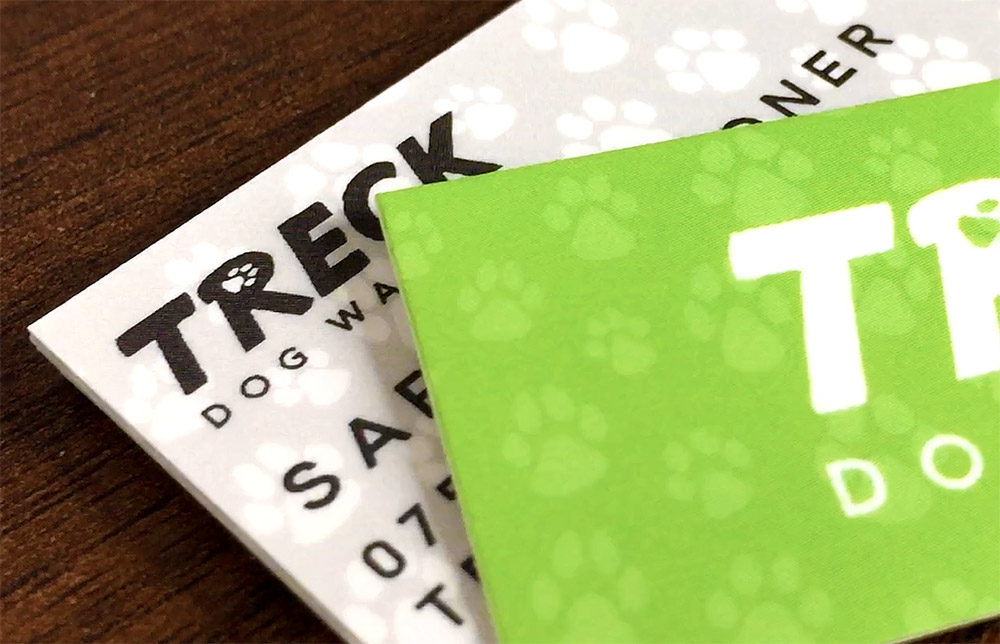
In today’s Adobe Illustrator tutorial I’m going to take you through the entire process of designing a business card, from the initial print file setup through to receiving the freshly printed business card product. Using this live project for Treck Dog Walking as an example, I’ll show you what to look out for when creating your designs and explain how your digital design is converted into a physical CMYK print.
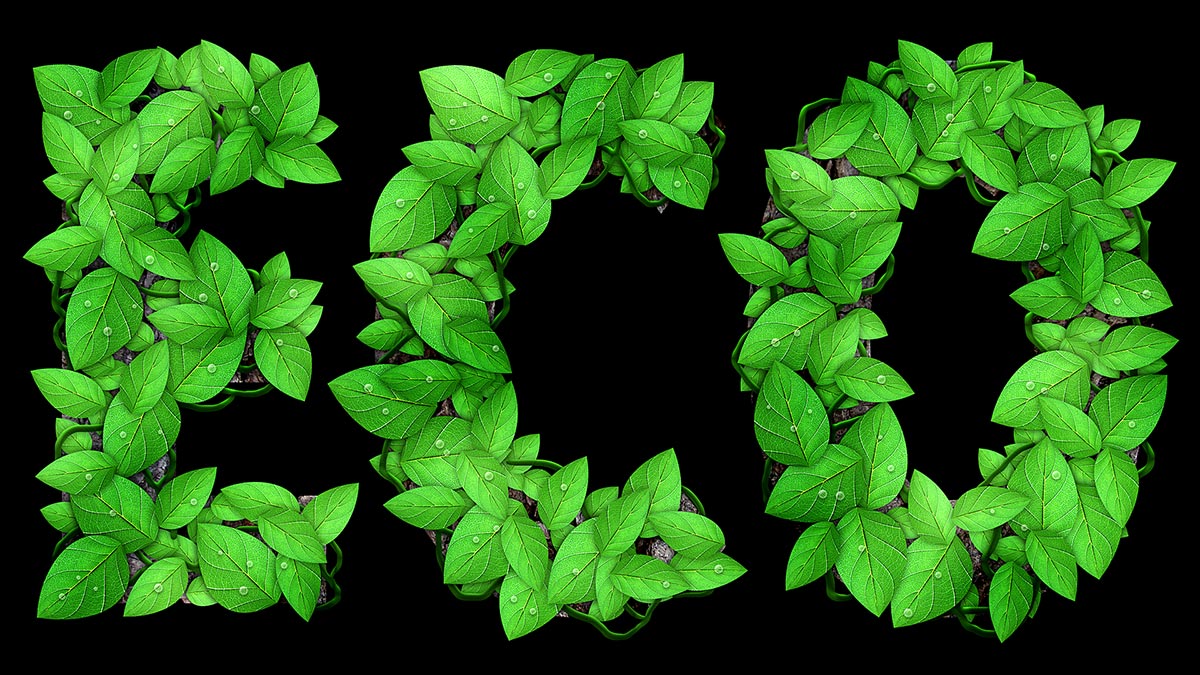
In today’s Adobe Photoshop video tutorial I’m going to show you how to make this Eco text effect, which is made up of loads of tiny leaves, along with vines and water droplets. This text style is originally from a logo I created for BioThemes back in 2010, but I recently came across it in my archives and figured it would make a great topic for a tutorial. It’s a great example of how patience is the key ingredient to creating cool artwork. It doesn’t make use of any complicated tools or techniques, but the result is a really complex.
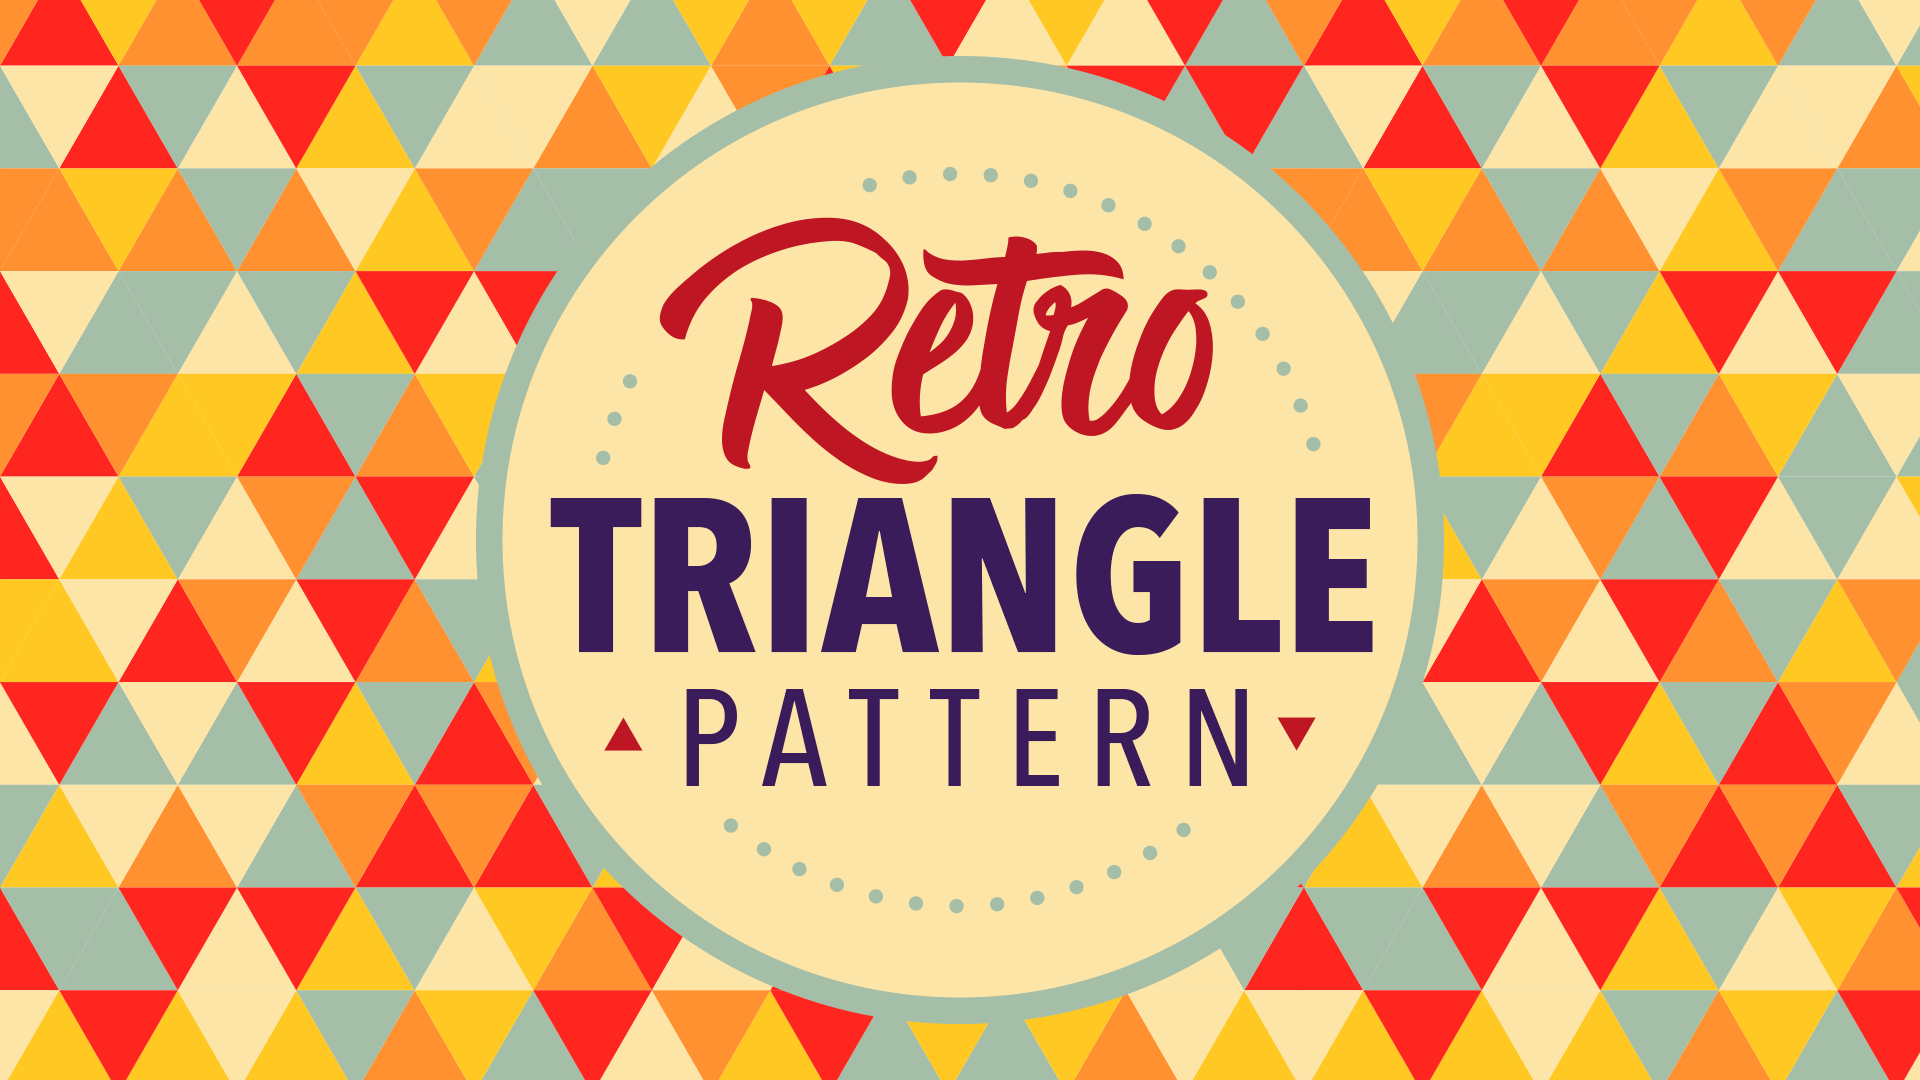
In today’s Adobe Illustrator video tutorial we’re going to use Illustrator’s powerful vector tools to make a retro style triangle pattern, which seamlessly repeats a series of randomly coloured shapes to cover an infinite area. Being vector artwork means the result is crisp and sharp, and can even be resized and re-coloured to suit different applications, all without affecting the overall quality as it would a pixel based pattern.
Today’s video tutorial is all about Cinemagraphs, which are cool animated GIFs where the motion is restricted to a specific area of the image. You can make Cinemagraphs from any video footage as long as there’s a combination of stationary objects and looping elements. Ideally it will have been filmed using a tripod to eliminate shaking or moving too. Clips of escalators, subway trains, or some kind of repetitive human action all produce great results, especially if there’s other areas of the shot that can be frozen to enhance the effect.

