Tutorials
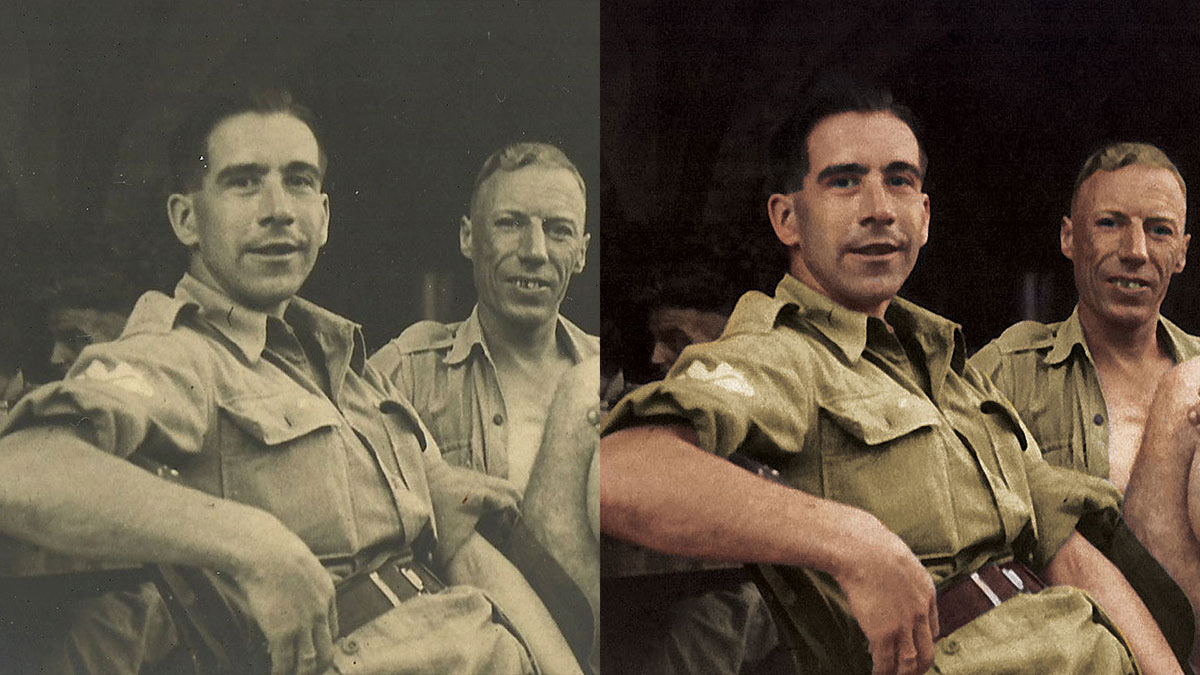
I spent some time the other day experimenting with colorizing a black and white photograph. The image I worked on is a photo of my Grandad during WW2. The original has that washed out sepia look to it, as you would expect from a snapshot from the 1940s. But after scanning and processing it in Photoshop, it’s brought to life in full colour and much better contrast, which really helps you imagine the scene for real.
This week I posted a showcase of Day of the Dead inspired designs and artworks, which gave me the inspiration to experiment with a sugar skull illustration of my own. In real life, these are little sweet treats that are decorated with various floral patterns and shapes, but they’ve also become a popular subject for vector designers. In today’s tutorial I’ll take you through the process of creating your own vector sugar skull illustration in Adobe Illustrator. It will be entirely created out of basic shapes, which are customised and layered up to produce intricate embellishments.
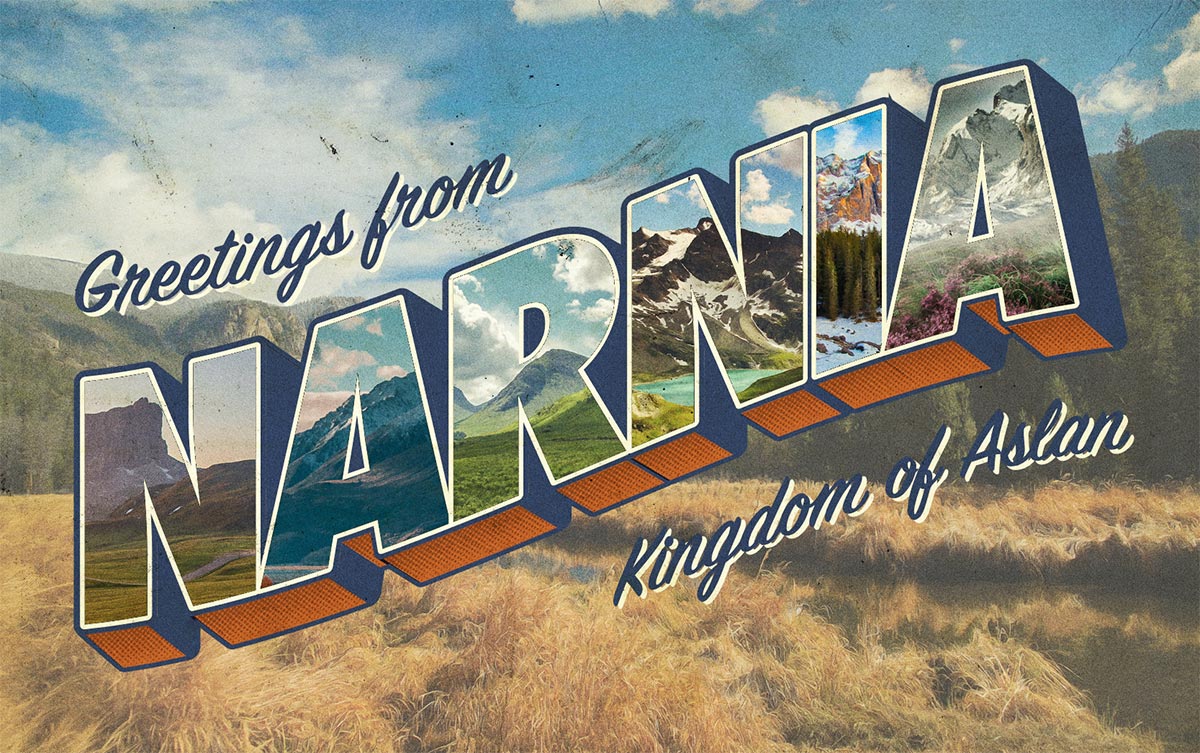
‘Large Letter’ was the name of a popular style of postcard design throughout mid-20th century. Often accompanied by the words “Greetings from…”, these postcards presented the name of a place with faux 3D type effects and featured a variety of pictures of that locale clipped within the text face of each letter. The style has become iconic and is referenced by designers who want to create artwork with a nostalgic or retro theme. In today’s tutorial I show how to create a vintage style large letter postcard design, using the tools available in Adobe Illustrator and Adobe Photoshop to replicate the visual traits of those original souvenirs.
In today’s Adobe Photoshop tutorial I’ll show you how to create a great looking retro text effect. It’s made using a mix of layer styles and some clever Photoshop techniques, but the best part is it also makes use of Smart Objects to non-destructively create the effect, meaning the original type element can still be updated to change the wording.
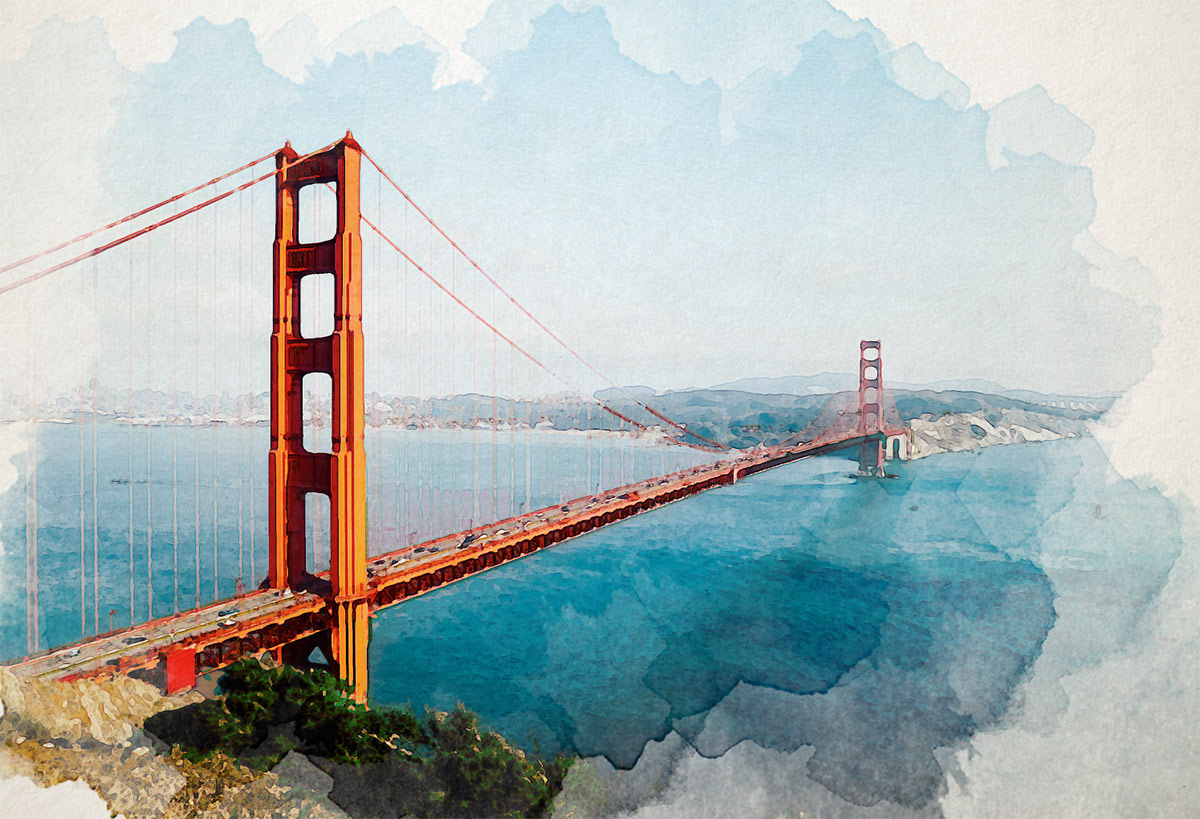
Watercolour paintings are a hugely popular art style that can be incorporated into your design projects, but you don’t need to be a master artist to create such imagery when Adobe Photoshop can produce realistic watercolour effects with a cocktail of built-in filters. In today’s tutorial I take you through a range of settings that will convert any photograph into a hand-made watercolour style painting.
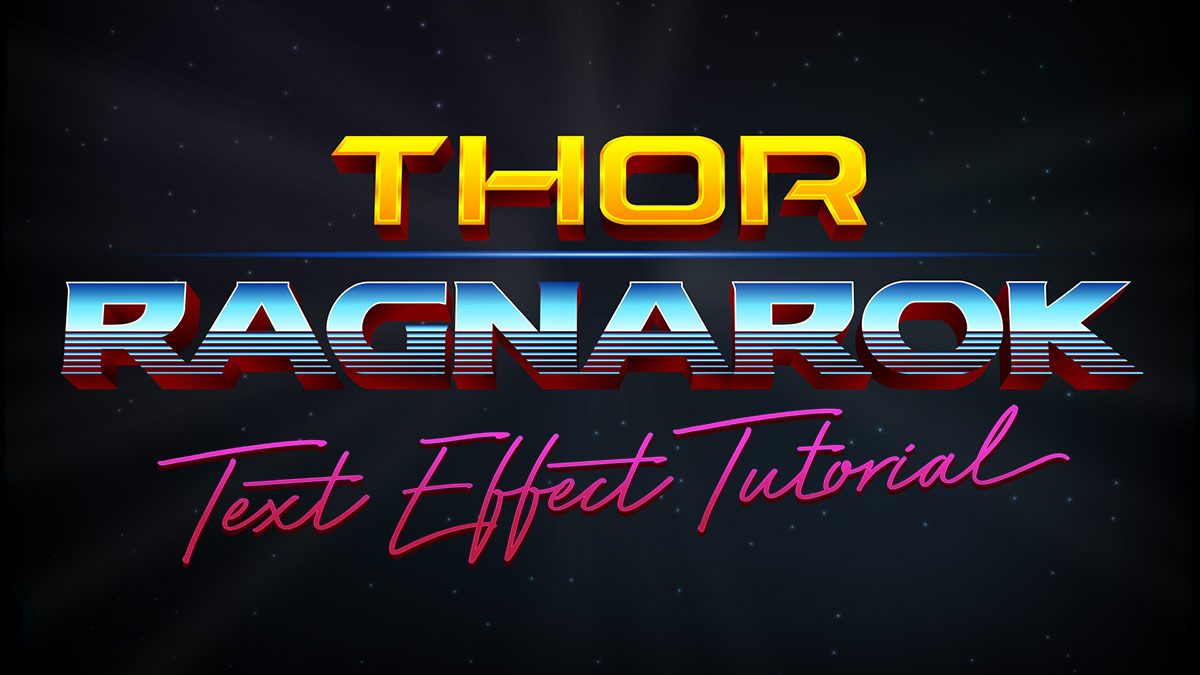
In today’s Adobe Illustrator tutorial we’re going to reproduce the 80s inspired 3D chrome text effect from the title logo of the recent movie trailer for Thor: Ragnarok. We’ll use Illustrator’s simple 3D tool to give the text that three dimensional appearance, then create the shiny chrome look with a series of gradient fills.