Tutorials
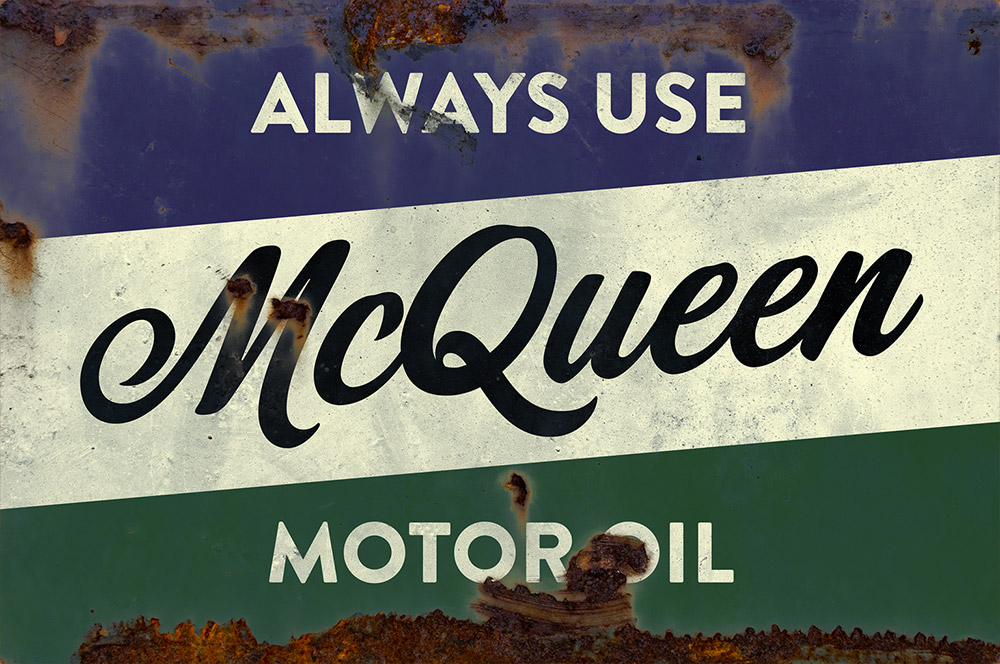
Recently I was wandering around the stalls at a classic car show admiring a collection of vintage automotive signs, which featured various lubricant and fluid brands on old rusty metal plates. It has taken over 70s years to slowly decay those tin advertisements into vintage memorabilia, but they gave me the idea to use the aesthetic to create our own rusty sign effect using Illustrator and Photoshop. Follow along with today’s tutorial to produce a simple motor oil brand sign with a 50s inspired design, using type and colours that are based on authentic examples. We’ll use Illustrator to construct the design for its powerful shape and text editing tools, then we’ll transfer the artwork over to Photoshop to distress it using a rusty metal texture. I’ll show you how a simple layer mask trick can instantly take your crisp digital design and give it a realistic weathered patina look.
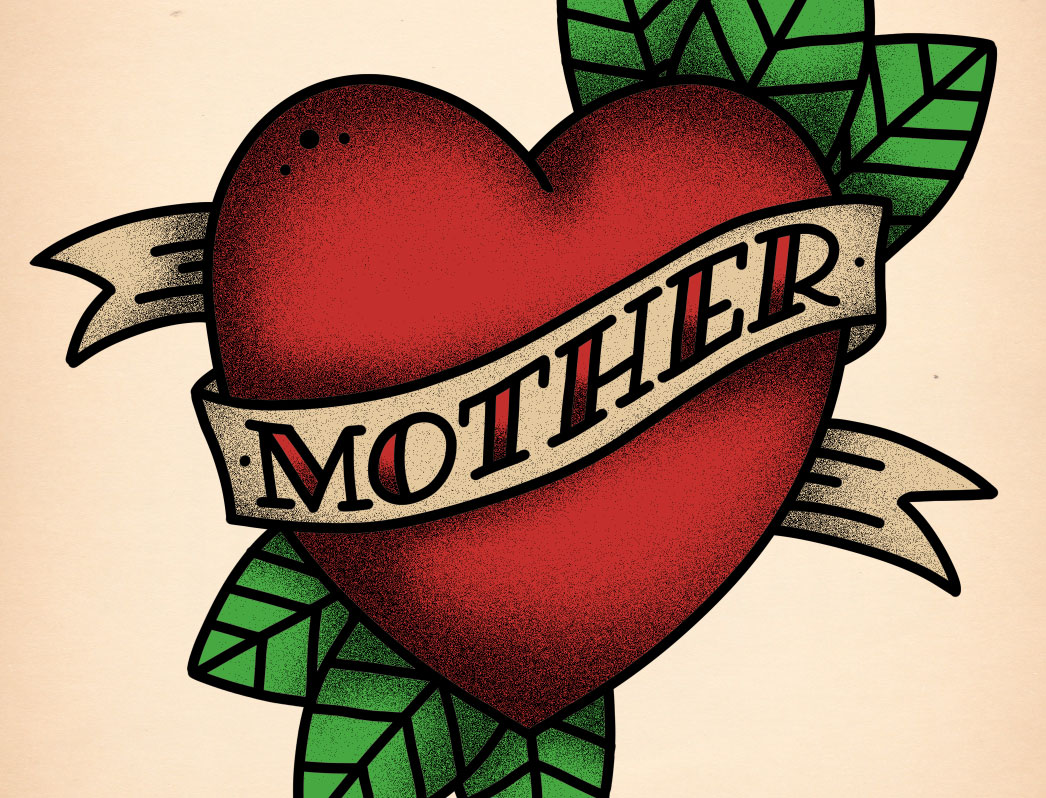
The style of ‘Old School’ tattoos is a popular aesthetic in the tattooing scene and has become an iconic illustration style in other genres of art. The stylised handmade drawings feature thick black outlines and bold colours, often depicting roses, anchors and pin-up girls from the tradition of sailor tattooing. Follow along with today’s Photoshop tutorial to produce a digital illustration inspired by the style of old school tattoos. Unlike tattooing with ink, Photoshop layers to make it easy to draw with the advantage of being able to delete and try again! We’ll then bring the design to life with colour, and apply a stippled shading effect to create a modern interpretation of a traditional tattoo flash graphic.
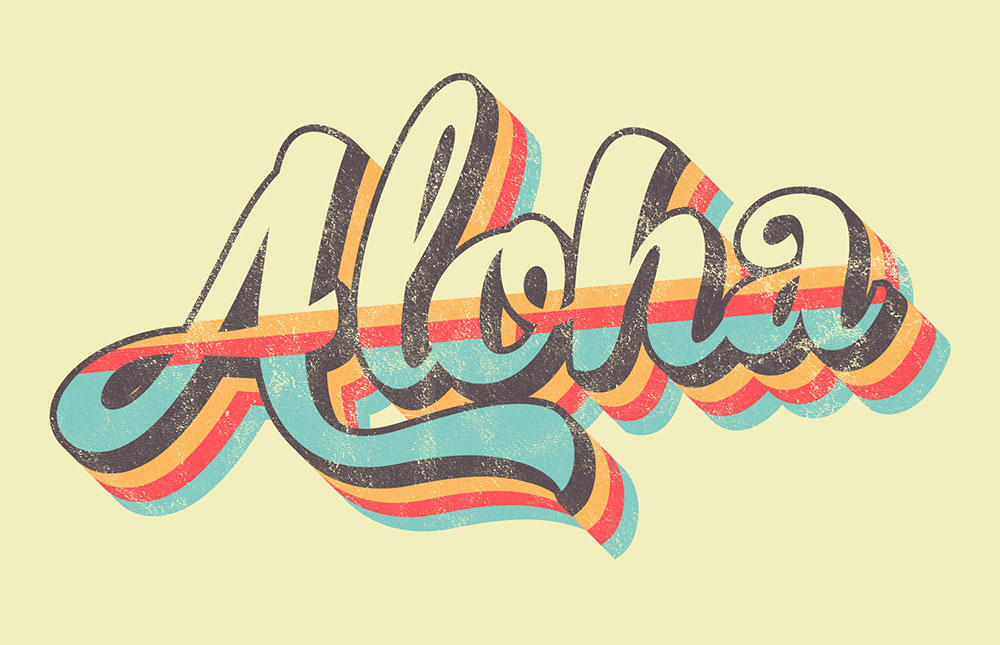
In today’s Adobe Illustrator tutorial we’re going to create a striped text effect with a retro 70s vibe. We’ll create the effect by layering up a series of strokes and fills with Illustrator’s Appearance panel, which preserves the live text so you don’t lose the ability to edit the wording. Once the artwork is complete, I’ll then show you how you can achieve an old t-shirt look with the help of my free washed and worn textures.
Follow along with today’s how-to guide to create a letterpress style poster design with overprint effects. Authentic poster art of this kind would traditionally be created by hand on a letterpress print machine, where the transfer of ink from roller to paper would naturally create the texturing and overprint appearance. Instead, we’ll be using Adobe Photoshop to mimic the style of vintage prints by using digital fonts, textures and Photoshop effects. Along the way, we’ll go over some useful techniques for creating type layouts, producing effects that realistically replicate the appearance of printed ink, and I’ll show you how layer masks can be used to apply textures that make your clean digital art look like an authentic hand-made print.
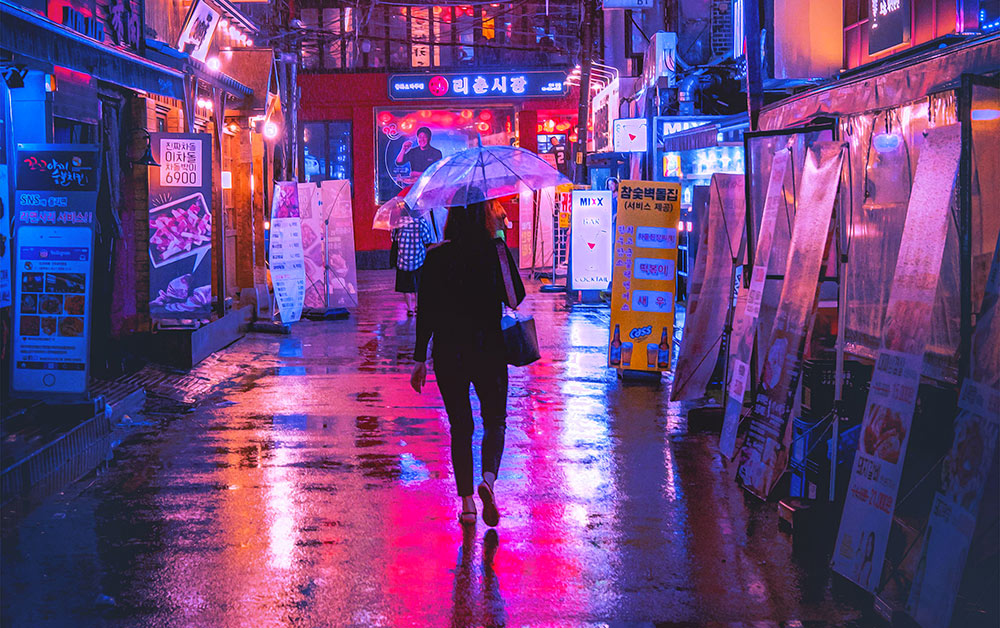
In today’s Adobe Photoshop tutorial I’m going to show you some image processing techniques to achieve a Cyberpunk style visual effect within your photos. This popular art style takes inspiration from 80s nostalgia, and the neon-noir genre of movies such as Bladerunner, which feature densely populated, futuristic cities illuminated by bright neon signs and advertisements. We’ll process the original photo to give it a hyper-realistic HDR appearance, then apply heavy colour grading with hot pinks and bright blues, which are a popular aesthetic of this style. Enhancements to the neon signs, plus some subtle mist and smoke effects will then finish off the image with the stylised atmosphere of those neon-noir movies.
I’ve seen some cool images on Pinterest lately that pair everyday photos with neon lights to create contemporary art pieces that combine two contrasting themes. They often feature illuminated words, or random shapes that stand out from the background with a vibrant glow. In today’s tutorial, we’re going to create a similar neon sign effect that enhances a photo with an integral message, all tied together with a colourful glow that seems to illuminate the surrounding scene.


