This post was originally published in 2008
The tips and techniques explained may be outdated.
Usually putting together a layout for a printed document would be completed in a desktop publishing package such as Adobe InDesign, however for some smaller projects like a single page article it is sometimes quicker to produce it right inside Illustrator to save switching back and forwards between applications. Using the Text Wrap feature within Adobe Illustrator you can quickly and easily format your text to harmonise with your photographs and images.
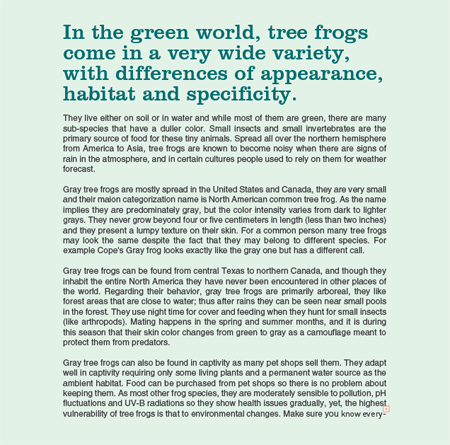
Put together your textual layout on the relevant page size, here I’ve roughly set out a few paragraphs of text pulled straight from an article on the topic of frogs.

Go to File > Place and import your desired graphic (resized beforehand in Adobe Photoshop), move it into position on the page. Notice however the image sits over the top of the text rather than the text flowing around it.

With both text and picture selected go to Object > Text Wrap > Make. (Choosing Options will allow you to set the margin around the image)

The image is now sat within the paragraph of text allowing the words to flow around it, keep an eye out for any hyphenations as a result and knock them down onto the next line if necessary.
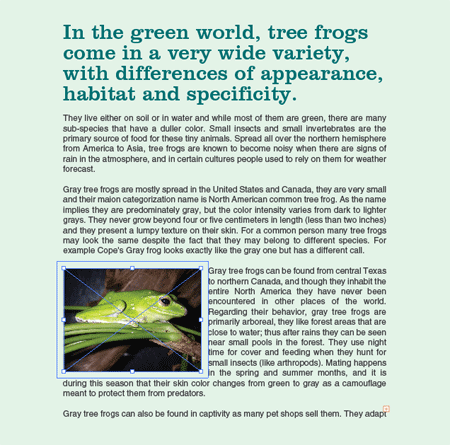
Now the text is wrapping around the image, the picture can be moved anywhere on the page and the text will continue to flow around it. To adjust the spacing around the image, simply go to Object > Text Wrap > Options.
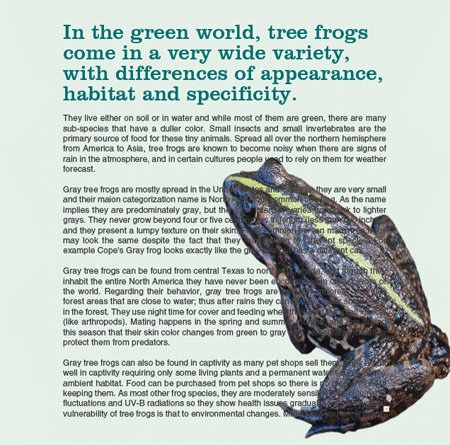
Let’s say that you wanted to do something a little more fancy, in this example the frog photograph has been clipped out to blend in as part of the document without being constrained to a rectangular box.
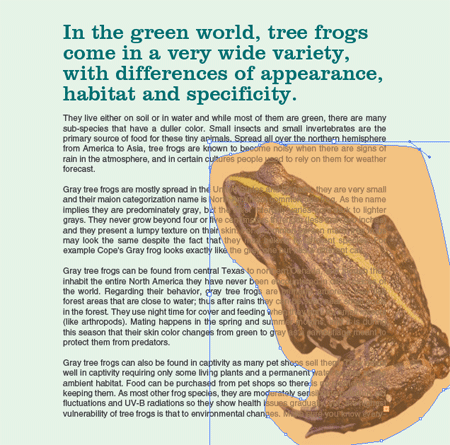
To allow the text to wrap around the actual body of the frog, use the Pen Tool to draw in a make-shift shape following the outline of the frog.
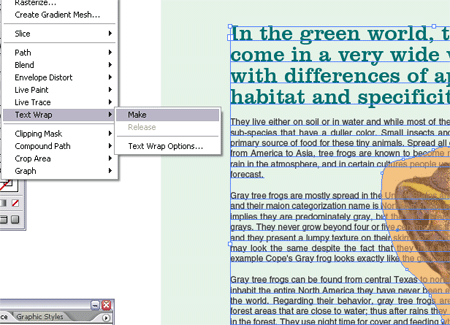
With this new shape selected, go to Object > Text Wrap > Make.
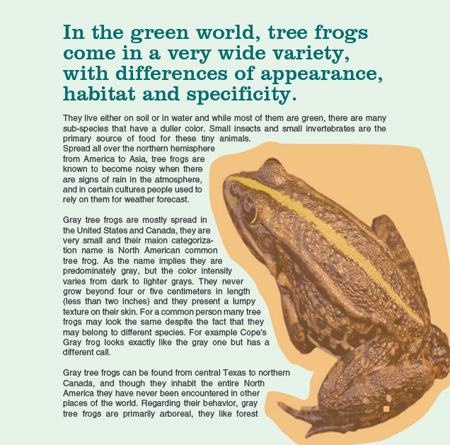
The text now flows around the previously created object, and in turn gives the impression that it is wrapping around the frog image.
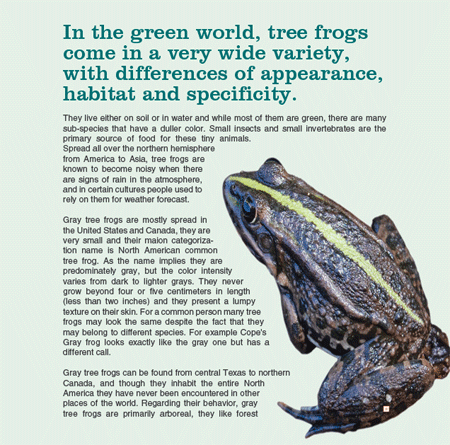
In my example I added an orange fill swatch for illustrative purposes, to remove this simple select the shape with the Direct Selection Tool and clear the fill colour.


Thanks for posting this… I’ve been meaning to figure out how to do this properly.
Sweet tutorial. I usually do the text-layouts in indesign, but this is awsumer.
Thanks!
Thanks for the tidbit! :)
This is a terrific little tutorial. Always good to know how to use different features within the various programs offered by CS.
However, I have to say that if you’re creating pages that are so text heavy like this (I’m assuming for a book), InDesign is the way to go. Text wrap is super simple using InD.
Any idea why Adobe didn’t make the functions like text wrap the same in all the programs within the Creative Suite (Illustrator, Photoshop, InDesign)?
Chris,
Thanks for this tip. I never knew how to do that in Illustrator.
Thanks,
Sean
Wow, pretty freaky. Only 30 minutes ago did I go into the Illustrator Help panel to find out how to text wrap images. A good tip about drawing the box around the frog though.
I didn’t know you could do text wrapping in Illustrator either. Thanks!
Anybody know why my text does nothing when I apply the text wrap????
Good. Thanks for this simple and useful tutorial.
same problem as greg. if a place a jpeg into illustrator, textwrap works. with any self drawn path/object it doesnt…
ok, solved. had to do something with the layers, in a new file it worked fine. thanks for the tut, btw! :)
wonderful tip ! thanx :-)
Sweet tutorial
tx for the tips.. :D
oh! this is basic design about adobe indesign
sweet! i knew there was a way to do this, but didn’t know exactly how to do it. thanks for sharing! :)
hey thnx for this tut. I really am glad i found this .I am doing a project right now which requires this technique. So i thank you for this.^_^
WOW! this tip is great i never knew how to do that in illustrator till now thanks!
Same problem as Greg y Kuroyi!! my text just doesnt wrap! how did u do to fix it kuroji?
I believe the key is that the text and objects need to be on the same layer. I had the same problem until both were on the same layer.
My thanks as well for the tip!
Your a !@£$%^& legend! Thanks for this!
I’ve tried this and changed the layer order. But it’s not happy. If I select the text and the object it says that it will wrap text around everything including the text boxes. but still does nothing.
Any Ideas?
What the article failed to state is that this won’t work with point text, which is where you just click with the type tool and type. You need to click and drag a type box to create block text, then it will work.
Thanks Bob … sorted!