This post was originally published in 2008
The tips and techniques explained may be outdated.
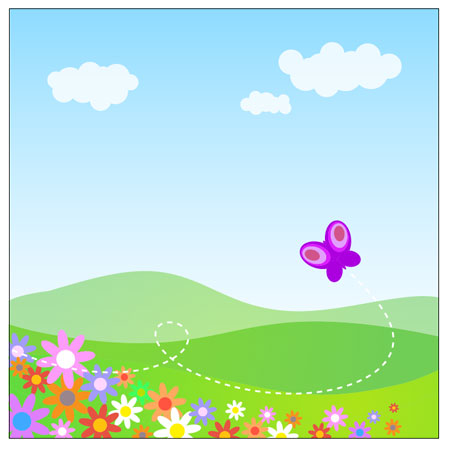
A recent post of Blog.SpoonGraphics was a roundup of vector landscapes used in web design. Follow this Adobe Illustrator tutorial through the process of creating your own simple vector scene form scratch.
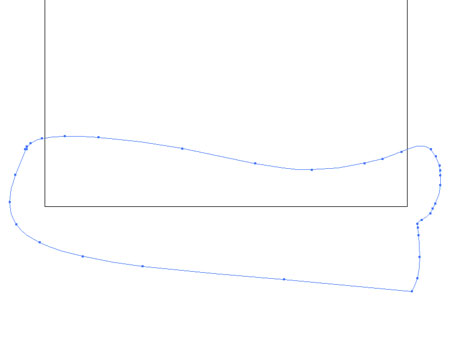
Start with a new document, I'm using a square of 1000px to base the illustration. Using the Pencil tool draw a rough outline, paying particular attention to the curve across the artboard to give a smooth flow.
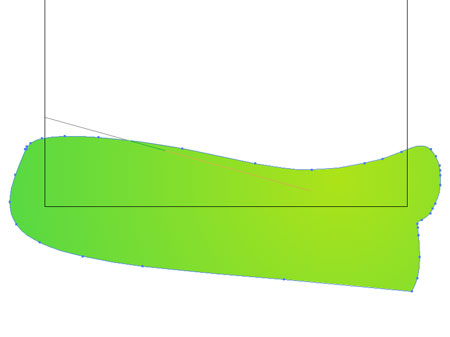
Drag a green radial gradient across the shape to represent the first grassy hill.
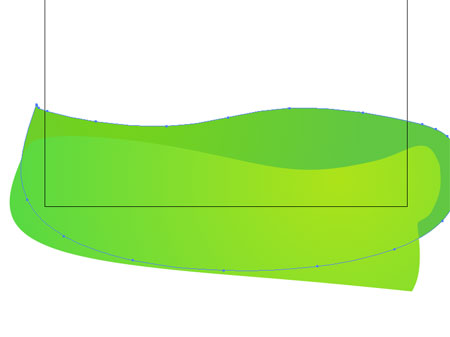
With the Pencil tool draw a similar shape, send the shape to the back of the stack by pressing CTRL / CMD + [
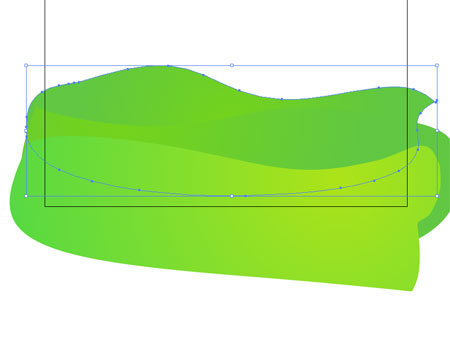
Draw a third hill shape with varying contours and place at the back again.
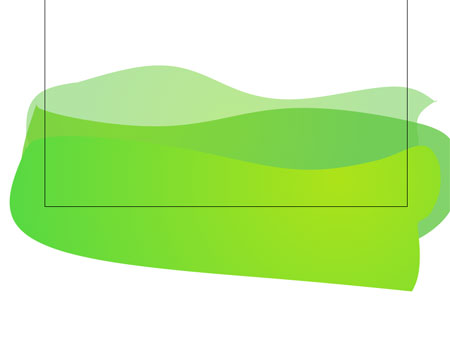
Give more depth to the image by dropping the transparency on the rear two hills, giving the impression that they head off into the distance.
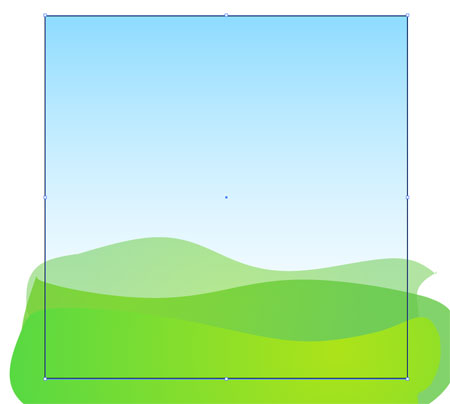
Draw a 1000x1000px square aligned with the artboard and fill with a sky blue to white vertical gradient.
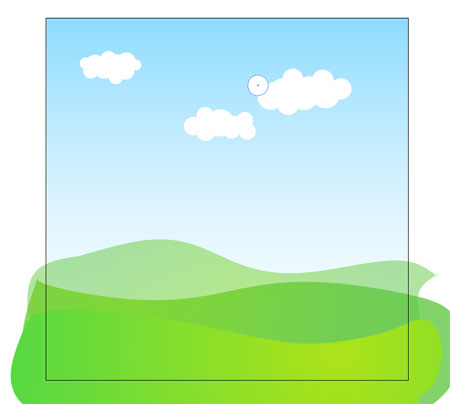
Create some nice stylized clouds with the circle tool, holding Shift to give an equal shape draw multiple versions and place accordingly.
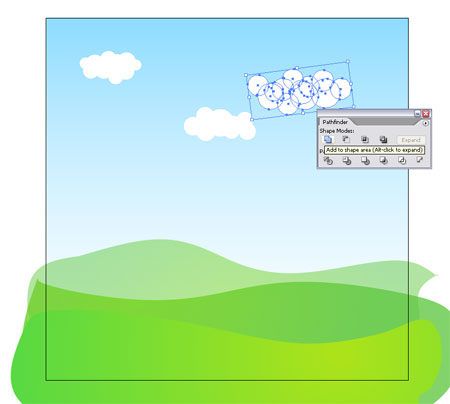
Select each group of circles and combine them into one single shape with the Add to Shape Area option from the Pathfinder tool, click Expand to refresh the outline of the new shape.
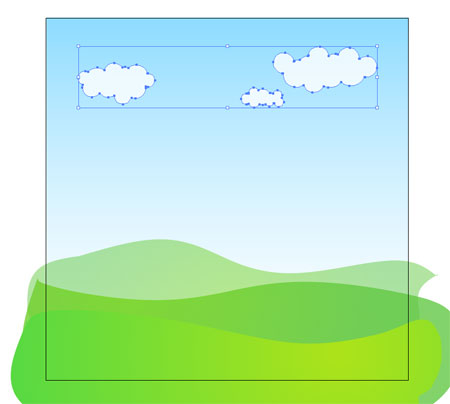
Position the clouds as desired in the sky and drop the opacity slightly.
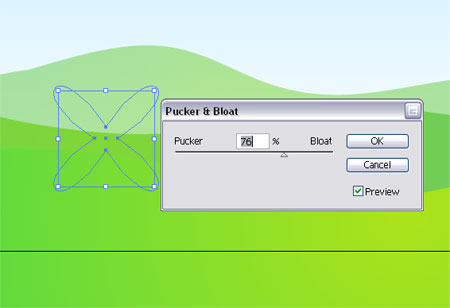
Draw a circle on the artboard and go to Filter > Distort > Pucker & Bloat. Move the slider while previewing the effect to generate some petal style shapes for our flowers.
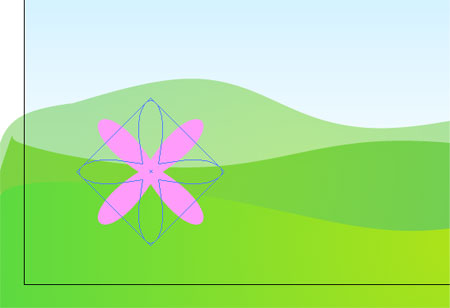
Copy and Paste in Place (CTRL / CMD + F) the petal shape and rotate by 45 degrees (hold Shift) to give eight equally spaced petals.
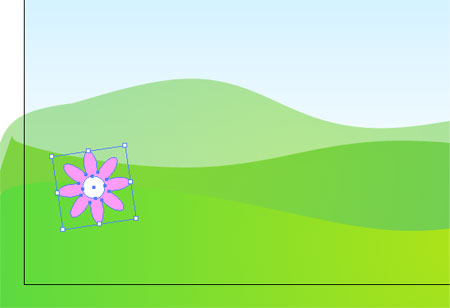
Add a circle to the center and position the flower with in the first hill in the foreground.
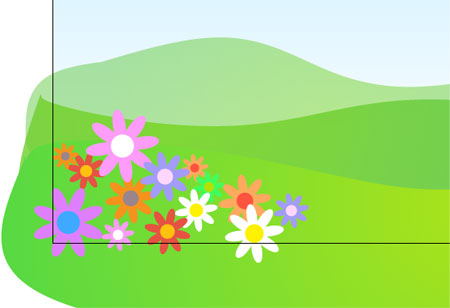
Copy and Paste multiple versions of the flower, scale and rotate each one slightly and position where appropriate. Give each one a slightly different colour scheme.
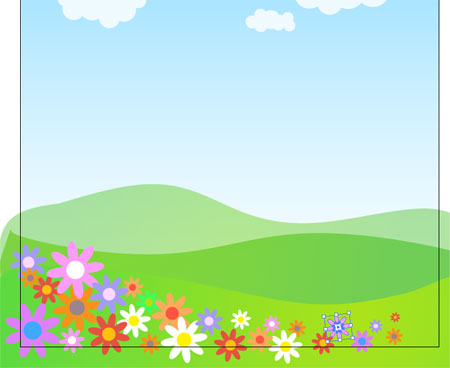
Continue pasting flower heads right across the foreground, getting smaller as they head down the hill.
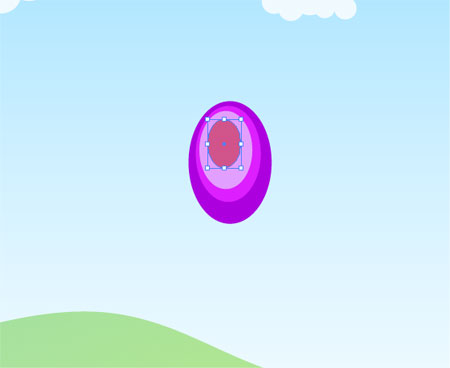
Draw up a cute little butterfly by starting with a group of circles, by pasting and scaling an instance of the circle and changing the colour a simple pattern can be created as a wing.
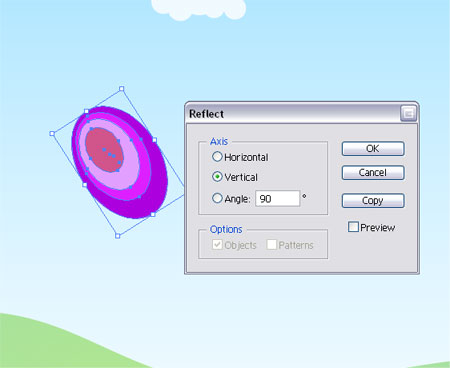
Rotate the wing, duplicate then go to Object > Transform > Reflect to generate a mirror image.
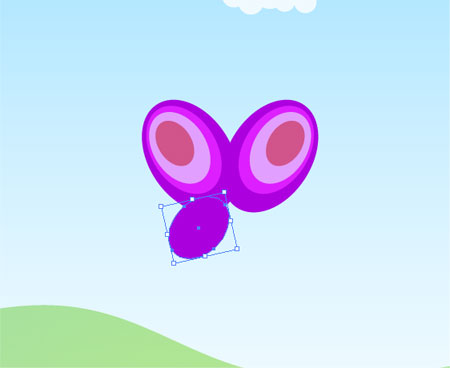
With a slightly smaller circle, create the lower wing.
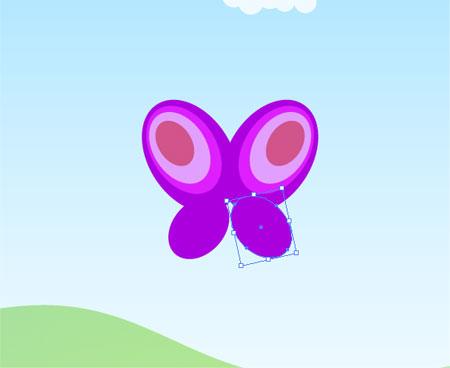
Reflect and position this smaller wing on the opposite side. Then draw a long thin oval as the body of the butterfly and position it centrally.
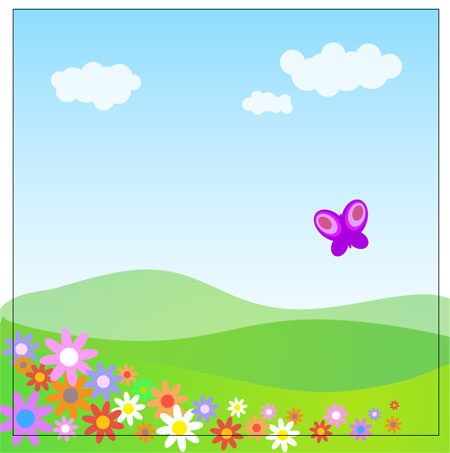
Group all of the shapes that make up the butterfly (CTRL / CMD + G) then position the butterfly within the scene.
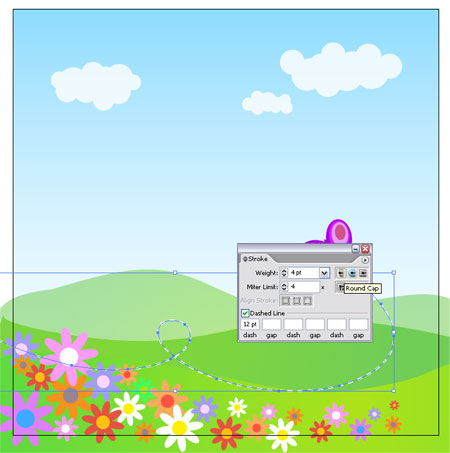
With the pencil tool draw a smooth curve representing the flight path of the butterfly, add a dashed white stroke as a creative touch.
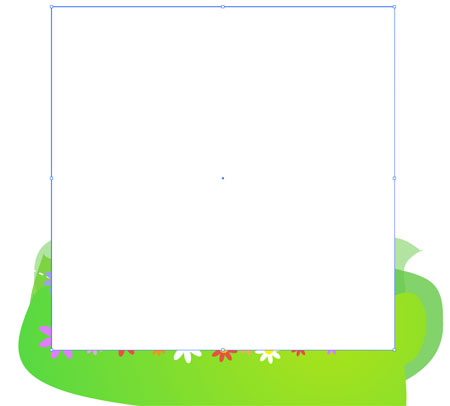
Finalise the image by trimming down any excess shapes, select all the objects by pressing CTRL / CMD + A and group them together then draw a temporary shape over the desired area.
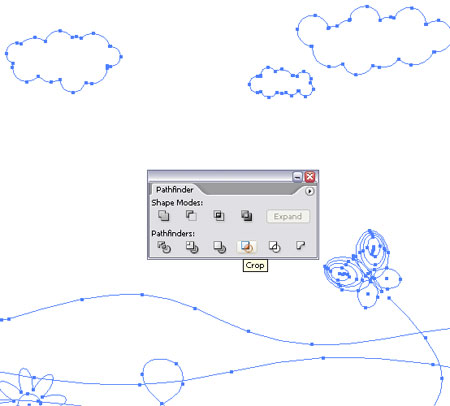
With both the temporary shape and the main group selected, use the Crop option from the Pathfinder tool to trim down the objects into a neat square.




Looks great Chris! One question though, where are the Unicorns and Fairy Princesses?
Hmmm… There is a very nice tutorial over at PSDTuts (http://psdtuts.com/drawing/create-a-natural-composition-with-light-shining-through-a-rustic-fence/) which could be combined with this to creat a more realistic effect. I was thinking maybe with the grass and sky from photoshop, with the foreground stuff from Illustrator?
Maybe I am a little to obsessed with Photoshop. Loving the tutorial!
Isaac
I don’t have a tablet and my [lack of] mouse skilz don’t allow for nice pencil flow. Pen could work in lieu…
nice tuts.looks like a fairy tale:)
Fun and fun to do! Thanks :)
Woow! Great tut… Thanks a lot, will try it right away!
Thanks so much for this, I just got illustrator a couple of days ago and am working my way through learning the program now.
REally cute, great tut, thanks!!…
Great tutorial – really easy to follow even for a beginner! Thanks :)
Thanks, I love this Web.
Hola, me encanta tu Web, es excelente, en mi blog he echo un post sobre ti recomendandote, espero que no te moleste. Gracias!!!.
Agree with Laura :) This was very easy for me to follow and it’s my first day on illustrator :) Thank you !
Worked all the way through this without a problem until the very end. I have the main group and the temporary rectangle selected, then I crop in pathfinder and all of the flowers that had the pucker and bloat effect applied are no longer flowers but look instead like the pucker and bloat effect was applied to a hundred different points on each circle.
Thanx for the helpful vector tuts!
hhahhahaha how cute… i like it… thanks
This is the craziest thing i have ever seen in my life…. How am i post to know how to do that? I have pen in here for 8 weeks and i dont even know where the pen tool is!!
the last step doesn’t work :(
thanks a lot i tried :D