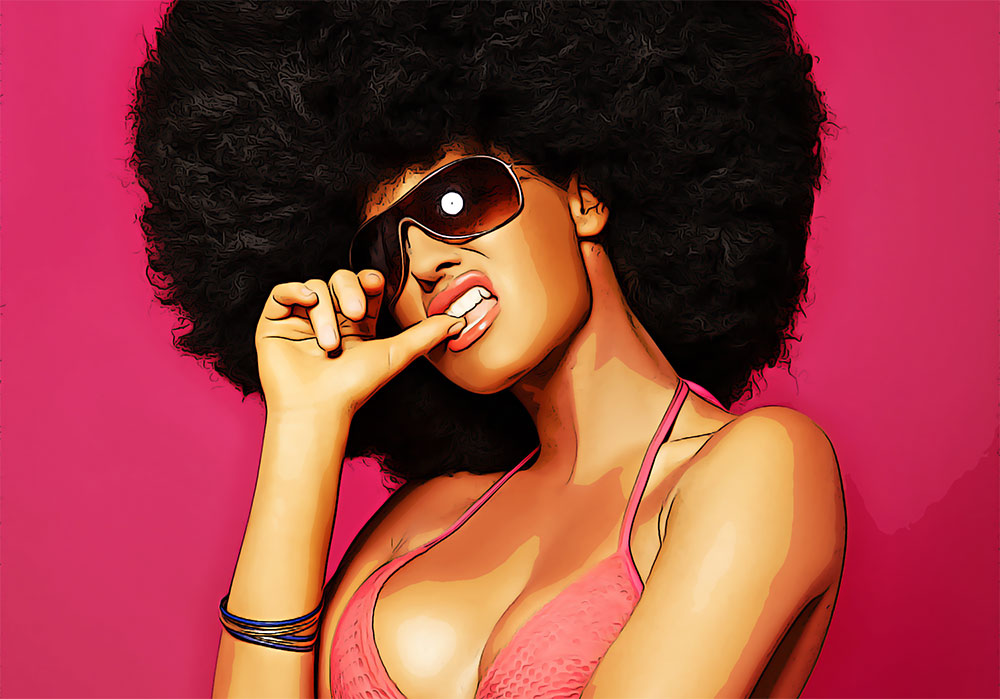
It takes some real skill to draw realistic characters and portraits, but there’s a shortcut you can take by processing a photograph with various filters in Photoshop to give it a cartoon-like illustrated effect. In today’s tutorial I’ll show you a cocktail of adjustments that mimic the outlines, colours, and shading of a digitally painted image automatically, without the need to trace, paint or draw by hand.
Watch the video
Subscribe to the Spoon Graphics YouTube Channel
This effect can be applied to any image to transform a real photograph into an illustrated cartoon graphic. All the Photoshop filters that are used each play an important role in smoothing out the details, outlining edges and creating colourful shading effects to achieve a bold art style.
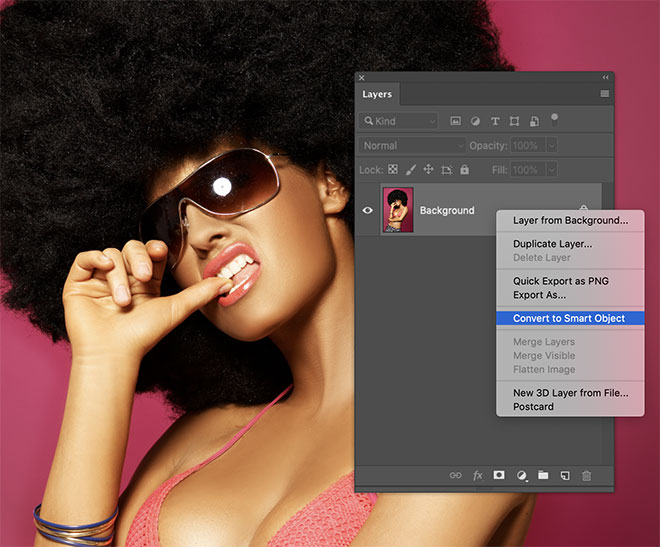
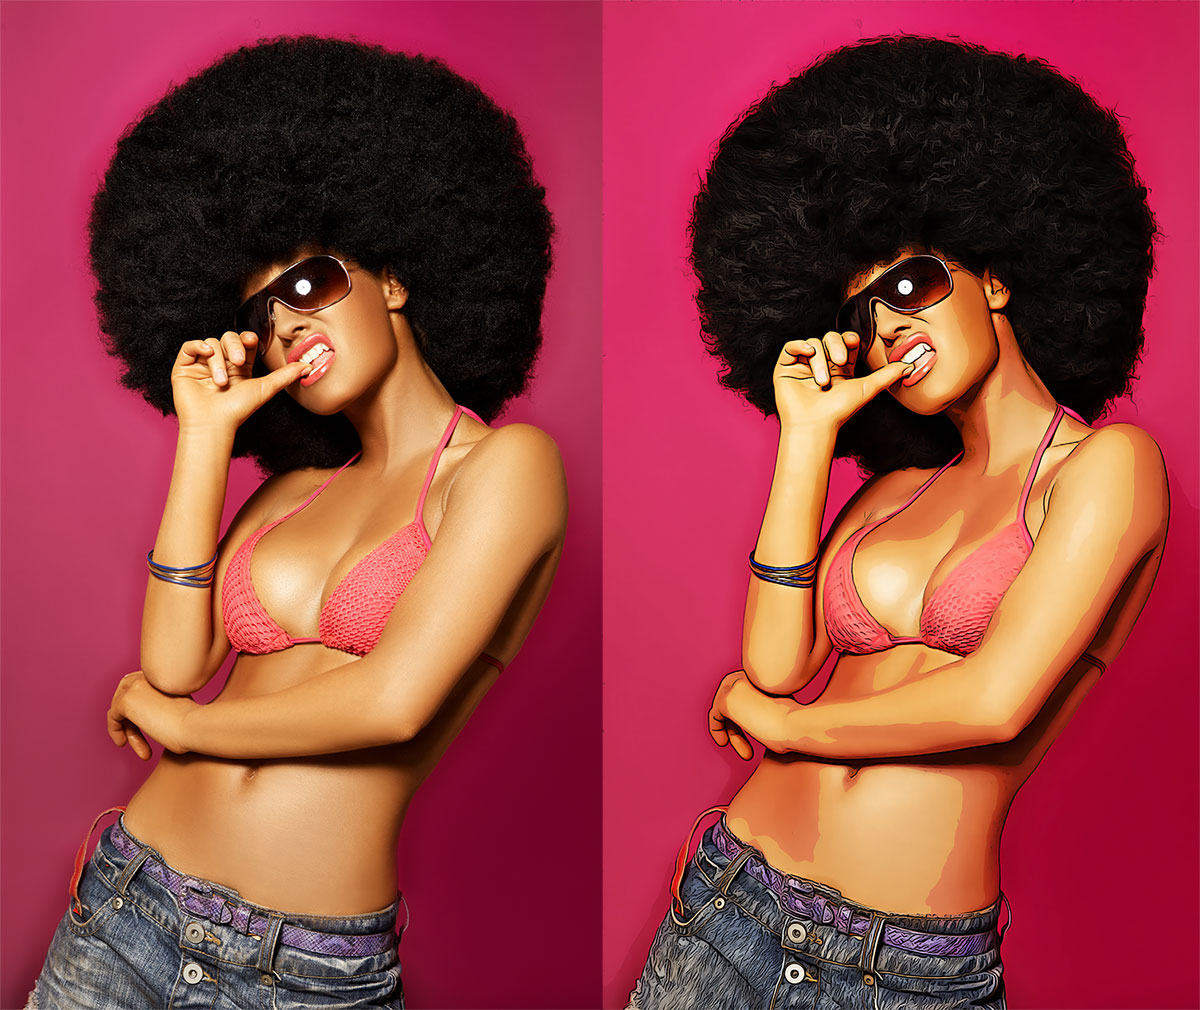
I’ll be using this photograph of “Beautiful Woman” by Daniel Dash on Shutterstock as an example for this tutorial, but the effect will work with any image. Before making any changes, convert the image into a Smart Object so all the edits are applied non-destructively.
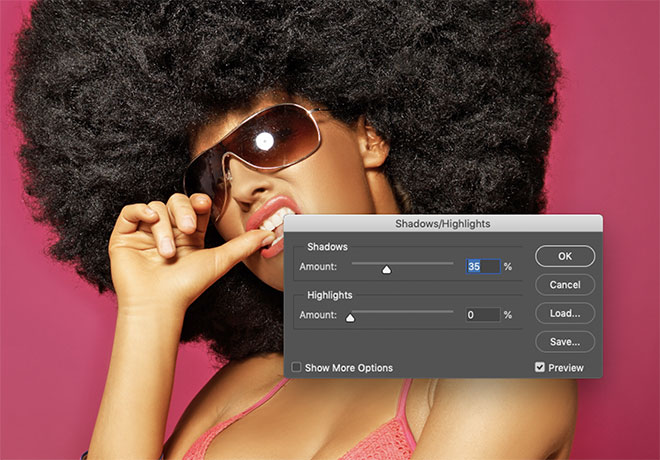
To allow the subsequent filters to define the edges of the subject, it first needs brightening. Go to Image > Adjustments > Shadows/Highlights and increase the shadows value to around 35% to brighten the darkest areas.
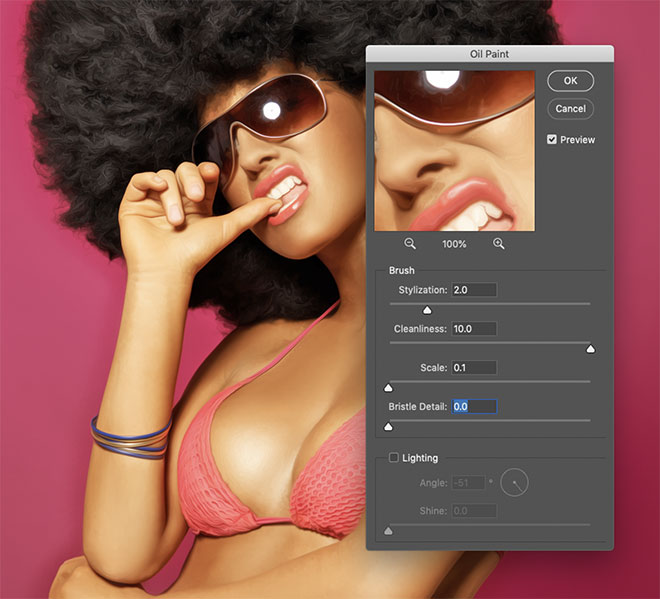
The Oil Paint filter is a great tool for smoothing out the details. Apply it under the Filter > Stylize > Oil Paint menu, then set the parameters to 2.0 Stylization, maximum Cleanliness at 10, 0 Scale and Bristle Detail, then no Lighting effects.
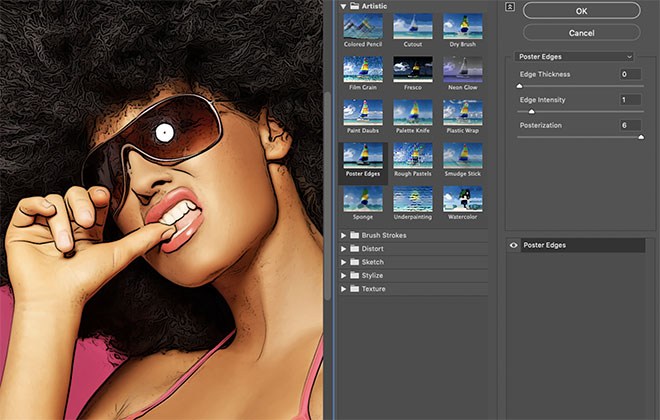
Go to the Filter menu, then choose Filter Gallery. Find the Poster Edges effect under the Artistic category and set the values to 0 Edge Thickness, 1 Edge Intensity and 6 Posterization. This filter adds some dark outlines similar to sketch lines.
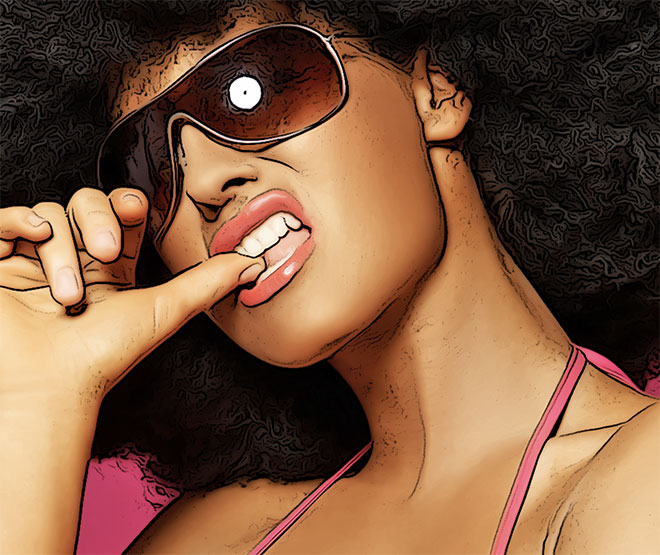
Unfortunately the Poster Edges filter also brings out some nasty texturing in the detailed areas of the photograph, so we’ll add a couple of filters to remedy them.
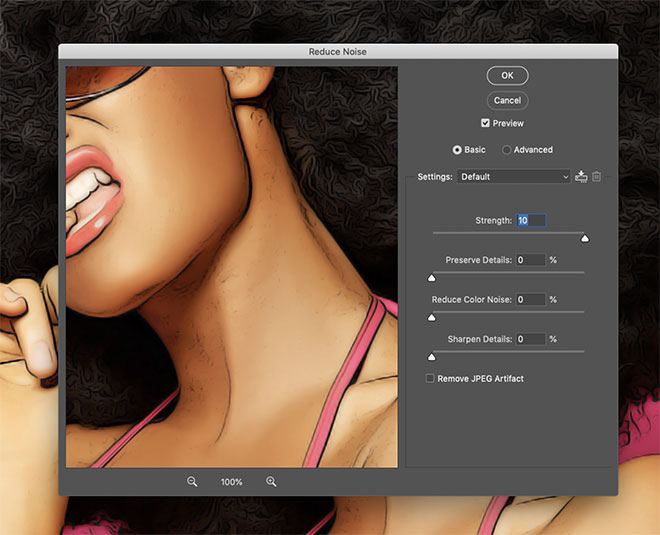
Go to Filter > Noise > Reduce Noise. Set the Strength to max at 10, with all the other settings at zero.
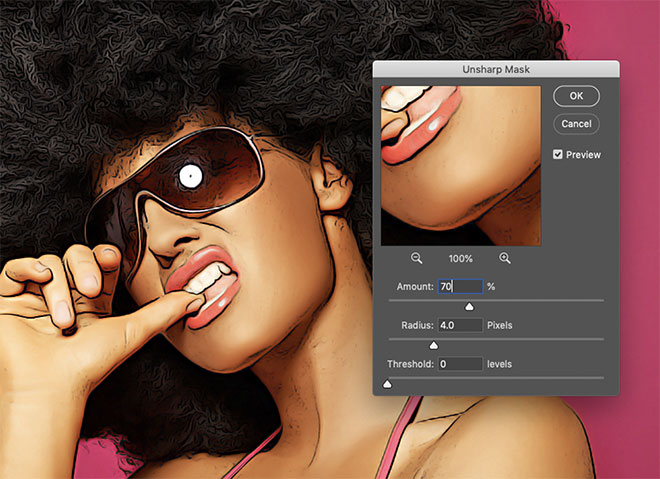
A side effect of the noise reduction is it blurs the whole picture a little too much. Go to Filter > Sharpen > Unsharp Mask to bring back the details. Use settings of 70% and 4px Radius.
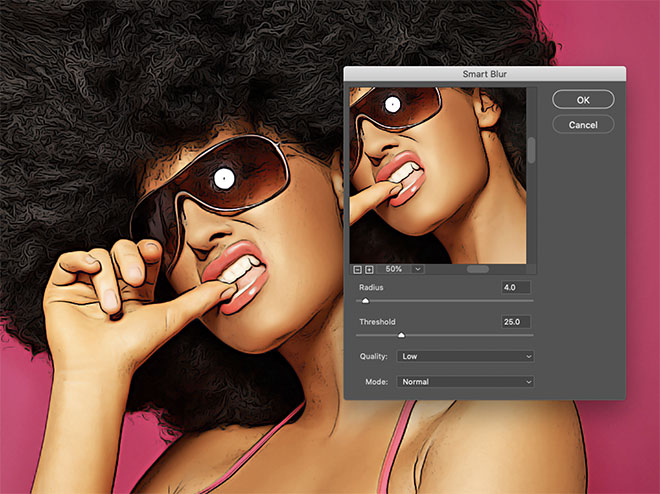
A quick addition of Filter > Blur > Smart Blur with values of 4px Radius, 25 Threshold at Low Quality helps to smooth out the result a little more.
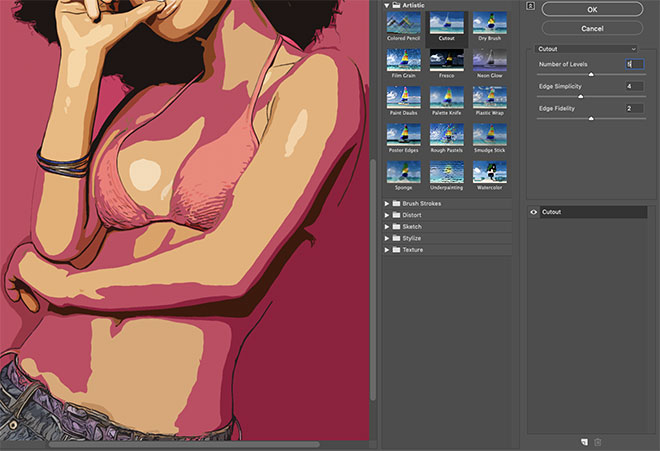
As a finishing touch to give the effect a cell-shaded appearance like comic book illustrations, open the Filter Gallery menu again. Choose Cutout, then set the Edge Simplicity to 4 and Edge Fidelity to 2. Pan through the Number of Levels option to find a good array of shapes that are formed from the shadows of the image. Around 4-5 levels often provide the best results.
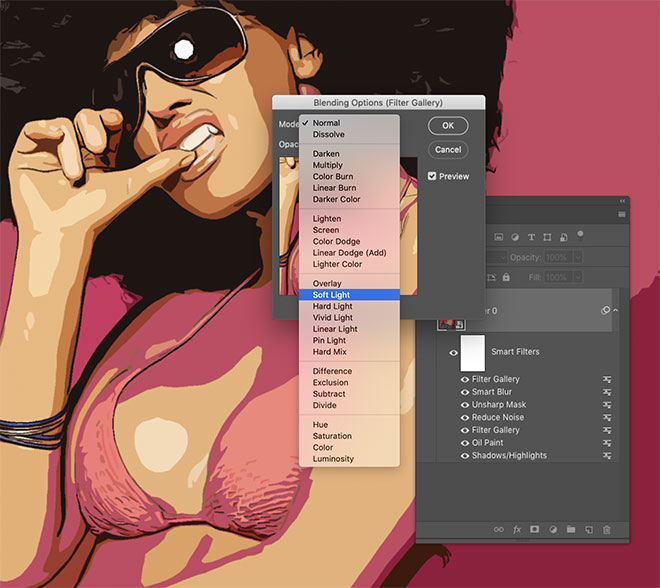
Double-click the little icon next to this latest Filter Gallery Smart Filter in the Layers panel to edit its blending options. Set the Mode to Soft Light to allow the colours to interact.
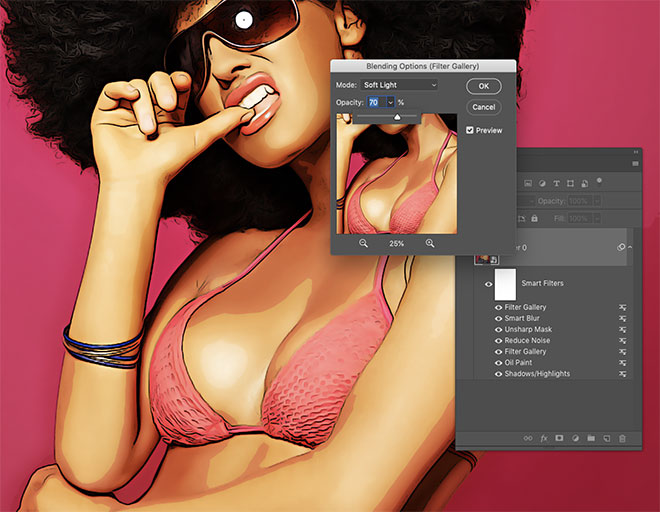
Reduce the Opacity value to between 50-70% to find to reduce the vibrancy of the colours.
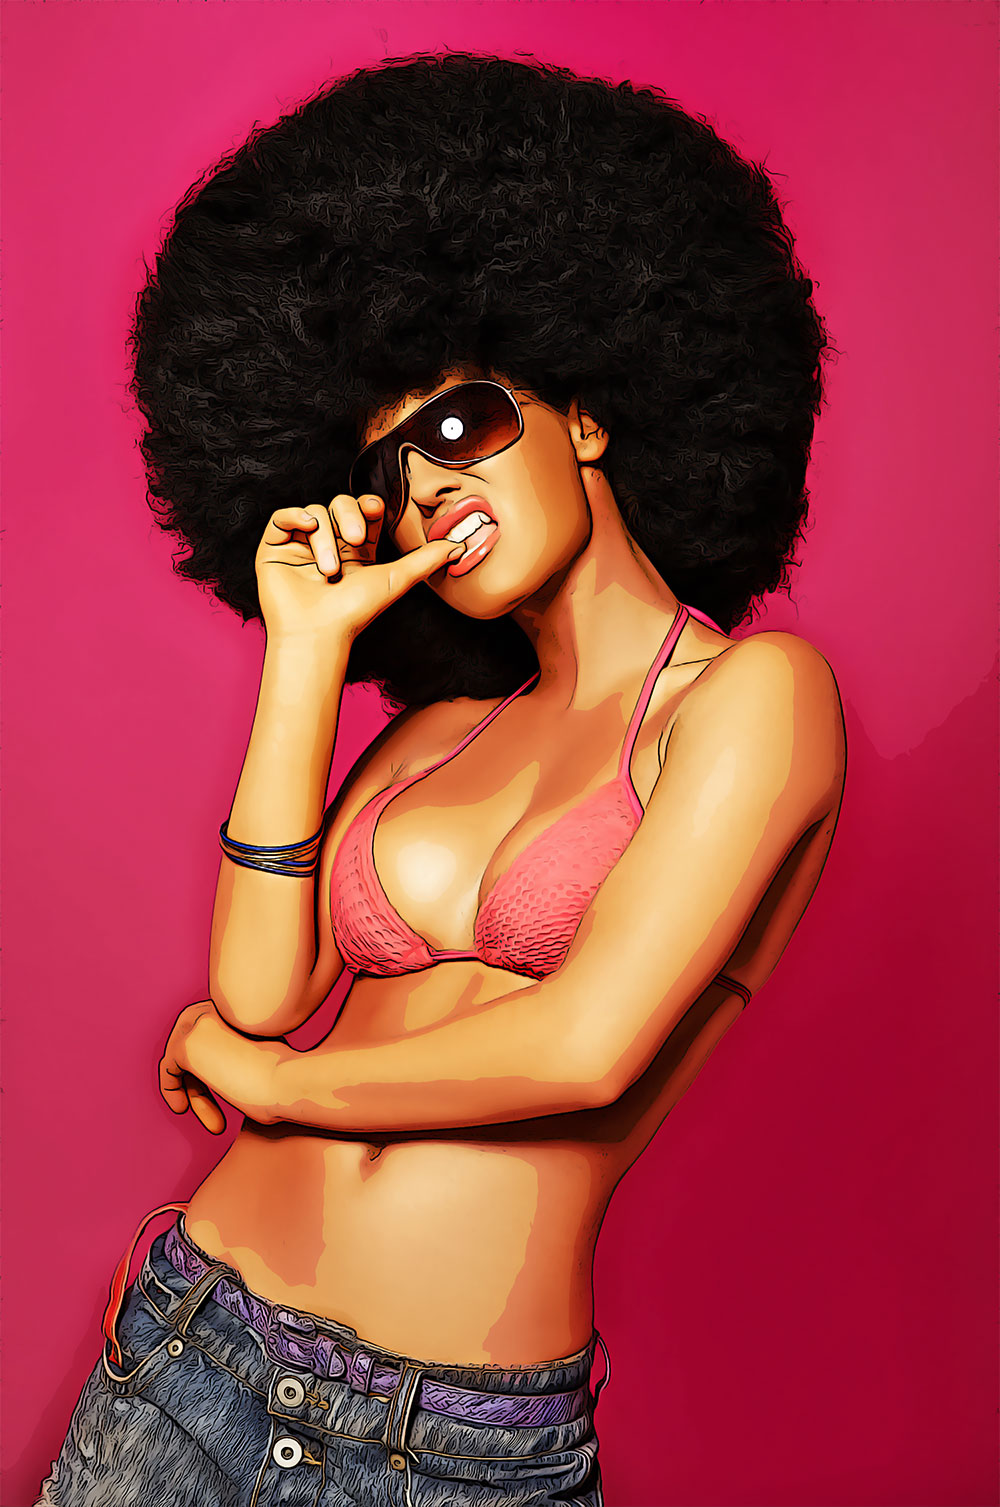
The final result is a cartoon-like illustration effect with bold outlines, vibrant colours and defined shading, all produced from an array of Photoshop Filters. Now this effect has been applied to a Smart Object, the original photograph can be updated to have the same effect applied to any image instantly.
Want more? Check out these great related products
The following resources cost a little money, but I definitely recommend checking these related products out to complement my cartoon effect tutorial.
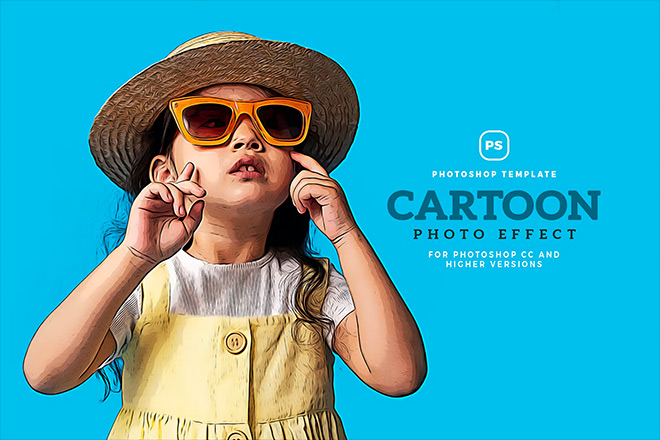
Cartoon Photo Effect
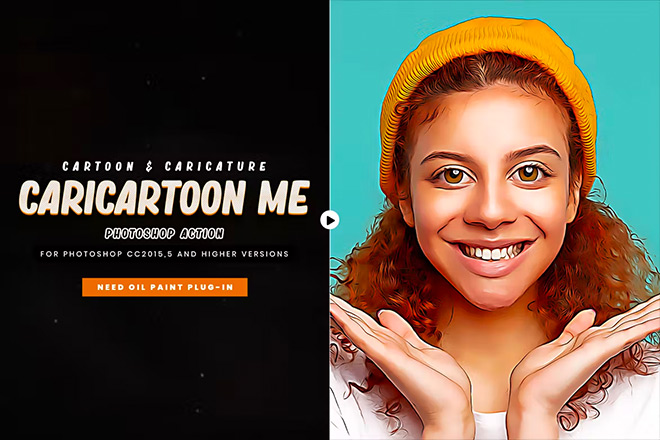
Caricartoon Me Ps Action
Cartoon Effect Photoshop
Cartoon Photoshop Action
Painting Effects Photoshop Action

Very cool tutorial! Thank you so much :)
Nice tutorial. Thanks
Chris! Thank you so much for this tutorial. I have been looking for something like this so I can screen print “cartoon” like pictures of my grandson on some tees. He loves the style. And just in time for the holidays.
Thanks again for all of the AMAZING work that you do, share and give to the graphic design community. Much appreciated.
Very detailed, thank you!
wow, nice :)
I will try to make cartoon effect with this tutorial. Thanks for this guide, Chris.
This is brilliant! Yet so easy… Thank you very much for sharing your knowledge!
Nice article and a lot things today I get to learn. I hope you can share more stuff like this with us in future.
Cool! I thank you!