This post was originally published in 2013
The tips and techniques explained may be outdated.
In today’s Adobe Illustrator tutorial we’re going to create a cool abstract geometric design with icy blue polygonal shapes. This style of art is perfect for adding stunning visuals to your design work and being vector based means it can be used for anything from a book cover to the background of your website or social media profile. This is another really simple Illustrator technique that results in some really awesome looking artwork.

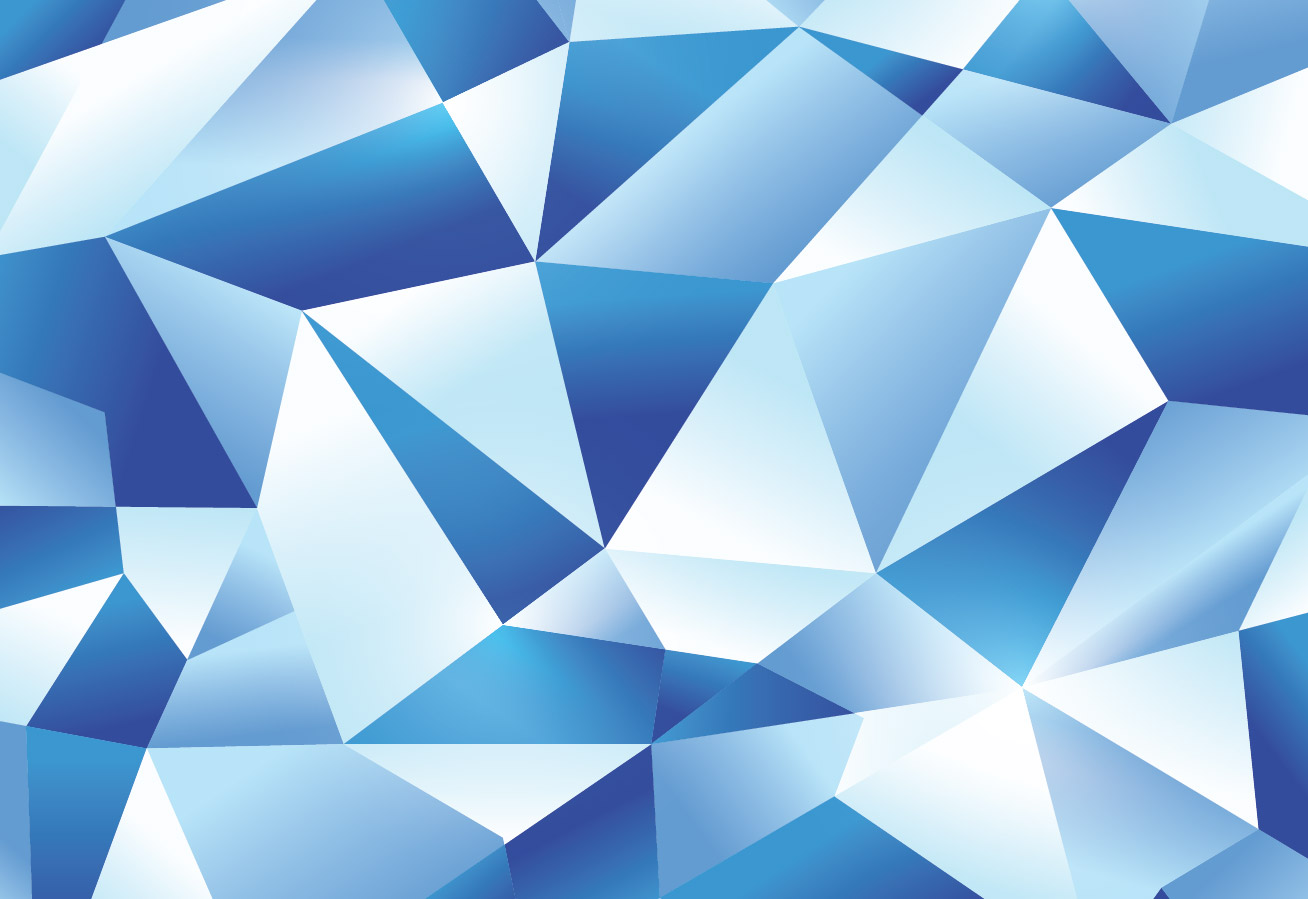
The abstract geometric design we’ll be creating features a series of interconnecting polygonal shapes, much like the facets of a crystal. Illustrator’s Pathfinder tool makes it easy to create this polygonal effect, then once a series of cool blue fills with subtle gradients are added the design is really brought to life with crisp lines and vibrant colours.
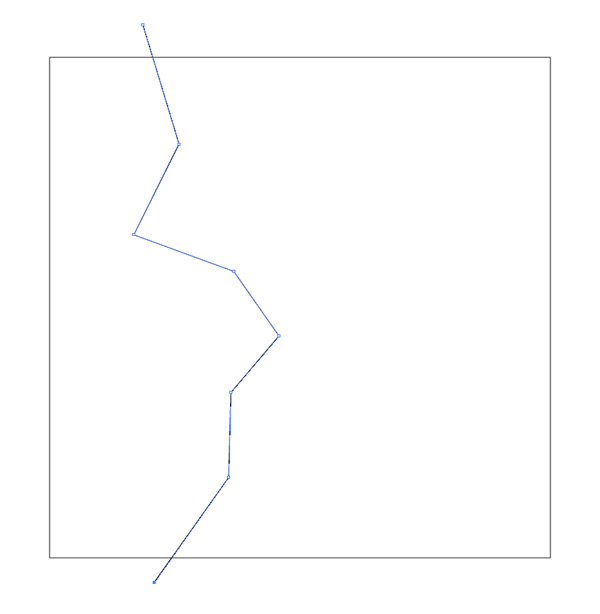
Open up Adobe Illustrator and draw a square on the artboard, then grab the Pen tool and draw a random zig zagging line across the whole square. Make sure to single click the path points to avoid dragging out any bezier curve handles.
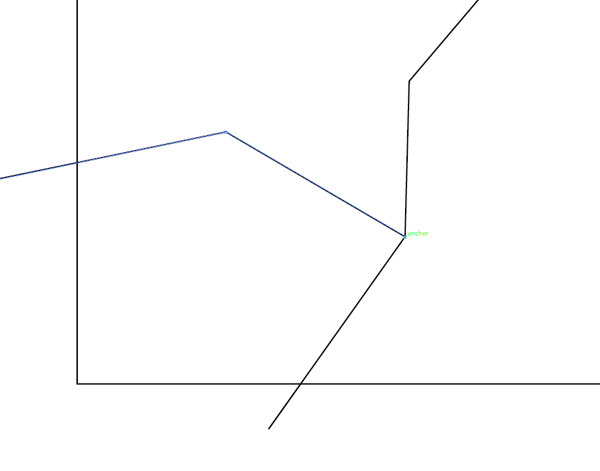
Turn on Smart Guides (CMD+U) to make snapping to existing points super easy, then draw another zig zagging line across the square.
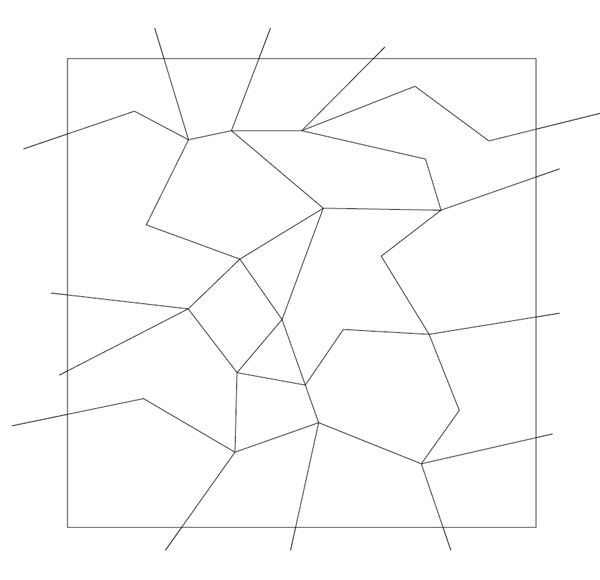
Continue adding zig zag lines horizontally and vertically across the square, matching up points wherever two points are in close proximity. As the number of lines increases polygonal shapes will start to emerge from the intersections.
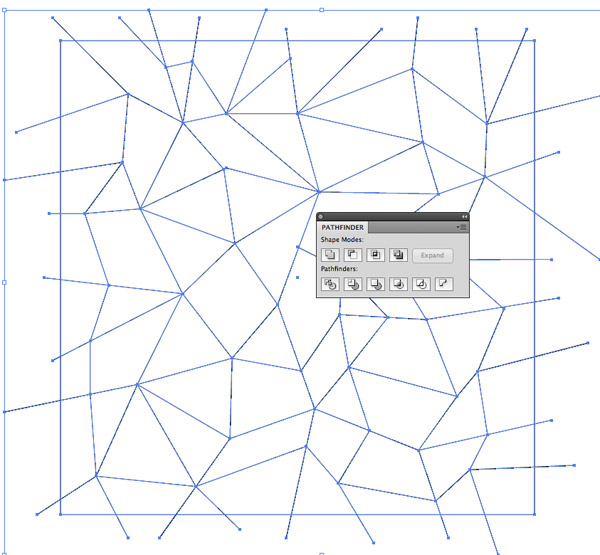
More lines equals smaller shapes and more detail, so continue until you’re happy with the effect. Draw a selection around all the objects then hit the Divide button from the Pathfinder palette.
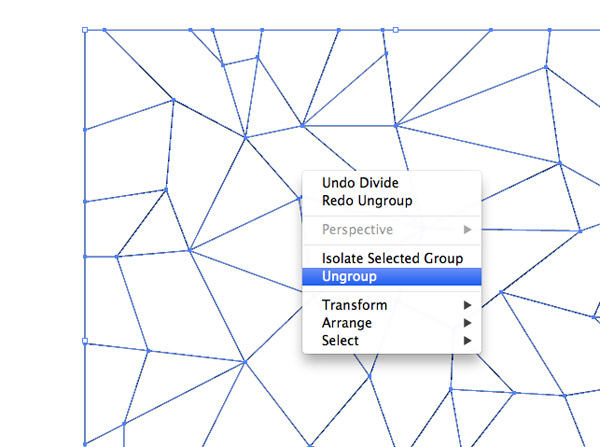
Right click and select Ungroup, then draw a selection around each side of the square and remove any stray linework that might be leftover from the Pathfinder process.
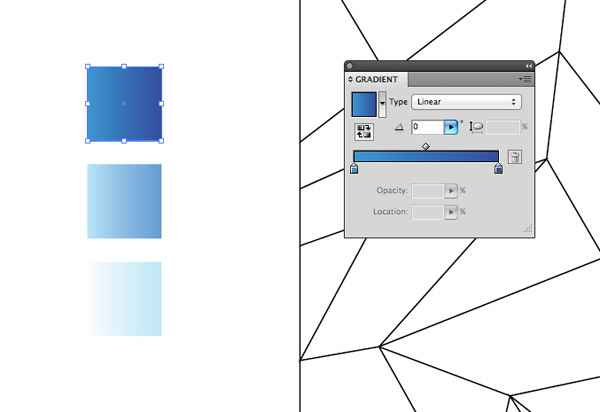
Elsewhere on the artboard set up a colour palette using some temporary square shapes. Add a gradient to each shape and configure three different gradient shades. We’re going for an icy blue theme with this design, but it looks equally cool with any colour palette.
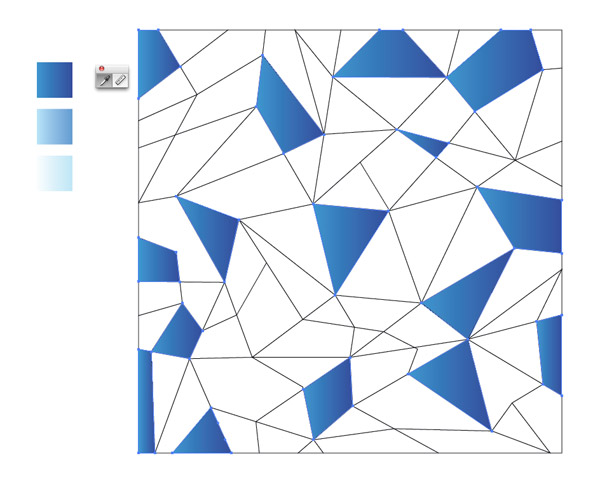
Select the Eyedropper tool then hold the CMD and Shift keys while clicking random shapes and adding them to a selection. Release the keyboard buttons then click the eyedropper tool on the first gradient square to select its fill and apply it to the polygonal shapes.
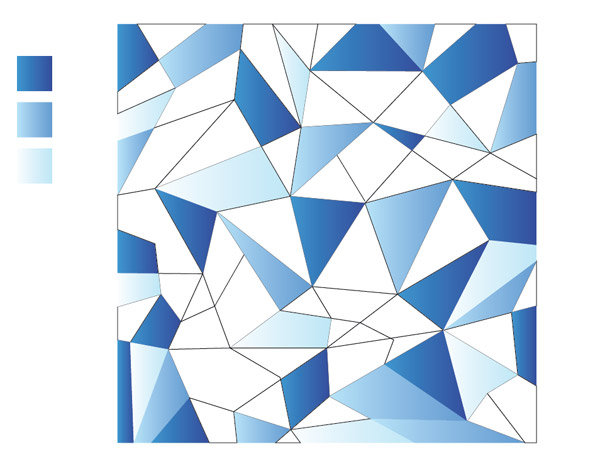
Repeat the process with the next gradient, making sure you don’t select a shape that already has a colour applied.
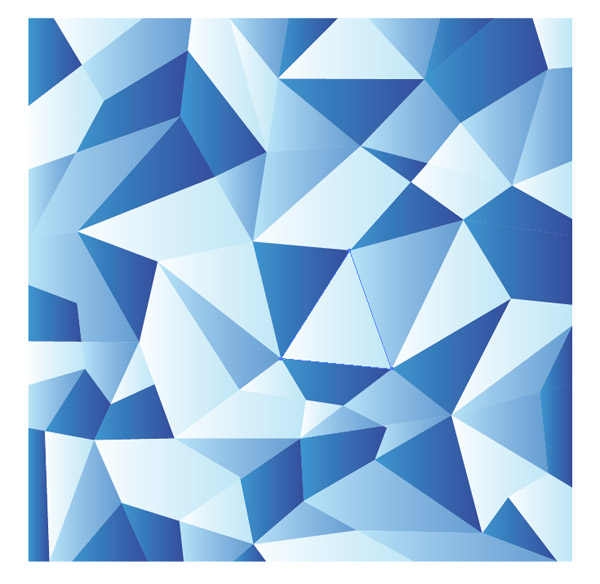
Continue cycling through the gradients until every shape is filled. Take some time to adjust the fills where the same colour might be concentrated in one area.
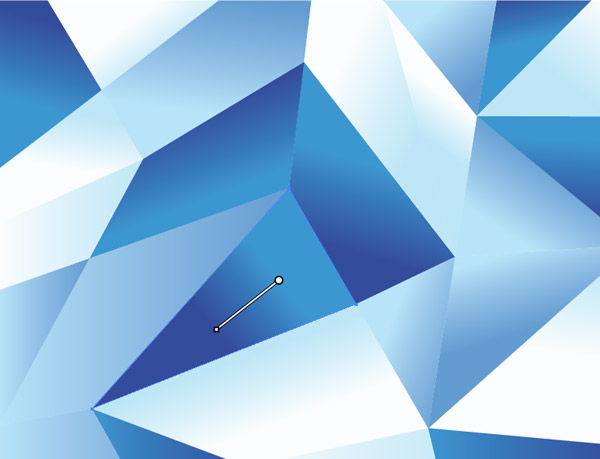
The design looks icy and blue so far, but we can really enhance the colours by subtly adjusting the gradients. Grab the Gradient tool and click and drag across each shape to randomly adjust the gradient angles.
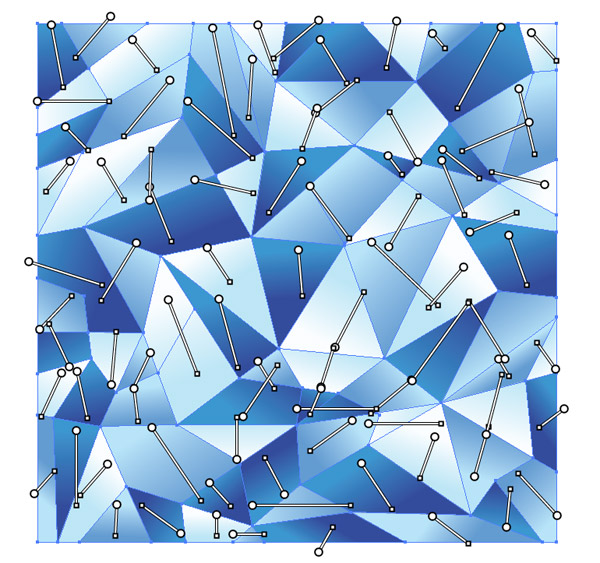
Once you’ve reached the bottom every shape should have a random gradient direction, rather than being perfectly straight.
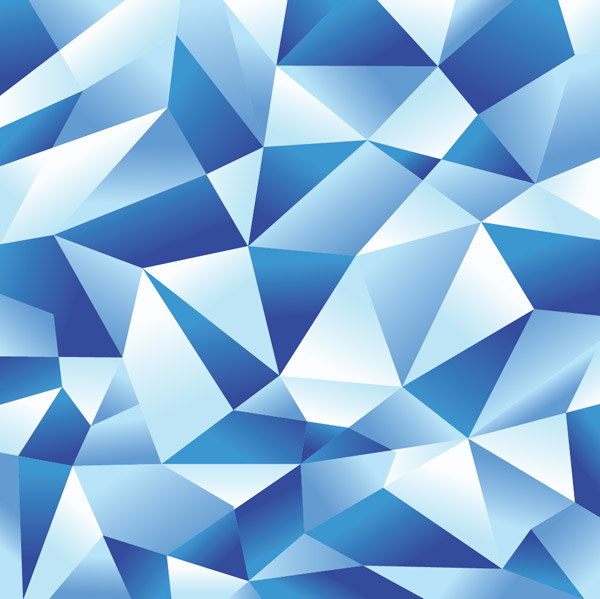
These random gradients really enhance the colours of the design and increase the contrast between the blues as darker shades are placed against lighter shades.
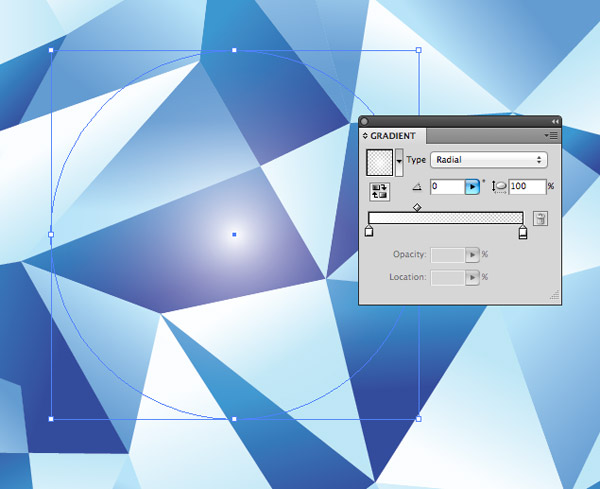
There’s one more little addition we can add to really enhances the colours. Draw a circle over the artwork and give it a radial gradient fill from white to 0% opacity.
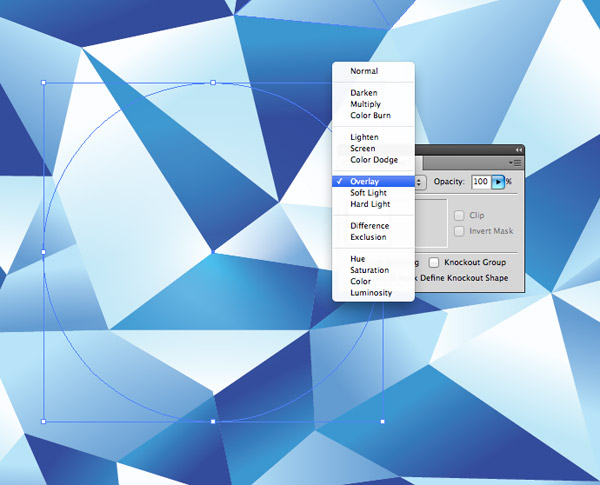
Under the Transparency window change the blending mode to Overlay, this will allow the white to interact with the underlying blues and add more variation in tone.
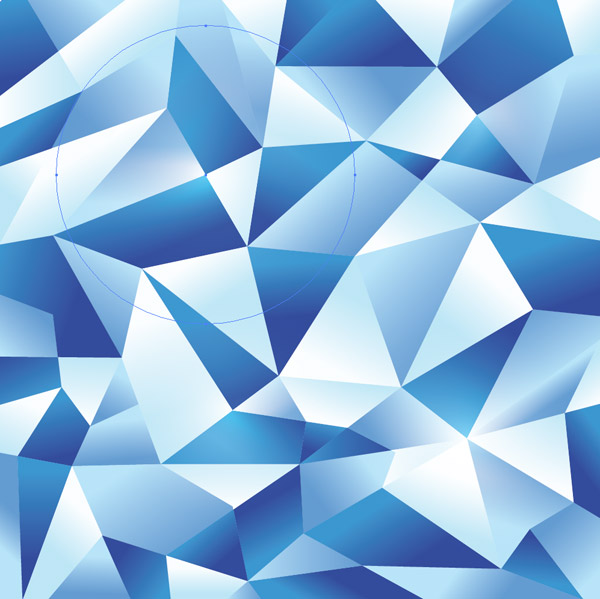
Duplicate this circle and place it in random areas over the design to create stunning bright highlights.

This leaves our icy blue vector geometric design complete. The basic polygonal effect is easily created thanks to Illustrator’s Pathfinder tool, then the subtle additions of gradients and highlights really enhance the colours.


Awesome, Thanks Chris,
Appreciate it!
Thanks, Chris! This is a simple solution to what looks like it could be a complicated part of an illustration or design.
Nice i like it will surely try it
Thank you so much for this tutorial! I was actually looking for an icy graphic, this was what I’m looking for. Thanks! :)
Another wicked tutorial!
Thanks for sharing your great talent.
Amazing this is!
Someone know how to make nexus 5 like wallpaper in PS
Thanks for sharing this. I always wondered how to create something like this.
Really amazing… But illustrator is a bit difficult from Photoshop… :)
Awesome work Chris.
Thanks for sharing your creativity with step by step tutorial. This is really very hard to find anywhere online such kind of stuff.
Awesome Tut, Can u provide a tutorial how to convert these ploygons in seamless pattern
Thanx in advance btw what about this link
http://crtv.mk/dTKX
Enjoy :)
Creating an Icy Blue Vector is so simple and i was like it is impossible to Design it Geometrically.
Hi there!
Thanks for your tutorial, was wondering if you can please do a tutorial on making this
http://www.shutterstock.com/pic-177445646/stock-vector-abstract-geometric-lattice-the-scope-of-molecules-the-molecules-in-the-circle-round-composition.html
I have seen lots of these lately and wondering how to make it using Illustrator.
Thanks for your help!
Mita