This post was originally published in 2013
The tips and techniques explained may be outdated.
If you’re a regular reader of my blog you’ll know I love creating artwork in Illustrator using simple or basic shapes. This tutorial takes that idea to the extreme by using nothing by the rectangle tool to create a simple 8-bit style pixel character. Pixels are usually associated with Photoshop, but the great thing about Illustrator is your artwork is 100% vector, so unlike Photoshop you can scale your design to any size while retaining those blocky 8-bit characteristics.
![]()
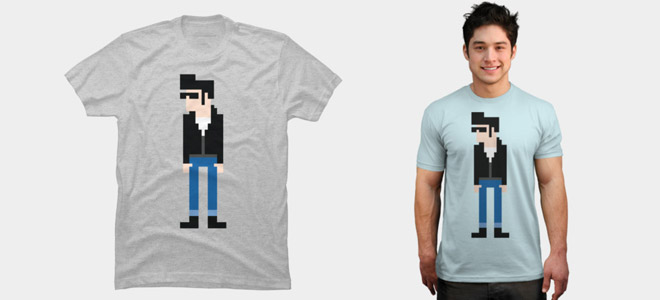
The character we’ll be creating is a 50’s style greaser with slick pompadour, leather jacket and blue jeans. All the features of the character have to be extremely simplified to fit within the pixel grid, so it takes a little imagination to reconstruct your character with basic blocks.
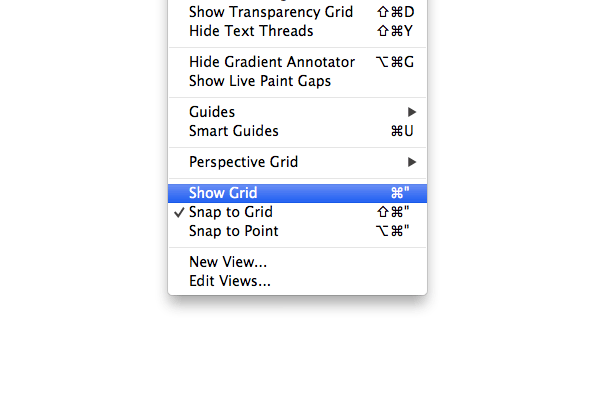
In Photoshop if you zoom in far enough you’ll see the individual square pixels, but in Illustrator we’ll need to set up a grid to work from. Under the View menu option select the Show Grid option and make sure Snap to Grid is turned on.

Select the rectangle tool then draw a square within the major grid lines. The rectangle will automatically snap to the grid points, which will make it easy to achieve that perfect pixel alignment as we build up the character. Give this initial square a flesh coloured fill to represent the face of your character.
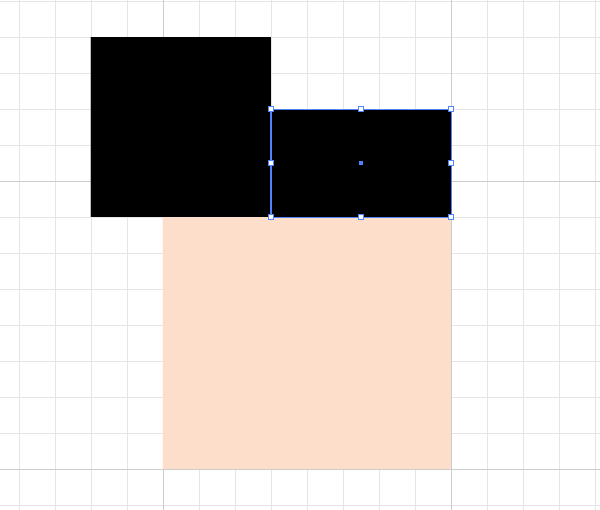
Switch the fill colour to black then begin constructing the hair using basic rectangle shapes.
Being restricted to basic block shapes makes it difficult to represent curved shapes, but things soon start to become recognisable as the blocks are built up.
Despite being a 2D design, simple perspective effects can be achieved with the use of scale. The left lens of the sunglasses is two grid blocks wide, whereas the right lens is three blocks wide.
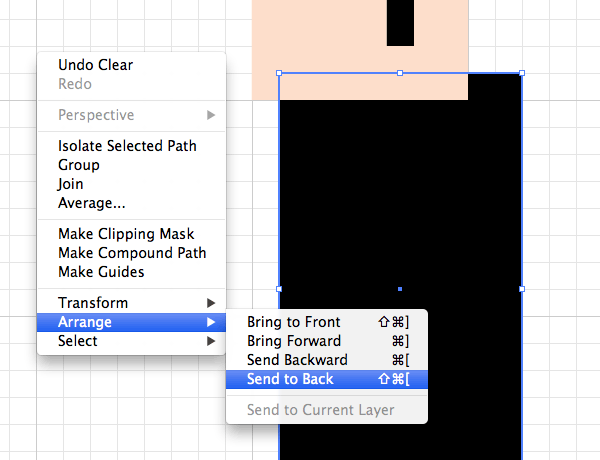
Draw a large black rectangle to represent the body of the character. Overlap the rectangle with the head, but send the object to the bottom of the stack with the shortcut CMD+Shift+[.
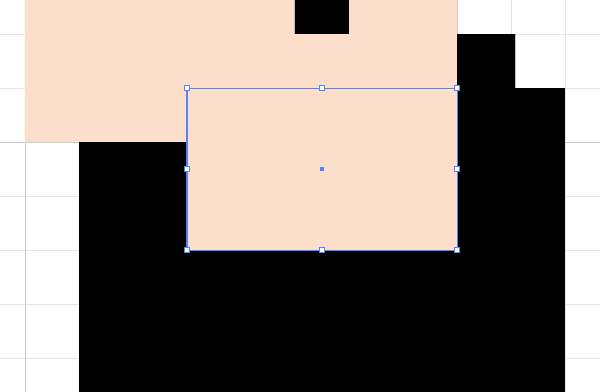
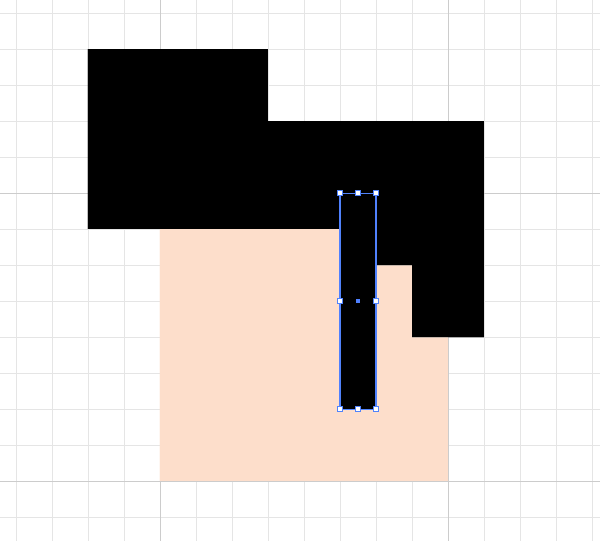
Extend the head into the body by drawing another flesh coloured rectangle to represent the character’s neck. Build up the jacket by filling grid blocks with black to form a collar.
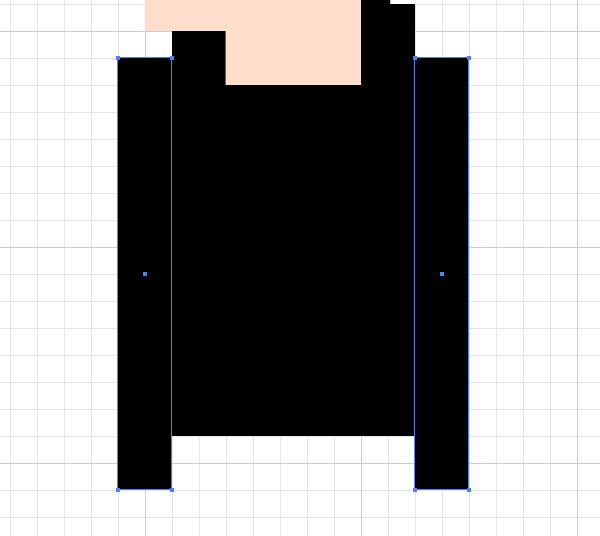
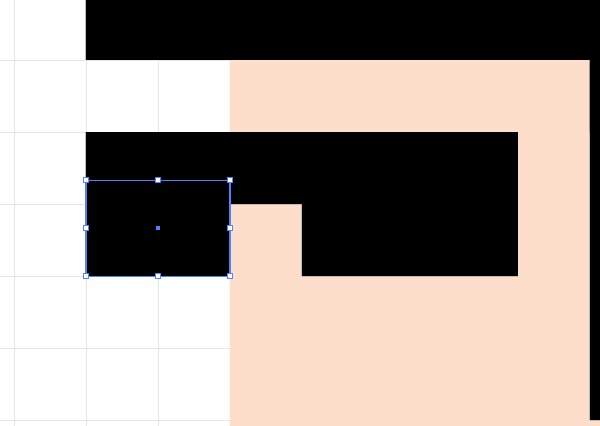
Draw two long rectangles to represent the character’s arms. Black shapes against black will blend together, so offset the shapes so they’re still recognisable.
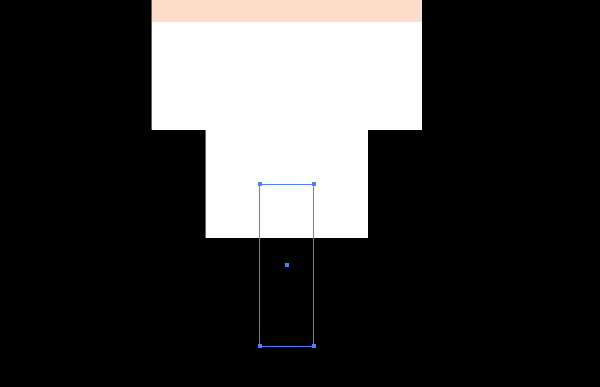
Fill areas in the centre of the body with white to represent a white t-shirt under the jacket. Even though two shapes are aligned perfectly in Illustrator a visual glitch will show tiny hairline gaps. These lines don’t appear in the final exported artwork but you can avoid them by overlapping any same colour shapes.
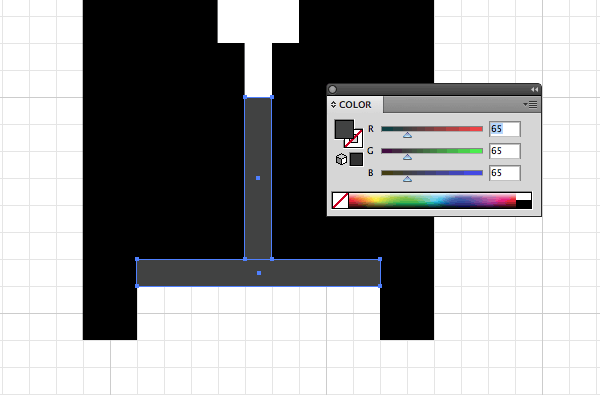
Draw thin rectangles just one gridline in width and fill them with a dark grey to add some basic details to the jacket.
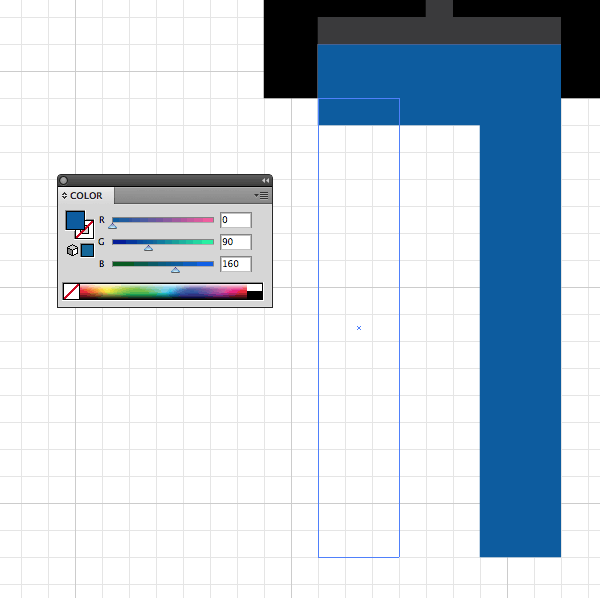
Construct the legs with moderately sized rectangles with a blue denim colour fill to represent a pair of jeans. Leave a considerable gap between the legs for the that goofy stylised appearance.
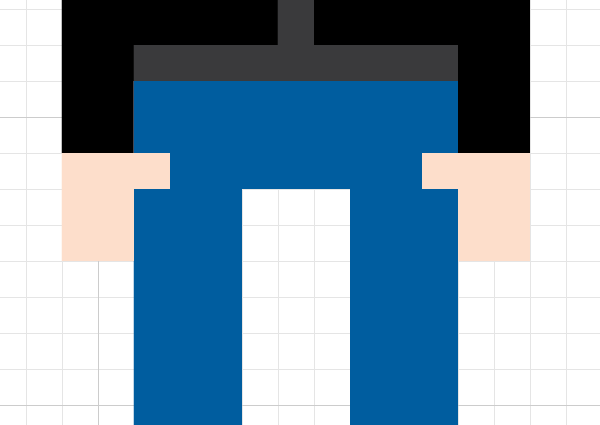
Use the same flesh colour to fill a few blocks to represent the character’s hands. Just one large block with a small thumb is enough to construct a recognisable hand shape.

Finish off the character with a couple of boots and two lighter blue rectangles to represent the turn-ups.
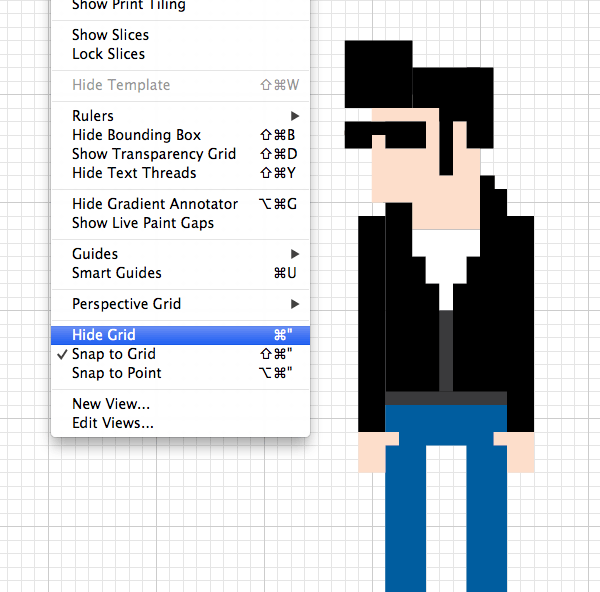
Head back under the View options and turn off the Grid to see the completed character. Being vector artwork it can now be scaled to any size while retaining its 8-bit pixel form.
![]()
If you’re feeling adventurous why not create a whole village of 8-bit pixel characters? The process is super simple and it just goes to show what kind of cool stuff you can create with the most basic of tools.
Love this design? Get the T-shirt!

Beautiful and simple tutorial once again. Just curious, you didn’t mention about the noisy gradient in the final image. Did you do it in AI or PS? And how is your most efficient method for getting layers or objects from AI to PS for post processing?
Thanks a ton again for this awesome blog. :)
Photoshop. Noise effects!
Great tips indeed..
This is genius. I’ve never thought of creating illustrations like that.
Very interesting tutorial. I might try to see if I can make one of myself :)
This is really fun to do. We actually upload a video today on how we did our vector logo with pixalized style as well. You can check it here http://www.youtube.com/watch?v=00GrqX648CQ&feature=youtu.be
Funny how we spend most of our time avoiding pixellated graphics and now they are not only fashionable but desirable!
Great post!
Really cool, I’m absolutely gonna try this. Thank you.
nice idea ….. simple but’s great
cool & simple design.
best of luck!
This is great! I got the 8-bit bug too lately: a carrot eating alien in 3D :)
http://prntscr.com/154cuv
I did this using some software we are working on…kind of like drawing and Minecraft combined.
This trend of 8-bit or lo-fi seems to coincide with a move away from skuemorphic design towards flat design. I think mobile has hastened the trend.
Nice. Thank
Insane idea, just decided I should use it for branding my site. I was sure to +1.
love this! have been wanting to make some of these forever. thanks for the tips.