This post was originally published in 2013
The tips and techniques explained may be outdated.
Follow this step by step Adobe Illustrator tutorial to create a vector illustration inspired by the classic tattoo art of Sailor Jerry. Our dagger and heart design will use clean black linework and perfectly formed shapes combined with vector textures to add an element of shading and appreciate the style of traditional tattoo art.
A dagger through the heart is a classic tattoo symbol with both religious meanings and associations with betrayal or hurt through love. Amongst other designs this style of tattoo was popular with sailors and is an icon of prominent tattooist Sailor Jerry. The illustration we’ll be creating in this tutorial takes inspiration from these classic tattoo styles but has a much more precise appearance thanks to Illustrators accurate vector tools.
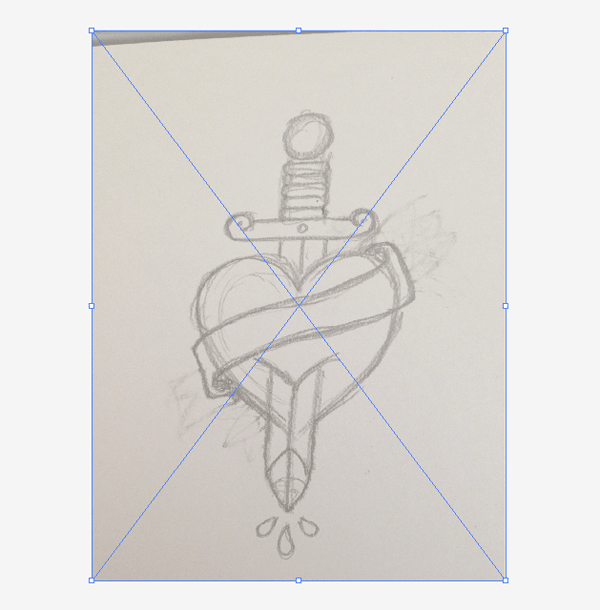
Before getting started, have some fun browsing images of vintage or classic sailor tattoos and sketch out a design concept with pencil and paper to gain a feel for the kinds of shapes we’ll need to construct digitially.
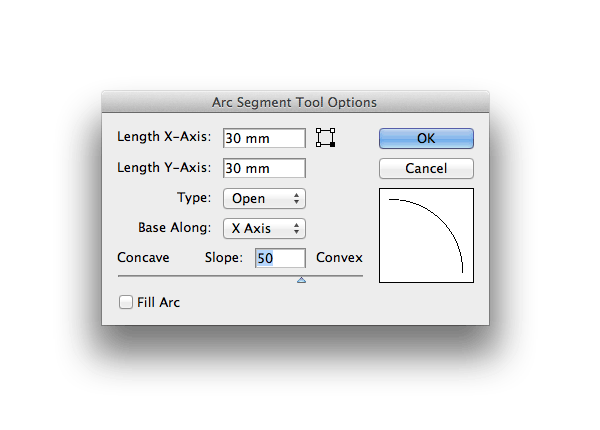
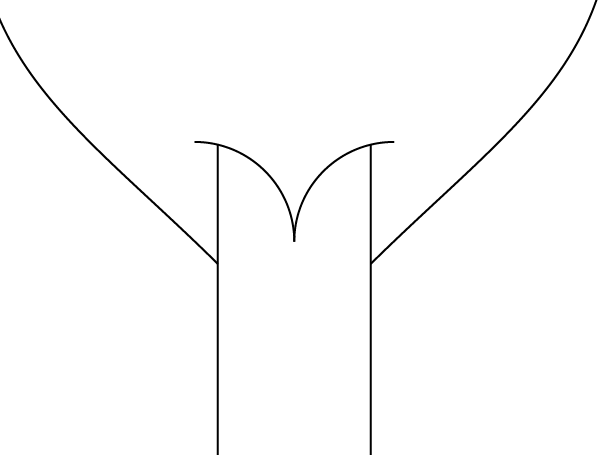
The first element we’ll create is the heart. Double click the Arc tool in Illustrator’s toolbar to open up its options. Make the axis figures the same length and change the Slope to 50% Convex.
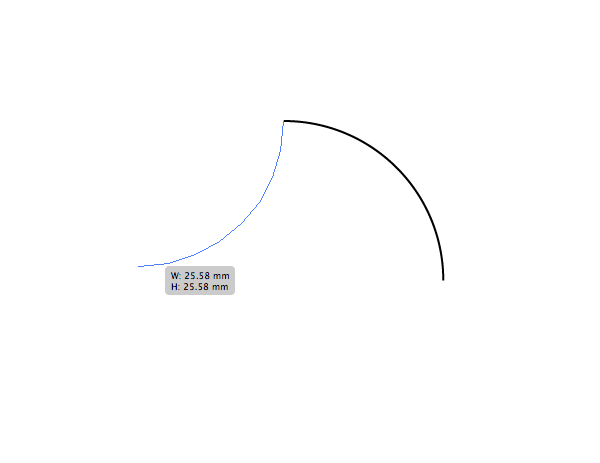
Click and and drag a curve on the artboard while holding Shift, then turn on Smart Guides (CMD+U) and continue a second path from the open end point. You’ll notice the curve is the wrong way around, so press the F key to flip it over.
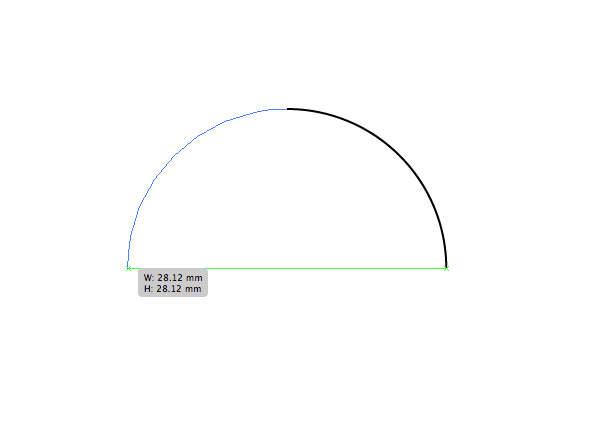
Align the end point with the original using those Smart Guides, once again holding Shift to keep the proportions straight.
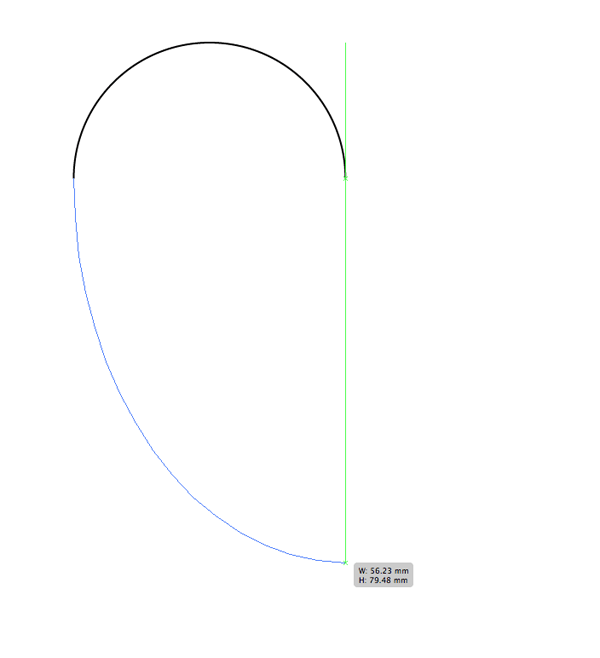
Continue a third path to form the lower portion of the heart outline. Don’t hold Shift this time, but make sure the point aligns with the original arc shape.
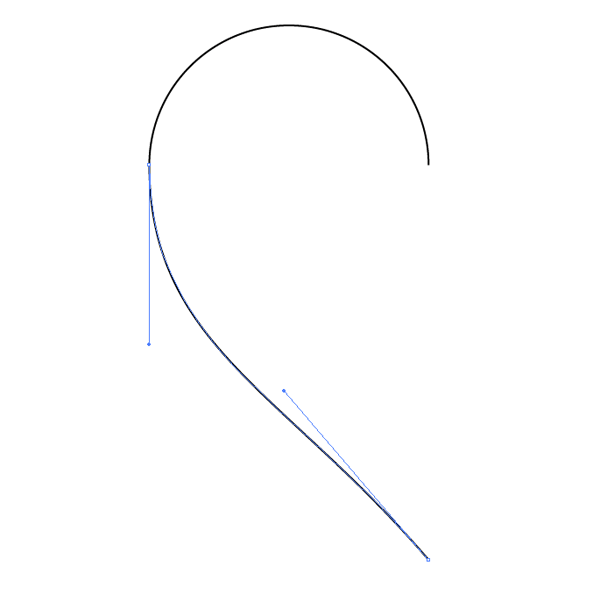
Use the Direct Selection Tool to alter the bezier handles of this third path to form a more natural heart shape.
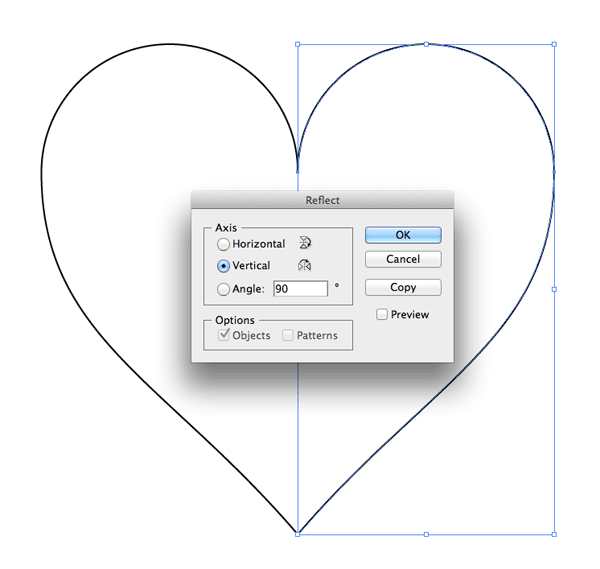
Draw a selection around all the paths then Copy (CMD+C) and Paste in Front (CMD+F) a duplicate. Go to Object > Transform > Reflect and select the vertical axis, then align them to form the opposite side of the heart.
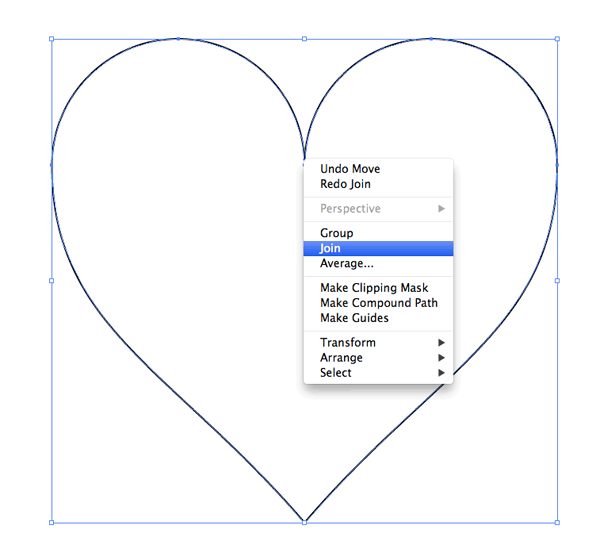
Select all the paths that form the heart shape and hit CMD+J (or select Join from the right click menu) to join all the separate paths into one continuous shape.
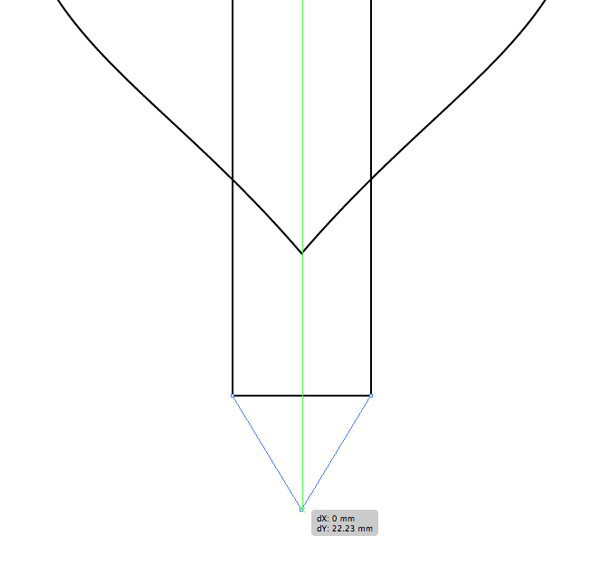
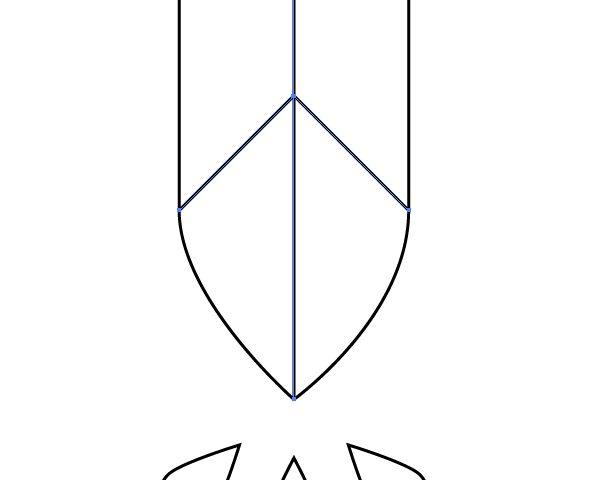
Draw a long rectangle down the centre of the heart. Add an extra point halfway along the lower edge using the Pen tool, then move this point downwards with the Direct Selection tool.
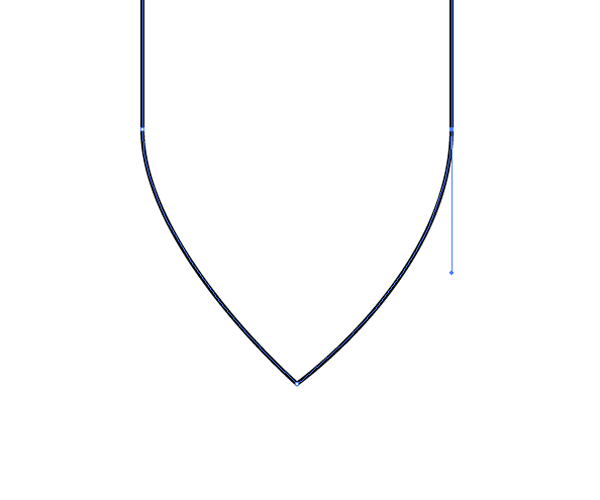
Use the Convert Anchor Point tool from the Pen tool menu to add bezier handles to the old corner points to round off the lower portion of the dagger blade.
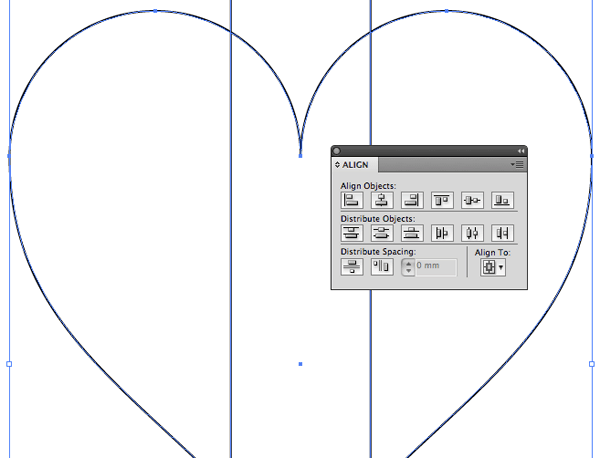
Make sure both the rectangle and the heart are aligned using the vertical option from the Align menu.
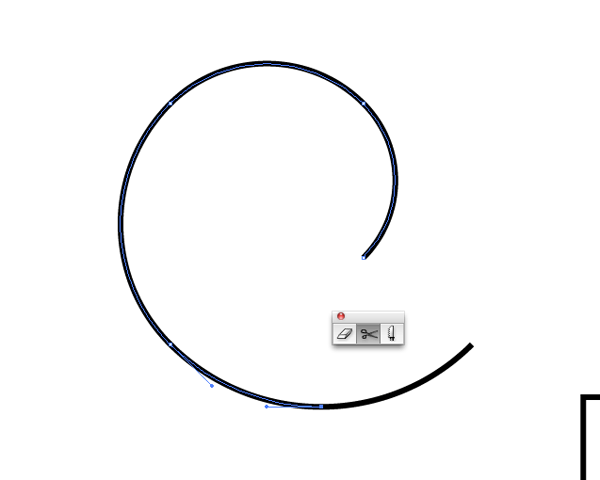
Draw a curly path using the Spiral tool roughly where the cross guard will appear at the top of the dagger. Use the Scissors tool to split the path at its lowermost point and delete away the excess.
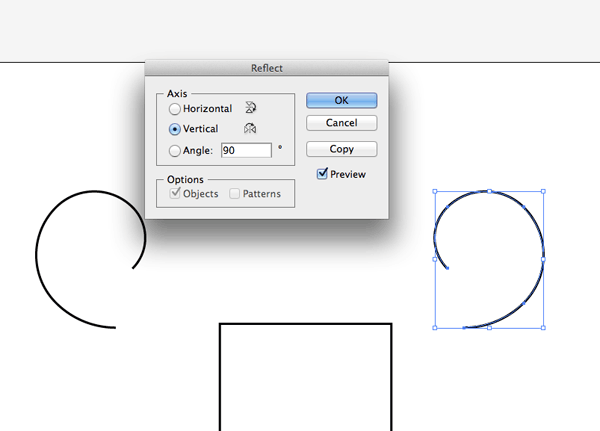
Copy, paste and reflect a copy of the spiral and position it on the opposite side of the dagger blade.
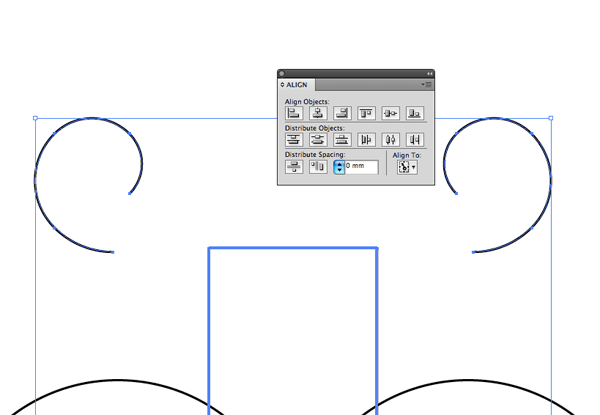
Group the two spirals together, then add the dagger blade to the selection. Give the blade rectangle an extra click to make it the key object then hit the vertical align option from the Align menu.
Use the Pen tool to continue the two open points between the two spirals, then add an additional line across the upper edge.
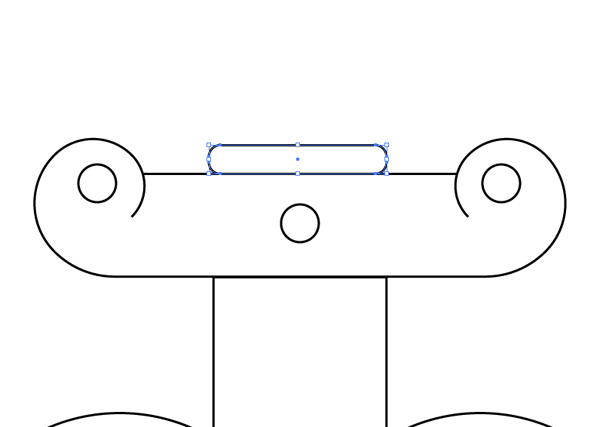
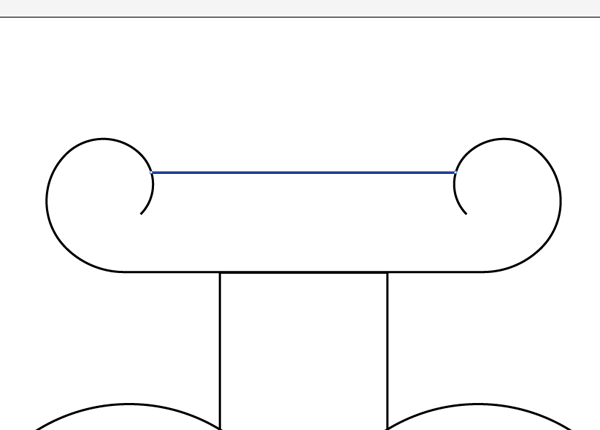
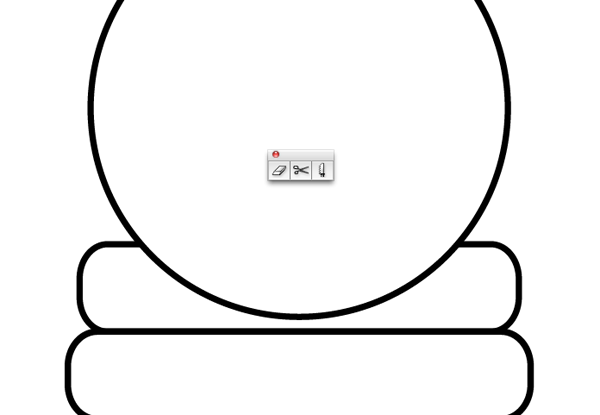
Add a couple of decorative circles before drawing a rounded rectangles with maximum corner radius to represent the start of the grip.
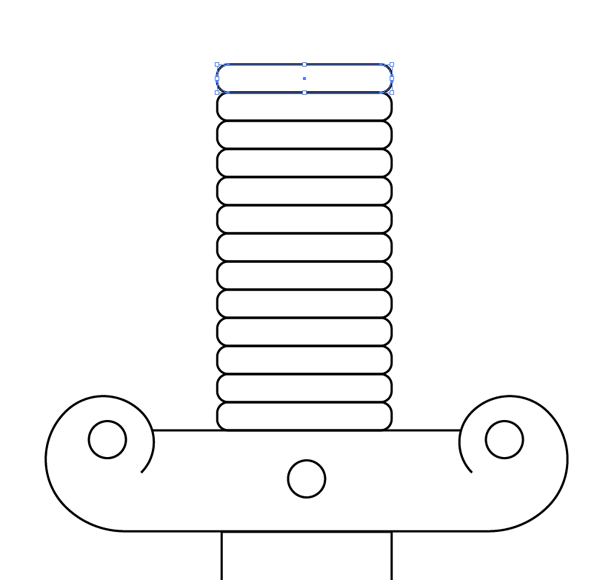
Hold Alt and Shift then click and drag a duplicate of the rounded rectangle until it aligns to the upper edge of the original. Repeatedly press CMD+D to repeat this transformation and produce a series of aligned shapes.
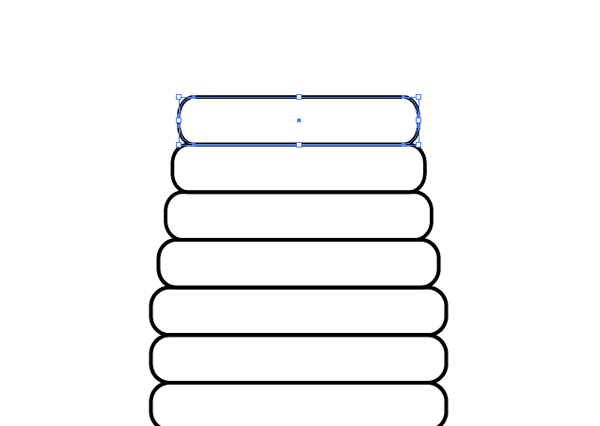
Horizontally scale the 4th shape down very slightly while holding the Alt key, then select the next shape and press CMD+D. The shortcut will need to be pressed incrementally more to scale the shapes down in size towards the end.

Finish off the dagger with a circular pommel and align it centrally with the grip. Make one of the grip shapes the key object to prevent it from moving out of place.
Use the scissors tool to clip the top grip shape and remove the section that overlaps.
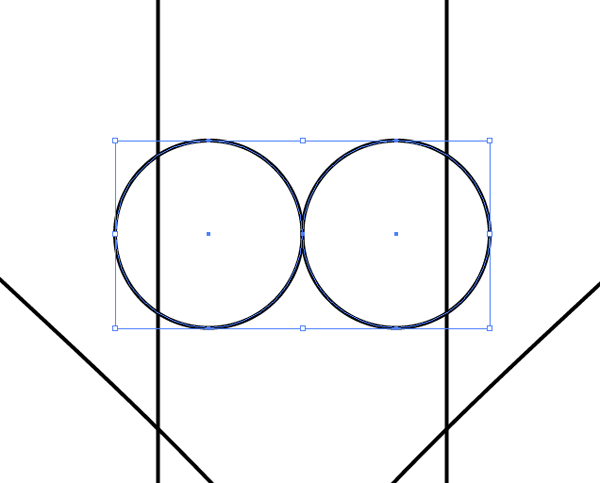
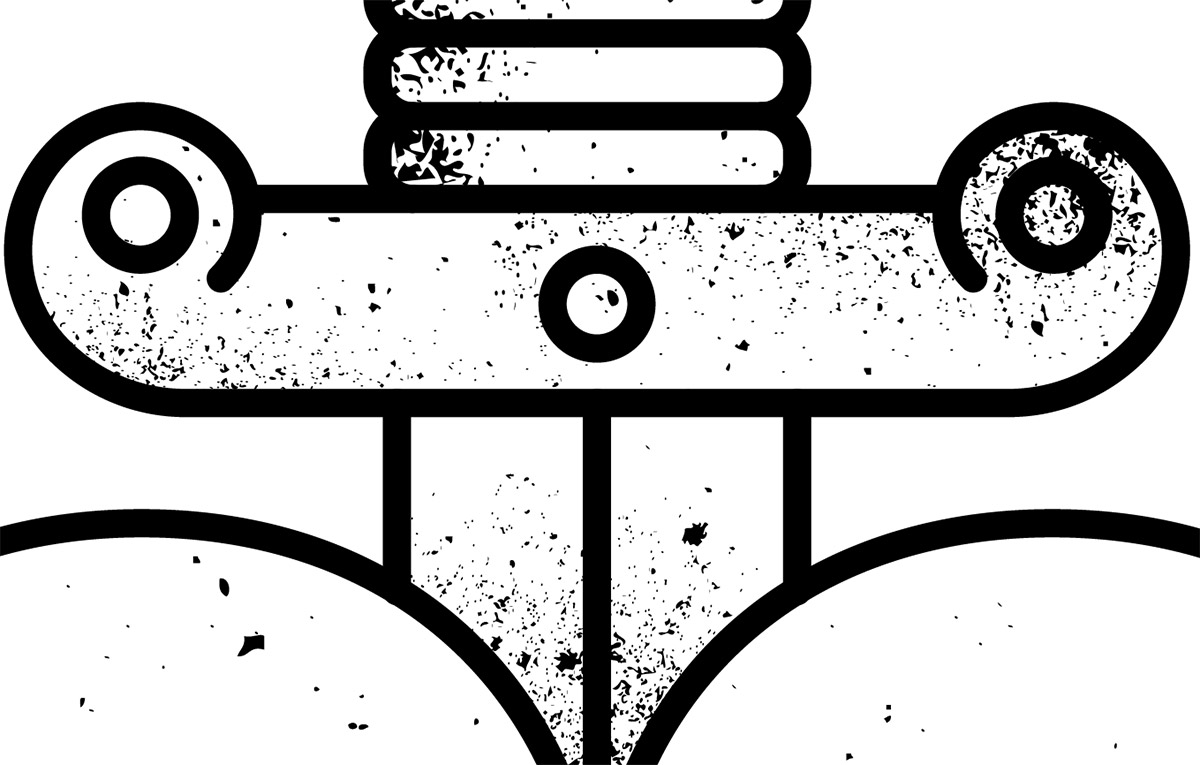
Draw two aligned circles in the centre of the lower half of the heart object.
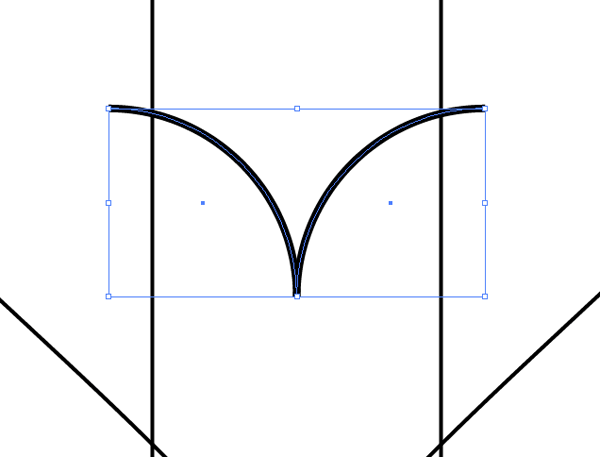
Use the Direct Selection tool to select and delete points of each circle to leave two quarter-circle shapes. Scale this linework up so it extends beyond the edge of the blade rectangle.
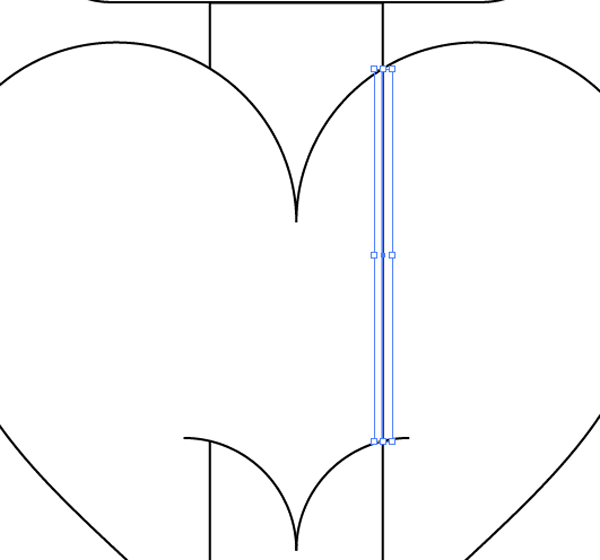
Use the Scissors tool again to make clips along the blade rectangle outline where the shapes overlap. Select and delete the unwanted portions of the path.
Repeat the process on the lower point of the heart, removing it to give the impression that the blade is piercing through the heart.
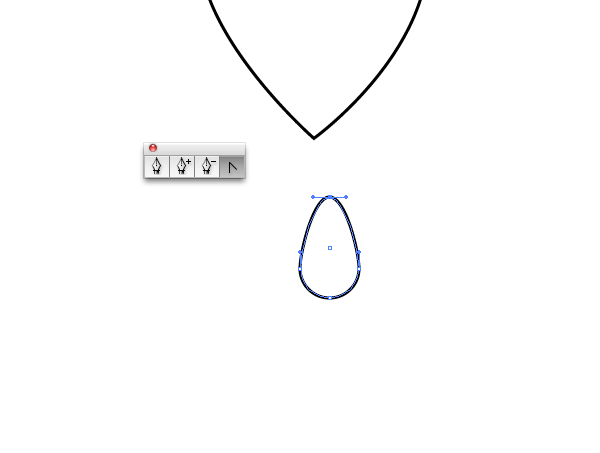
Draw a small circle on the artboard under the dagger blade and drag the top most point upwards with the Direct Selection tool. Use the Convert Anchor point tool to remove the bezier curves to form a pointed teardrop shape.
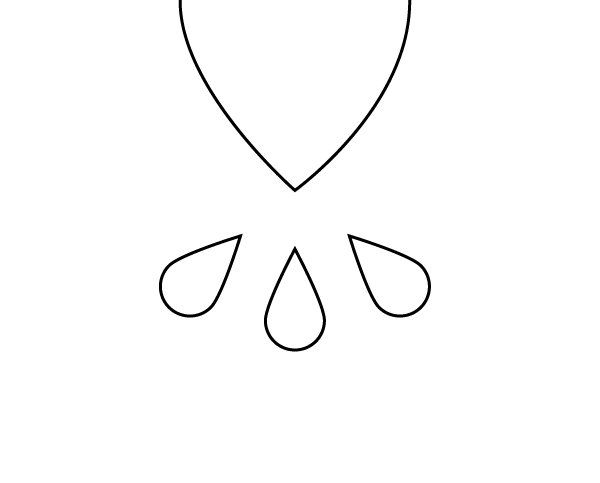
Copy and rotate a couple of duplicates of the teardrop shapes to form a few stylised drips of blood.
Use the Line tool to begin adding some detail to the dagger blade. Use those Smart Guides to keep everything aligned. Please, no phallic jokes you dirty so-and-so’s!
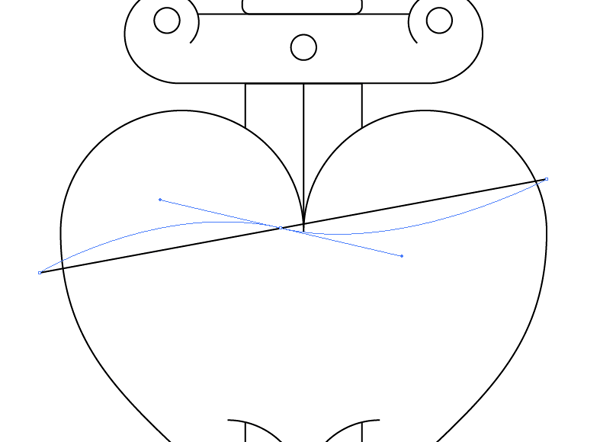
Draw a straight path across the heart using the Pen tool, then add a point to the centre and drag out bezier handles to form a smooth curve. Draw another lines aligned parallel to form the basic shape of a banner.
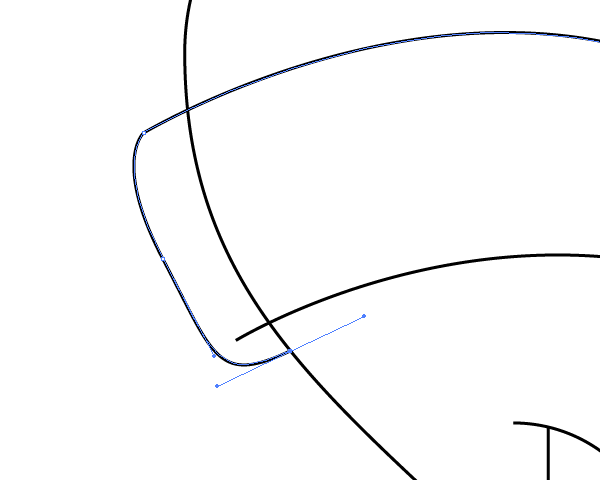
Continue the open end point with the Pen tool to draw the end of the banner, folding it neatly behind the heart. Repeat the process on the opposite side.
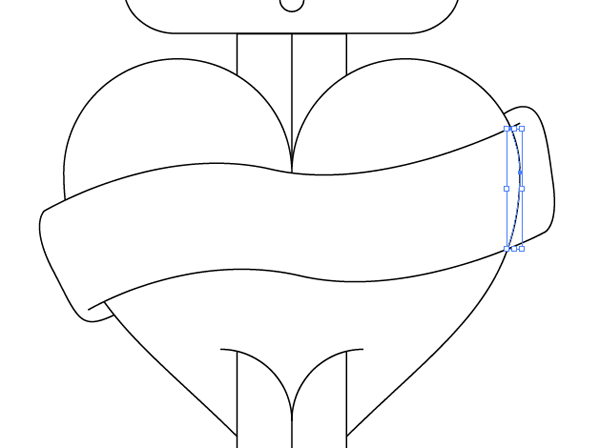
Use the Scissors tool to clip and remove portions of the heart outline to finish off the wrapping banner effect.
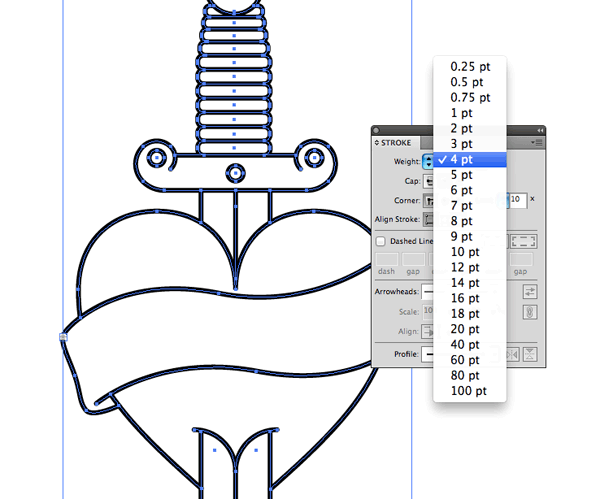
Draw a selection around all the paths that make up the design and increase their stroke weight to around 4pt. Select the Round Cap option to remove the square edges from the open ends.
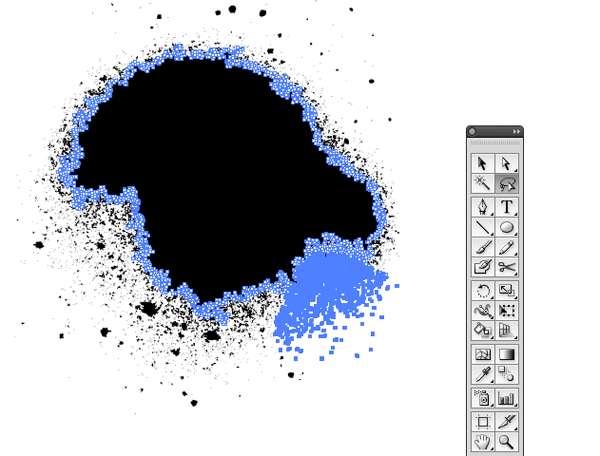
Open up my Vector Bumper Pack of Grungy Textures & Brushes and draw a selection around some of the overspray splatters using the Lasso tool.
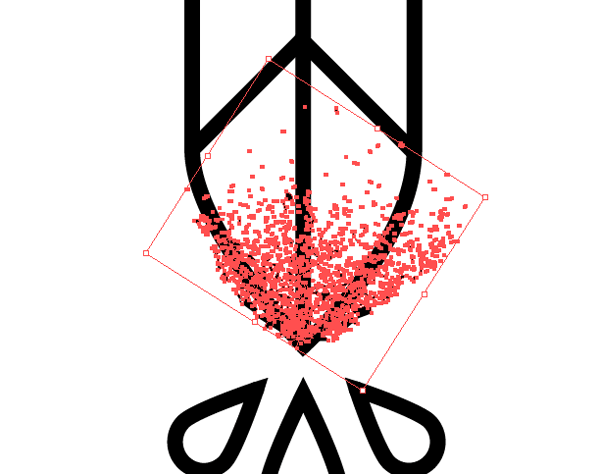
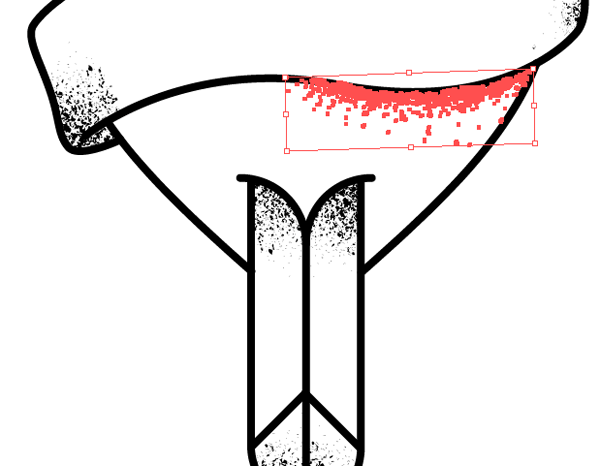
In the working document create a new layer and lock the linework so it can’t be selected. Paste the splatters and hit CMD+G to group the tiny pieces together. Scale and rotate the texture into position somewhere over the design so the sprays scatter inwards.
Temporarily ungroup the shapes and use the Lasso tool to draw around any texture shapes that extend beyond the edges of the original linework. Hit Delete just the once to remove them (Pressing Delete twice will remove the rest of the points associated with that shape too).
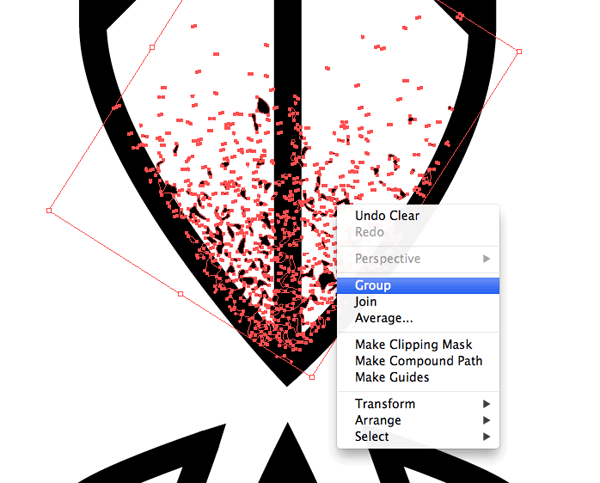
Draw a selection around all the texture elements and group them back together. Keeping the linework on a separate locked layer prevents them from being selected.
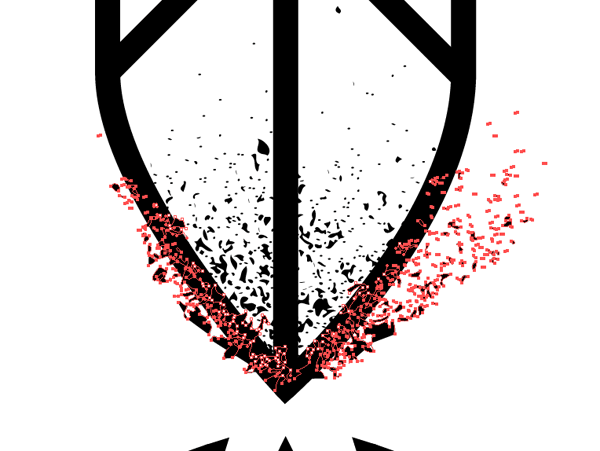
Paste in textures and clip them to size across various parts of the design. Try to find overspray shapes that would be a particularly good fit for certain areas of the design, such as under the banner.
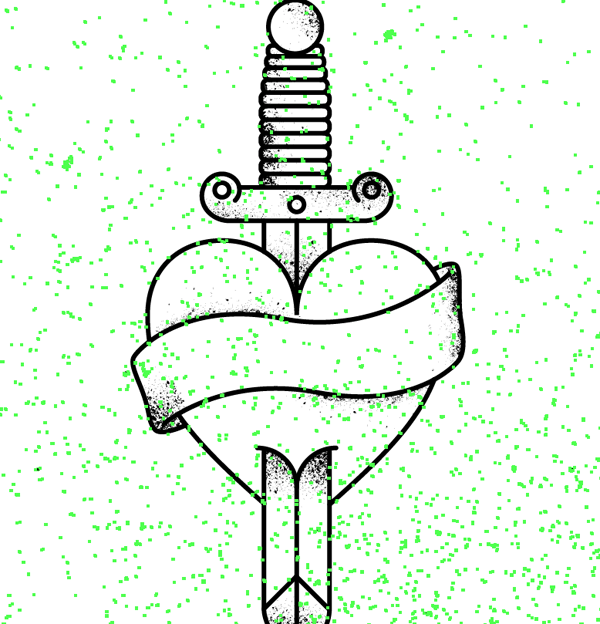
Copy one of the subtle textures into the workspace on its own layer and scale it to size to add a few extra speckles of texture across the design.
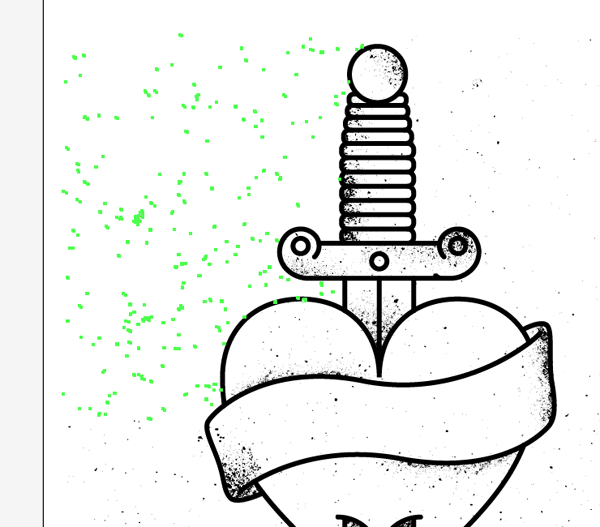
Make sure the other layers are locked, then use the Lasso tool to capture and delete any texture outside of the main artwork.

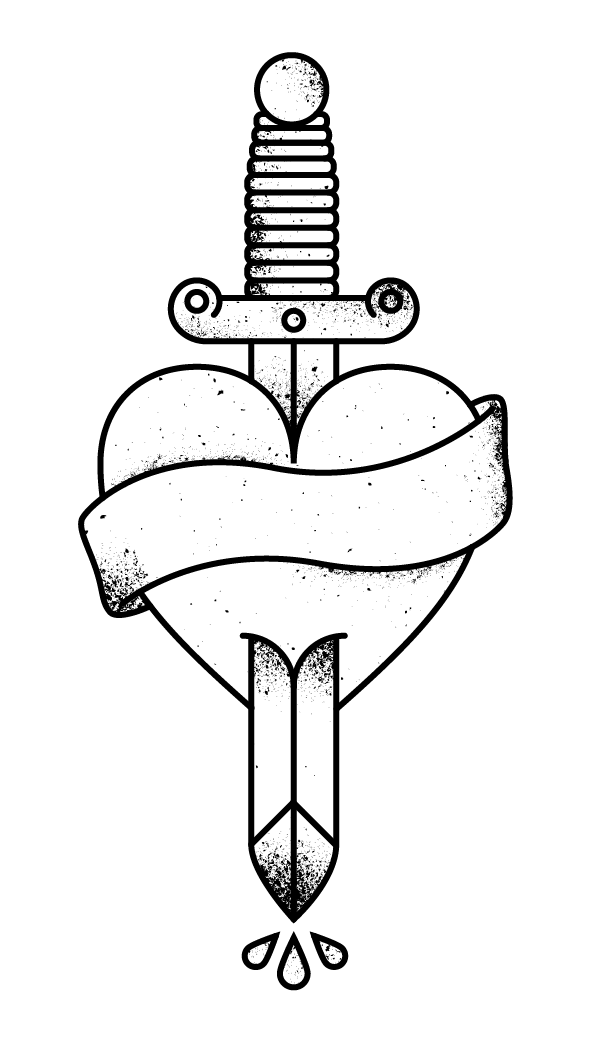
The texture additions both add to the vintage feel of the design and relate well to the shading techniques used by tattooists.
This leaves our classic tattoo inspired vector illustration complete. While we’re basing this particular design on tattoo art, the style can be used to create any kind of vintage themed illustration.

AWESOME – fantastic TuT – Thank you :-)
I must try this… never used Illustrator before :-D
Glad I found you
Ike x
Thanks for the great tutorial!
Not too bad at all. I like the line work. :)
There are two things I would have done differently though:
1) Variable line weights, to give it more of a “hand-drawn” feel.
2) Masked out the textures. Deleting stuff just leads to regret when you need to re-position something after the paths are gone.
love your design, love the tut. awesome!
Great tutorial – simple but effective – a bit like me!
love your design, love the tut. awesome! and Thanks for the great tutorial!
I love these grungy style graphics. Always wondered how to pull this off in Illustrator.
Great Tutorial!
Cool tut! Always love how grunge looks awesome in illustrator. Thanks for the tut Chris!
you always share advanced ideas and this tutorial also enhance my skills. thanks
Is that cool or what. Even I and I have no Idea how to use this tool, I understood your explanation and you made it look so simple. I already strated working on it and it looks promecing.
Love it! Great tutorial and very well explained. The finished article is very Sailor Jerry-esque and I love the vectorised textures. I need to add tutorials to my blog so I’m definitely taking notes!
I need it . thanks you so much
Love it! Thanks.