It’s always fun to play around in Adobe Illustrator creating stylised illustrations of random objects. It’s also great practise, which helps you experiment with new tools and techniques that you could draw upon in your future projects. Follow along with today’s tutorial to create a series of tasty vector popsicle graphics in Illustrator. We’ll use a range of handy tools to create the first colourful lollipop, then build upon each subsequent illustration with new techniques that help to further customise the artwork further.

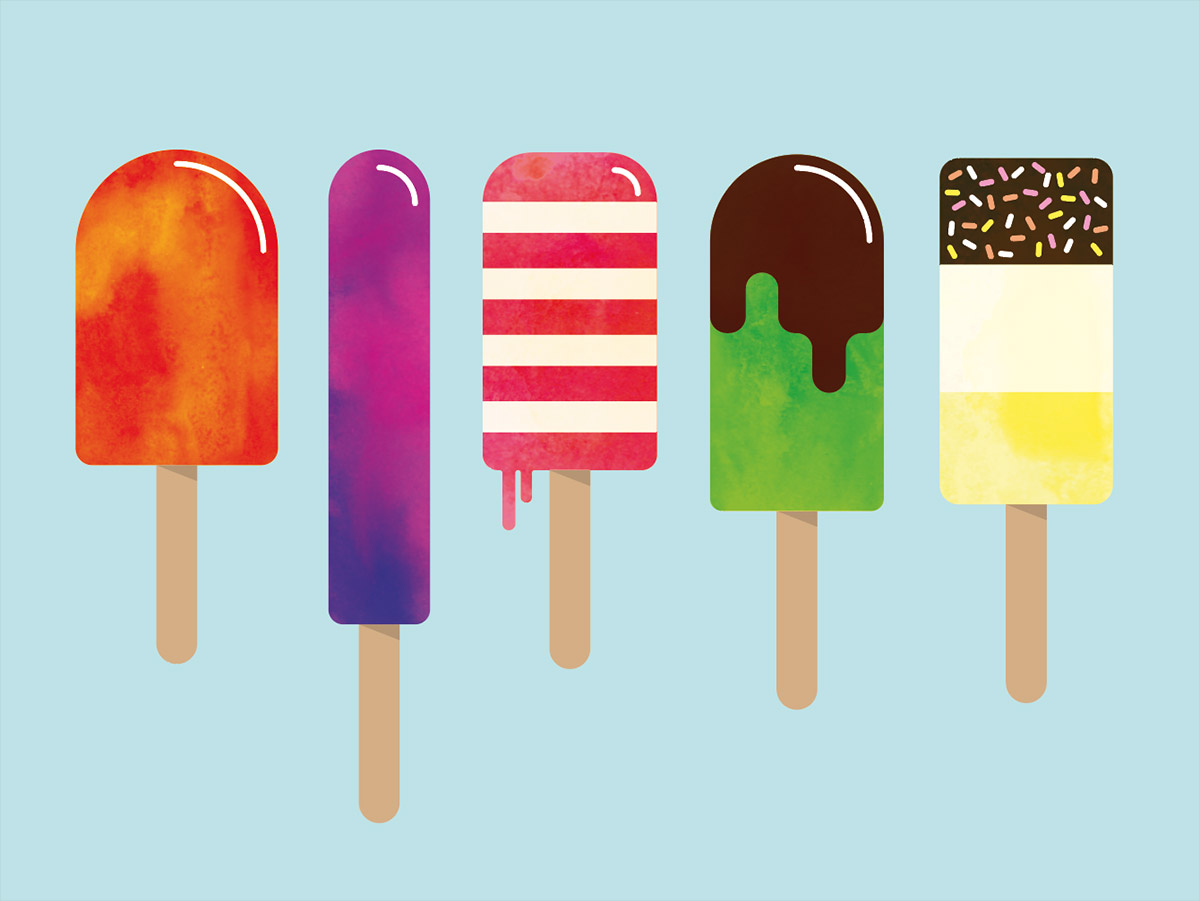
In this tutorial we’ll create five vector lollipop illustrations, each with a simplistic and colourful appearance. The use of basic shapes gives the illustration a popular stylised theme, which also naturally suits the shape building tools of Illustrator. We’ll customise each one with new additions which provide an opportunity to touch on different tools and techniques, then we’ll add some subtle texturing with my free watercolour circle textures.
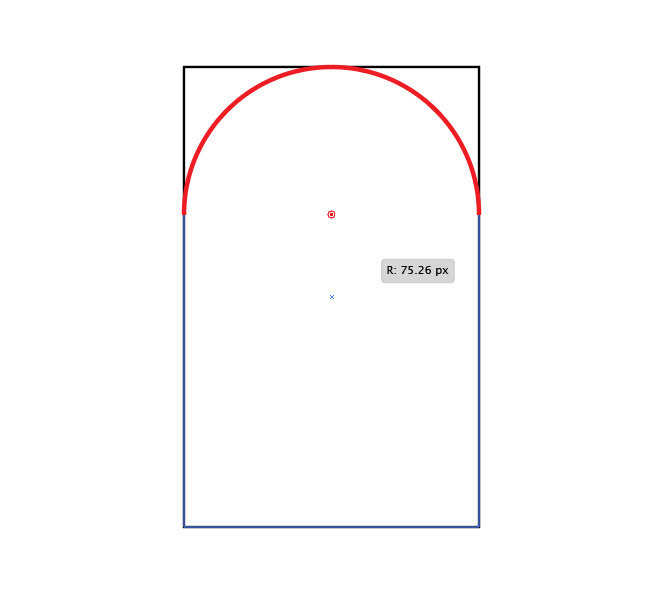
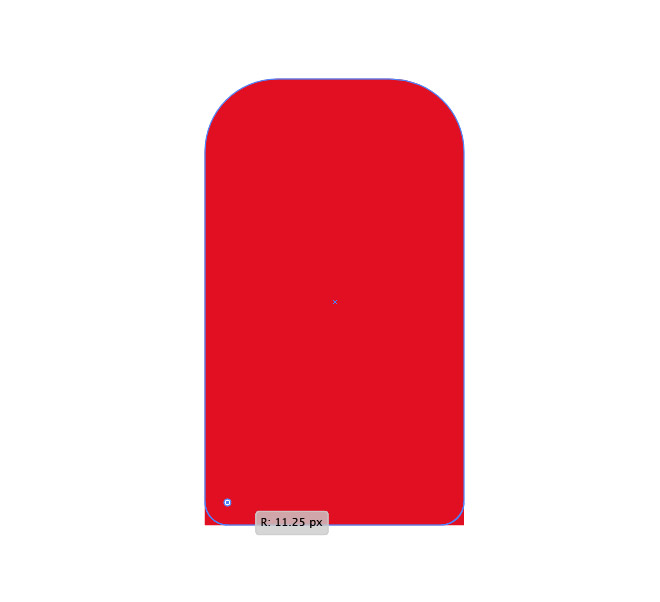
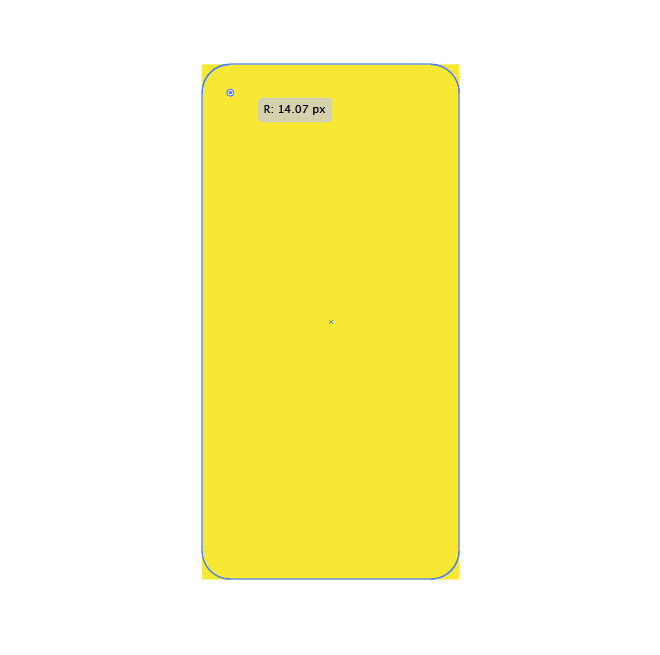
Open up Adobe Illustrator and create a new document. Select the Rectangle tool and draw a shape on the artboard to represent the first popsicle. Activate the Direct Selection tool and select the upper two corner points. In the latest versions of Illustrator you can drag the corner widgets to round off the corners. Users of older versions may instead want to use the Round Corners effect, or begin with a Rounded Rectangle.
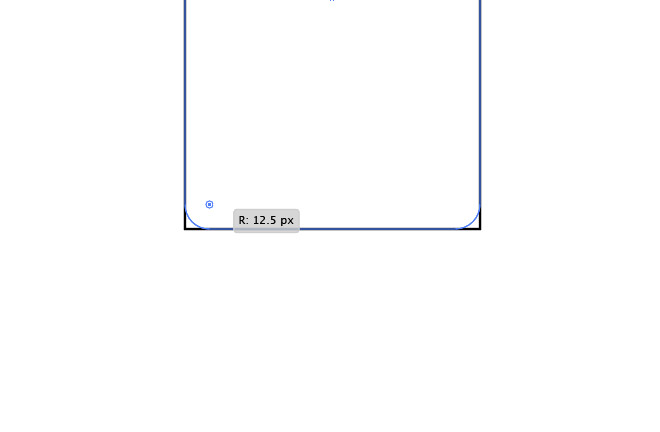
Select the lower two points of the rectangle and round off these corners, although using a much smaller radius.
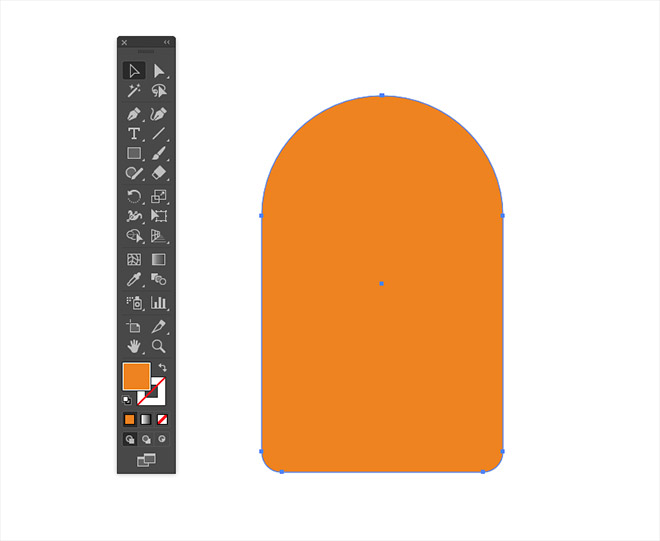
Clear out the default stroke from the shape by clicking the ‘none’ icon in the toolbar, then swap the fill for a colourful swatch from the Swatches panel.
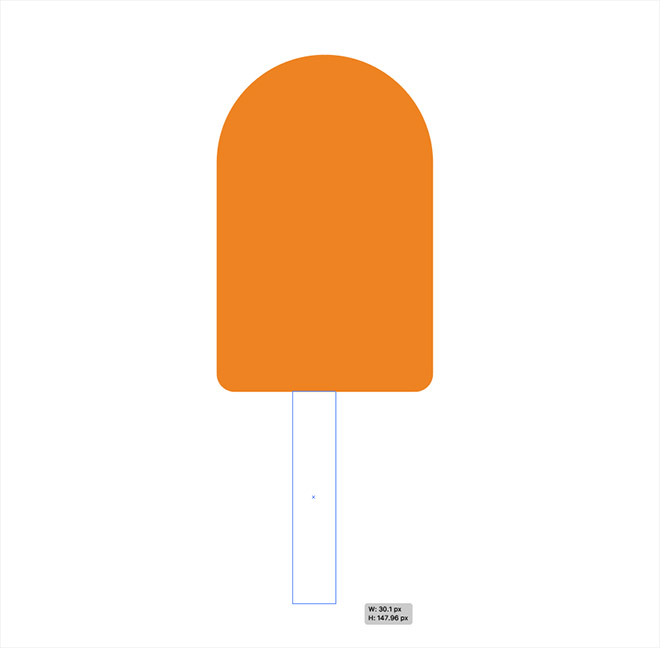
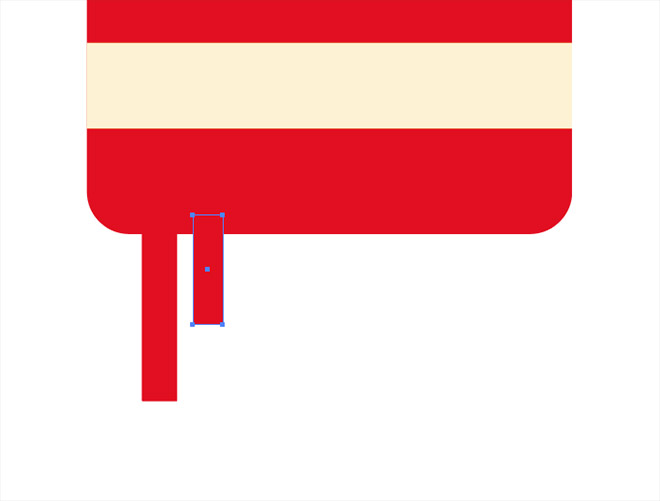
Draw a new rectangle to represent the handle of the lollipop. Turning on Smart Guides from the View menu will help you accurately snap the handle centrally and to the underside of the main popsicle shape.
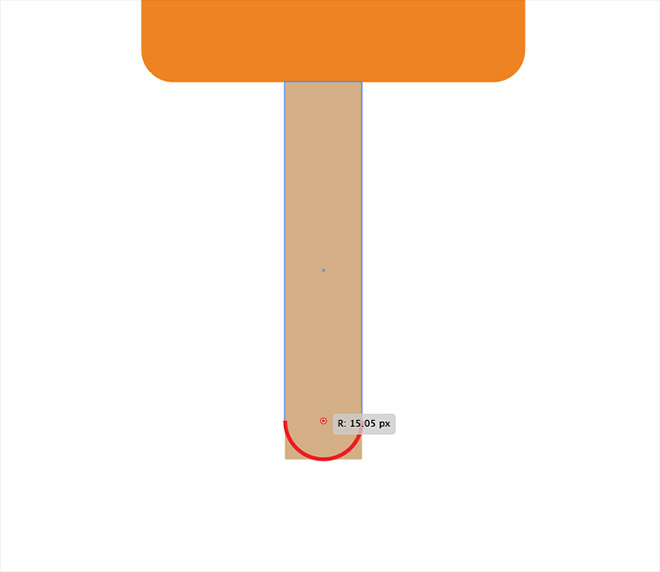
Give this shape an appropriate fill to represent a wooden handle, then select the bottom two points and round them off using the corner widgets.
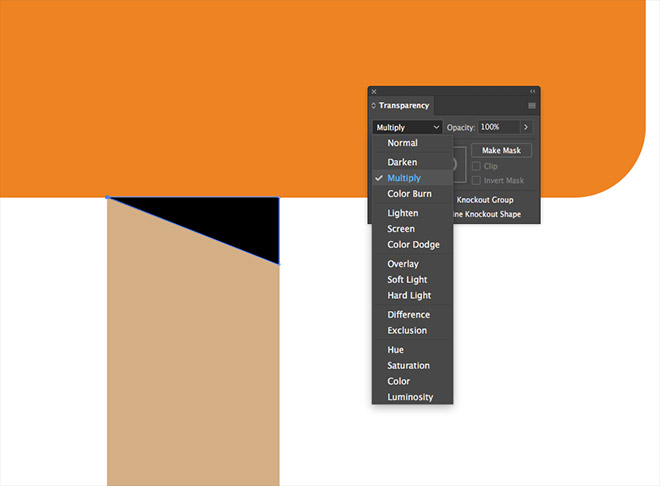
Select the Pen tool and draw a triangular shape at the top of the handle but underneath the main popsicle to represent a shadow. Snap each point to the existing paths, then give it a black fill. Change the blending mode to Multiply and reduce the opacity to 20%.
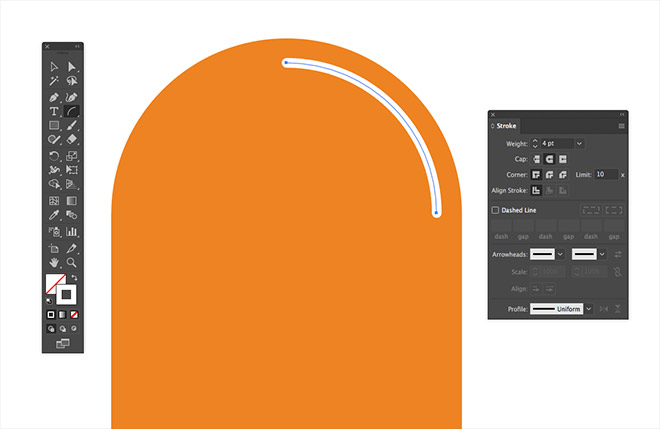
Find the Arc tool from under the line tool’s category in the toolbar. Hold the Shift key while setting two points to form a perfectly smooth path. Give this path a white stroke with a 4pt weight and round caps.
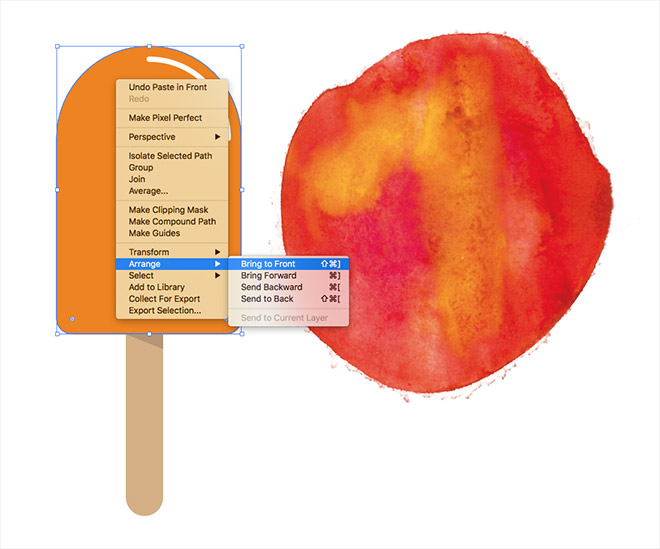
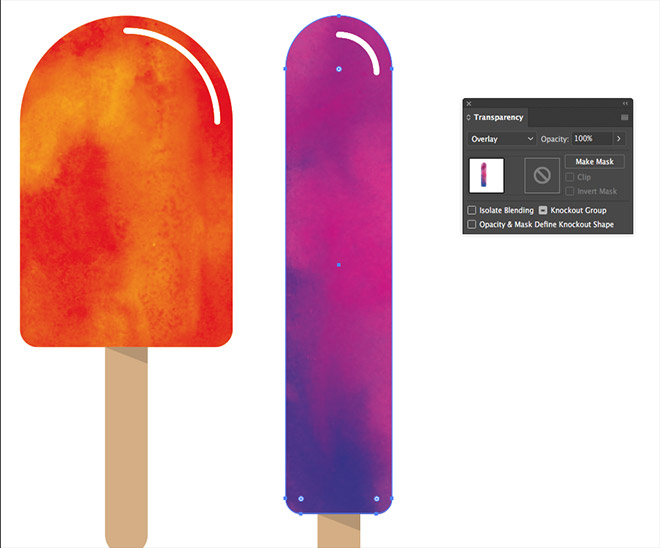
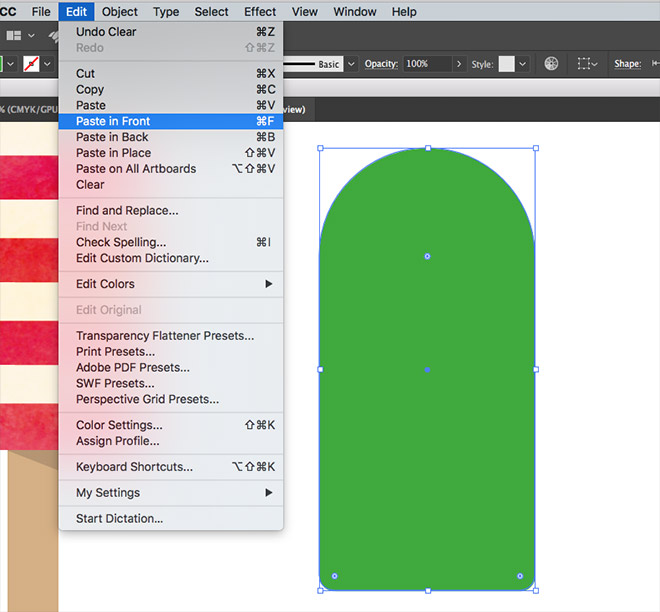
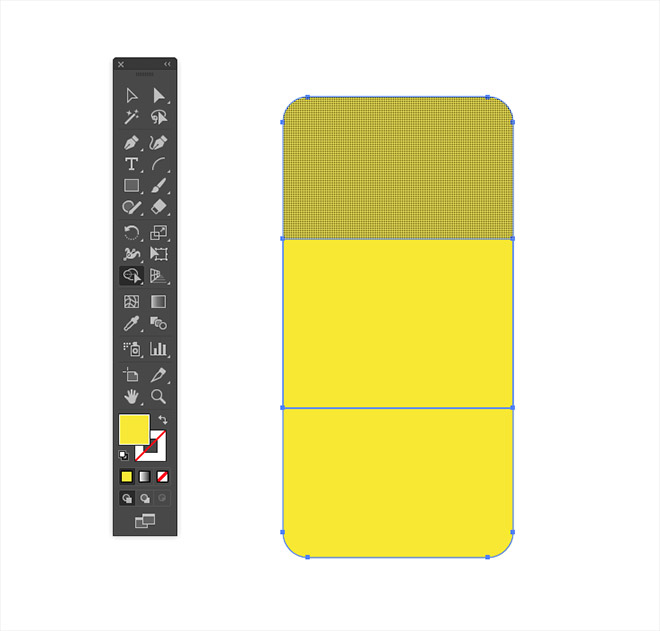
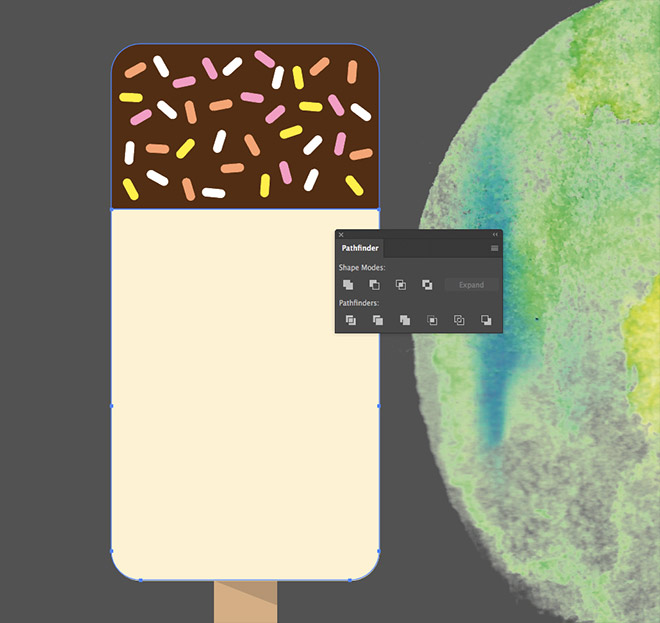
Vector illustrations can look great with a flat colour scheme, but in this tutorial we’ll add an interesting appearance with my free watercolour circle textures. Go to File > Place and choose one of the watercolour images. Scale it to size, then place it to one side of the illustration. Select the main popsicle shape and make a duplicate using the Copy (CMD+C) and Paste in Front (CMD+F) commands. Right click and select Arrange > Bring To Front.
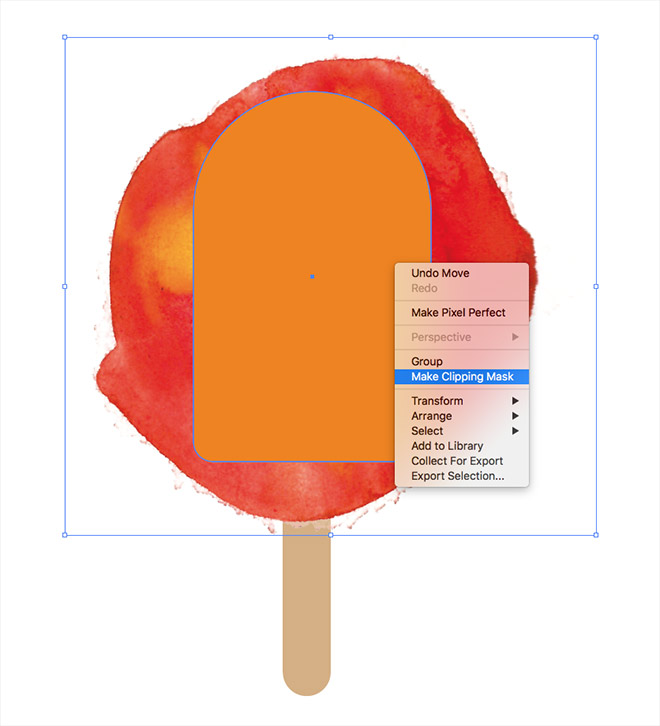
Move the watercolour texture into place over the illustration, then select it along with the duplicate popsicle shape and select Make Clipping Mask from the right click menu.
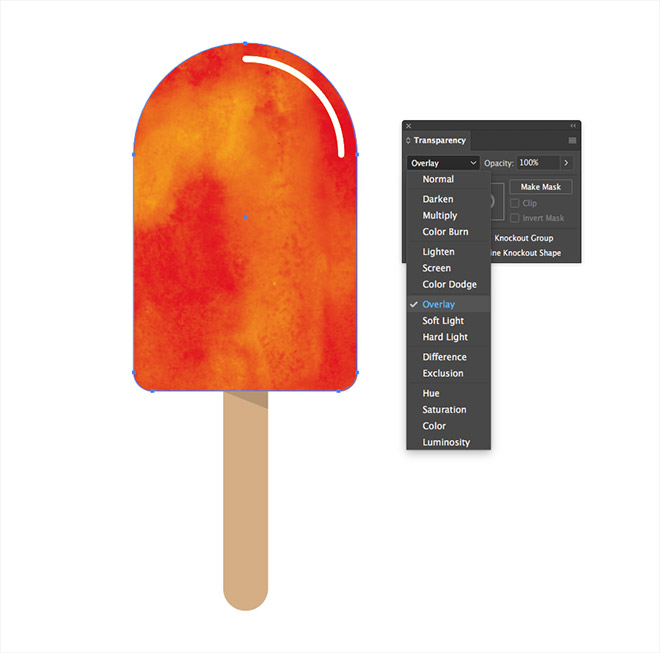
Change the blending mode of this texture to Overlay from the Transparency panel to allow the texture to interact with the coloured shape below it.
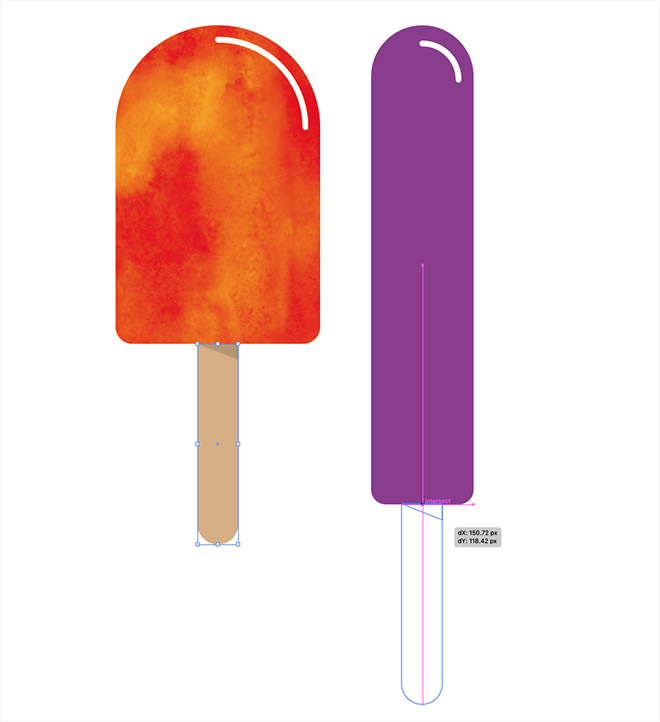
Follow the previous steps to create a second popsicle, but experiment with the proportions and choose a different colour fill. Select the two shapes that make up the handle, then hold the ALT key while dragging them to make a duplicate for the new illustration.
Find a watercolour texture that complements the colour fill you have chosen, then duplicate the main shape and use it as a clipping mask to add an interesting effect to the illustration.
Draw a new shape elsewhere on the artboard to represent a new popsicle. Round off the top corners using a slightly smaller radius this time to form an alternative shape.

Use the snapping functionality of the Smart Guides to accurately draw a rectangle that fits within this main popsicle shape. Replace the fill with a contrasting colour, then switch to the Selection Tool and hold the ALT and Shift keys while dragging the shape vertically to make a copy. Leave a gap that’s roughly the same height as the shape itself.
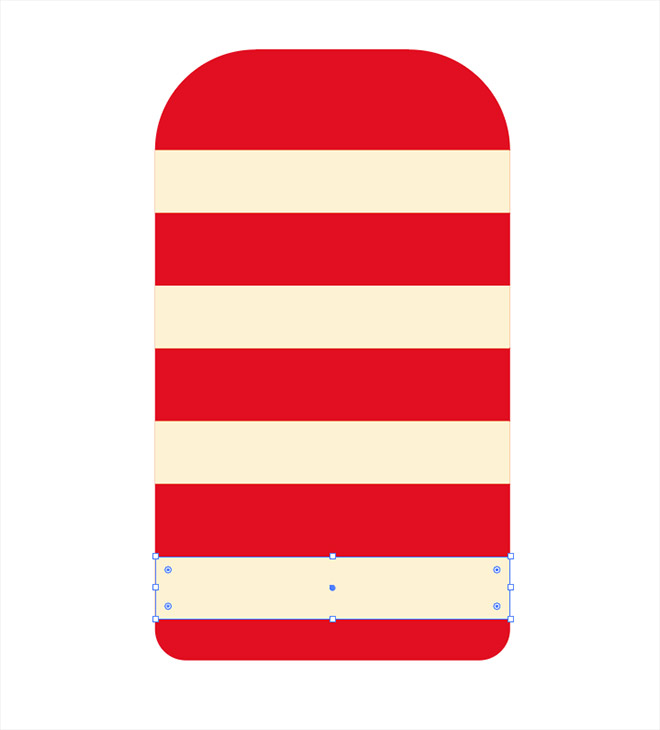
Repeatedly press the CMD+D shortcut for Transform Again to produce a series of duplicates that are evenly spaced using the same gap.
A great feature of those corner widgets is the rectangle can be stretched without distorting the shape of the rounded corners. Enlarge the shape to leave a similar gap after the bottom stripe.
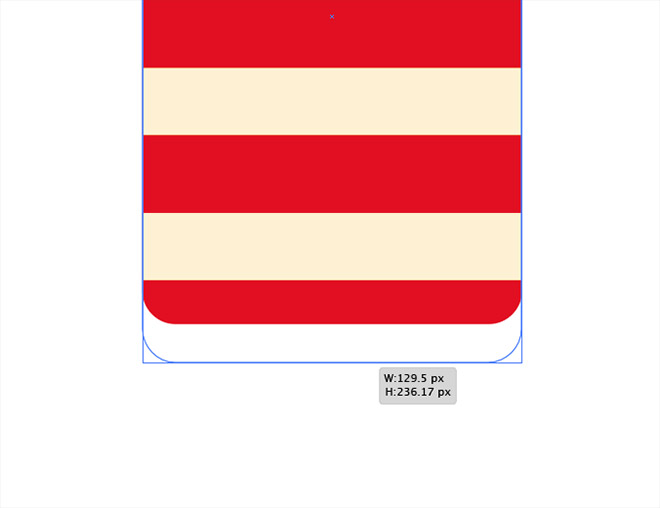
Use the Rectangle tool to draw a couple of long and thin shapes that overlap the main popsicle body.

Select these new rectangles along with the main popsicle shape while holding the Shift key, the click the Unite button from the Pathfinder panel to merge them into one.

Switch to the Direct Selection tool and draw selections around the points that form the bottom edges of each of the small rectangles. Round them off using the corner widgets.
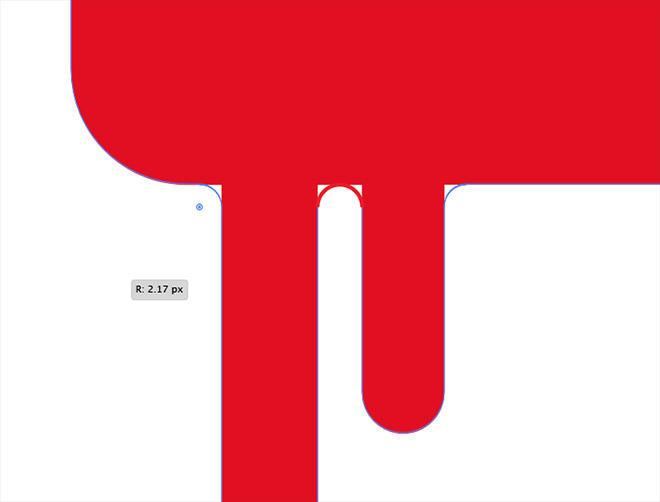
Carefully select the points where these rectangles connect with the main outline with the Direct Selection tool, holding the Shift key to add each one of the selection. Round off these corners with the corner widgets too.
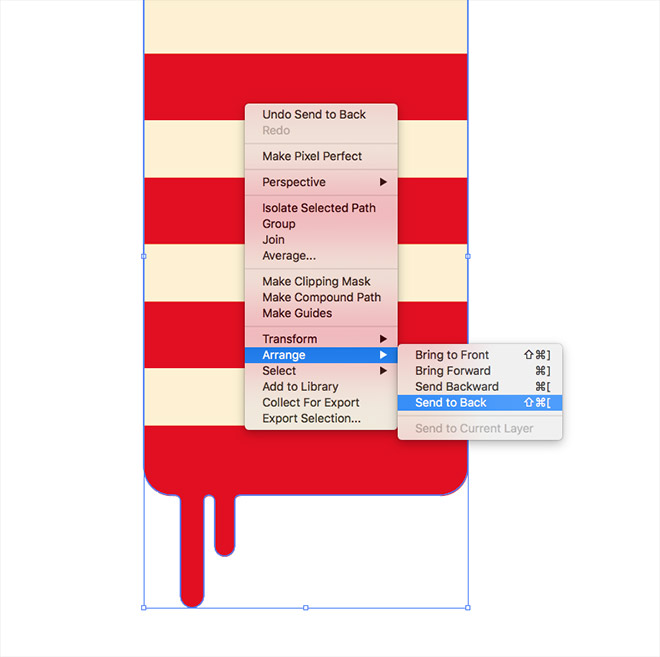
The Pathfinder command altered the stacking order of the objects, so use the Arrange > Send to Back option to place the shape behind the stripe rectangles.

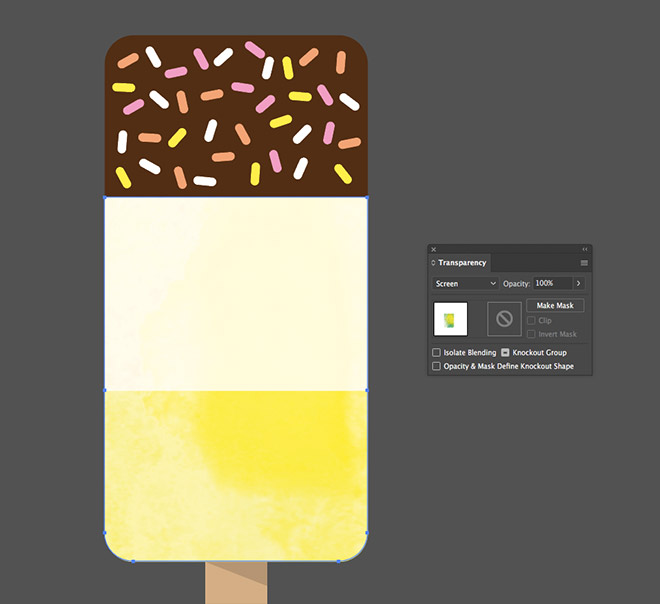
Place a watercolour texture that complements the colour fill of this popsicle and create a clipping mask using a duplicate of the main outline.

This particular texture and colour scheme looks best when set to the Screen blending mode, rather than the Overlay mode used previously.
Begin building another popsicle with an alternative shape and colour fill. This time we’ll add a tasty chocolate coating! Make a duplicate of the main shape with the CMD+C and CMD+F commands.
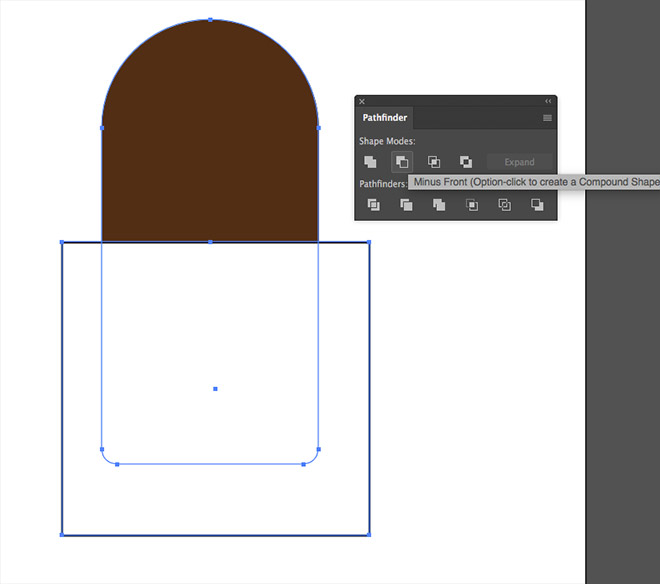
Give the new shape a chocolate brown colour fill, then intersect the shape with a temporary rectangle. Select both the brown duplicate and this temporary rectangle and click the Minus Front button from the Pathfinder panel.
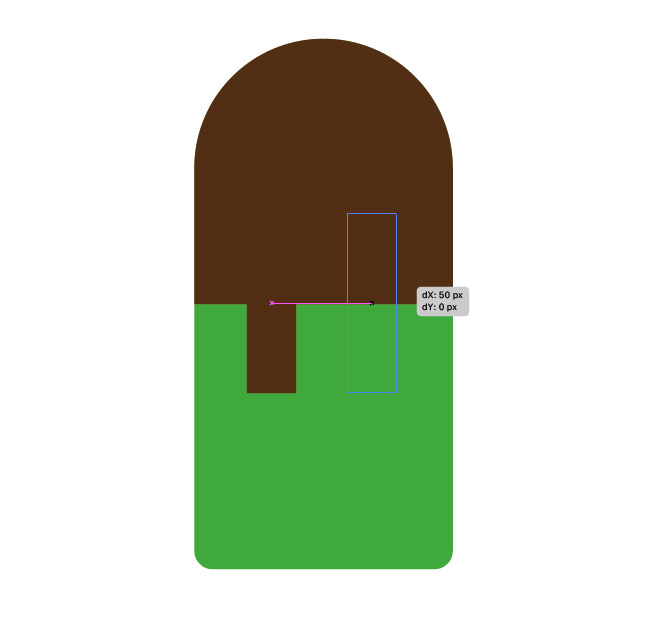
Use the rectangle tool to draw a long, thin shape that extends beyond the bottom edge of the shape. Drag a duplicate with the ALT key to place a second shape, leaving equal gaps between them.

Select these three shapes, then find the Shape Builder tool from the toolbar. Hold the ALT key while clicking the segments of the first rectangle to punch this shape out, then click and drag over the second rectangle to unite the shapes together.
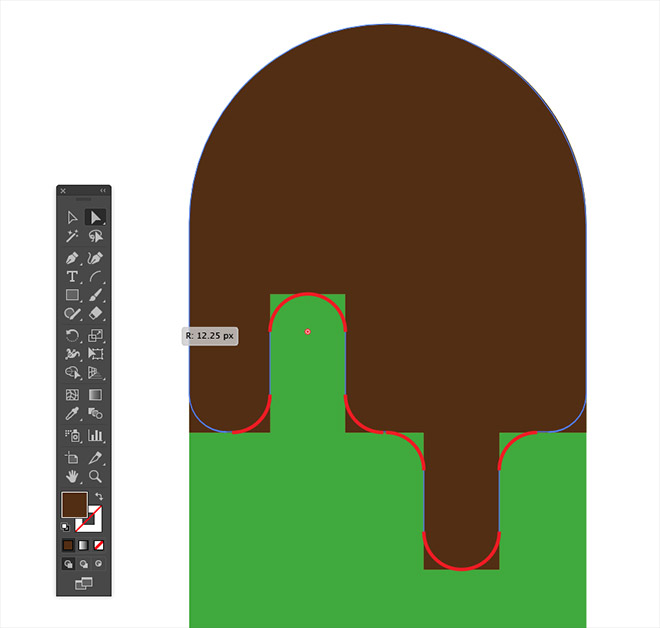
With the shape still selected, switch over to the Direct Selection tool so the corner widgets appear, then max out the corner radius to allow this shape to represent a stylised drippy chocolate coating.
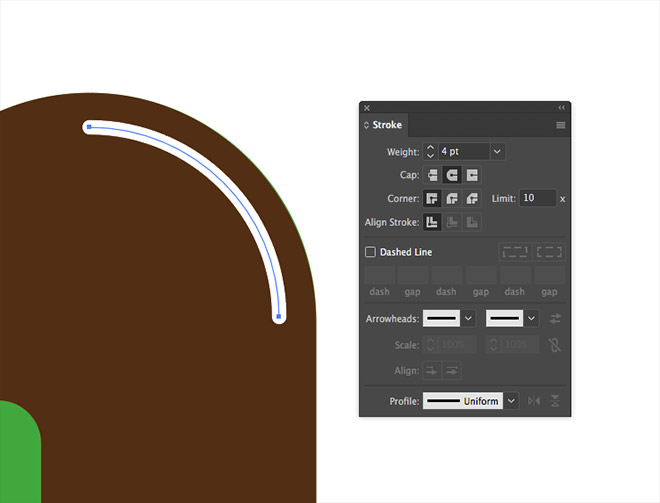
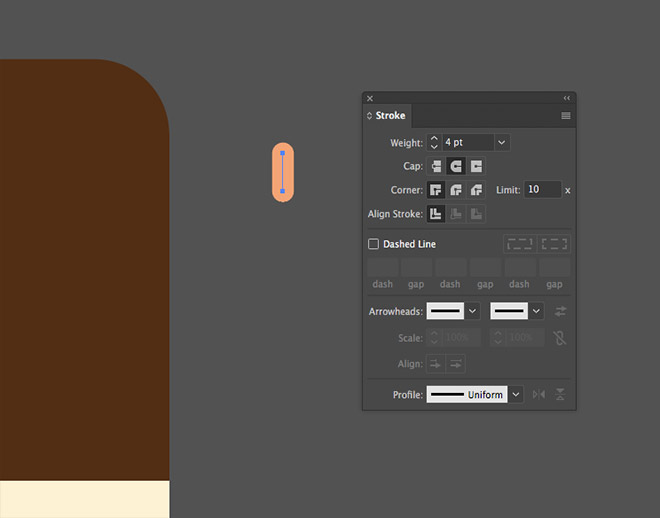
Don’t forget to add the simple highlight using the Arc tool. Clear out the fill but set the stroke to white with a 4pt weight and round caps.
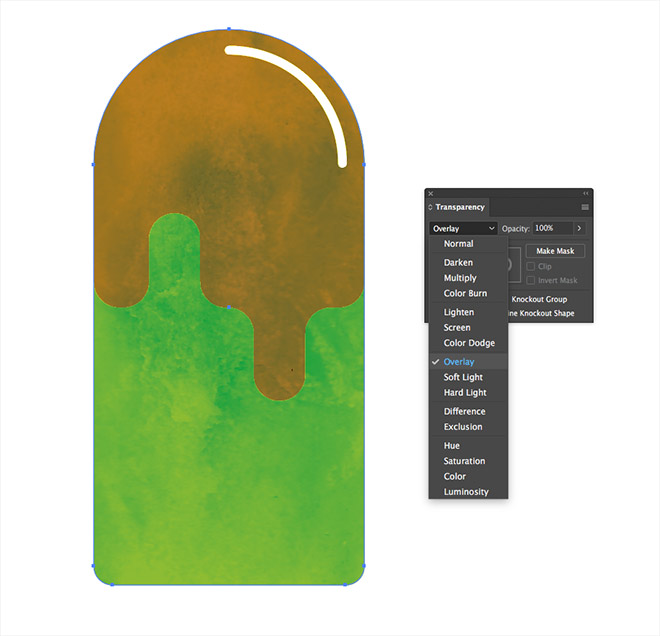
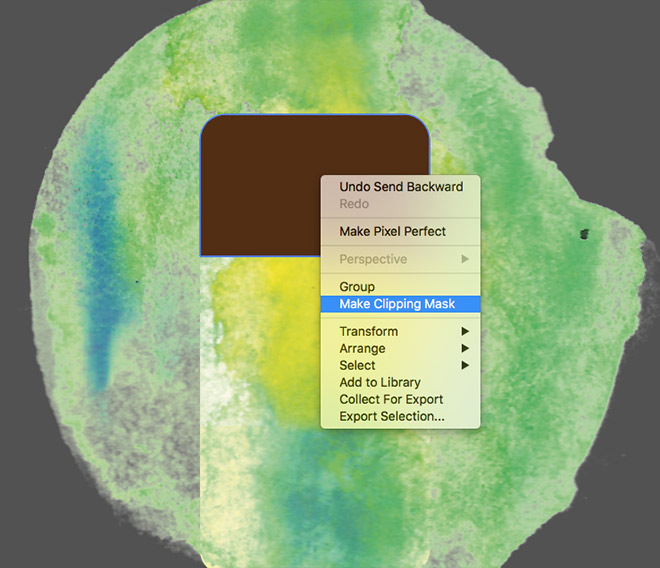
Use a copy of the main popsicle shape to clip a watercolour texture to size. The Overlay blending mode might work great on the main popsicle colour, but not so much on the chocolate coating.
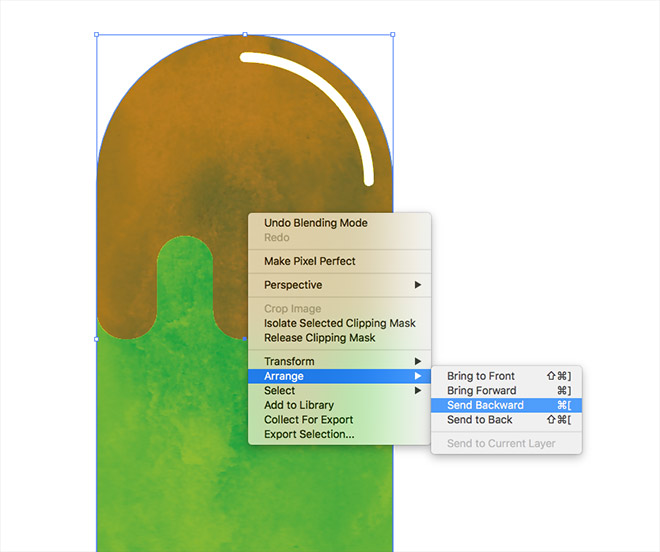
Choose the Arrange > Send Backward option from the right click menu, or use the CMD+[ shortcut to place the texture underneath the brown shape.
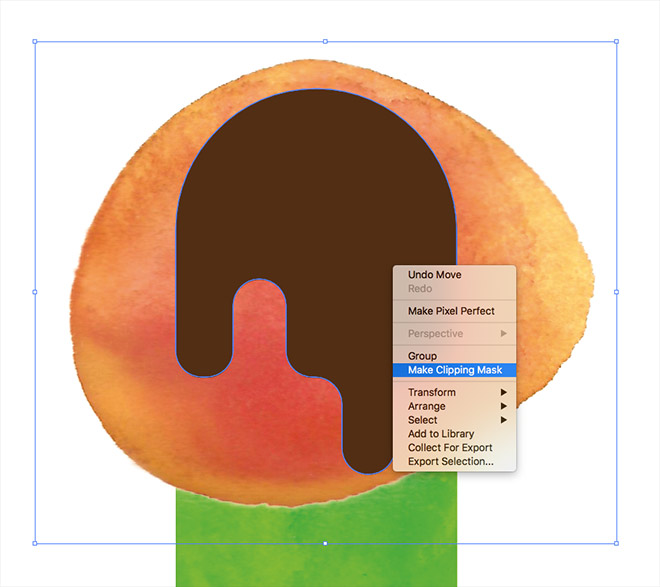
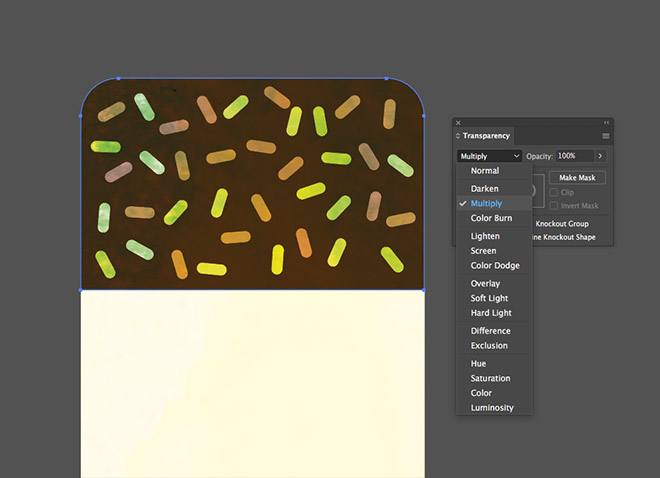
Make a duplicate of the chocolate coating shape, then place an alternative watercolour texture for this element. Clip it to size so it only covers this particular shape.
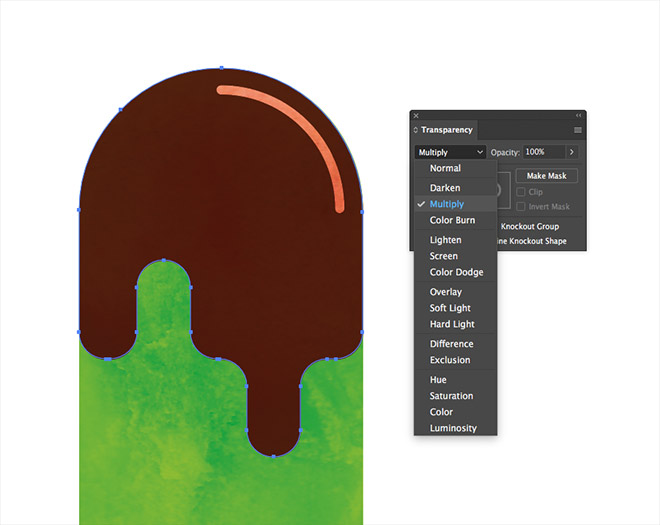
Change the blending mode to Multiply, which allows the texturing to work much better with this darker colour fill. Use the Send Backward shortcut to place it underneath the Arc stroke to prevent the blending mode from also interacting with this element.
Draw a brand new shape to represent a final popsicle. This time select all four points and round off the corners with the same radius.
Draw a rectangle that fills approximately a third of the shape, aligning it centrally. Select both shapes and make a single click with the Shape Builder tool in each segment to divide the pieces into three. Give the shapes alternative fills, with the top piece using the same chocolate brown as the previous popsicle.
Select the Line tool and draw a short path against the darker grey background surrounding the artboard. Give it a 4pt stroke with round caps and a pastel orange colour.
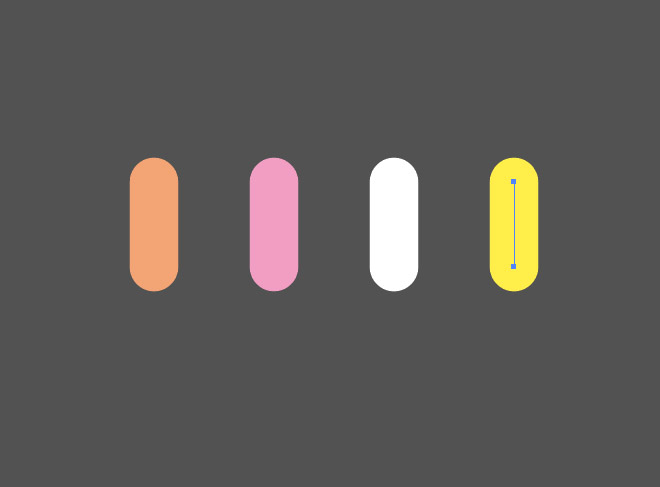
Drag a copy of this stroke while holding the ALT key, then use the CMD+D shortcut to produce two more. Replace the stroke colour of each duplicate to a pastel pink, white and pastel yellow.
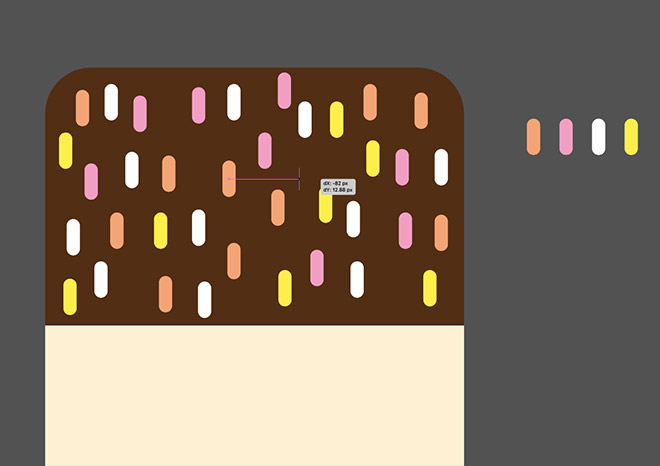
Hold the ALT key while dragging copies of these strokes over the top most shape of the latest popsicle. Alternate between the colours to fill the shape with a random spread of sprinkles.
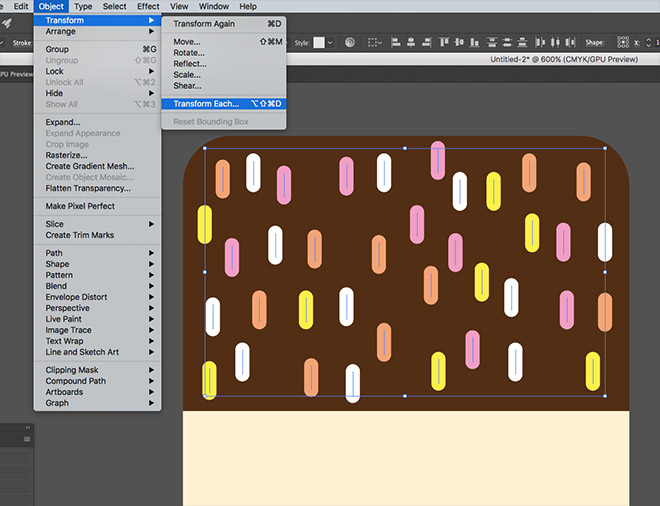
Drag a selection over all these shapes, then hold the Shift key and click the popsicle shapes to remove them from the selection. Go to Object > Transform > Transform Each.
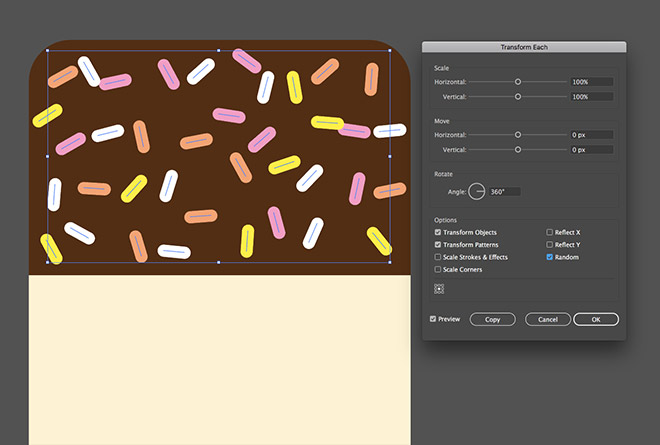
Configure the Rotate Angle setting to 360°, then check the Random option. Click the Preview icon to see how each of the sprinkles is randomly rotated.
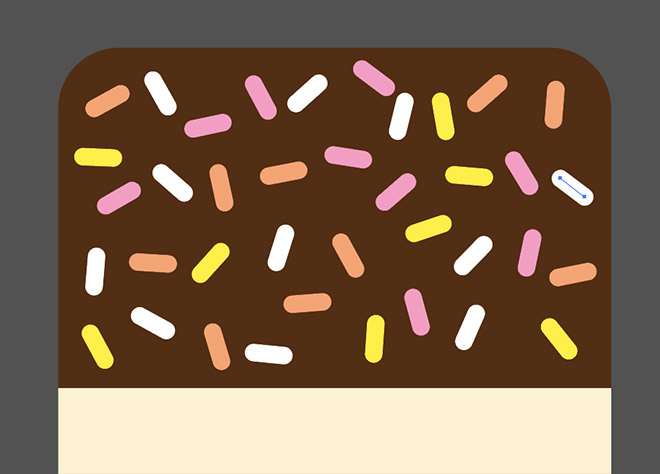
Move and rotate any individual strokes that don’t sit naturally within the shape to clean up the effect, ensuring the gaps between the sprinkles are roughly the same.
Select both the middle and bottom shapes of this popsicle and copy and paste a duplicate. Unite them with the Pathfinder panel to form one shape to use as a Clipping Mask with a watercolour texture.
Use the Screen blending mode for this texture, which will interact the best with these lighter colour fills.
Make a duplicate of the top most shape to use as a clipping mask with another copy of the texture.
Using a separate texture allows the blending mode to be set to Multiply for this section of the illustration.
Using the same process, but experimenting with alternative colours and shapes allowed us to create a unique collection of popsicle graphics. Introducing additional techniques also helped us customise the illustrations with cool effects, such as the drippy chocolate coating and tasty sprinkles. These same techniques can also be used to create stylised illustrations of pretty much anything! It’s just a case of simplifying the object down into its basic form so it can be reproduced with Illustrator’s shape tools.
Love this design? Get the t-shirt!


Nice use of watercolor texture, Chris. I like this tutorial!
Thanks Alexander!
Fun idea! If you don’t have watercolor texture, using some subtle noise/grunge textures in TIFF format could be a good way to achieve interesting results as well.
Another great tutorial Chris! I learned a couple new tricks, esp. with the sprinkles!
That’s great! Thanks Andrea!
Nice and colourful with one of the most important (in my mind) illustrator skills. Clipping masks. Once they’re mastered, they become very powerful. Good tut Chris
Great tutorial. Some great techniques used here. Nicely done. Thank you!
Well, I’ll be! That’s so cool! Great tutorial for someone like me, a total novice in Illustrator! LOL
Thank you!
Su
this is so cool , loved it
Great tutorial Chris. Thanks.
Thanks a lot for another great tutorial, Chris! Especially the work with clipping masks in Illustrator was very interesting. I’m trying to use them more often in future projects. :)
Great, as usual!
I’m learning how to use illustrator and this was a great help!! Thank you!!
Thank you Chris for this amazing tutorial. I have always followed your tutorials as they are easy to understand. You might want to start your video tutorials as well?
Adobe Illustrator is a awesome software to create something like this. Thank you so much for this amazing tutorial.
Oh wow. That’s really nice. ♥
That’s cool. Thanks for sharing this with us.
your article is very effective and informative . i have ready your article. my knowledge is boost from your article. i love to use adobe illustrator software thanks for posting a article.