Abstract geometric patterns are one of my favourite things to create in Adobe Illustrator. There’s an infinite number of results that can be achieved by simply changing up the parameters, shapes or colours used each time. In today’s tutorial I’ll show you a series of techniques you can use to make your own vector geometric pattern. Follow the step by step guide exactly to replicate my design, or remix your own custom pattern artwork by using these techniques as a foundation for your experiments.
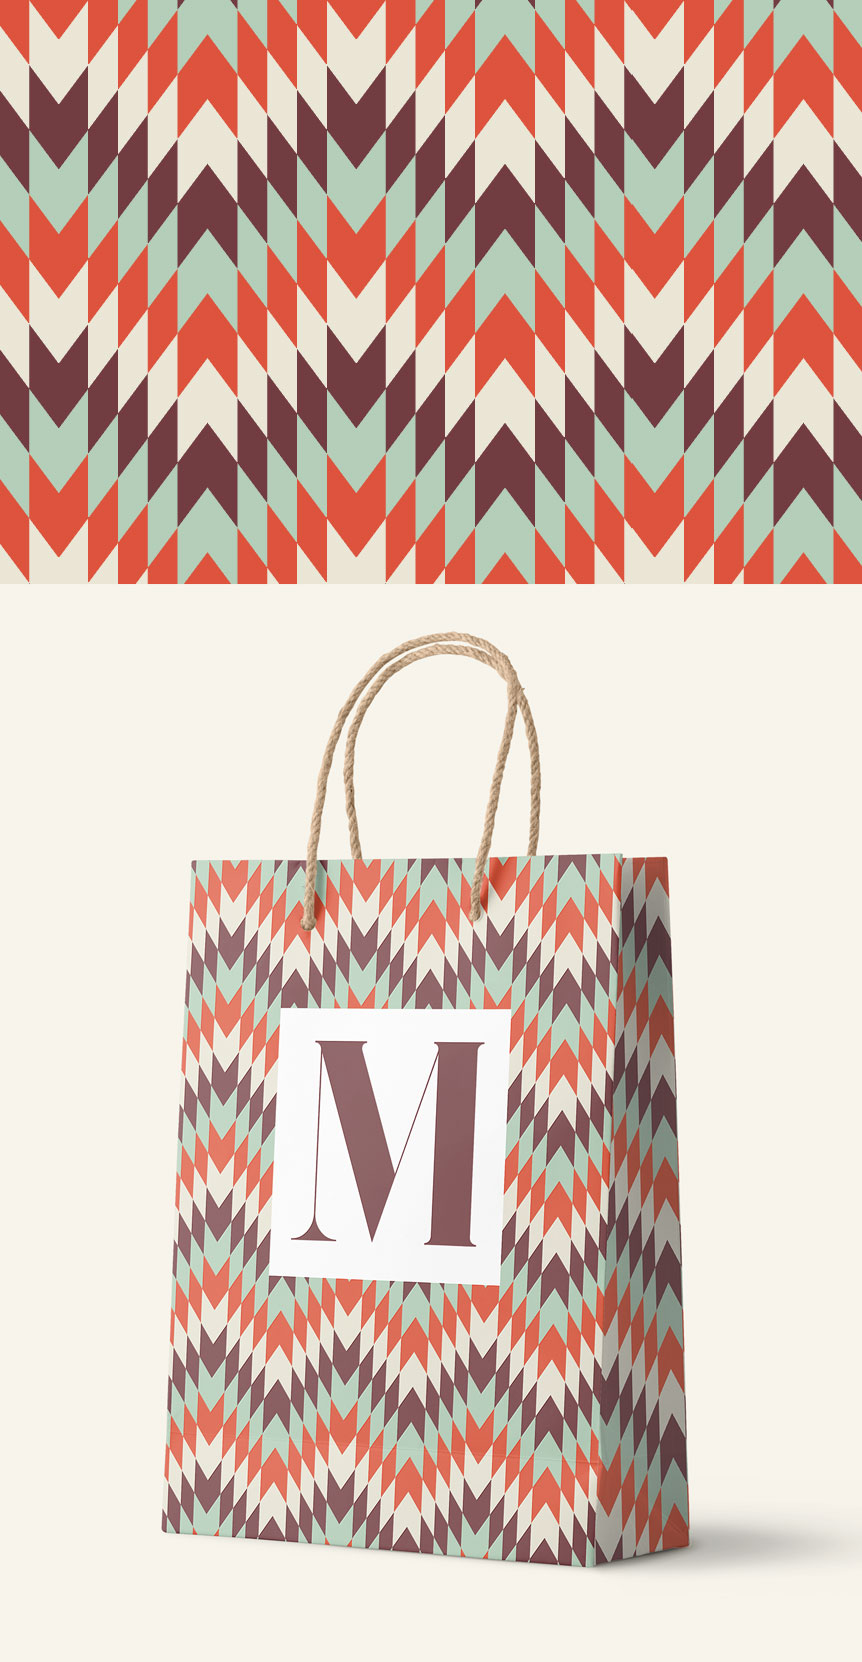
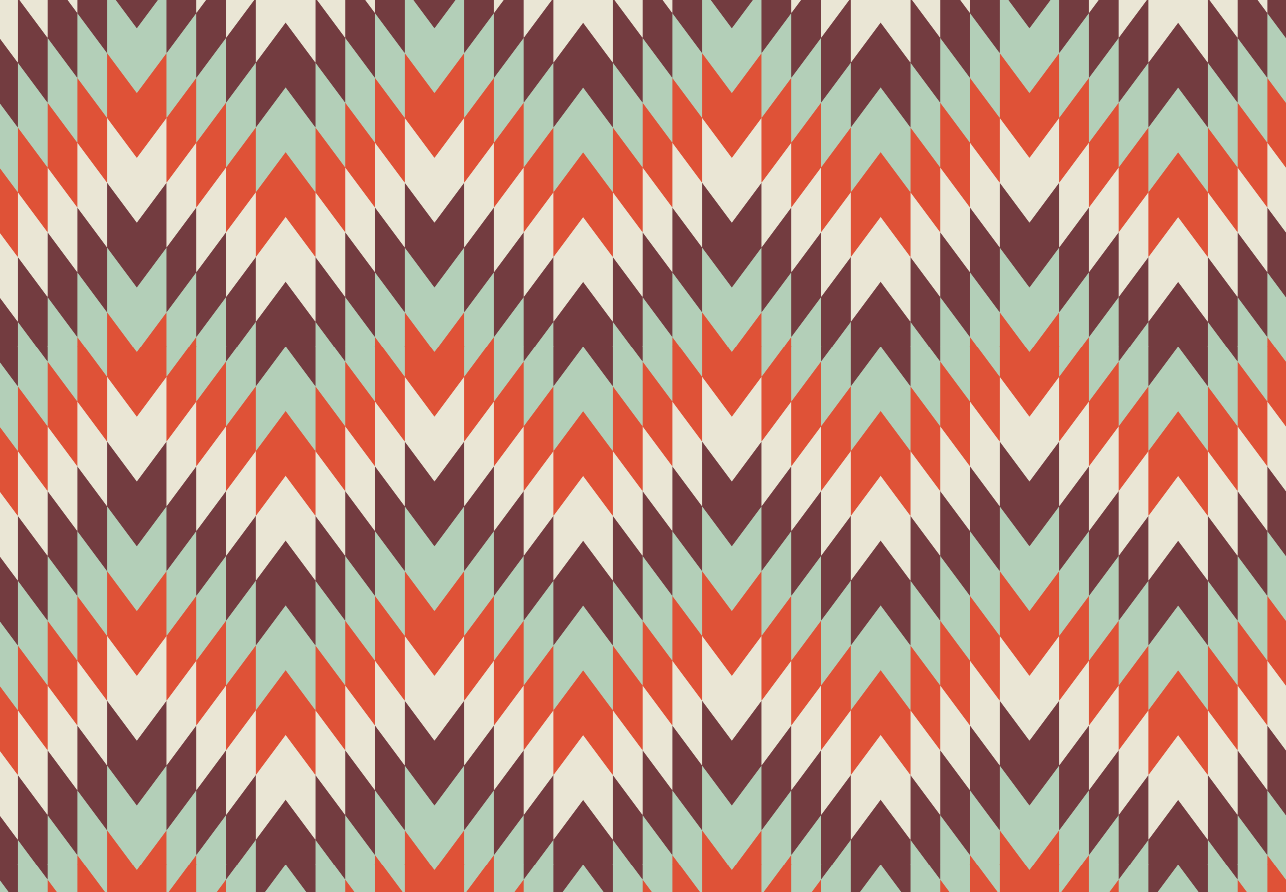
The artwork we’ll be producing in this tutorial is a crisp vector pattern made of geometric shapes, finished with a simple colour scheme. This pattern repeats infinitely, and since it’s made of vector graphics, it can also be scaled to any size too. This makes it an extremely versatile asset for your design projects. Patterns like this can provide a great looking background for a design, or even form an integral part of a brand identity.
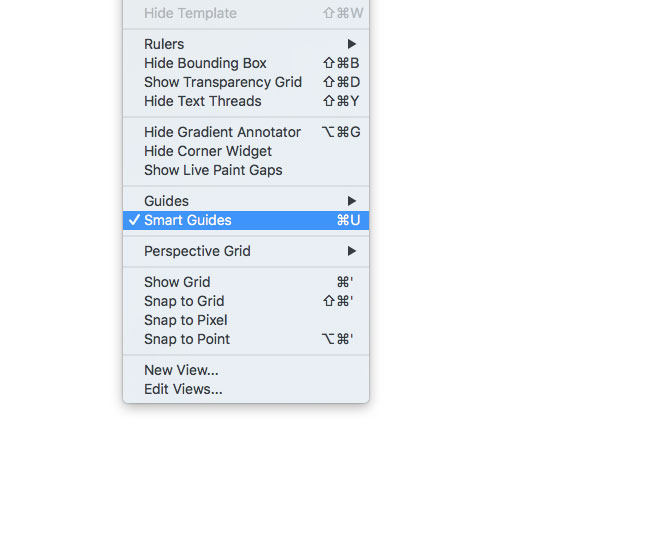
Open up Adobe Illustrator and create a new document. I’m using a standard A4 layout with pixel units. Go to the View menu and make sure you have Smart Guides enabled. They will make it easy to snap and align objects later.
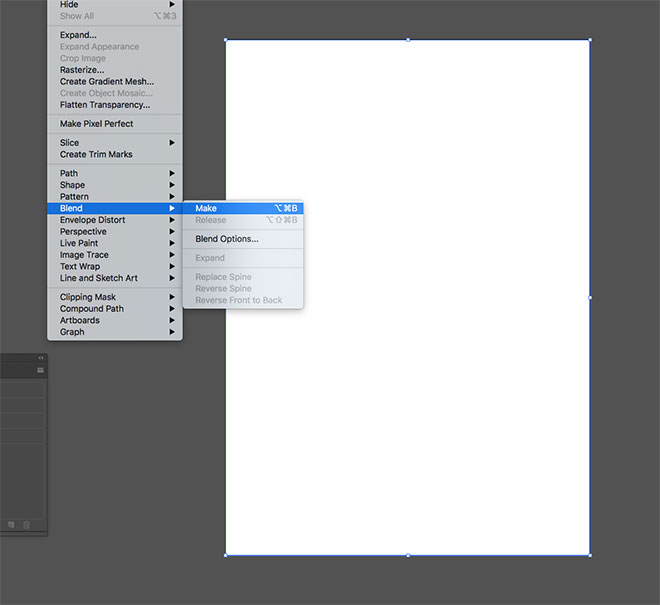
Click the ‘None’ icon in the toolbar to clear out the default white fill colour, leaving just a black stroke as the appearance setting. Select the Line tool and draw a path across the top edge of the artboard. Use the Smart Guide tooltips to find the artboard corners and hold the Shift key to keep the line straight. Draw another line along the bottom edge, then select them both and go to Object > Blend > Make.
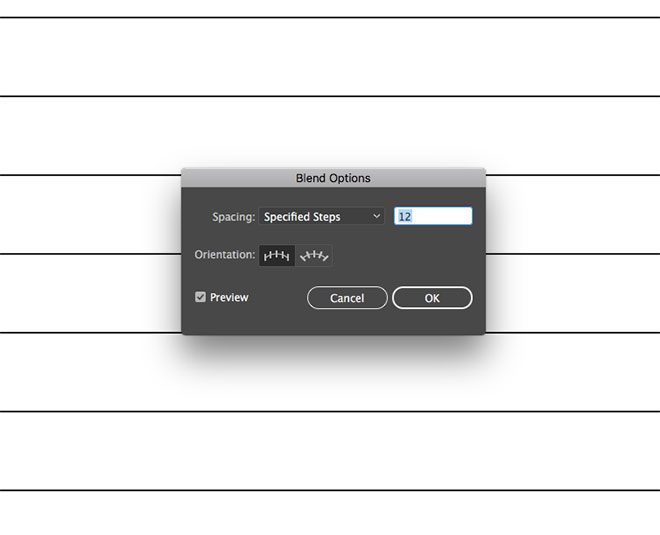
Head straight back to Object > Blend > Blend Options, then change the settings to Specified Steps and a value of around 12. This is one figure you could experiment with to achieve a different pattern every time.
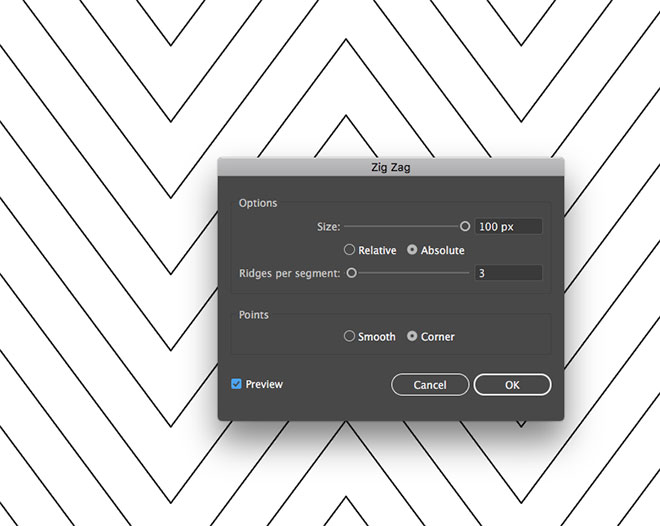
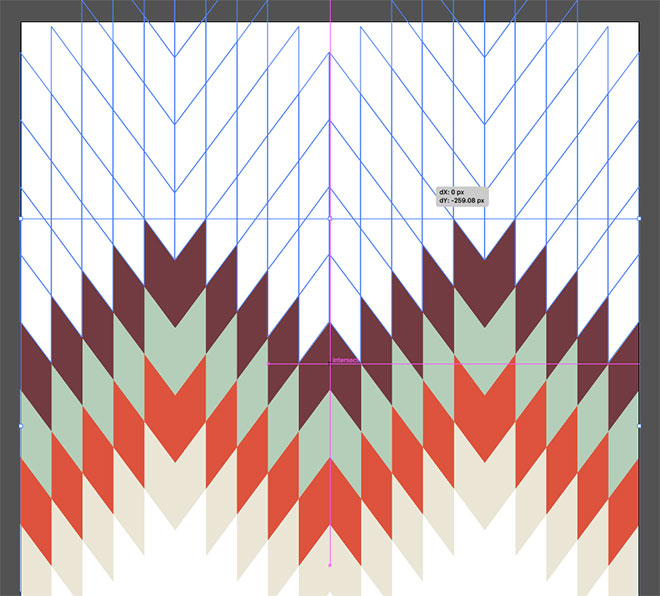
With the series of lines still selected, head to Effect > Distort & Transform > Zig Zag. Change these settings to 100px Size with 3 Ridges.
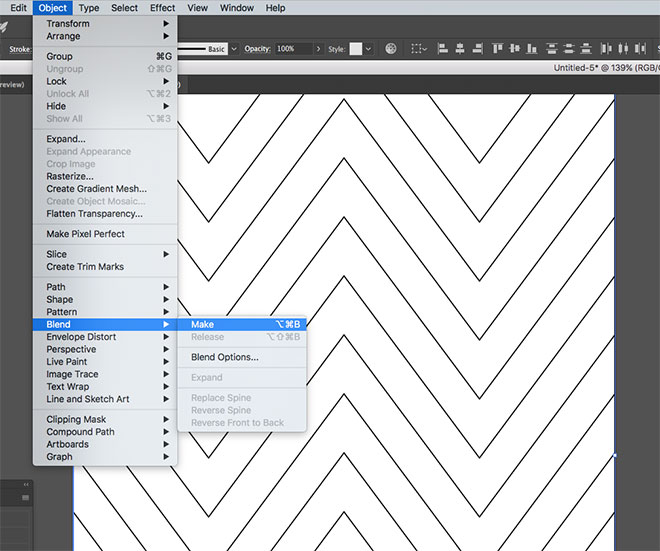
Select the Line tool again, this time draw paths along both vertical edges of the artboard. Hold Shift and select them both with the Selection tool, then go to Object > Blend > Make.
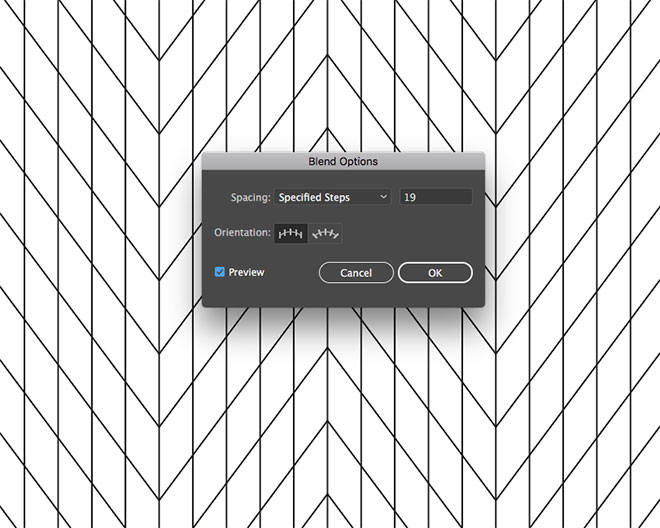
Turn on the Preview to see the settings take effect, then alter the Specified Steps value so the vertical lines match up with the points of the zig zag lines. 19 is the figure I used.
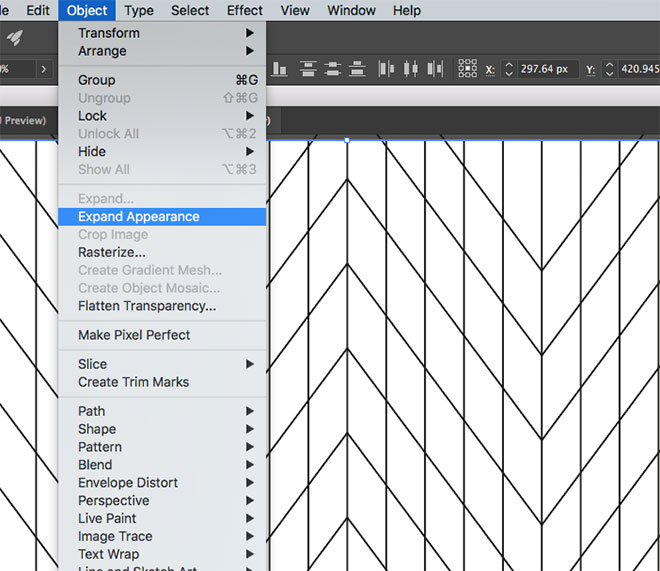
Draw a selection around both blend elements, then go to Object > Expand Appearance.
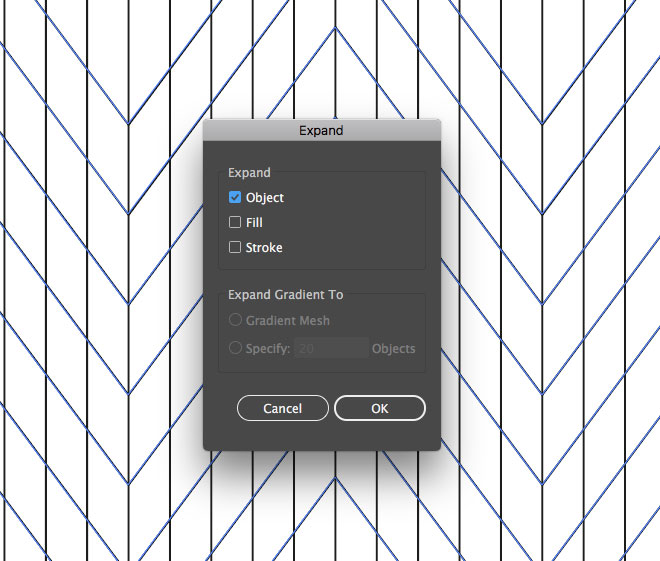
Head straight back to the Object menu and select Expand. Uncheck Fill and Stroke, leaving just the Object setting.
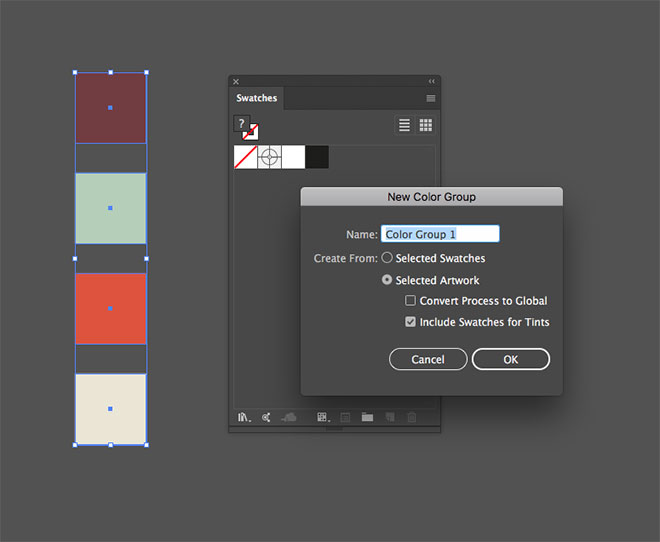
Elsewhere on the artboard draw and fill a series of square shapes to form a colour palette for your design. Interesting selections can be sampled from photographs, or copied from sites such as ColourLovers.com. Select All the shapes that form your palette and click the New Color Group icon in the Swatches panel.
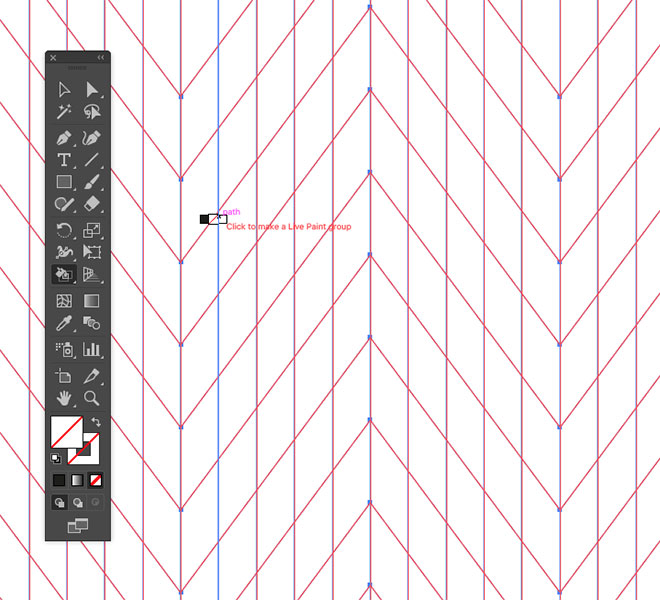
Select the linework again and clear out the black stroke. Select the Live Paint Bucket tool and click on the lines to turn them into a Live Paint Group.
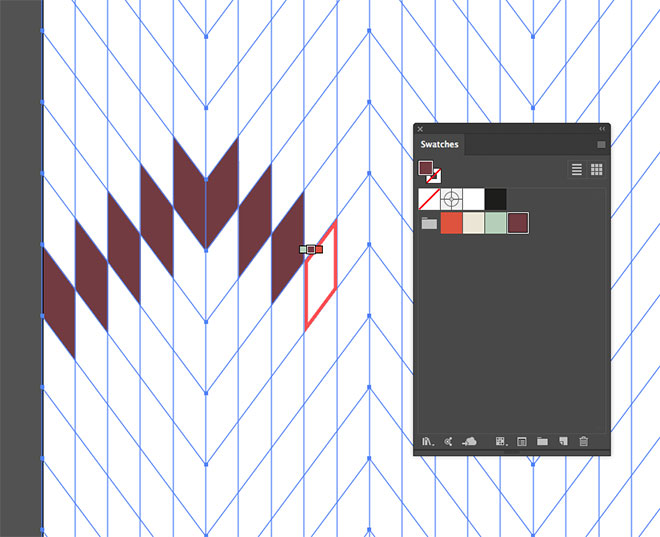
Choose one of the swatches from your colour group and click the shapes to apply the fill. This is where you can really get creative when forming your patterns. Follow a simple rule, or build more intricate designs, but keep the pattern repetitive.
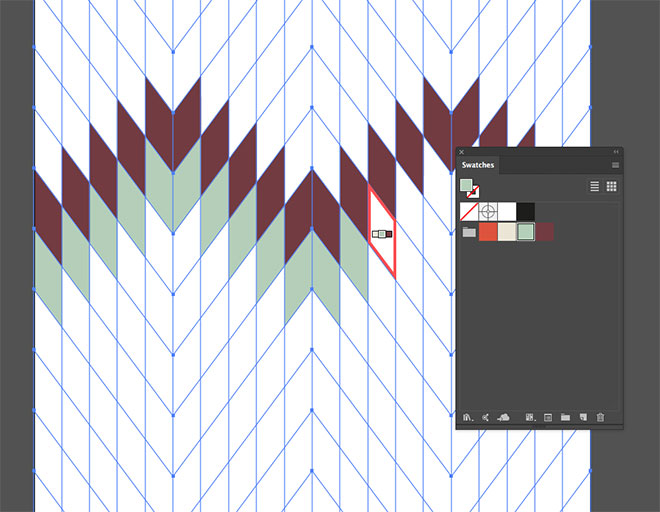
Switch the swatch selection to a different colour from your palette and continue building your pattern design. I’m just creating rows of alternating colours, but you could build shapes or fill larger areas.
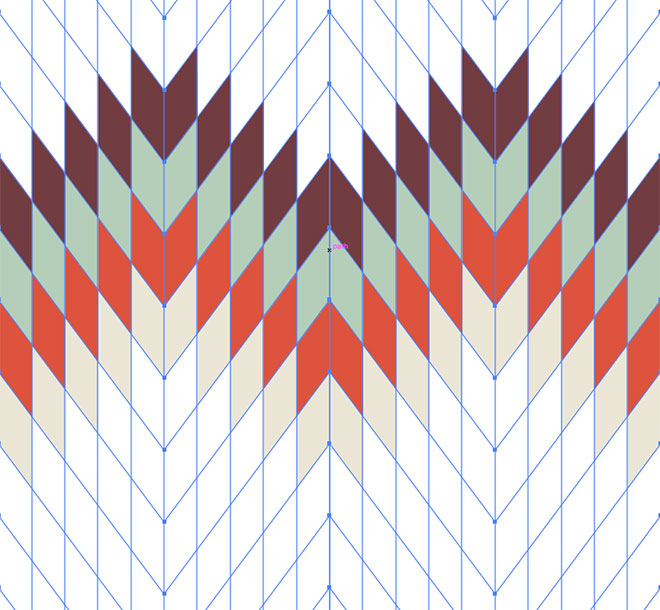
You don’t have to fill every shape to form an interesting pattern. Stop when you have some repetition in your design.
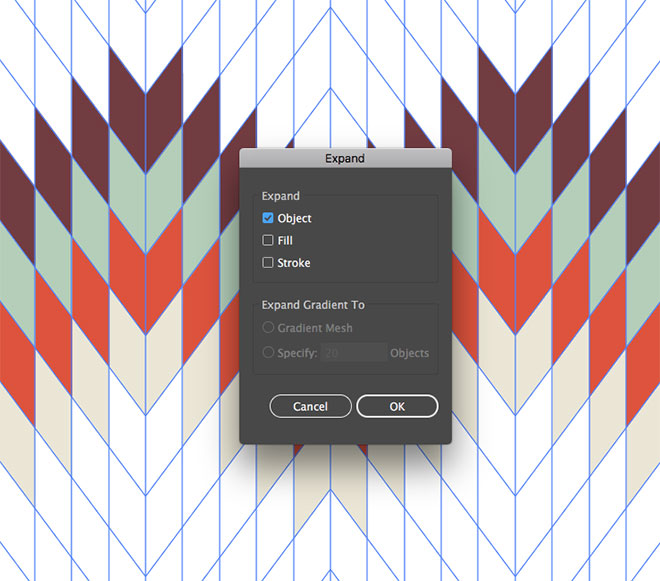
To apply the Live Paint fills, go to Object > Expand. Select just the Object setting.
You can expand your pattern by dragging a duplicate of the graphic while holding the ALT and Shift keys. Use the Smart Guides to snap the duplicate next to the original.
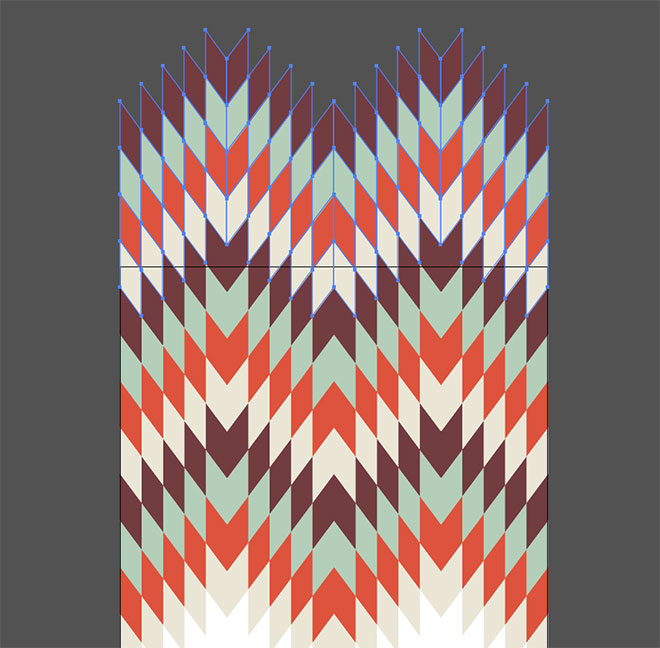
If you wanted to extend the pattern further, use the CMD+D shortcut for Transform Again to create another duplicate.
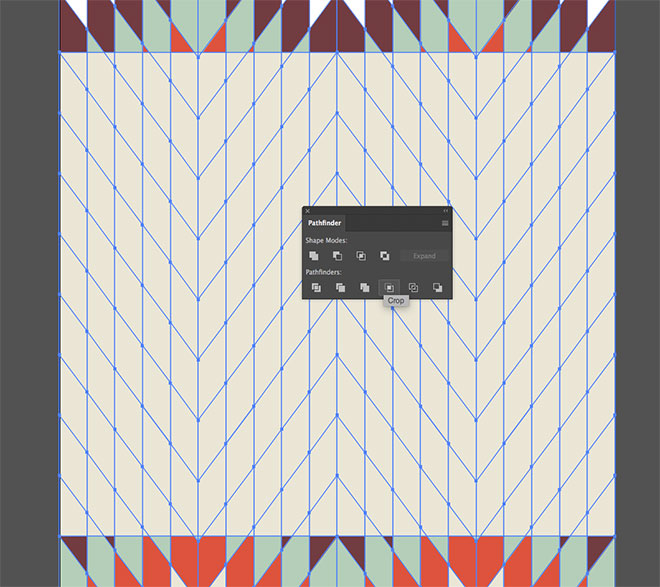
To create a pattern that will infinitely repeat, draw a rectangle that starts and ends at the same point within the pattern. Select both the temporary rectangle and the pattern, then click the Crop button from the Pathfinder panel.
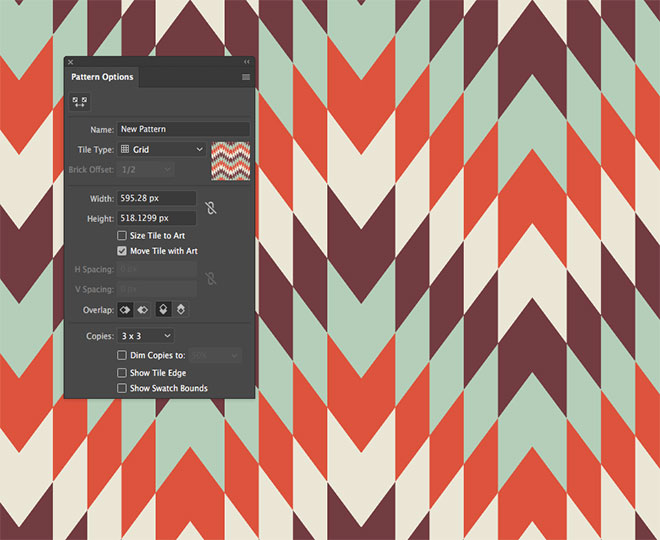
Head to Object > Pattern > Make to test the tiling of your pattern, then click the Done button in the top toolbar to save the pattern as a swatch.

This new swatch can now be applied as a fill to any element to cover an infinite area with your seamless pattern.

I’ve been a fan of your style for a long time and always check out your tutorials for new and exciting techniques. I finall signed up for your newsletter and love that I get your latest and greatest first thing in the morning. Thank you for your generosity and contributions to the design community, Chris!
Thank you very much Erica, appreciate it!
Hey Chris, I have been following all your tutorials. They are just great. I can’t thank you enough for them. Keep em coming.
Regards, Uzma
Thank you Uzma!
This IS a cool pattern-making idea and tutorial! Copying it for my tuts file, right now! LOL
Thank you for your expertise!
Su
Thanks Su!
I really love your good use of blend and zig zag effect to create the pattern here. The steps are simple and easy to follow too. Like how you use the Live Paint tool and swatches as well. But the final pattern here probably gives people headache! Haha.
Thank you for your comment! Yes, it can make you go a little cross eyed :)
You are always my first priority when I’m looking for design tutorial, resources and ideas….truely you Spoonfeed me
Thank you so much!
Great! Liking ‘Spoonfeed’ :)
Chris your tutorial helps me a lot to create a national pattern, I appreciate the way you show here. Honestly, I feel zig zag and its rhythm.
Glad you liked it!
Another awesome tutorial! Thanks Chris!
Thank you Andrea!
This is a great tutorial!!! It’s clear and with AMAZING results! Thank you so much Chris, for sharing this.
I made one with similar colours (here’s the palette that I used) https://www.pinterest.com.mx/pin/153966880994465490/
and now I’m going to experiment with more shapes and colours.
This is really great post you people share here. We should give credit for all work we have completed using this tutorial. This post keep me creative which allows us to make money being web designer. Recently i design few geometric pattern for my client and earn few money :)
Wow, pretty cool! I’ve learned some new tricks from this one.
Great tutorial! Love the pattern. However, I couldn’t get the lines to line up with the points the way you did. It still looked nice but when I tried to copy and line up the copy, it just wouldn’t work. Anyone else have this problem?
Yeah, the smart guides wouldn’t let me click everything together perfectly. When I zoomed in, the shapes clearly didn’t line up. Any tricks to getting them aligned properly?
Learn about Photoshop through many hundreds of 100 free PhotoshopTutorials for a lot of skill level values and even ideal for the beginner
If you want to get many hundreds of 100% free tutorials, Then go to this following address/ Link http://www.hasshasib.com/
It showcases how to create the complex pattern using smart objects and the nudging technique with your arrow keys.