
This post was originally published in 2014
The tips and techniques explained may be outdated.
Contour lines are used in Geography to create topographic maps that show the elevation of a landscape. The contour lines create a series of concentric shapes which—aside from their important role in mapping—look pretty cool! In today’s Illustrator tutorial I’ll show you how to make use of the Blend tool to create a series of contour line style shapes. This tutorial not only creates a great contour map effect, it might also open up ideas for all kinds of intricate background designs based on the same process.
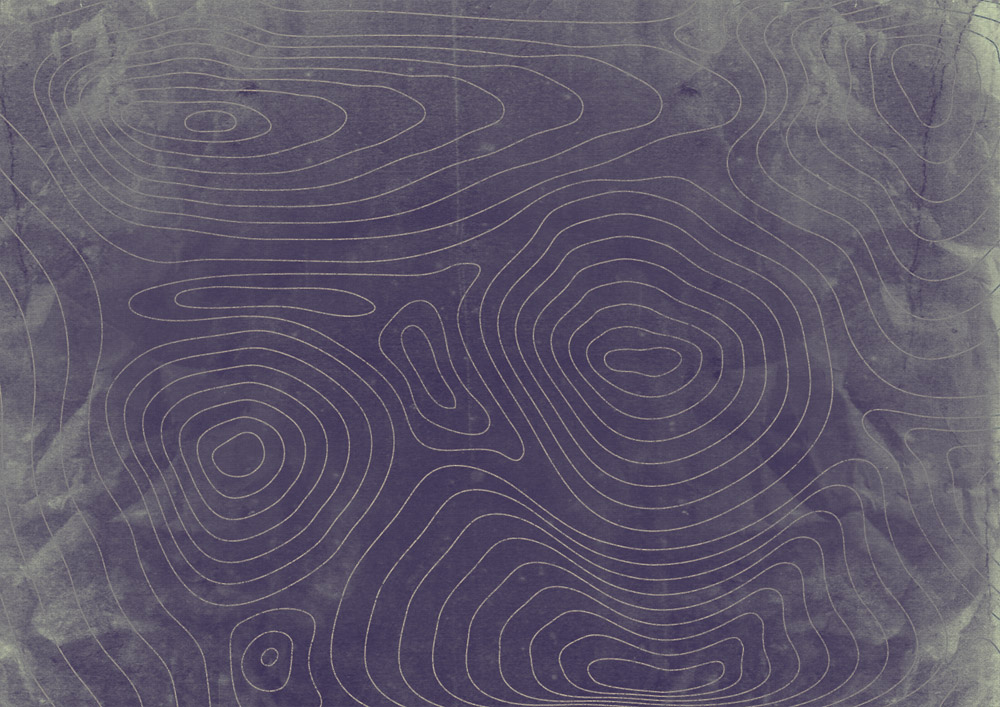
Compared to real contour maps, the effect we’ll be creating isn’t exactly accurate. The landscape these lines represent would be quite crazy indeed! However, the effect does look quite recognisable as a topographic map, which makes it perfect for creating a background for any kind of outdoor themed design.
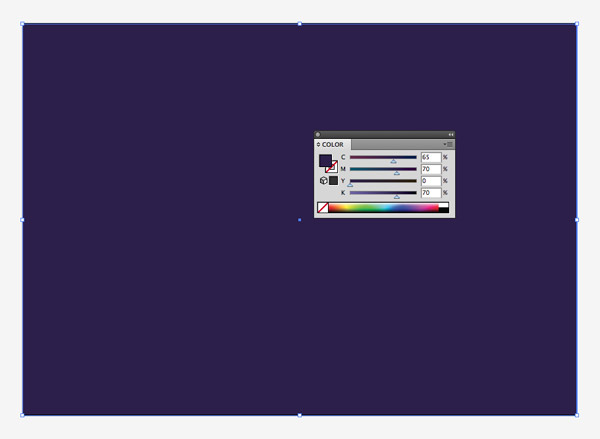
Create a new document in Adobe Illustrator and draw a rectangle across the artboard. Give it a dark blue fill to provide a coloured background for our map. Lock this element into place using the CMD+2 shortcut to avoid accidentally selecting it.
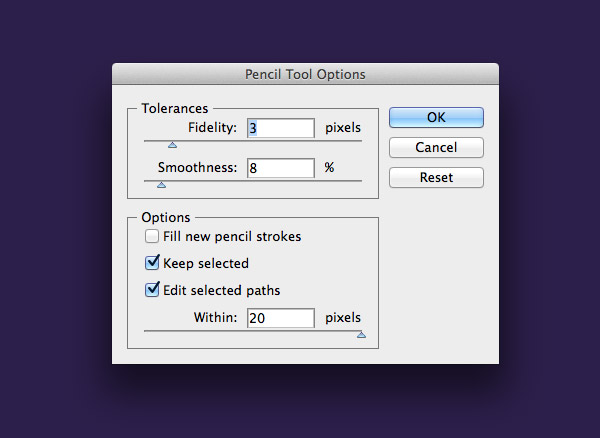
Double click the Pencil tool to edit its settings. Alter the Fidelity and Smoothness to around 3px and 8%, but tweak these settings to suit your own preference if your pencil lines aren’t being drawn as accurately or as smoothly as you would like. Two crucial options are to also select Keep Selected and Edit Selected Paths.
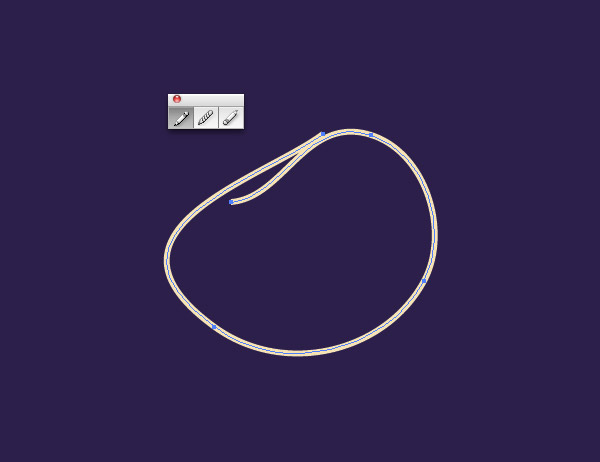
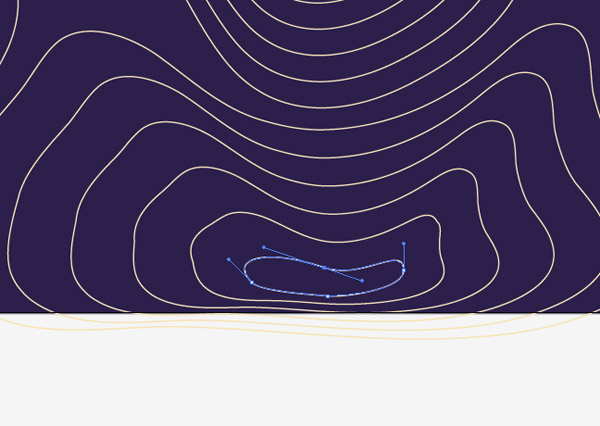
With these settings in place draw a random shape with the Pencil tool. Chances are your shape won’t form a closed path, unless you’re lucky or super precise. Don’t worry though, this is where those Pencil tool settings help out.
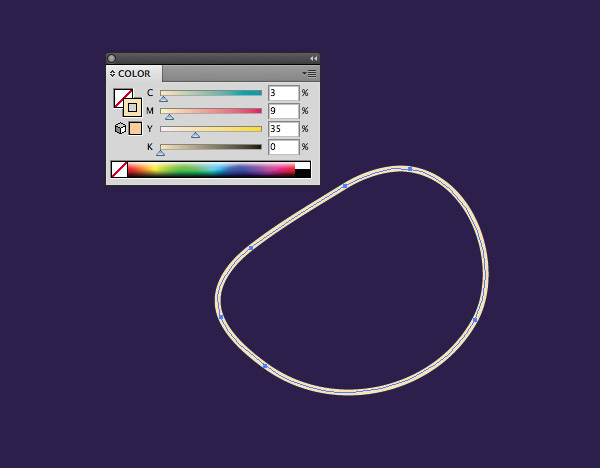
Simple re-draw the last portion of the shape with the Pencil tool. The program will adjust the path and join the two open ends to form a complete shape. Give this path a light yellow stroke colour.

Use the Pencil tool to draw a much larger shape around the original. Re-draw the open end points to join them together and fix any ugly portions of the path that don’t look right.
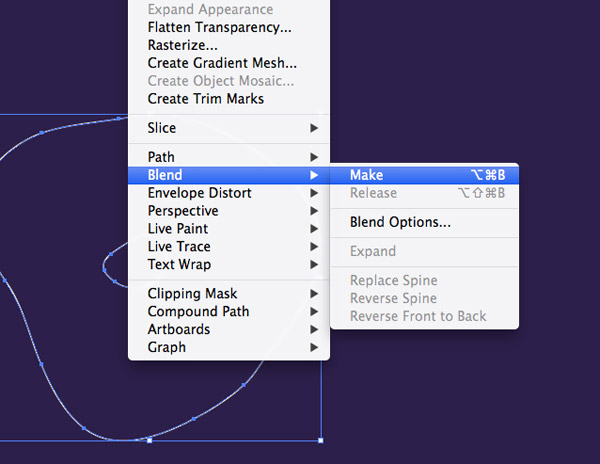
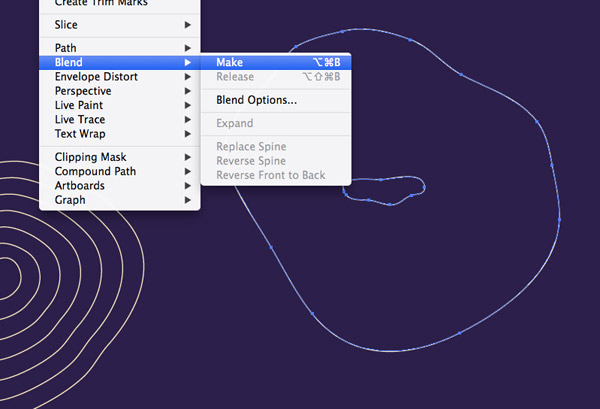
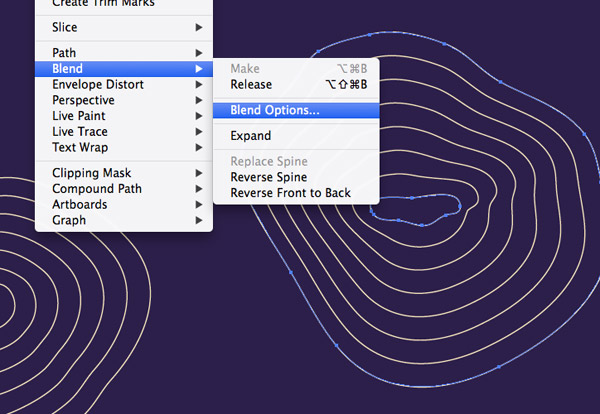
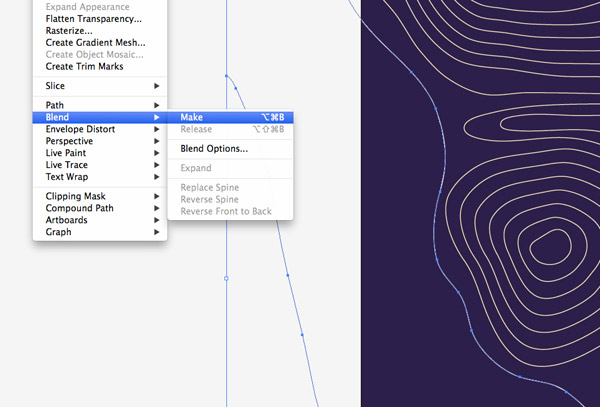
With both shapes selected go to Object > Blend > Make, then head back to Object > Blend > Blend Options.
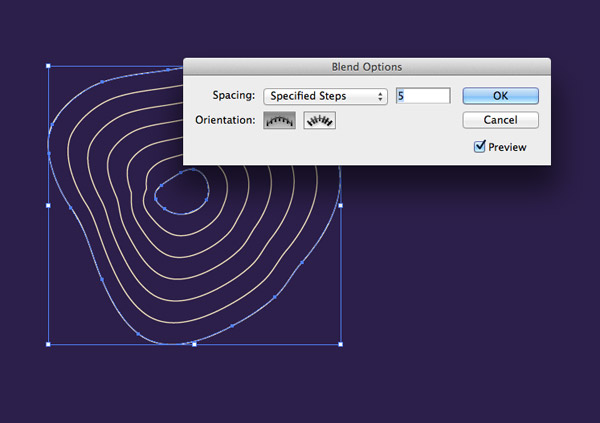
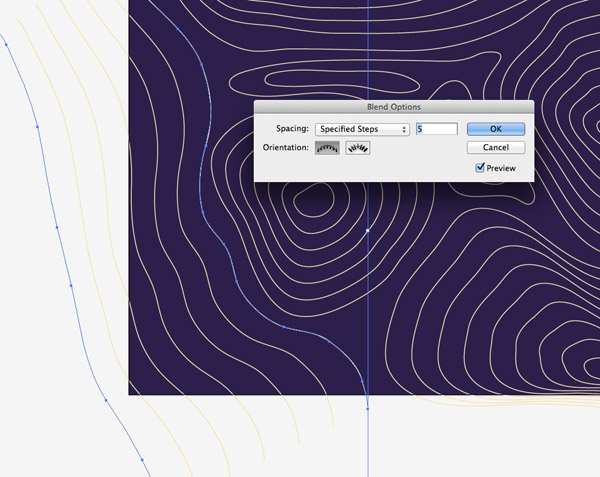
Change the Spacing option to Specified Steps and alter the amount to form a series of contour lines between the two shapes.
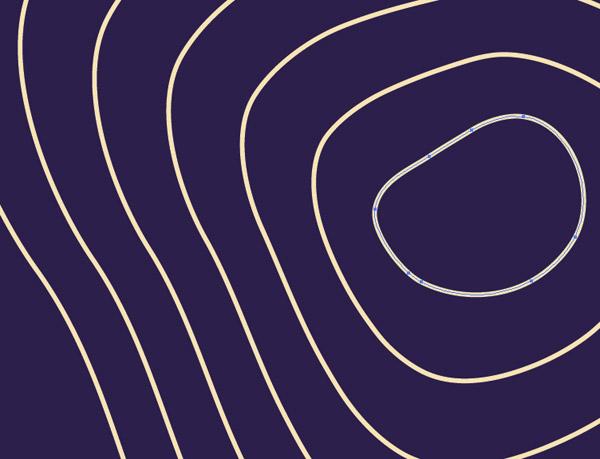
In my example there were some slight kinks in some of the lines. Select one of the original shapes and tweak the path with the Pencil tool to smooth out any unsightly areas.
Draw two more random shapes elsewhere within the document and repeat the process to blend them together.
Head back to the Blend Options settings to alter the number of blended lines to adjust the elevation of this area of the map.
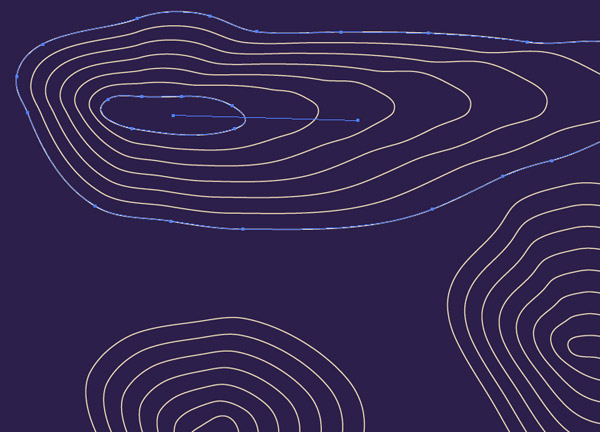
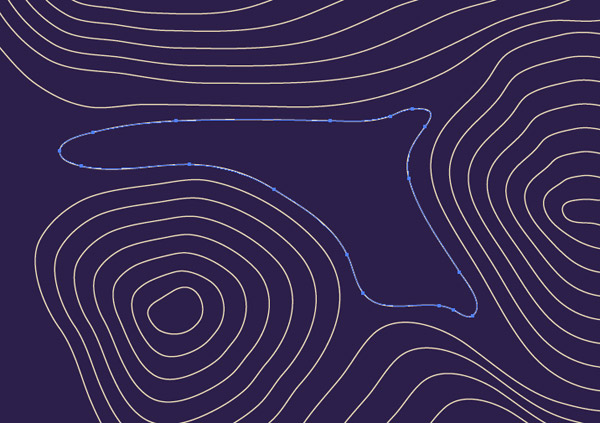
Try creating longer and thinner shapes and offset the paths to create interesting blend effects.
Begin creating blends starting with the larger shape to allow you to flow the contour lines alongside the existing shapes. Use the editing ability of the Pencil tool to create accurate paths.

Sometimes the blends will create unwanted results where the blended lines break out of the container or overlap each other. Rather then CMD+Z, simply tweak the shapes and watch the blend automatically update.
The Direct Selection tool can be used to select and move the inner or outer shapes, as well as manually adjust the points of the path. The blended lines will then update accordingly.

When most of your document space is filled with individual blend elements begin drawing lines to fill the gaps between them. Remember to draw the line roughly then tweak its shape using the Pencil tool.
Smaller areas of contour lines can also be easily created manually using the Pencil tool. This allows you to fill specific areas of the document with accurate shapes.

Manually drawn lines can be made a little more interesting without having to rely on the generated lines of the blend tool.
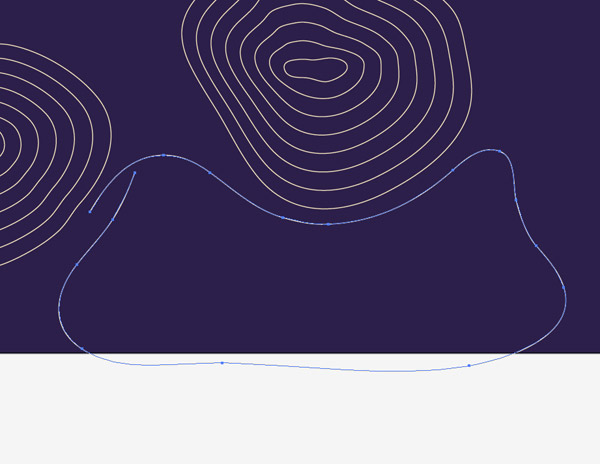
For areas near the edge of the document make a blend between two open paths, as opposed to complete shapes.
Adjusting the number of steps in the Blend options will determine how steep or shallow the lines appear.

Continue drawing elements to fill in the small gaps across the document until everything looks even.
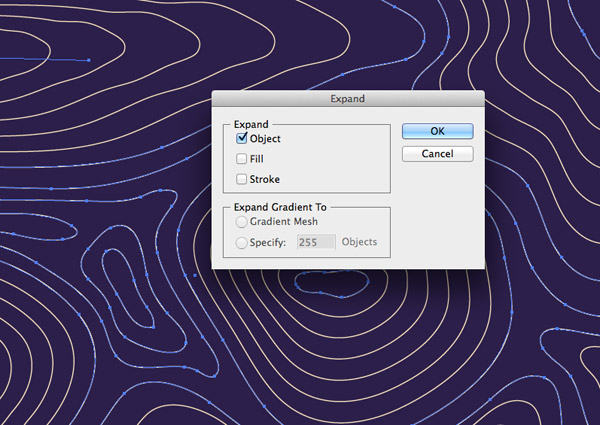
Press CMD+A to Select All then head to Object > Expand. Select just the Object option then hit OK. This will convert all those blends into editable objects.
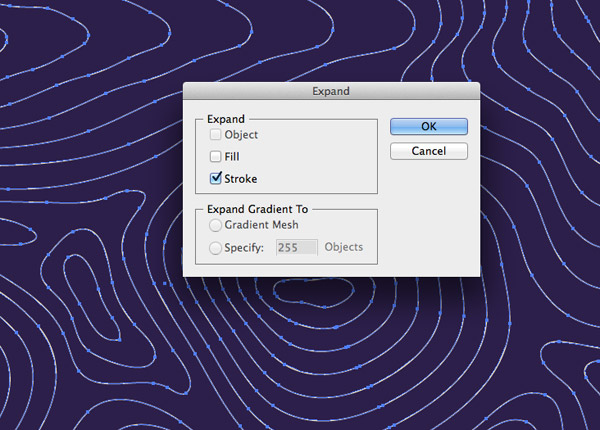
Head back to Object > Expand but this time just select the Stroke option. All the paths will now be converted into filled shapes.
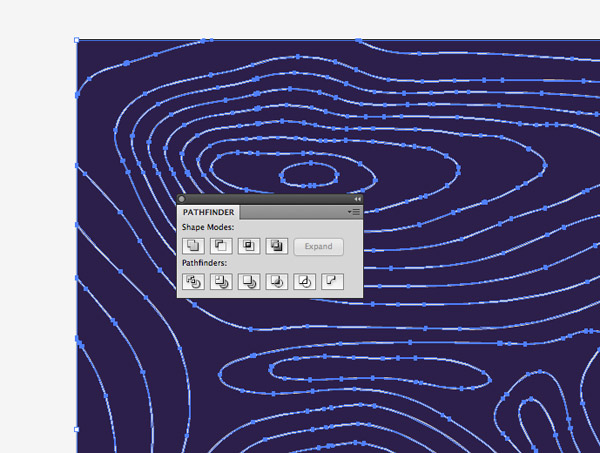
Draw a rectangle with no fill or stroke across the whole document then press CMD+A to Select All. Click the Crop option from the Pathfinder tool to trim the excess from the contour lines that extend beyond the edge of the document.

The vector contour map effect is now ready to be used in your outdoors inspired artwork, but to finish it off we can take it into Photoshop to mix it with some old paper textures to create an old worn map appearance.

Copy and paste the design into a new Photoshop document then place a worn paper texture on a new layer.
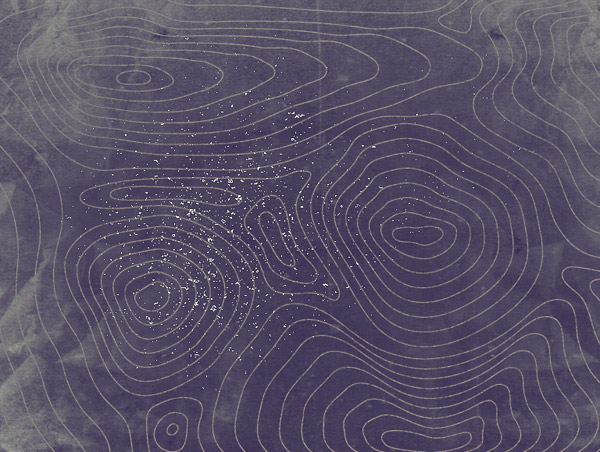
Alter the blending mode to allow the contour map to show through the paper texture. Use a subtle grunge brush to paint over the contour lines using the same dark blue background colour to erase out portions of the lines to create a distressed effect.
Topographic map contour lines are just one of the many styles that can be created using Illustrator’s handy Blend tool. Combined with some simple textures in Photoshop it creates quite a realistic map effect.
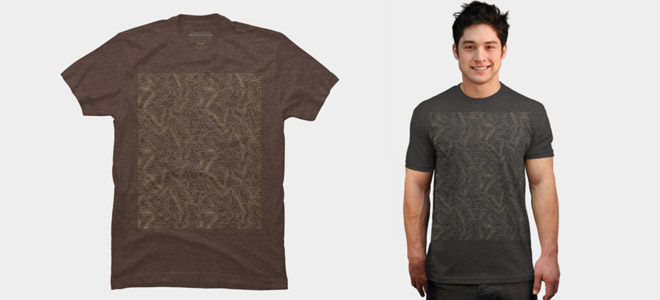
Love this design? Get the t-shirt!

After you tweeted a sneak peek of this a while ago I was super curious how you were going to get the effect.
The blend tool of course, brilliant!
Good post Chris.
Love this design! Surprising how simple it is to create. Thanks for sharing and as always, great work, Chris! :)
Brilliant! I have been experimenting with the blend tool recently; this helps to make a bit more sense of it. I see woodgrain & moire patterns in my future. Thank you!
Excellent! Thank you for this awesome tutorial. I am it out now!
Good!! Thank you for tutorial
Such a great idea! The blend tool makes it look very natural.
This was great! I just finished the exercise. First time I’ve ever used the pencil tool. Thank you!
Hi, Good use of blend tool. I will use this to make mine nice …
Great tip, thanks a million.