
This post was originally published in 2008
The tips and techniques explained may be outdated.
Following on from the Torn Paper tutorial, the page curl is also commonly used in creating the distressed and collage looks. This simple walkthrough can be applied to any photo to add an extra bit of detail.

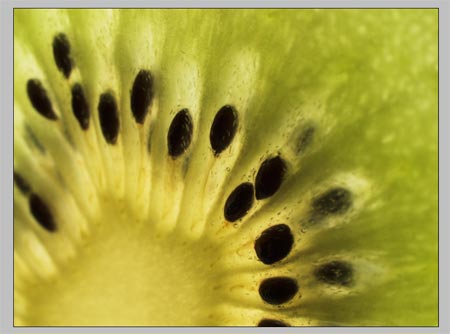
Open up the original image into Photoshop
Duplicate the layer by dragging the background layer into the New Layer icon, then fill the original background layer with white.
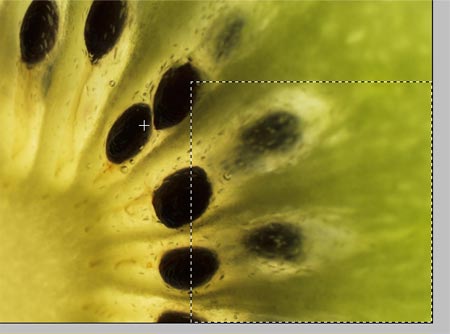
Drag a square selection across the bottom section of the image.
With the selection active, press CTRL/CMD + T to Transform, right click and select Warp from the menu.
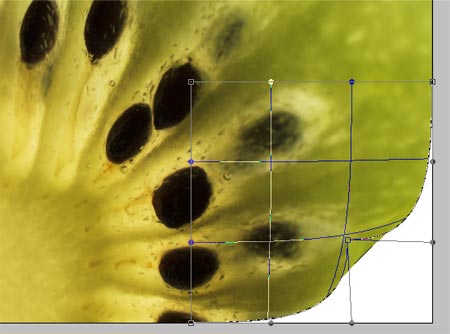
Drag the lower corner point inwards to bend the edge of the image upwards to simulate a page curl.
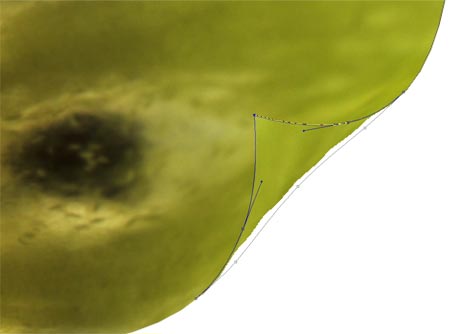
Zoom into the area and draw around the folded corner with the pen tool.
Right click on the path and choose Make Selection. Fill the selection with white on a new layer.
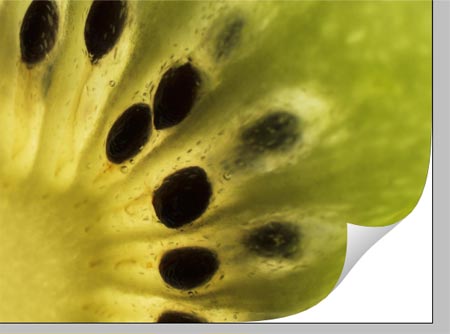
Double click on the new layer and add a Gradient Overlay angled across the curl to add depth.
Add a slight drop shadow to the curl to give the impression that the curl is lifted from the background slightly. Keeping the effects subtle is the key.
Click back onto the image layer and add another slight drop shadow to the lower edge.
An additional tip:
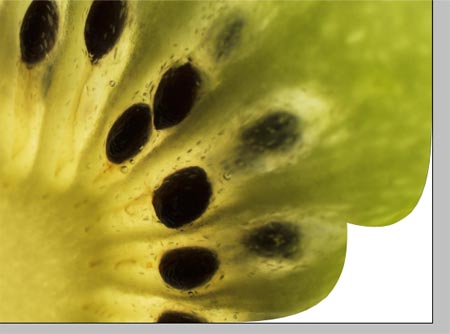
When using this technique with a plain white or flat coloured image, it can be difficult to see the warp transformation. To get around this, take a screen shot of the transform tool settings.
Then, after applying the settings, paste in the screenshot and use it as a guide to draw the outline with the pen tool. Delete the screenshot from the document and continue with the steps above.
Users with Photoshop version <CS2 without the Warp option, copy the above image to use as a template in your document!

great tut :)
Very nice. Great tutorial. :D
Very nice outcome, but I recommend one thing: You should write that the Warp transform feature won’t be available for Photoshop 7 users. I don’t think so anyway.
Good point Eli, that’s right, the Warp filter wasn’t introduced until CS2.
The workaround would just mean getting jiggy with the pen tool and drawing the outline of the page curl from scratch, instead of tracing the Warp transformation.
Or,
Users could copy the second to last image and paste it into their document to use as a guide.
Chris
Definitely, the easiest tutorial on doing a page curl that I have ever seen. Good job and thanks!
Very well done. I can see myself coming back to this tutorial sometime in the near future. Thanks.
I see myself coming back as well. This kind of style can add depth to website graphics. I was working on a design this week that would have benefited from that. Thanks.
NICE tutorial! And easy too, I’ve see a lot of page curling techniques and this is a sweet one.
It is a really a good tutorial for starters in photoshop.
The step-by-step process really helps us a lot.
Thannks for everything.
Hey!! i was just designing a menu and thank you for publishing this effect..one question though..i have no idea about how you take a screen shot in a windows….for Macintosh it’s easy..but i don’t know for windows….
Anyways..thanx for that enlightenment.
T@Z
Hey tashinorden
For Windows it depends on your keyboard, there should be a ‘Print Screen’ button somewhere, it differs between manufacturers.
Chris
I am stuck :(
I selected a section, done the ctrl+t and right clicked, but i dont get the warp option.
Does this not work in PSE6?
Help pleeeeeaaaassseeeee :)
wow! amazing!!
ldVPVR hi nice site thx http://peace.com
thanks, its nice and very important
wow, thats some talent right there. very kewl.
http://www.websitesubmitcenter.com/
nice tutorial!
sweet site.
ill be sure to try this out and see what it can really do.
Thanks for your tutor friend, nice artikel. May be tonight i will try, but please help me if i can’t do it…
so real, it must be real.
Thx for your tutorial. You rescued me.
Nice work. I’m using this effect for a catalog cover…can’t wait to see the final product!
A++ thanks for sharing.
Ah very nice tut !
Thanks a lot for the tutorial.
Very useful indeed, i shall put it into place right now!
Thank you for sharing this awesome “trick” with us. I specially appriciate your easy to follow guide. I think now i have some photoediting to do!
A+ tutorial
Very nice photoshop tutorial! It is easy to follow your guide here, thanks for sharing
It is a really a good tutorial for starters in photoshop.
The step-by-step process really helps us a lot.
Thannks for everything.
After I complete the Warp portion, the next step says to draw around the folded corner with the pen tool. But when I try to select the pen tool, I have to “apply the transformation” which causes the image of the fold to disappear. How do I select the pen tool without this happening??