Videos
In today’s Photoshop tutorial I’m going to show you how to create a vintage photo effect, based on Daguerreotypes from the 1800s. Being the most common photography method in the 19th century, this photo style is often associated with old portraits and scenes of the wild west. Daguerreotypes were exposed onto polished metal plates which were easily tarnished and scratched. This has become one of the main aesthetics of these antique images, so we’ll be using some texture images to mimic the appearance. And to achieve the most realism, we’ll be using the real thing! I recently found some public domain scans of authentic Daguerreotype photographs, which I processed into design resources by Photoshopping out the subject to leave just the texture of the tarnished metal plate.
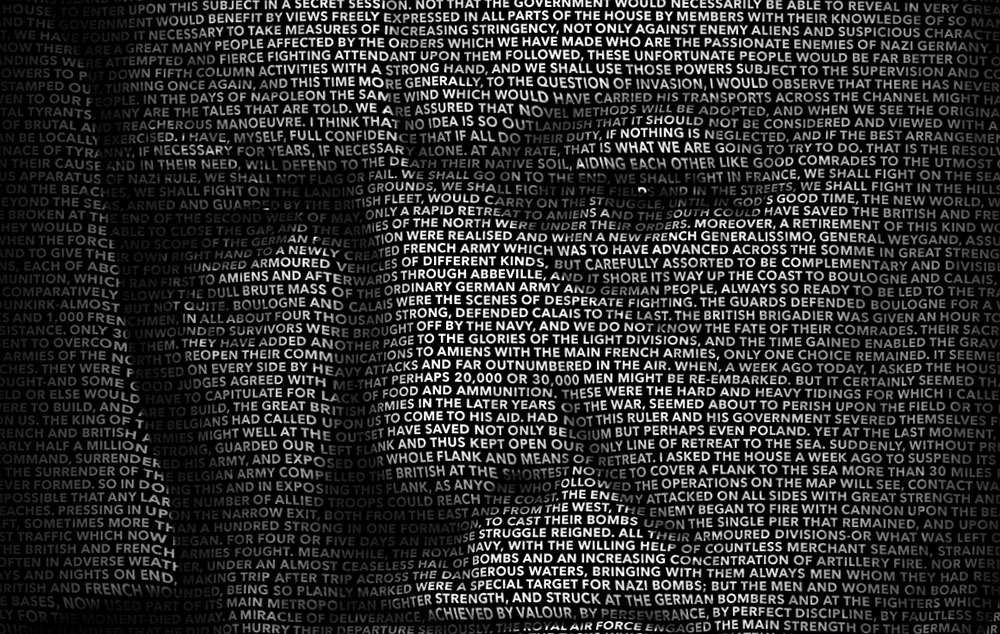
In today’s Photoshop video tutorial we’re going to create a clever text portrait effect where a passage of text bends and warps to form the contours of the subject’s face. This effect is particularly powerful when used to present famous speeches by depicting the orator with their own words. It could also be used to produce artwork of musicians and their song lyrics, writers and stories, poets and their poems, or any other popular figure who is remembered for their words. The process uses just a small selection of Photoshop’s tools, with the Displace filter and a clipping mask being the key ingredients to making the effect.
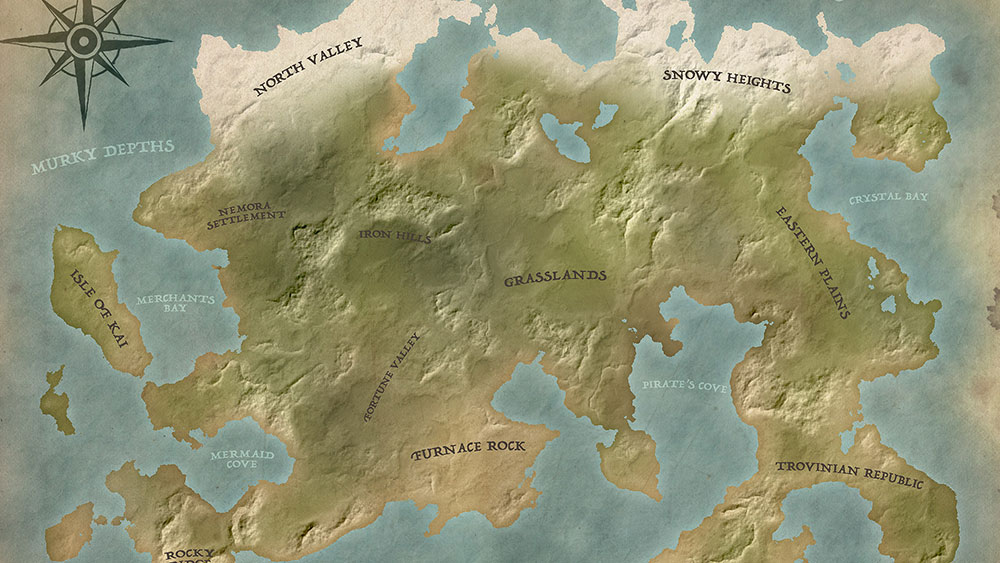
In today’s Adobe Photoshop video tutorial we’re going to have some fun creating a map of our own fantasy world, just like the fictional story settings of Neverland, Middle-Earth or Westoros. We’ll use Photoshop’s built in tools to establish the landmass and sea, then construct hills, mountains and deserts with some simple filter combinations, before finishing off the artwork with a vintage paper texture and place names to simulate an old world map.
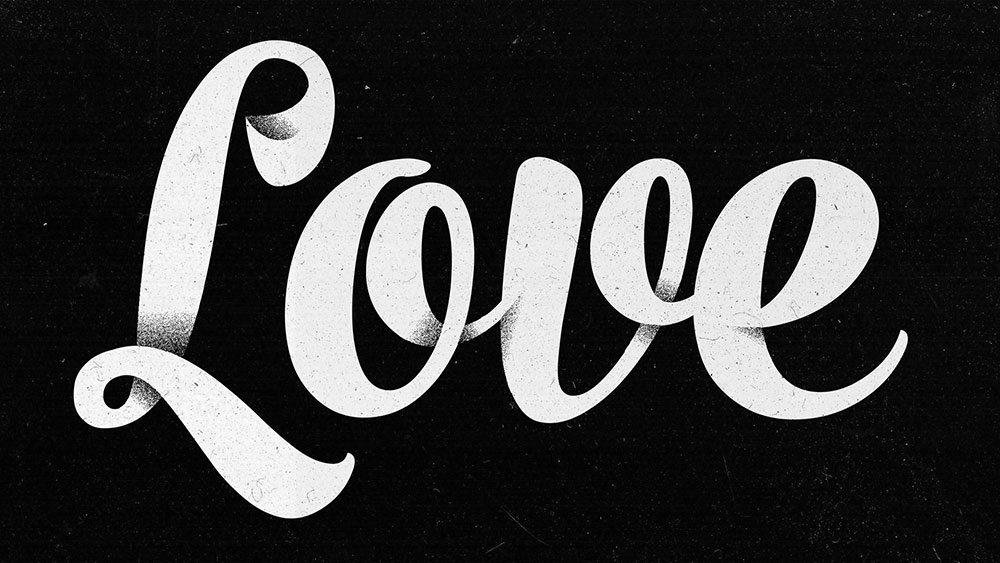
In today’s Adobe Illustrator tutorial we’ll be creating a shaded type effect, which applies little shadows to cursive lettering where the strokes loop and overlap, to give the impression that the characters interweave. The artwork we’ll be producing in this tutorial features the word ‘Love’ in a bold, flowing script font with the addition of those shaded elements, further enhanced with grain filters and dusty textures to distress the artwork and finish it off with a low-fi appearance.
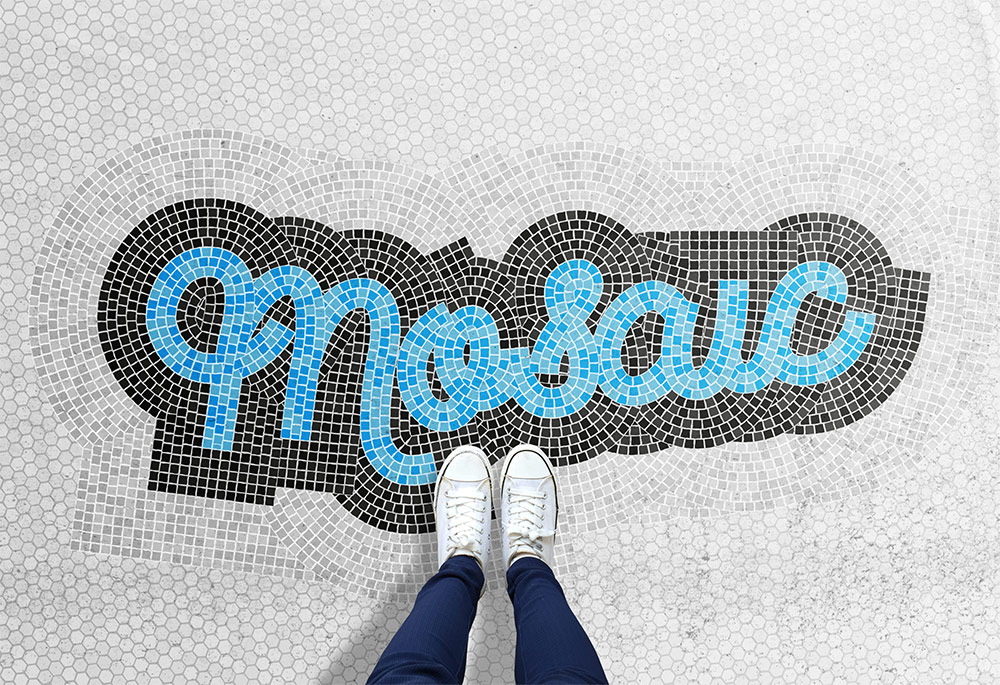
In today’s video tutorial I’m going to take you through a process I’ve come up with for creating a mosaic tile effect, using a mix of Adobe Illustrator and Adobe Photoshop. This kind of tiled effect has been quite trendy over recent years, made popular by Nick Misani and his ‘Fauxsaics‘ series, where he would produce illustrations of the place names he traveled to in the style of the kind of classic mosaic tile art found in hotel foyers and subway stations. Those Fauxsaics are painstakingly created by hand by drawing each individual tile, but my process uses the power of Adobe Illustrator to achieve a similar look. We’ll then transfer the art over to Photoshop to help boost the realism with texturing and the must-have pair of superimposed feet.
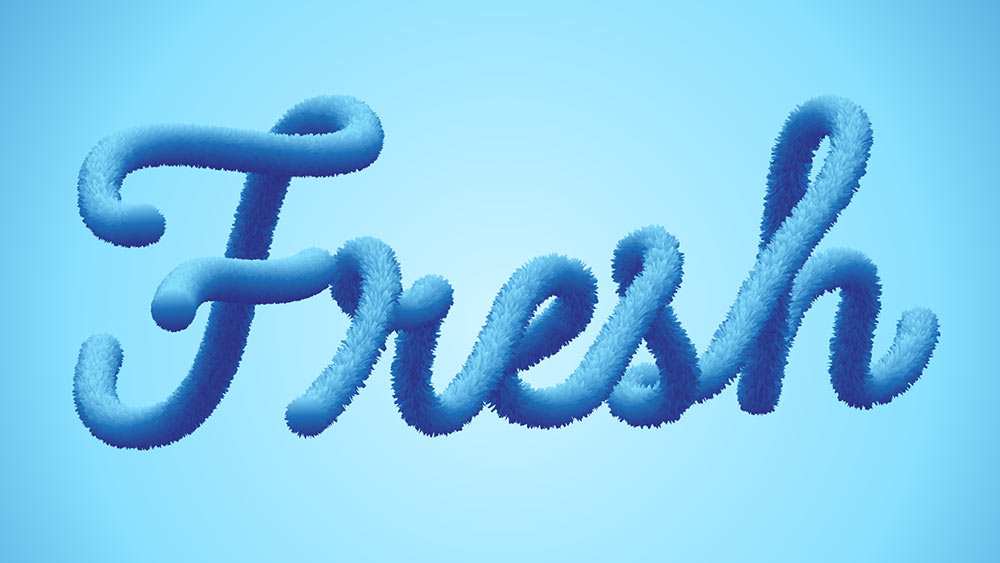
In today’s Adobe Illustrator video tutorial we’re going to have some fun using Illustrator’s blend tool to create a cool three dimensional type effect that looks like it’s made out of a long bendy tube. We’ll then apply an effect which gives it somewhat of a furry appearance, making it a useful trick to keep in mind for whenever you might need to make some creative artwork for titles or logos.


