Videos
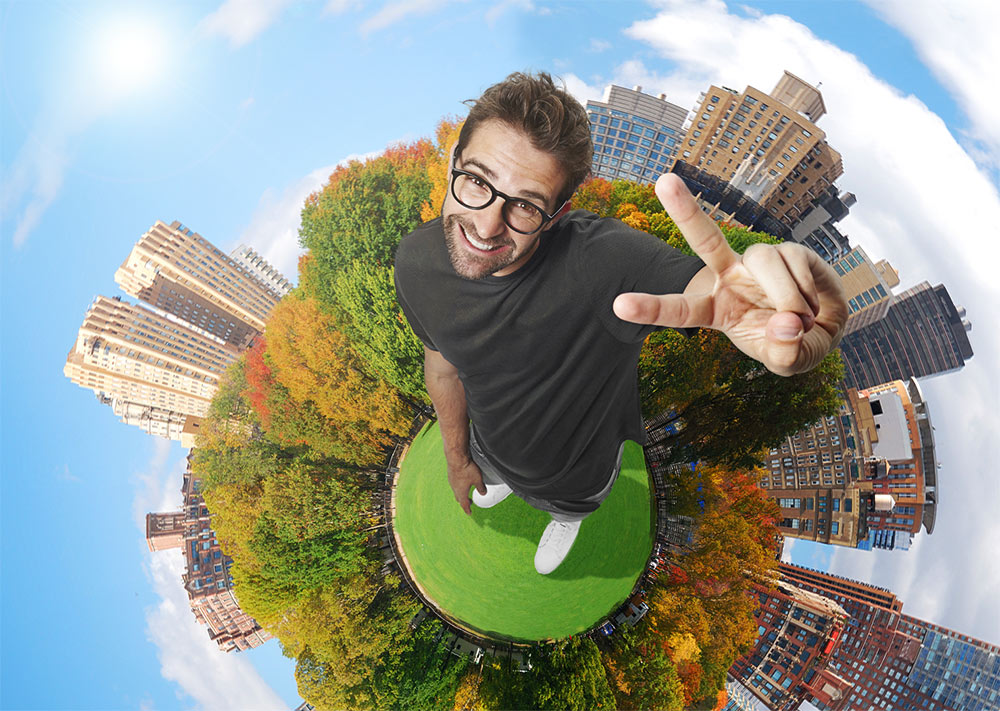
In today’s Photoshop video tutorial we’re going to have some fun creating a tiny planet effect, which is a classic Photoshop tutorial subject, but this kind of effect has come back into the limelight with new 3D cameras now being used to produce video footage in the same style. I’ll be covering the process of making the effect with a static image by manipulating it in Photoshop, but as an extra touch, I’ll show you how to superimpose an additional picture of a person to simulate the appearance of those 3D video, as captured by the likes of the GoPro Fusion.
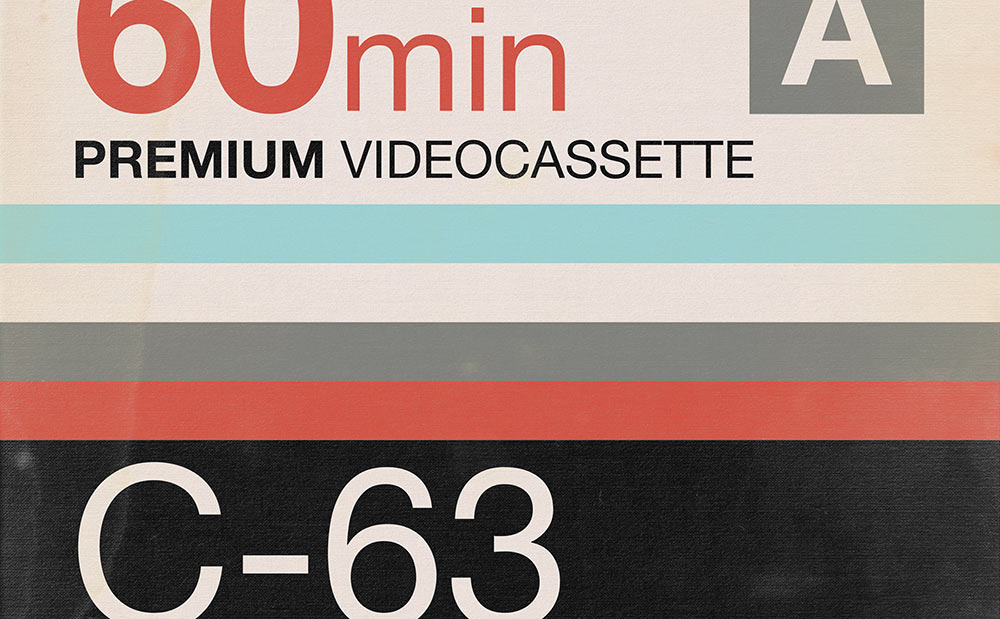
In today’s Adobe Illustrator tutorial we’re going to have fun creating a retro style poster based on the artwork of old VHS cassette covers. We’ll use Illustrator to construct the design with text and shape elements, then we’ll quickly send the final artwork over to Photoshop to give it an aged appearance with texture overlays. You can find plenty of inspiration from Google Images and Pinterest, where you can pick out common aesthetics and mix and match the different elements to create your own custom design. The artwork I’ll be producing in this tutorial features the popular trend of colourful stripes and retro shape patterns, combined with simple text elements that represent the various features displayed on the authentic examples.
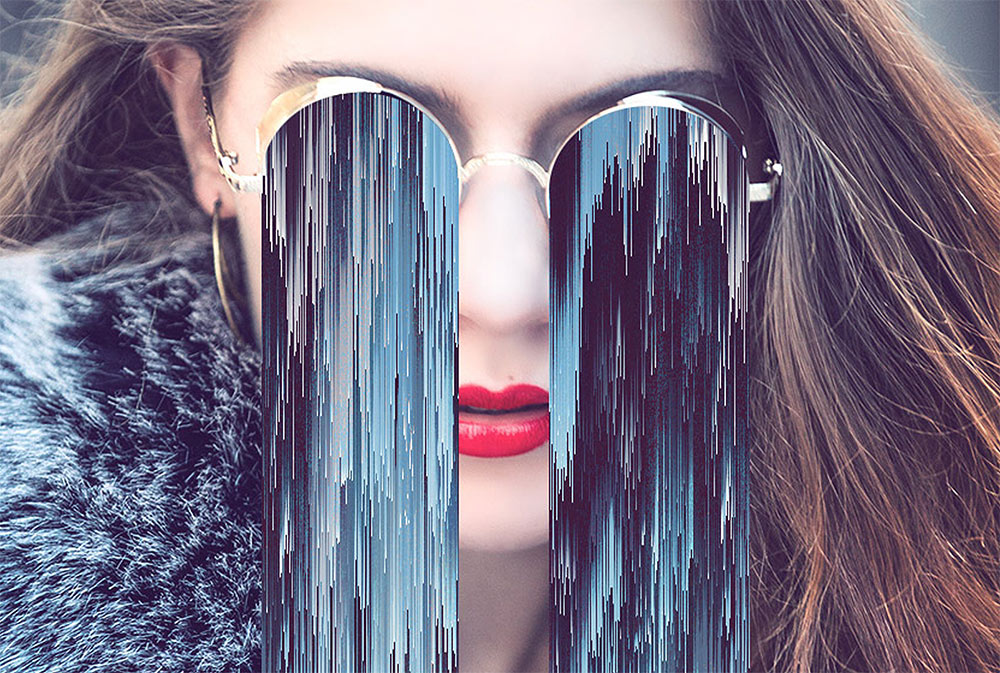
In today’s Photoshop tutorial we’re going to have some fun creating an abstract piece of artwork that features the Pixel Sorting effect, which is a type of glitch art that’s usually generated by computer code, but we’ll be replicating the appearance with Photoshop’s built in filters. If you search for pixel sorting artwork on sites such as Pinterest you’ll see some great surreal artworks where the effect is combined with a normal photograph, usually with these extended pixels drooping from a pair of sunglasses or in place of a subject’s entire face. That’s exactly what we’ll be producing in this tutorial, an abstract art piece that features a female face with long glitchy pixels that extend vertically from her sunglasses.
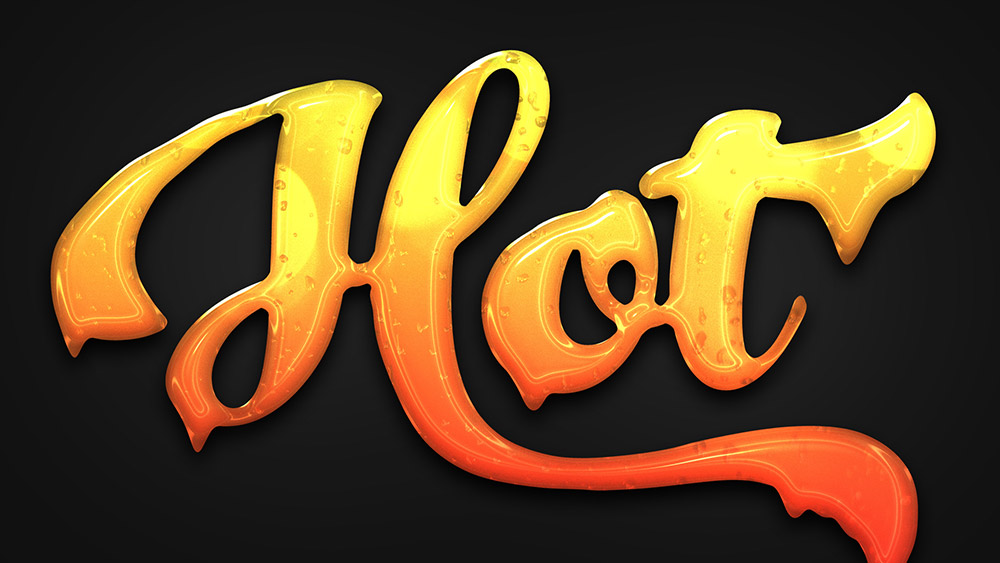
Last week I showed you how to create a slimy text effect in Adobe Illustrator, so I thought I’d cover a similar topic this week but in Photoshop instead. The vector Illustrator artwork is quite flat, whereas you can achieve much more realism with gradients and filters in Photoshop. The effect we’ll be producing in this tutorial is a glossy text effect made out of some kind of gooey yellow substance!
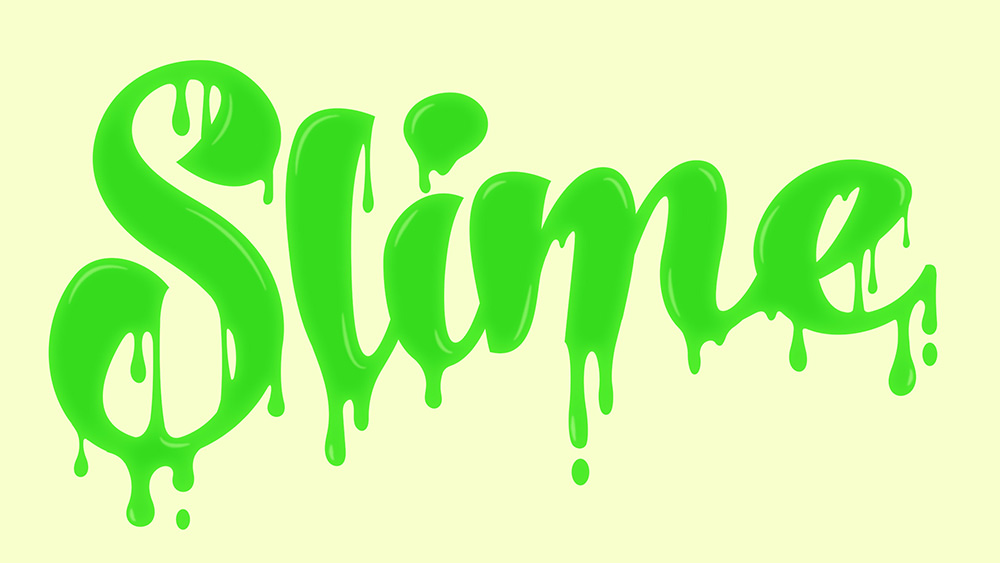
In today’s Adobe Illustrator tutorial we’re going to have some fun creating a gooey slime effect with some custom type. You could apply this to your own hand lettering pieces, but I’m going to be using a ready made font, which I’ll be customising with the vector drip shapes. Once the outline is complete, we’ll then add some bright colours to make the ooze radioactive, then use a simple trick with the brush tool to draw some highlights.
The topic I wanted to talk about in today’s Photoshop video tutorial is creating the trendy ‘matte’ look within your photos. The thing is, creating the effect literally takes seconds. So instead, I’m going to show you FIVE ways to create a matte effect in Photoshop! There’s a range of tools you can use, each with a slightly different workflow, so hopefully by showing all these different techniques you’ll be able to take home the one you find the most straight forward or memorable.