Videos
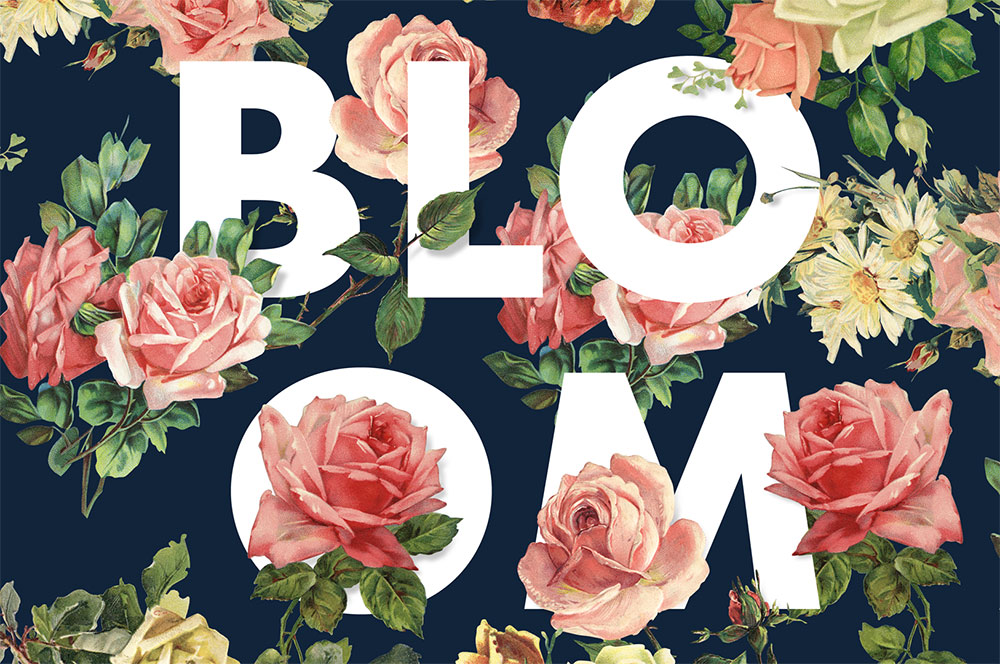
In today’s Photoshop tutorial I’m going to show you how to create the popular floral typography effect, where type is combined with images of flowers to create pretty artwork. We’ll begin by producing a composition of floral illustrations, then add the type and erase specific portions of the artwork to make it seem like the flowers surround the text, with some petals and stems appearing on top and others underneath. To enhance the effect, I’ll then show you a clever shading technique that helps to add depth with slightly more realistic drop shadows.
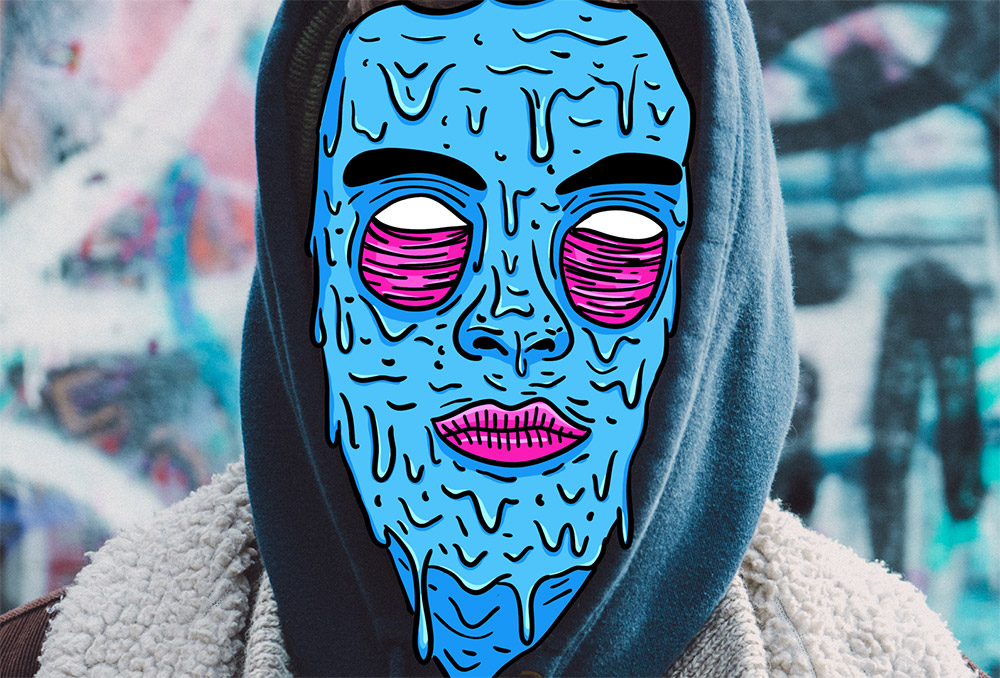
In today’s Photoshop tutorial we’re going to have some fun creating a surreal art style known as Grime Art, which is a weird trend where portrait photos are doodled upon with drooping, cartoonish drips of slimy flesh in vibrant colours to produce weird and wonderful zombie-like images with a gross, but somehow cool effect. I’ll show you a handy technique within Photoshop that allows you to easily illustrate and colour your artwork with the help of a pen tablet.
In today’s Adobe Illustrator tutorial I’m going to take you through the process of creating a bold eSports style logo with a mascot graphic, from the initial sketch right through to the final vector logo art. eSports logos are a continuation of the style of American football, baseball and hockey team branding that incorporate mascot illustration with strong type and vibrant colours. The artwork I’ll be creating in this guide is for a fictional team named Rhinos, featuring a stylised illustration of a mean looking rhino character. I’ll show you how to produce the initial sketch in Photoshop, then we’ll transfer the concept over to Illustrator to develop the logo into vector graphics.
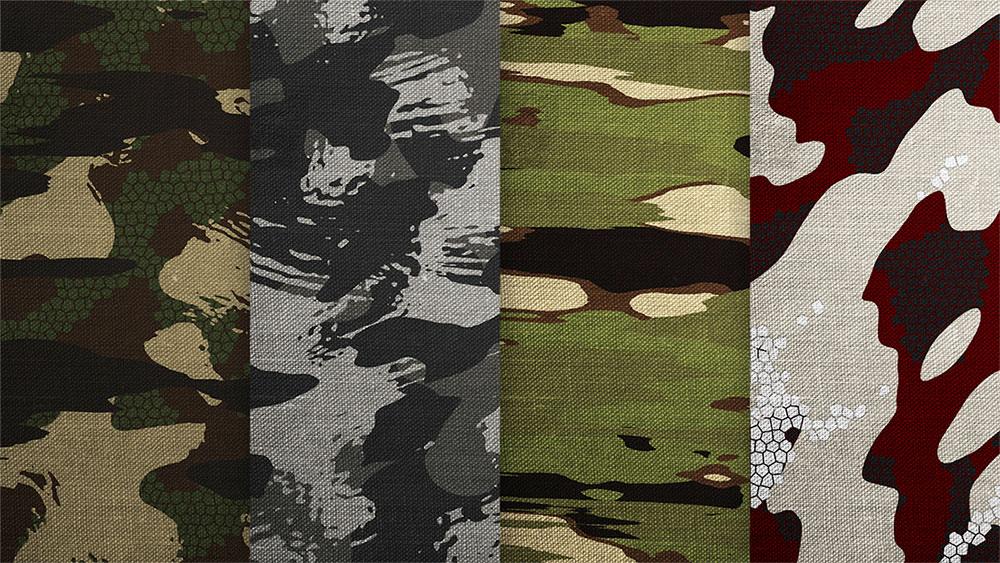
In this Adobe Photoshop tutorial I’ll show you some clever techniques for creating military style camo patterns, using nothing but Photoshop filters. The result is completely randomised, which is perfect for producing abstract shapes and disruptive patterns. I’ll also present a range of optional steps you can take to customise the appearance of your camouflage design, then prepare to have your mind blown when you see how Photoshop can completely automate the creation of your pattern across a vast area with no repetition whatsoever.
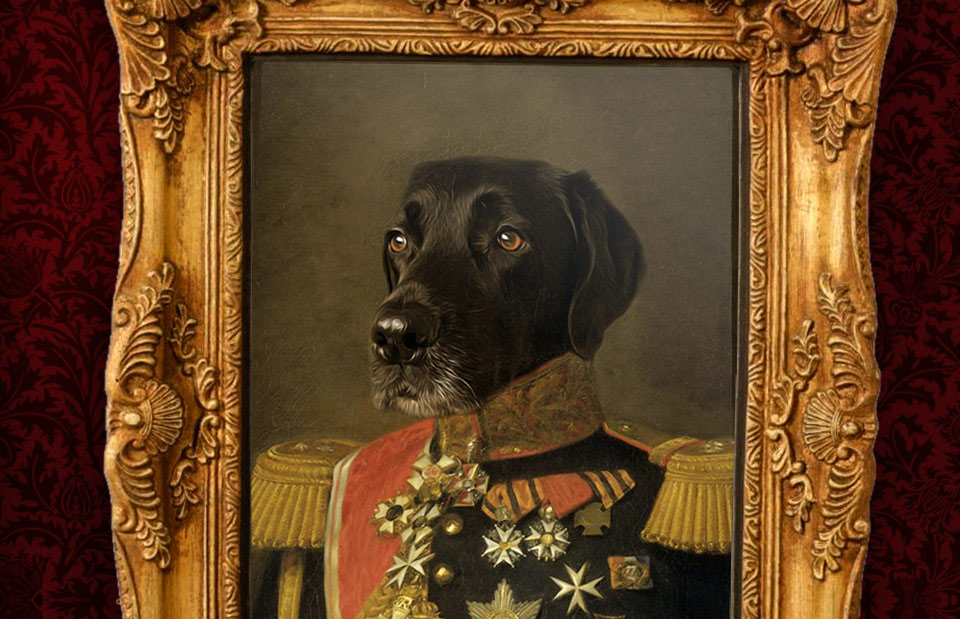
Follow along with today’s Photoshop tutorial to turn your pet into a renaissance masterpiece. We’ll use a public domain oil painting of a 19th century Dutch General as the source, then combine some Photoshop filters to apply the painterly look to a digital photograph to blend the two images into a comedic portrait that is cute, surreal and hilarious at the same time!
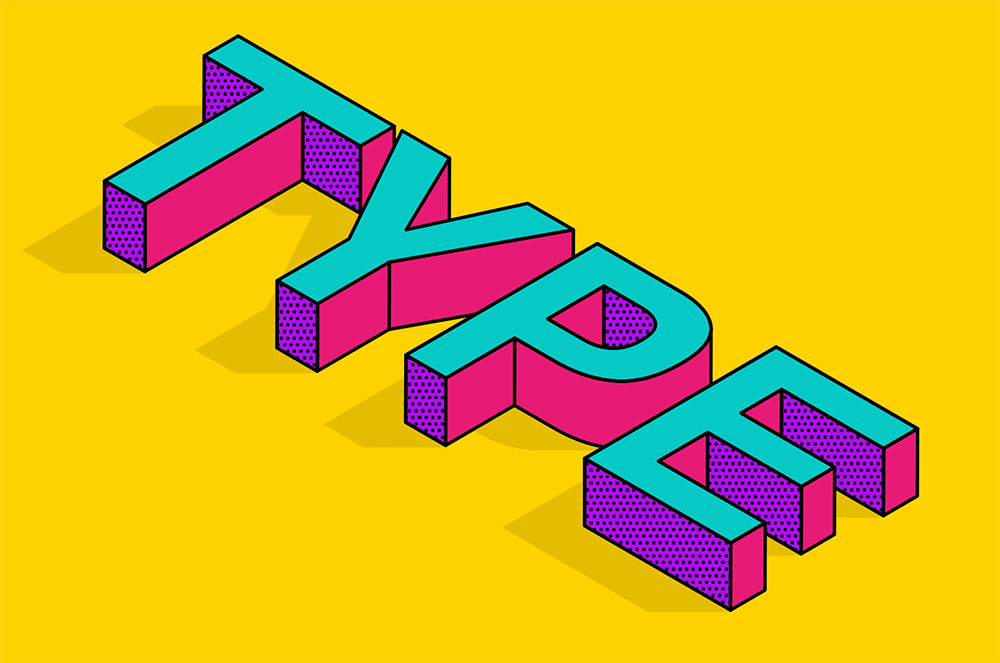
This Adobe Illustrator tutorial will take you through to the step-by-step process of creating an isometric text effect, which features three-dimensional type combined with vibrant colours to produce a fun vector art style. Adobe Illustrator is the perfect tool to create such an effect; the 3D Extrude & Bevel tool easily generates an accurate isometric layout, then the artwork can then be broken down into individual vector shapes for easy customisation with colourful fills and detailed patterns.

