We’ve all had that mixed feeling of elation and frustration when we discover a new tip or technique in a design app. You’re both amazed at how easy this new technique is while in disbelief that you never knew about it before! I’ve put together a list of the top 10 Illustrator tips I’ve learnt over the years that have completely changed how I design. Hopefully you’ll learn a few new techniques too that will completely transform you every day workflow.
Scale Strokes and Effects
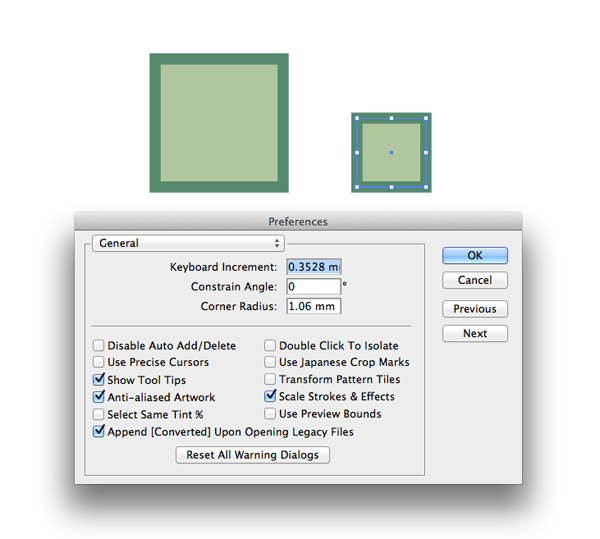
Illustrator is all about vector artwork that allows for infinite scalability without loss of quality, so it always leaves you puzzled when your design gets super fat or thin when you alter its size. I remember the days when I used to painstakingly reset all my stroke weights, but there’s actually a setting under Preferences that allows you to select whether or not to scale your stroke weights and effect settings with your artwork.
The Scissors Tool
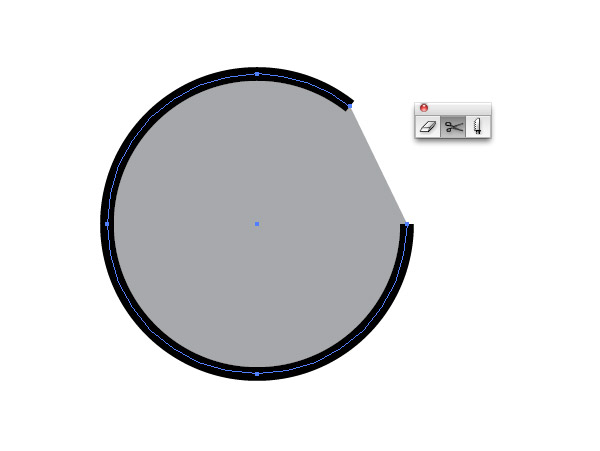
I used to use the Pathfinder tool for everything! I didn’t realise that there was a tiny little tool hidden away under the Eraser that allowed you to quickly and easily snip a path without affecting its shape.
Draw Inside
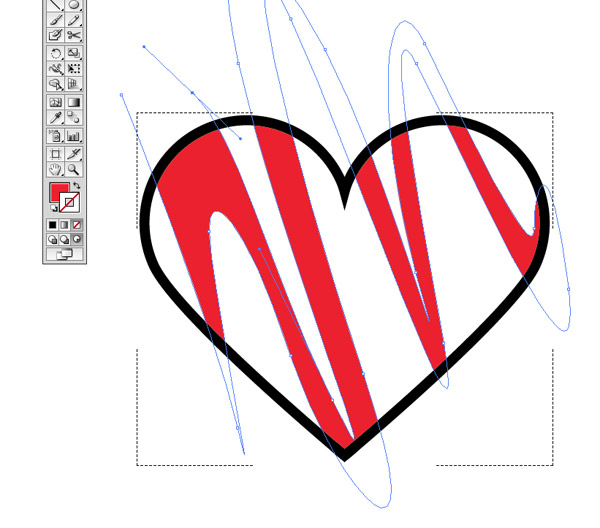
It’s not uncommon to need to draw shapes or details within another object. I would always do lots of trimming with the Pathfinder to delete the excess around the edges or create a special Clipping Path, but there’s actually a button right at the bottom of the toolbar that allows you to draw inside an object while Illustrator automatically masks out the overlap.
Paste in Place
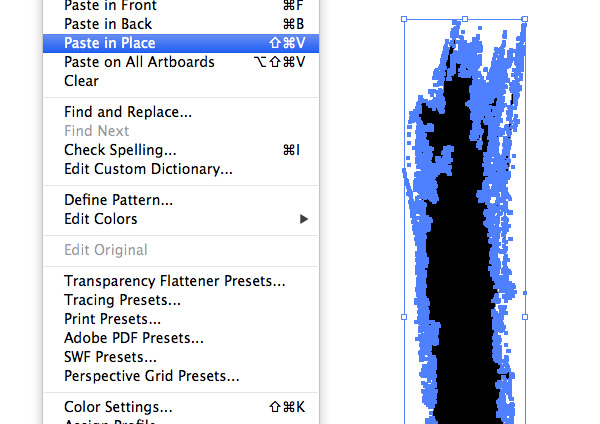
We all know about CMD+C and CMD+V for Copying and Pasting, but did you know about the Paste in Place (CMD+Shift+V) Paste in Front (CMD+F) and Paste in Back (CMD+B) shortcuts? Rather than have to realign your new element after it’s dumped in the middle of the screen you can quickly paste it directly into your chosen position.
Shape Builder Tool
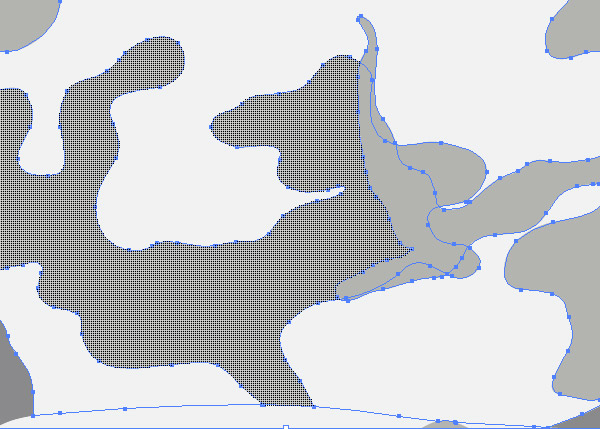
Forget about painstakingly Uniting and Subtracting with the Pathfinder tool, you can actually do it all with a handy tool called the Shape Builder. Save yourself hundreds of mouse clicks by simply clicking and dragging between elements to perform the same action.
Default Pattern Libraries
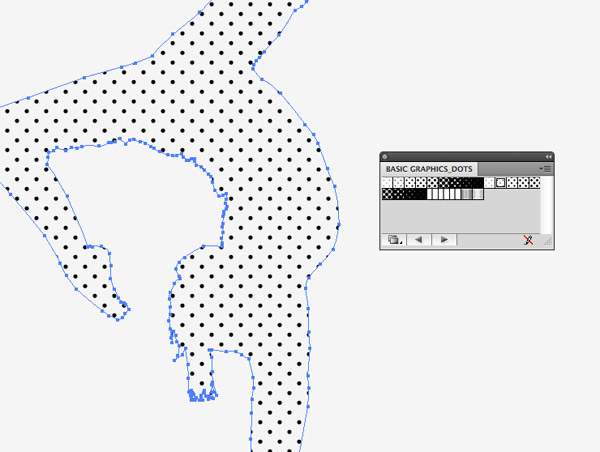
I hate to think of the time I’ve wasted creating simple pattern fills when there was a selection of ready made patterns available directly in Illustrator. Open the slide out menu for the Swatches palette and follow Open Swatch Library > Patterns to find hundreds of cool fill options.
Blob Brush
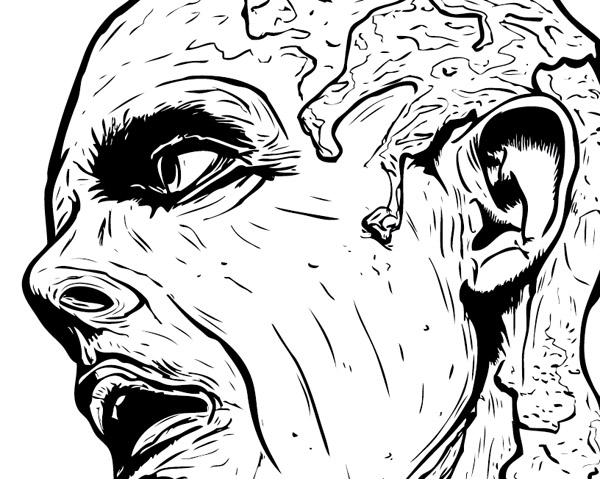
I always used to prefer drawing with my Wacom pen tablet in Photoshop rather than using the path based Brush tool in Illustrator, but I was always left with raster art that needed Live Tracing. This all changed back in CS4 when the Blob Brush was introduced. Instead of drawing individual paths this tool works much like the Photoshop brush tool, but it instead creates a solid vector shape.
Live Paint Bucket
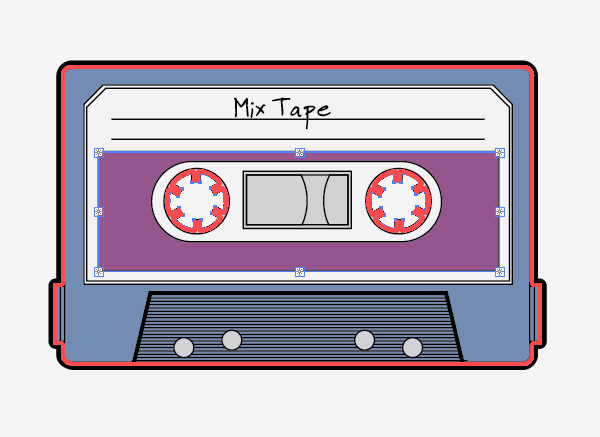
People who enjoy desiging characters in Illustrator will be big fans of Live Paint. Before I knew about this clever tool I used to carefully trace my linework with coloured shapes, but this does all the work for you. Quickly fill shapes much like the Paint Bucket tool in other apps.
The Appearances Panel
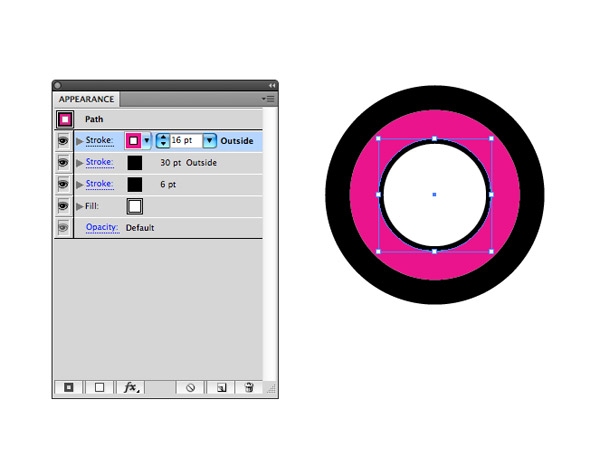
I always assumed a shape could only have a single fill and stroke in Illustrator, but that’s not the case with the Appearances palette. Open up the slide out menu and find that you can add as many additional fills and strokes as you like.
Opacity Masks
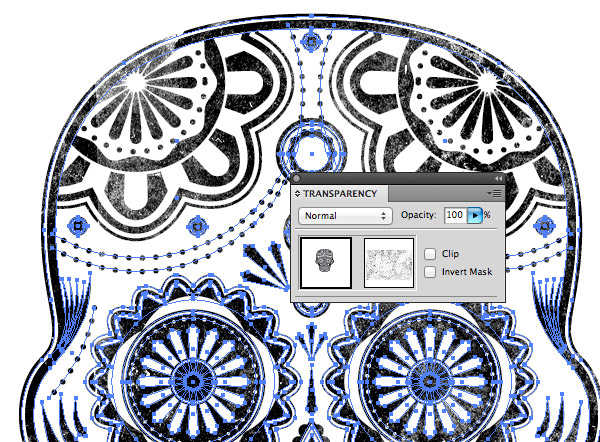
One of the most recent tips I’ve discovered in Illustrator is the use of Opacity Masks. As I discussed at the end of my Letterpress Texture effect tutorial they’re especially handy for adding non-destructive texturing to your artwork.


Thanks for your valuable information.. Great Work
Great blog! I love using the Appearance Panel in Illustrator. I like to use fills instead of strokes and go to effects > paths > offset path to change the size. I like to see what I can create using one shape and the Appearance Panel. I’ve created seals, custom text, etc. What’s great is you can select a fill and convert the shape, add any effects, etc.
Yep – must agree, this is great.
I always find the hardest thing is when you know what effect you want to achieve but you don’t know the name of said effect/tool.
Would love to see this article expanded on with other such examples.
Thanks Chris!
Opacity mask is the best No need to go to Photoshop just to add some texture :D
I’ve got to try the blob brush and check out the Default Pattern Libraries. This could be a real time saver.
Thanks for these Illustrator tips. I didn’t know about many of these and they should really be useful in the future.
This is a great little resource- well done Chris!
Thanks for great Illustrator tips! I’m the one who uses Pathfinder tool all the time. Time to change it :)
Always quality. Right on, Mr. Spooner.
I gotta say, Live Paint Bucket is my worst enemy. Once I had to modify someone else’s graphic, and they used Live Paint Bucket. It was a really bad time.
I love the rest of the list.
Great tips! Would been better if you highlighted the icon tools for the dummies like me, I guess I will have to find those by myself.
Great time-saving tips Chris! Makes me want to get back into vector drawing.
Very nice tip on the Appearance Panel. Thanks for sharing Chris!
Useful tips, thanks Chris!
Opacity mask FTW! what a great find, best newsletter tips email i’ve signed up for!
Ahhhh… the Blob Brush.. Yes!
Thanks for the quick tips Chris!
Draw Inside is definitely one of those “frustrating that I never knew about it in the first place” tools. It definitely needs a higher place in the hierarchy of tool icons!
BTW, does using Draw Inside remove the stroke attributes of the original shape permanently?
Didn’t know about the opacity masks. Sounds promising! Thanks for the tips. Glad I signed up.
I am not a fun of illustrator, but sometimes it is very useful. I hope that in sometime it will be my “axe”.
Thanks for your advice and tricks.
This has been very educational! Great stuff! Thanks.
that’s right. the post really make sense to me.
These are truely time savers. Some of which I didn’t know about. I can definitely put a few of these tips to use right now, thanks!
I always “expanded” my strokes so that they’d scale correctly, but it took away my ability to properly offset the path for creating similar shapes if needed. The tip for scaling strokes in the preference box is awesome! As are all of the tips! Thank you, Chris.
Brilliant tips!
Always nice to learn a new trick!
Thanks! Great, and very useful, information.
These are all great tips! I will definitely remember them, Thanks!
awesome thanks
You comment about wasted time for “DEFAULT PATTERN LIBRARIES” resonates. Thanks for the tip, wish I had this a long time ago.
OMG!!! Draw Inside!!!! Mwah Mwah Mwah to you :-D How did I not ever notice that little button in all these years?
Great tips! I remember discovering the Blend tool and that was one of my Illustrator “Ah ha!” moments. I also didn’t know about draw inside, how cool, thank you!
Great! I like your Illust
Chris, I got home from a long summer holiday and your Monthly Digest really make me realise how valuable your blog is.
Thanks!! :)
Just updated my Preferences to allow for scalable strokes and effects. Thank you! Fairly new to your blog, but always take the time to read it.
Opacity masks are where it’s at!!!
Killed it again man! Good Work
hey chris, just wanna say thank you so much for putting in the time and effort into creating these tutorials for everyone out there. your instructions are clear, easy to follow and super useful, especially noobie designers like myself! i’ve learnt alot really. i look forward to more fun tutorials!