
This post was originally published in 2016
The tips and techniques explained may be outdated.
Creating cartoon characters in Adobe Illustrator is always lots of fun! You don’t even need great drawing skills. Making illustrations out of basic shapes not only simplifies the process, it also produces a stylised appearance that adds to the cute factor. In today’s tutorial I’ll take you through the step by step process of creating a vector dinosaur. It’s only made from rectangles and circles, but the clever tools within Illustrator make it easy to construct a recognisable character design.

The character we’ll be creating as part of this tutorial is a cute dinosaur. Rounded shapes and pastel colours give it a friendly appearance, which makes it perfect for all kinds of children’s themed design projects. Vector illustrations like this have become a widely popular style, where the details are simplified to basic flat shapes.
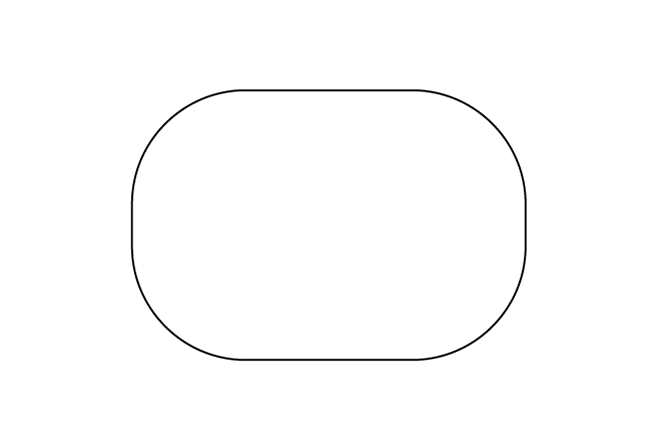
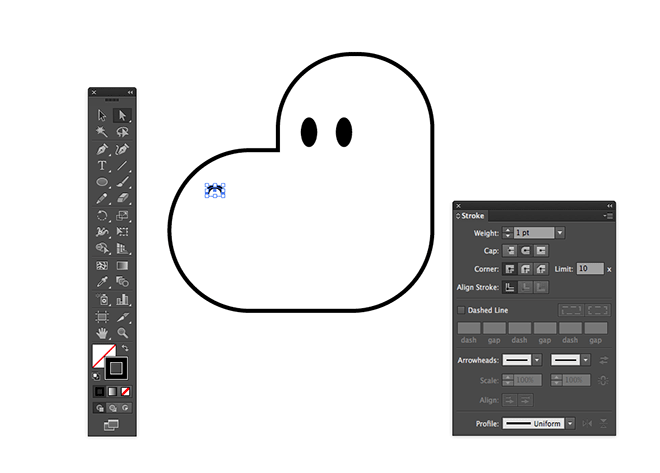
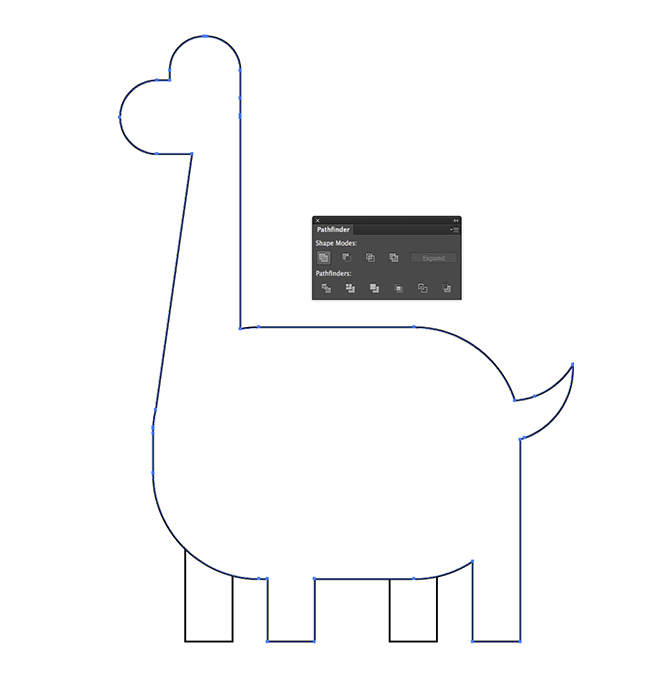
Begin by opening up Adobe Illustrator. Create a new document and select the Rounded Rectangle tool. While dragging out a shape, press the right cursor key to max out the corner radius.

Select the normal rectangle tool and draw a shape to represent a leg. Switch back to the normal Selection tool and hold the Shift and ALT keys while dragging the shape to the side to duplicate it. Repeat the process to create four legs, but line up the last leg with the edge of the body shape. Pro Tip: Turn on Smart Guides under the View menu to easily snap the shape into place.
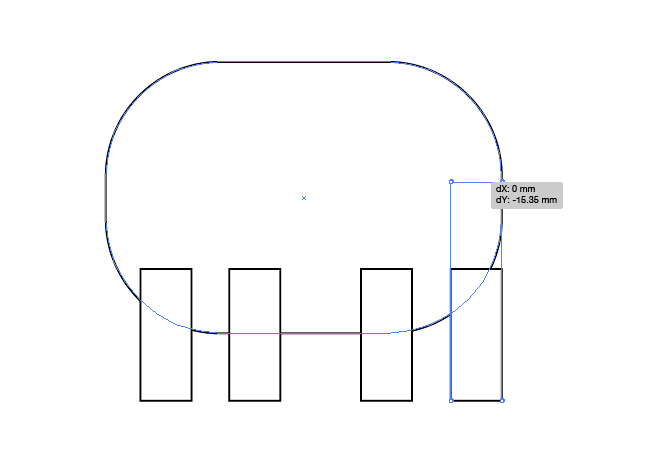
Switch to the Direct Selection tool, then click and drag the top edge of the last leg rectangle upwards so the paths form a smooth outline. Hold the Shift key to restrict the movement.
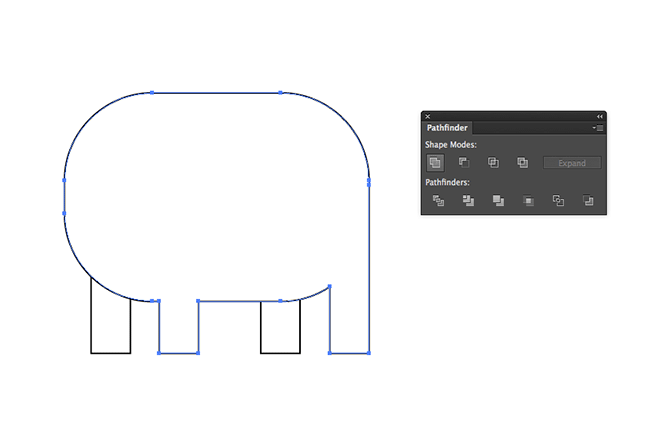
Select the main body shape, along with the second and last leg shapes, then click the Unite button from within the Pathfinder panel to blend them together.
Elsewhere on the document, draw two smaller rounded rectangles to form a head. Make sure the right edges are lined up. Unite these shapes with the Pathfinder panel.
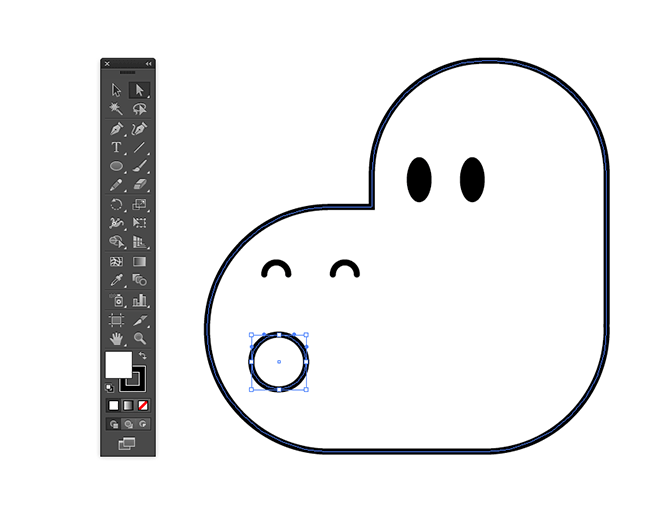
Use the Ellipse tool to draw two small eyes with a black fill, then draw a circle and switch the fill to a black stroke. Use the Direct Selection tool to delete the lowermost point, leaving a semi-circle. Give this shape a Round Cap from within the Stroke panel, then duplicate it to form a couple of nostrils.
Draw a slightly larger circle within the head area and give it a white fill along with its black stroke.
Switch to the Selection tool and drag the shape to the side while holding ALT and Shift. Use the Smart Guides to snap it perfectly to the end of the original. Use the shortcut CMD+D to ‘Transform Again’ three times to form a series of aligned shapes.
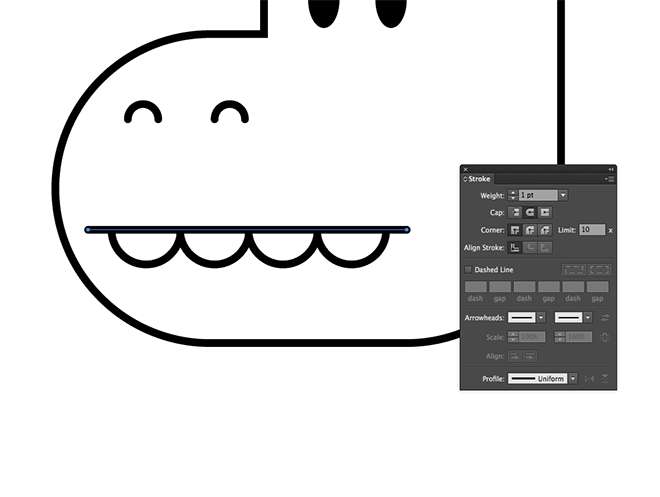
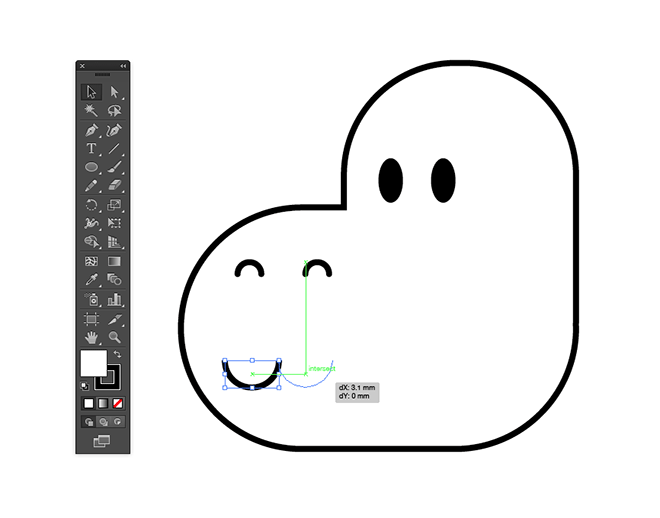
Use the Line tool to add a path to the top of the semi-circles, giving it the appearance of a mouth. Click the Round Cap option in the Stroke panel to round off the ends.
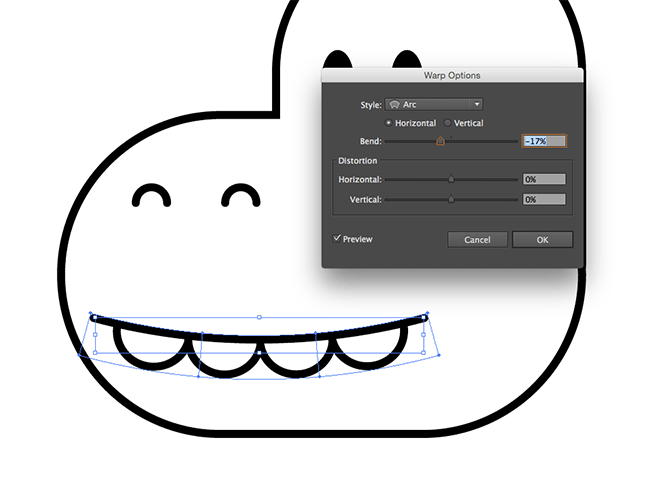
Select all the shapes that make up the mouth and go to Object > Transform > Envelope Distort. Select the Arc style and adjust the bend to around 17%.
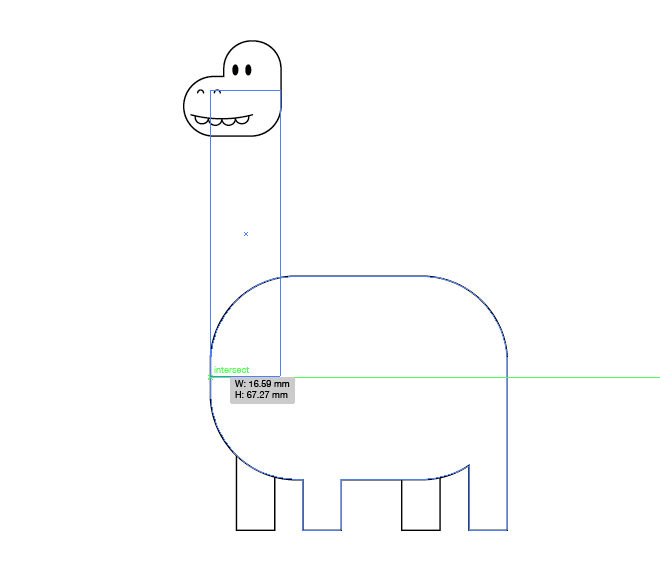
Position the whole head in line with the body, then draw a rectangle to form the basis of a long neck, using the Smart Guides to snap the edges into line.
Use the Direct Selection tool to move the upper left point inwards to alter the overall shape of the neck, giving it a tapered appearance.
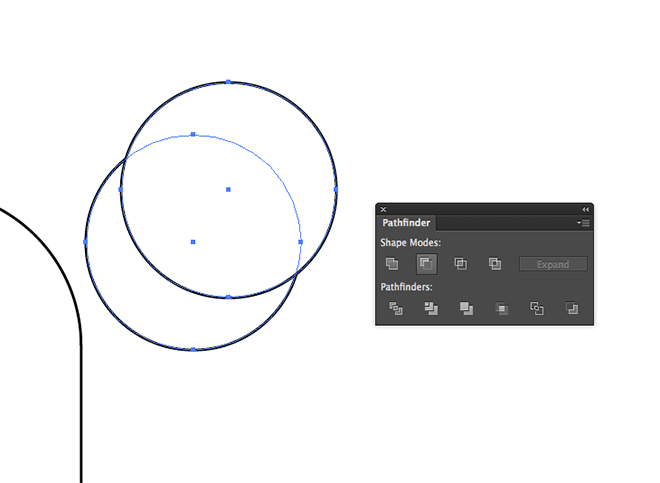
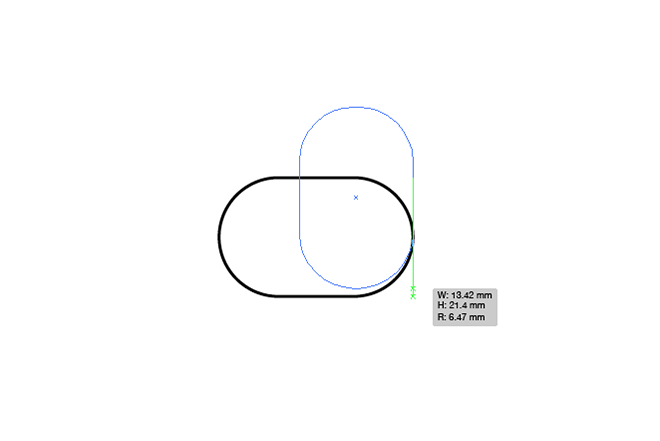
Draw a circle with the Ellipse tool, then ALT+Drag out a duplicate to overlap the original. Click the Subtract option from the Pathfinder panel to form a crescent shape.
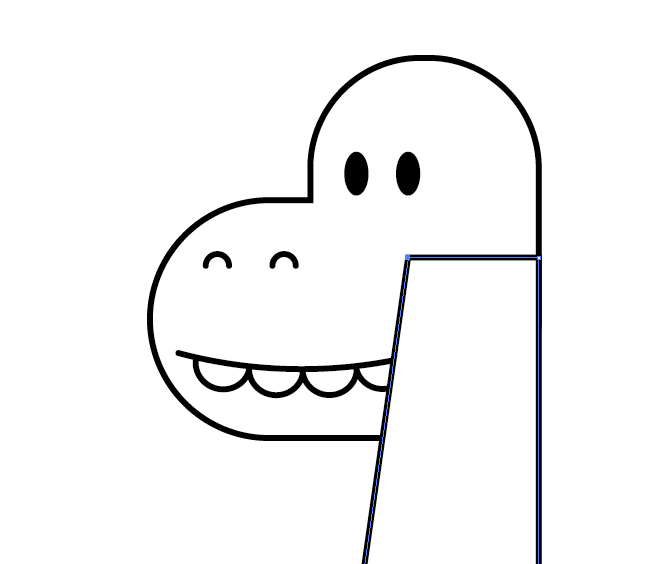
Rotate and position the crescent shape over the dinosaur body to form a tail, then select the head, body and tails shapes and click the Unite Pathfinder button.
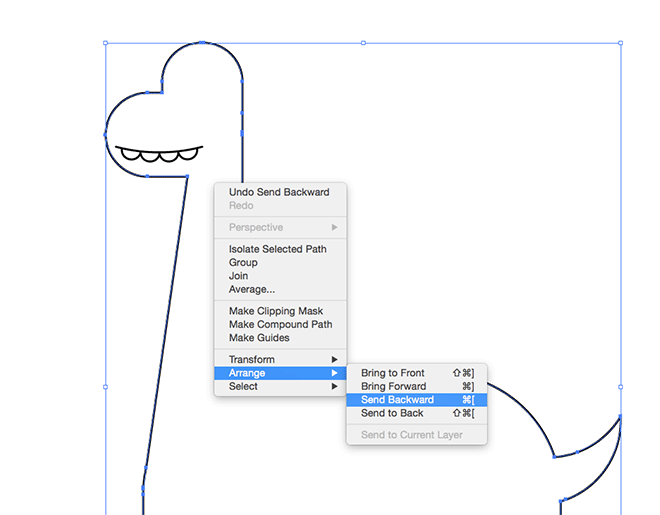
The stacking order of the objects will be affected, so repeatedly press the shortcut CMD+[ to send the body shape underneath the facial features, but not too far that the body is placed under the legs.
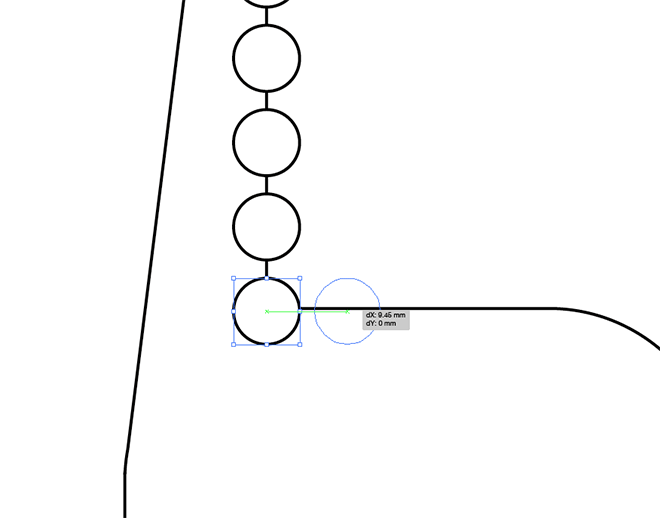
Select the Ellipse tool and draw a circle at the base of the dinosaur’s neck. Hold the ALT and Shift keys to drag a copy, then press CMD+D to continue duplicating it all the way up the neck. Drag and duplicate a second set along the dinosaur’s back.
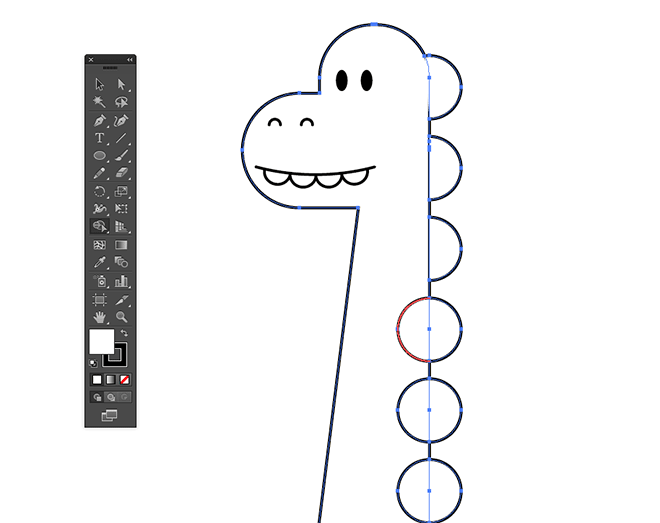
Draw a selection around all the circle shapes along the back and neck, along with the main body shape itself. An alternative to the Pathfinder panel is the Shape Builder tool. Hold the ALT key and click on the red highlighted outline where the circles intersect on the inside of the body.
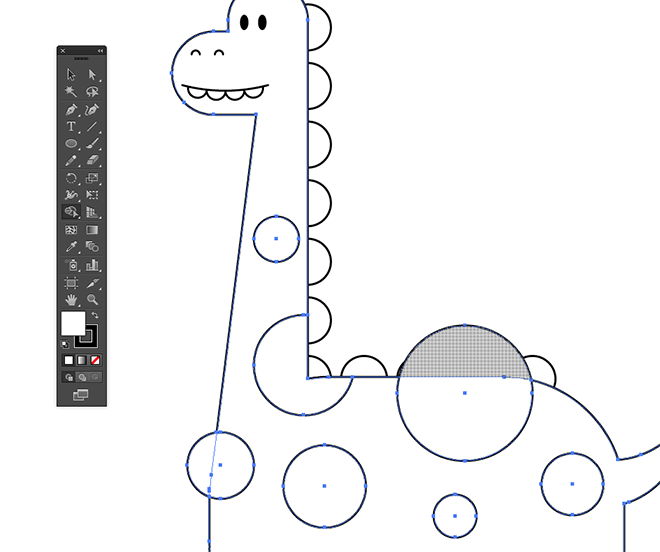
Draw a few more circles of varying sizes within the body, allowing some to extend beyond the outline. Use the Shape Builder tool to trim them to size, this time clicking the main shape area while holding the ALT key.
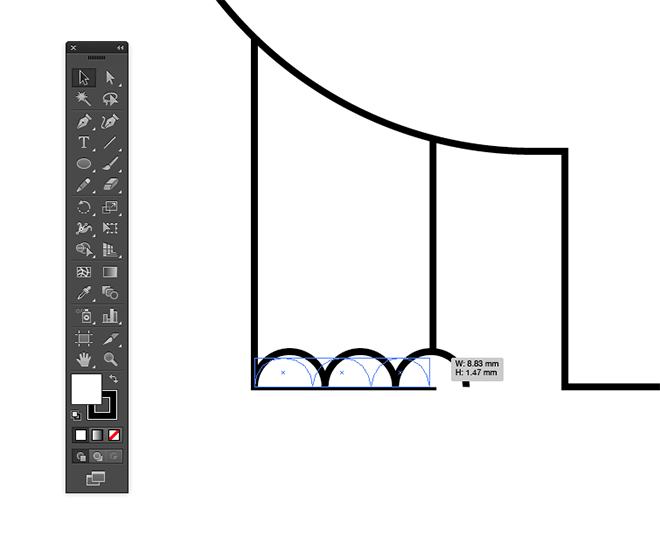
Draw another circle near the foot area. Delete the lowermost point to form a semi-circle, then click and drag three duplicates. Scale these shapes to fit within the bottom of the leg rectangle. Copy these shapes onto all the other legs.
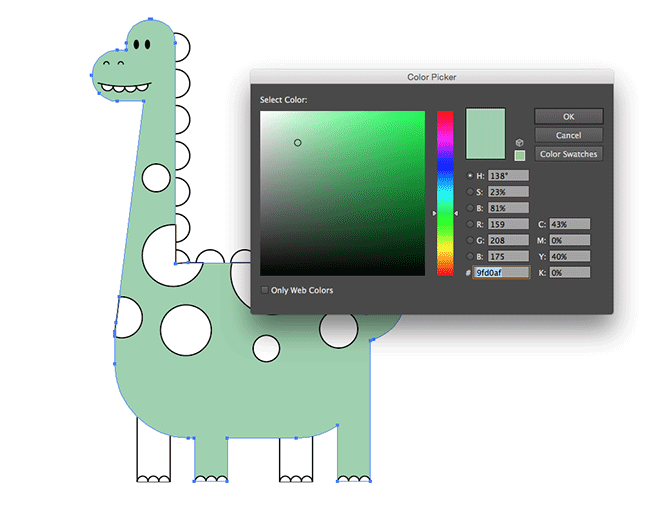
That’s the main character construction complete, let’s continue adding some colour! Select the main body shape and give it a pastel green fill. Clear out the default black stroke.
Add a slightly darker green for the legs, pink for the spikes and yellow for the spots to create colourful vector artwork.
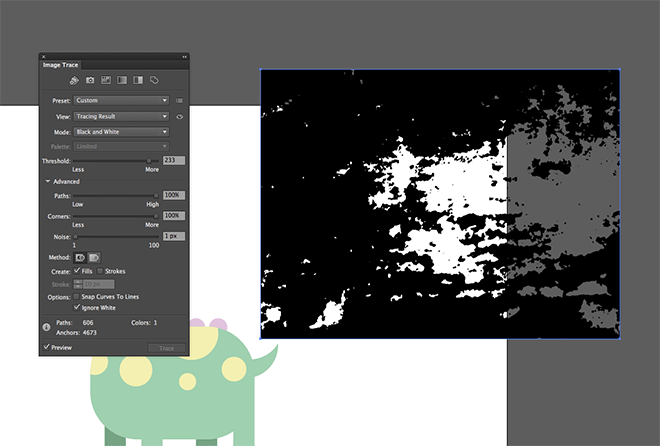
Grab any texture image from the web and paste it into Illustrator. Use the Live Trace panel to vectorise it. Check the Ignore White option, uncheck Snap Curves to Lines, then move the sliders back and forth to find the best result.
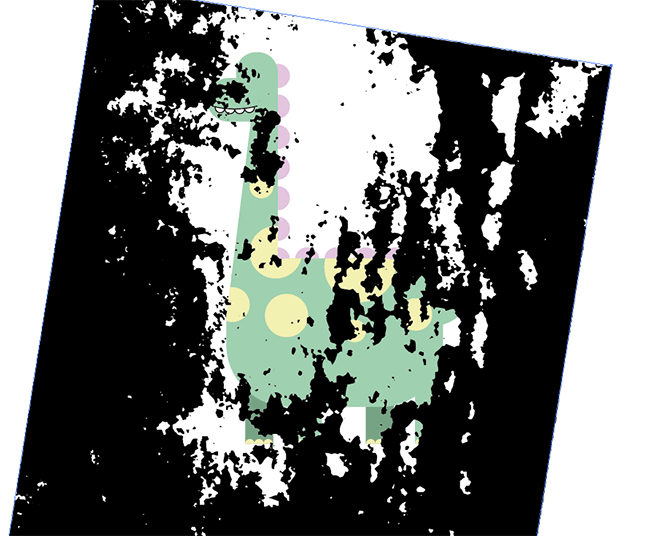
Scale and position the texture to overlap the main dinosaur artwork. Aim to find quite a sparse area of texturing that will add some subtle grunge effects.
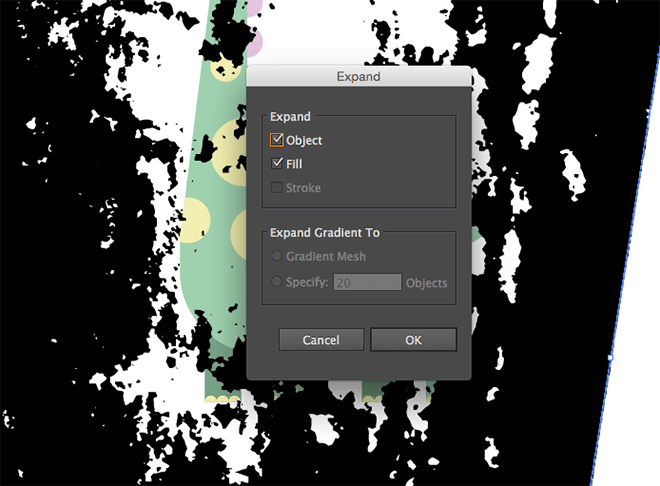
Head to Object > Expand to convert the live tracing to a solid vector shape.
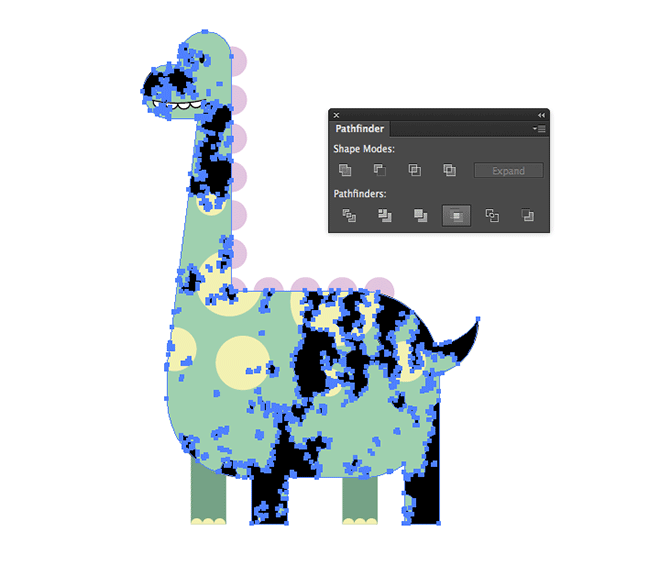
Copy (CMD+C) and Paste in Front (CMD+F) a duplicate of the main body shape, then with both this temporary duplicate and the texture selected, click the Crop button in the Pathfinder panel to trim the texture to size.
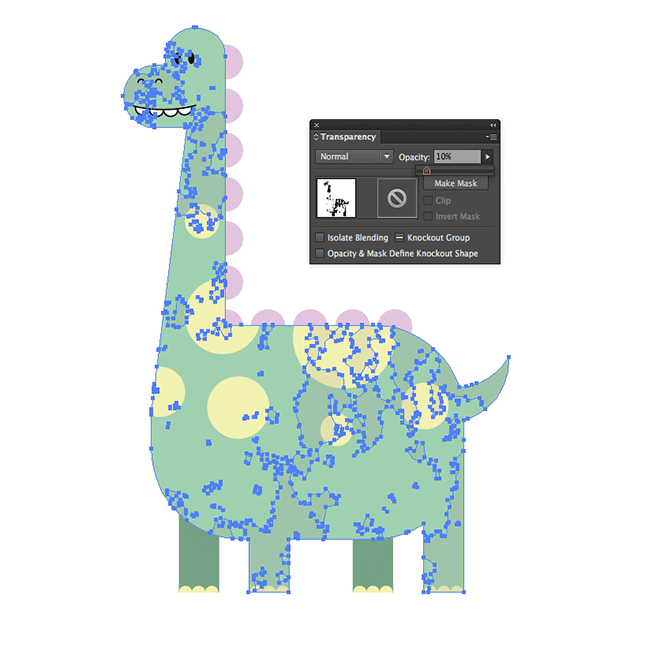
Reduce the opacity of the texture to 10% to reduce its impact to leave some subtle texturing over the artwork.
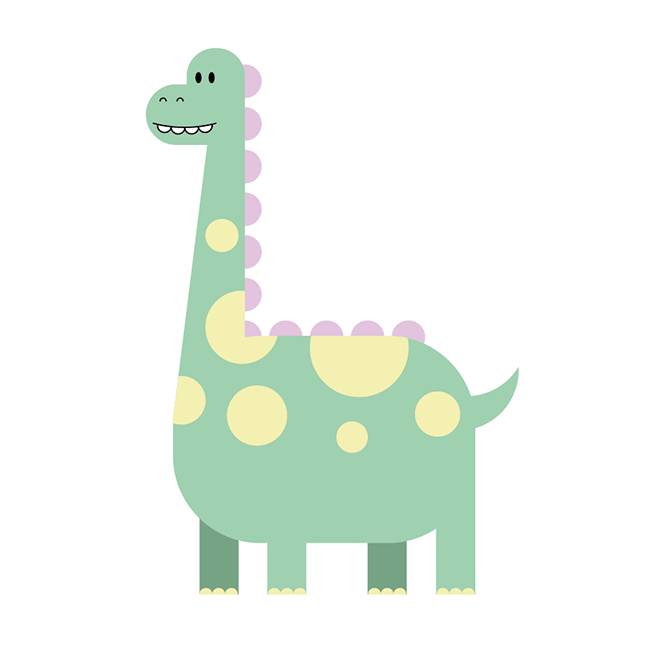
The final result is a vector dinosaur character complete with simple shapes, pastel colours and subtle texturing. The use of rounded rectangles and circles gives the character a cute and friendly appearance, which makes it perfect for kid’s themed design projects. These same techniques can be used to create all kinds of character designs, it just takes some imagination to figure out how to depict your subject with basic shapes.

cute. but would like to see more animated tutorials.
I’ll see what I can do!
I’m really love cute Dino with pastel color with little texture in the body.
Love your tutorials. I followed this today to brush up on my Illustrator skills and I love how it turned out!
Thanks! This is a very nicely explained tutorial and a cute dino as well!
Thank you! No matter what, I always learn new, smarter ways to do things from your tutorials. With this one it was using crop in the pathfinder panel. Didn’t know that was a thing. Can’t wait to apply that to other projects. Always awesome.
That’s really great to hear Richie, glad to hear you found it useful!
Having read this it looks easy, hopefully when I give it a try for a client of mine it will turn as well as yours has…
You explain things so clearly! I’ve got a project coming up that this will work really nicely on. I’ve never been great wil illustrator so your clarity is much appreciated.