Have some fun transforming yourself, your family members or your work colleagues into a bobblehead style caricature with this step-by-step tutorial for Adobe Photoshop. We’ll make use of Photoshop’s image manipulation techniques to exaggerate the features of a portrait photograph to give it a funny cartoon-like appearance. Since we’re using a photograph as the source, rather than illustrating the caricature by hand, it retains degree of realism and retains a strong resemblance to the subject.
Watch the video
Subscribe to the Spoon Graphics YouTube Channel
Exaggerating the subject’s proportions with an oversized head and eyes will be the first step to transform the subject from a life-like photograph to a comedic caricature. We’ll then use some processing techniques to enhance the skin, giving it a hyperrealistic appearance similar to a vinyl toy or 3D model.

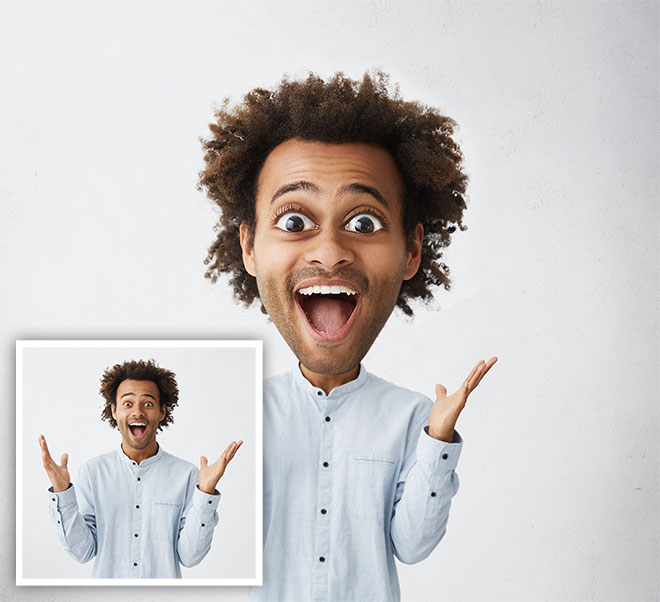
To achieve the best results, you need a high resolution portrait photograph with sharp details. For the purpose of this tutorial, I’m using this stock image by Wayhome studio from Shutterstock. Ideally the subject will have short or tied up hair and will be set against a clean background to make the clipping process easier.
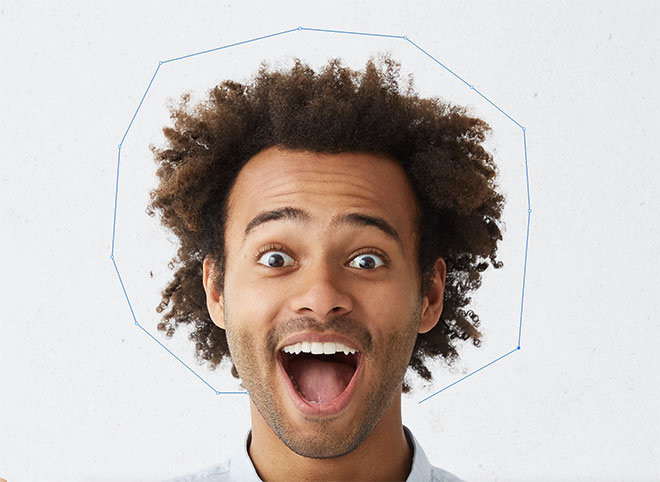
To make the head larger, first it needs clipping onto its own layer. Use the Pen tool to roughly draw an outline around the hair, then carefully trace around the chin.
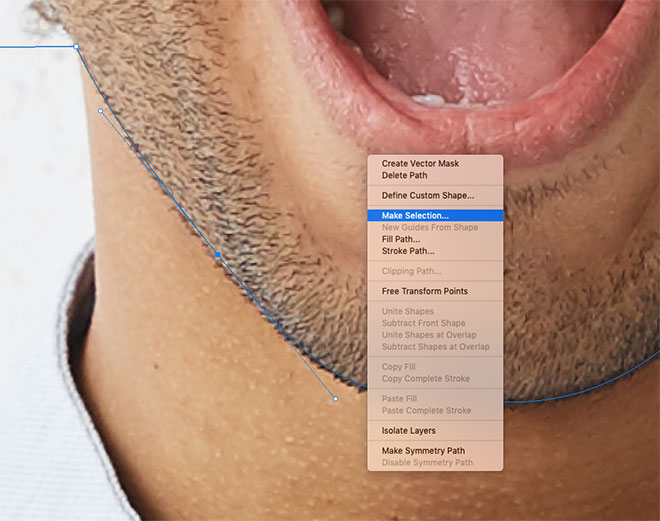
Zoom in and use smooth bezier curves to make an accurate outline around the face, then right click and choose Make Selection with 0 feathering. Use the CMD+C and CMD+V shortcuts to copy/paste the head onto its own layer.
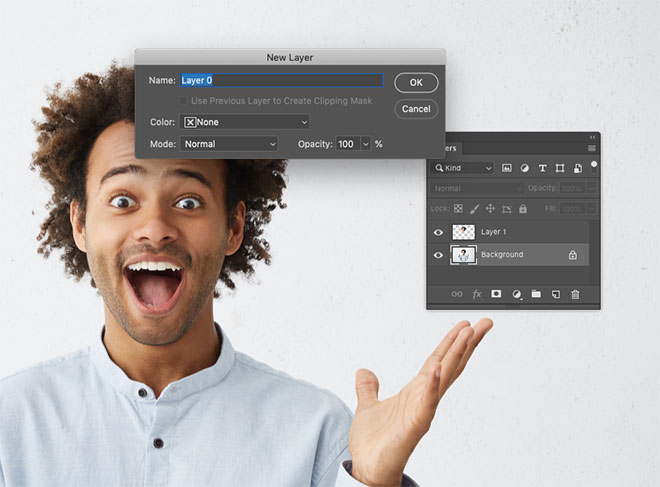
Double click the Background layer to convert it into a regular, unlocked layer.
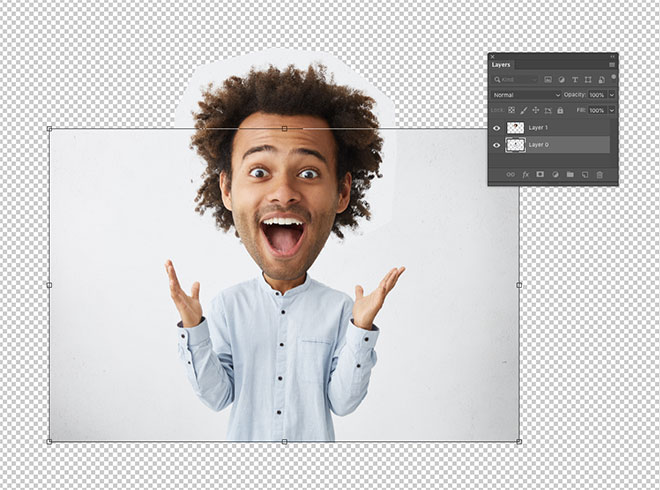
Rather than scale the head layer up, which would reduce the quality of the image due to interpolation, instead, select the original layer and scale it down in size using the CMD+T shortcut.
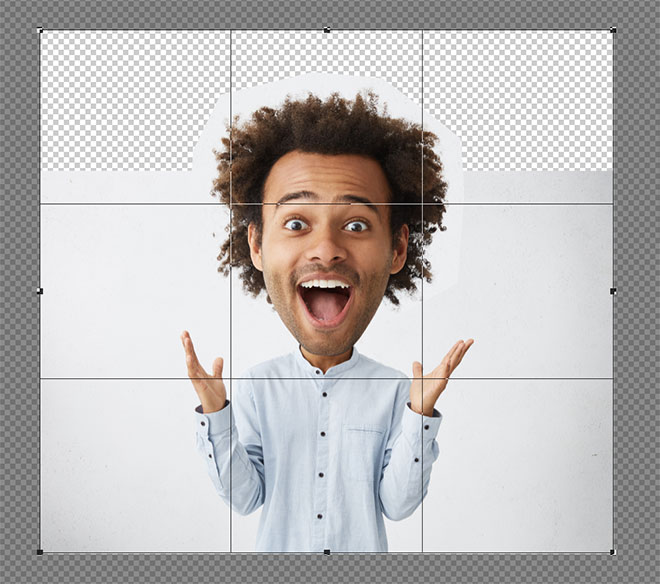
Use the Crop tool to trim the document to size to remove the excess canvas.
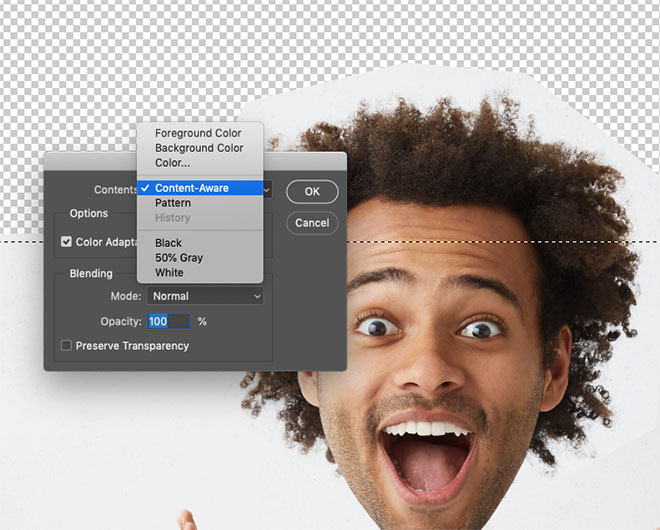
If there’s an empty portion of canvas at the top, make a selection with the Marquee tool, then under the Edit > Fill menu, choose Content-Aware to fill in this space with a perfectly matching background.
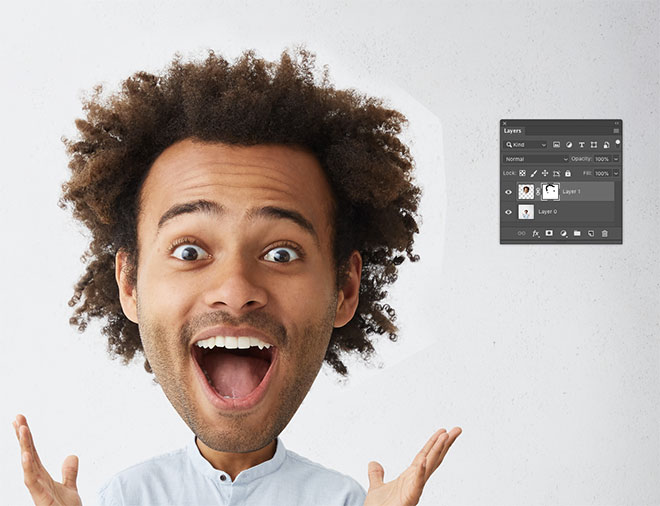
Apply a layer mask to the head layer, then use a soft tipped brush to blend out the hard edge of the clipping by painting with black within the layer mask.
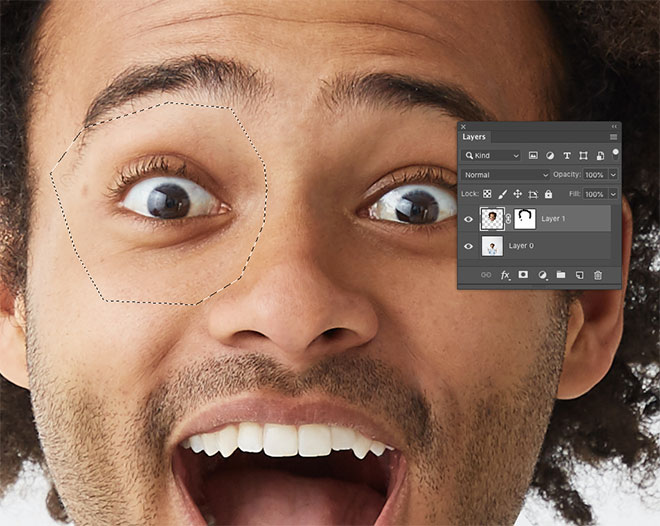
Enlarging the eyes is a similar process. Begin by making a rough selection around each eye in turn and copy/paste them onto a new layer. Don’t forget to click the layer thumbnail to reactivate the artwork, rather than the layer mask.
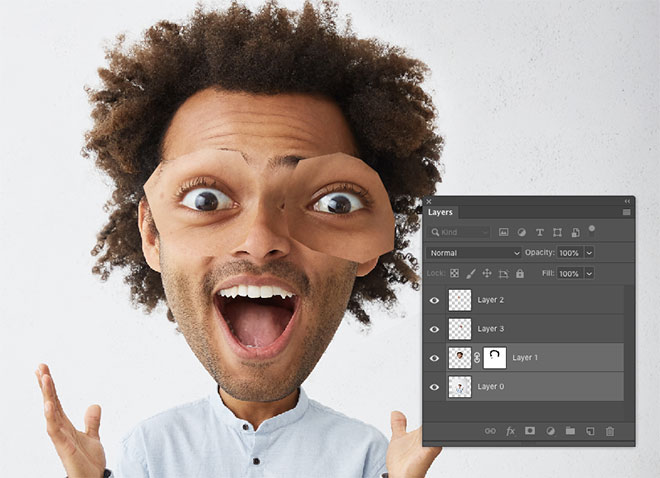
Rather than scale the eye layers up and reduce the image quality, select both the original image layer and the head clipping and use the CMD+T to scale them down together.
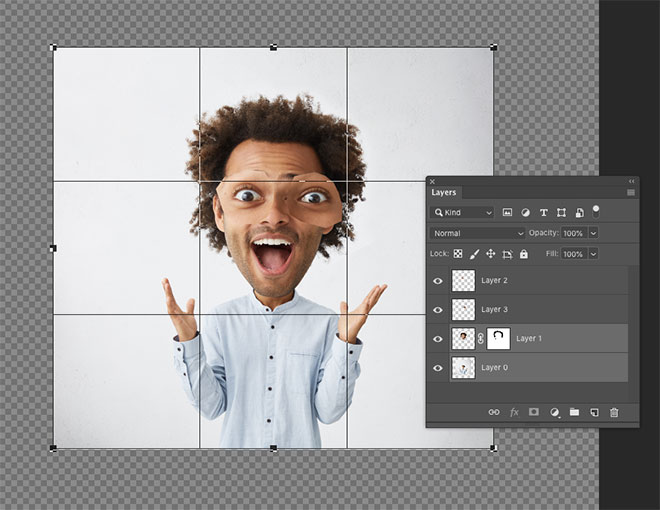
Use the Crop tool to trim the canvas to size and remove the excess pixels around the edge of the image.
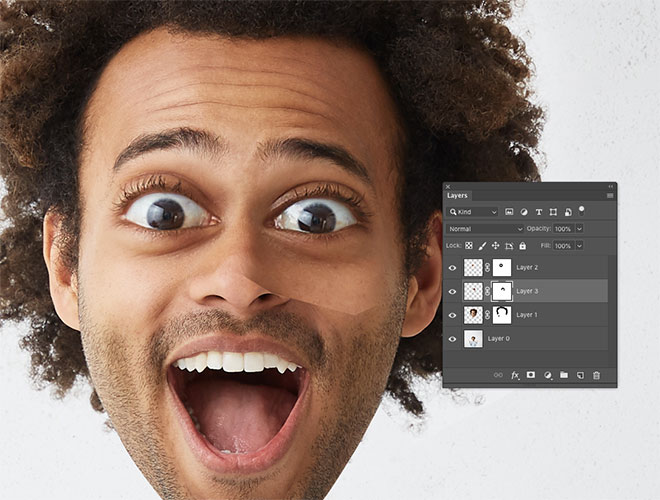
Move each eye layer into the correct position, then apply a layer mask. Use a soft brush to erase the edges so the eye perfectly blends into the face with no hard edge.
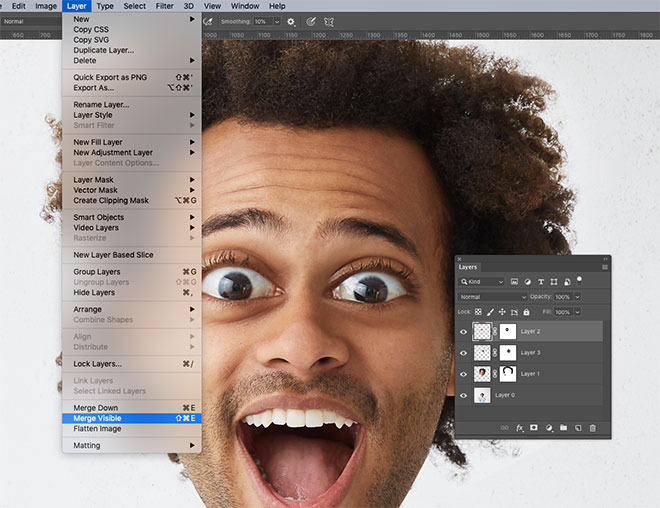
Under the Layer menu, hold the ALT key and click Merge Visible to create a flattened copy of the artwork on a new layer.
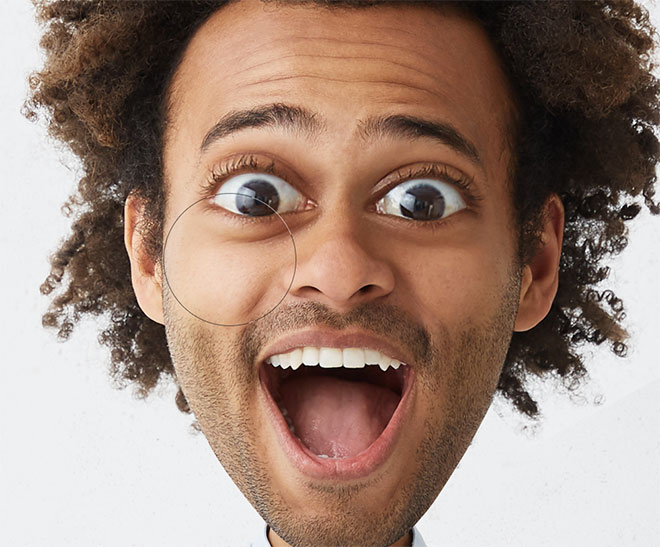
Go to Filter > Liquify and select the Bloat tool. Make some subtle adjustments with a few short mouse clicks to enlarge the cheeks, nose, eyes and mouth to further distort the facial proportions.
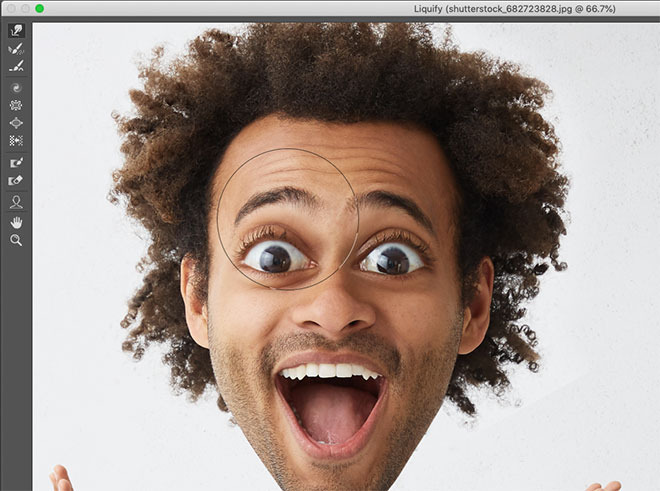
Switch to the Forward Warp tool and manipulate the face to exaggerate the facial expression. For instance, move the eyebrows higher on a surprised face, or increase the smile on a happy face.
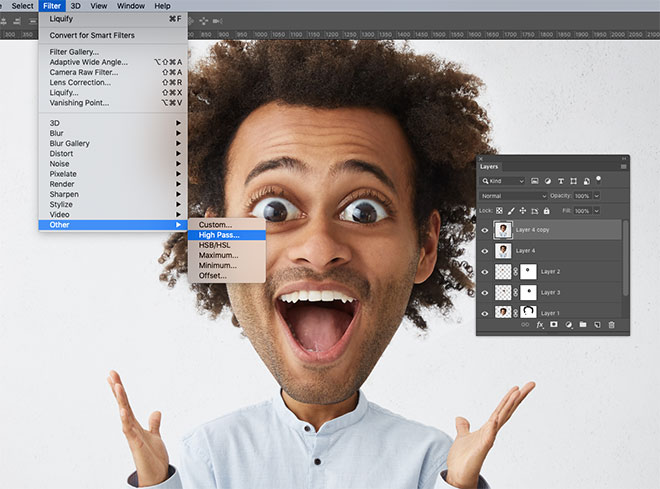
Apply the Liquify effect, then duplicate the layer with the CMD+J shortcut. Head to Filter > Other > High Pass and enter 2px.
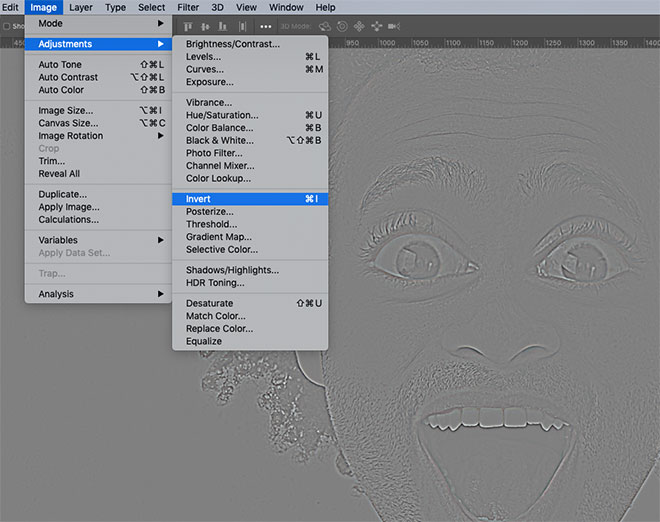
Invert this high pass layer with the CMD+I shortcut, or the Image > Adjustments > Invert menu option.
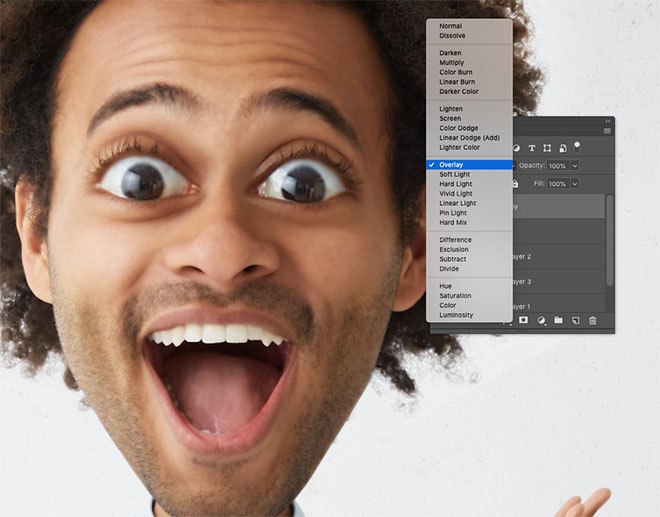
Change the blending mode to Overlay to soften the image with a subtle blur. While this blurring helps smooth out the skin, we don’t want the effect being applied to the facial features.
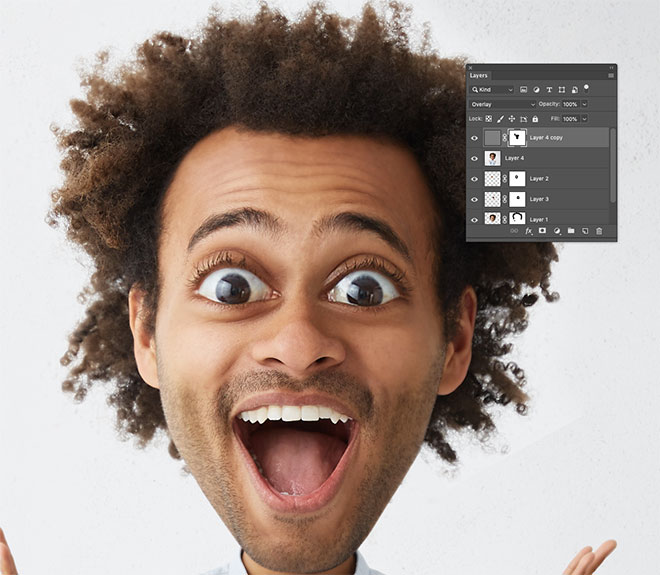
Add a layer mask and use a soft brush to effectively erase the effect from the eyes, nose, mouth and hair, leaving the blurring applied to the rest of the image.
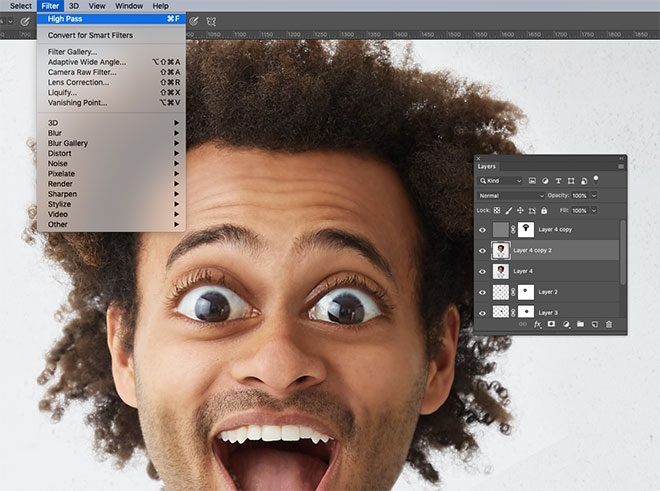
Select the merged and liquified layer again and make another duplicate. Add the High Pass filter again with the same 2px setting.
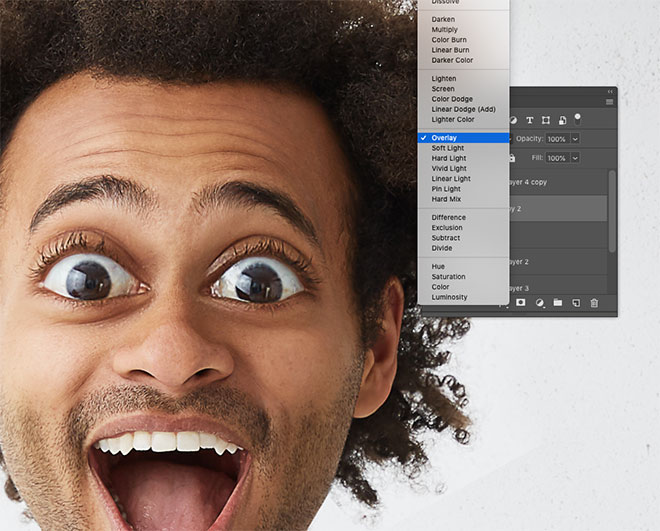
Change the blending mode of this High Pass layer to Overlay, without inverting it first, which will sharpen the image.
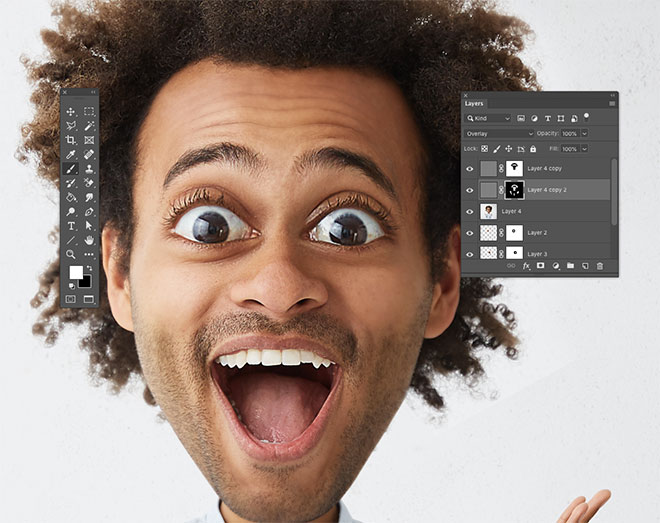
Add a layer mask, but this time use the ALT+Backspace shortcut to completely fill it with black, which will erase the whole effect. This time use a soft brush while painting with white to restore the sharpening on those key areas of eyes, nose, mouth and hair.
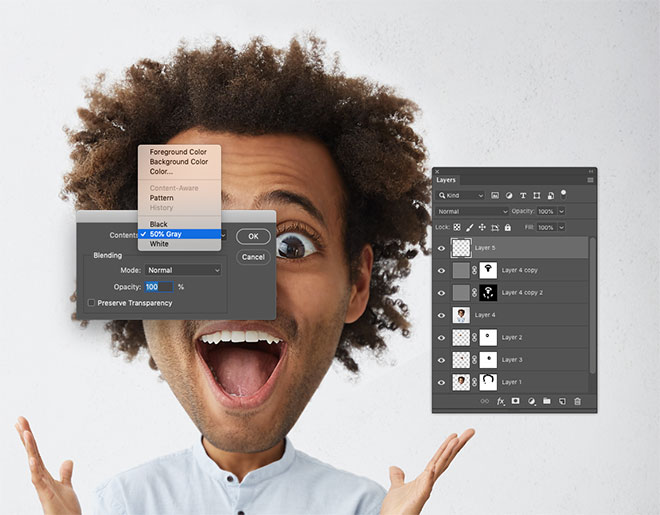
Create a new empty layer and drag it to the top of the layer stack. Go to Edit > Fill and choose 50% Gray. Change this layer’s blending mode to Overlay.
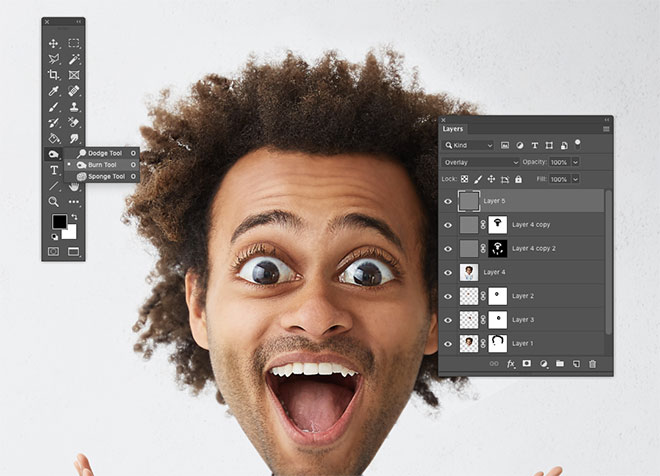
Select the Burn tool and configure the settings in the top toolbar to Shadows with an exposure of around 20%. Paint over the subject tracing all the darker areas.
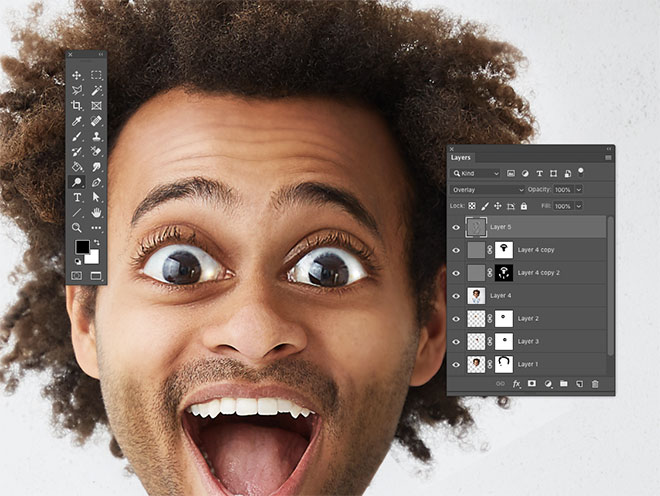
Switch to the Dodge tool and target the Highlights, also with a 20% Exposure. Paint over all the bright portions of the subject. Scale the brush tip down to accurately trace the eyes and teeth to brighten them.
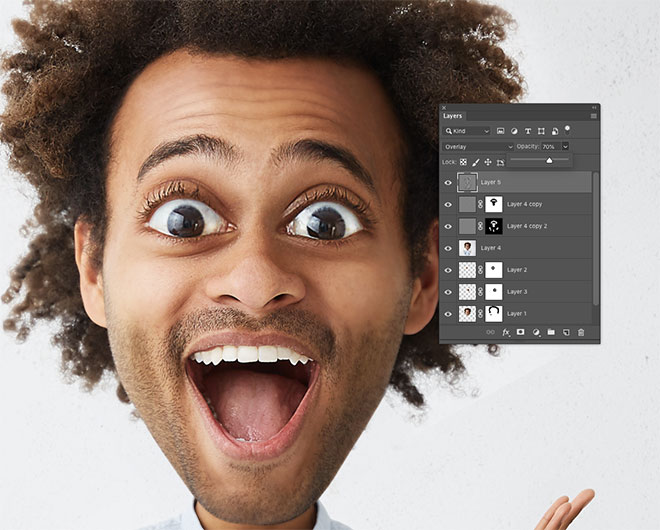
Reduce the opacity of the dodge and burn layer to tone down the high contrast effect until it looks more natural.
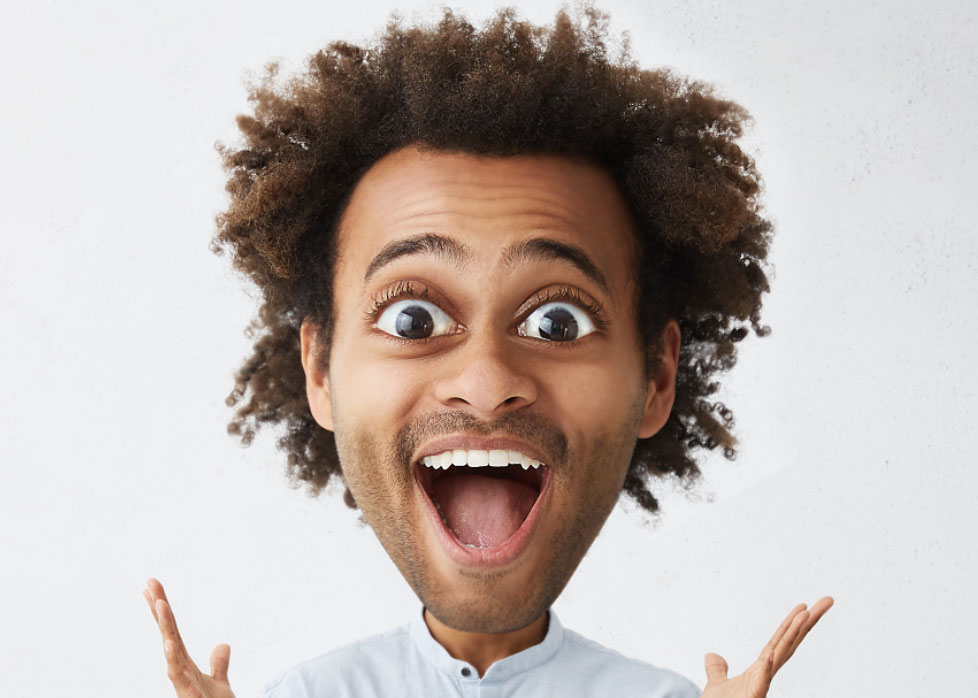
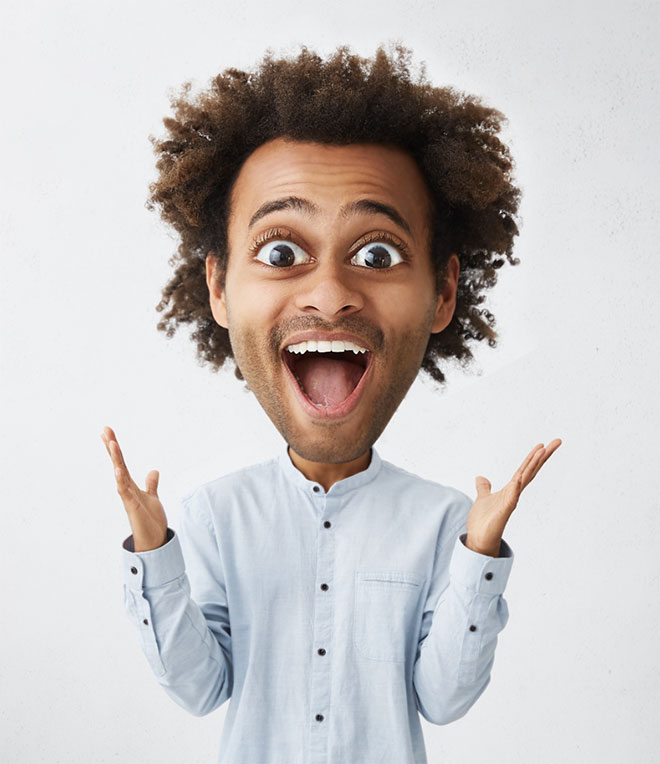
The final result is a fun caricature effect that transforms the subject with completely exaggerated proportions. Simply altering the size of the features produces the basic effect, then it is enhanced with some surface adjustments which helps give the artwork a hyperrealistic appearance.


This tutorial is awesome :D I am looking for guide like this. Thanks
Log in this tutorial, thank you can’t wait to now try it:)!
LOL This is neat! Thanks!
Maybe I missed this by skimming but Photoshop’s Liquify > Face Aware controls are amazing! They certainly won’t do the job for you, this tutorial is still an essential if you want to achieve results like these but it’s fun and will prove useful for many. I love that Highpass trick- can’t wait to try that one out tomorrow on our staff photos :)
I can hardly wait to try this its awesome
Really want to thank you for all the content and tools you provide free of charge. It has helped improve the quality of my designs
awesome tutorial, thanks for sharing :)
This really very funny adobe photoshop tutorial.
These tips are so funny, I really appreciate the efforts you have put to make these effects on photoshop.
You are so funny and creative.
Thanks for the outstanding, in-depth step by step guide. As a designer, I really loved this! It will surely help me.
Really very funny and creative design.Thanks for sharing this tutorial.
Wonderful blog for the funny photo editing effect, I really enjoy your article. Thanks
Thank you. This is useful trick to create caricature effects.
Haha this is hilarious. Can’t wait to try it out!
I congratulate you for the sake of your site
Very nice share. Thank you for this
This is an awesome post. I find it really interesting and informative. I find this helpful as well. Thank you for sharing!
Nice . Will try this with my selfies . I have little how know of adobe
wooooooooooooooooooooooooow big like
Thanks for publishing this article