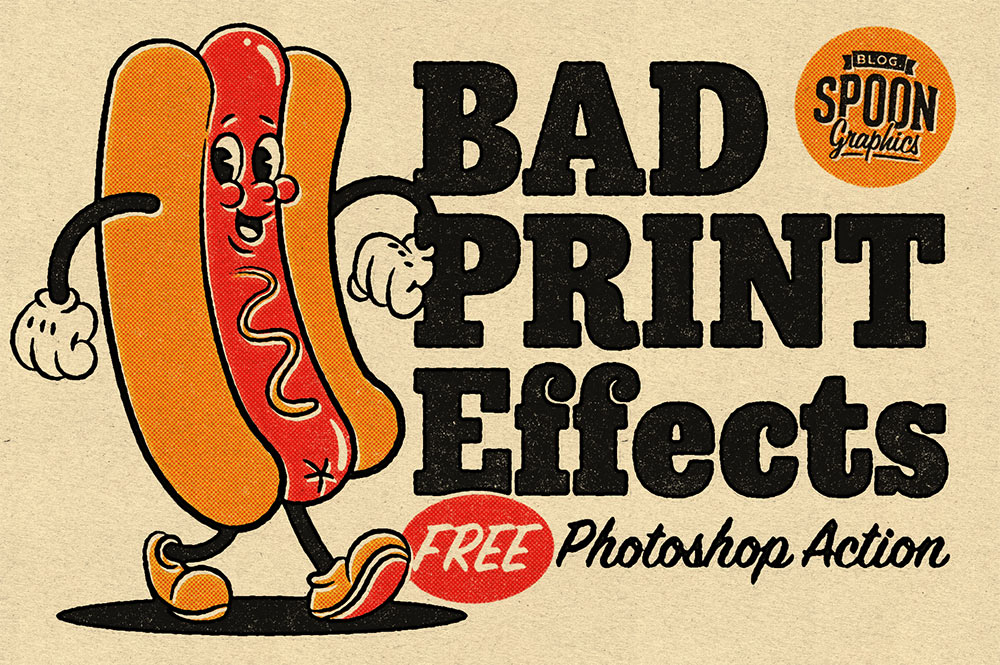
The finishing touch to any retro or vintage themed design is to apply a series of adjustments that replicate the aesthetics of the low-cost printing methods that were used for old magazine, comic and matchbook prints. Ink bleed, misregistration and visible halftone dot patterns are all side-effects of cheap offset printing on cheap paper stock, but those visual traits that were once defects from the printing process are now desired effects to give modern artwork the appearance of a retro print. With my FREE Bad Print Effects Action for Adobe Photoshop, you can turn your crisp digital designs into nostalgic retro prints with the click of a button!
My FREE Bad Print Effects Photoshop Action converts your artwork in 3 steps. One: Ink Effects replicates the appearance of high ink absorption with irregular edges and bleeding corners, and converts all colours into halftone screens; Two: Misregistration separates the black areas of the design and offsets them as if the printing plate is misaligned; Three: Texturing applies worn ink and paper textures to the artwork to add the fine details of pulp grain and distressed areas where the print has worn away. Apply just one, two or all three effects using the ‘Add All’ Action.
Download my FREE Bad Print Effects Action
Want more? Check out these great related products
The following resources cost a little money, but I definitely recommend checking these related products out to complement my Bad Print Effects Action.
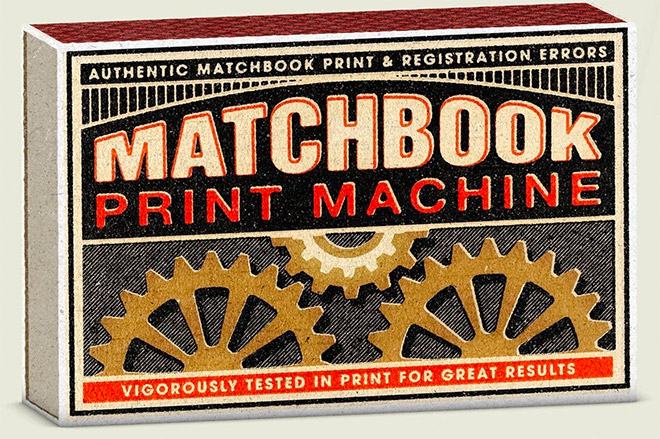
MATCHBOOK PRINT MACHINE

⭐ Get 20% off at RetroSupply with the code SPOON20


Awesome, thanks!
Genial, gracias Chris. Lograstw hacer.un buen efecto retro.
I’m new to your PSD items, can you let me know how to install? I have Ps2020, thanks!!!
Double-clicking the files should automatically load them into the relevant sections in Photoshop. Alternatively, you can use the menu for the Actions panel to load them. When you can see the Bad Print Effects in the Actions panel, highlight the steps and hit the Play icon.
I managed to install the “Bad print effect” in Photoshop but not the other one! How can I load it? (I don’t know where is the Actions panel). Also, once it is loaded, where do I find them in photoshop and how do I use them? Thanks!!
At the layers window click to create new fill adjustment layer” scroll down to Pattern, load the file you download, after this just apply the action on the layer image. The action will apply the patterns in the process, hope it helps!
Just google “how to install actions photoshop”. Its a life saver.
You are awesome, Chris. Thanks for all your hard work and your generous shares. I love your site.
What is a good size for the original image? It appears if the original is too big, the effects are so subtle that they are hard to see and too small it overreacts to the action. What would be the “just right size”?
I based the default effect on a canvas size of around 1500-2000px, but the filters are applied to Smart Objects, so you can double-click the effects to increase the values within the settings for larger resolutions.
Hi, Chris,
I installed the action & pattern. I created a test image: background and text on top, ran the action. It created a bocnh of asmrt laters on top of my image. So I meant it cover the iamge completely with textures, etc. Do i need now to adjust opacity of the laters to make my image visible?
Merciiiiiiiiiiiiiii :)
Thanks, these look great. Loving the artwork. :)
I’ve been trying to figure this out forever! Thank you so much.
Awesome ps action – thank you! Love your content.
This is great! Thank you so much!
I tried this out and got an odd result. It seemed to invert the art while adding the effects. Is there a step I might be missing in using these?
Hey, first, thank you so much for this freebie! Am I missing something while using it? No matter what color I chose in my art work I end up with dark, brownish results :(
Thank you in advance!
I am having the same result. :( Such a cool effect!
Same here. Very cool effect, but something about it seems to drain some color out. My test turned all the bright reds and yellows into muddy browns. I think it has something to do with the misregistration effect. When I just select the ink effects & texturing it looks great. Once misregistration is added the colors go bananas.
I made some test sheets with various color squares and found any colors with black (15% and above are completely black) end up going very dark brown/black.
It’s worth noting that the Action works best with designs against a light background, and with clearly defined black areas. Part of the process to produce the misregistration effect involves making a selection of the black portions of the artwork. If there are no pure black areas, it may end up selecting midtones and filling them with black instead.
I do have a video tutorial coming out next week which will explain the process. Hopefully by manually creating the effect you will be able to fine-tune the result.
Arohanui
Wow! Great effect, thank you for this cool action :)
You’re the bomb!!! Thanks!
Very cool,
Thank you Chris
You´re one of the best! Thank you very much.
Is there any way to adjust this Action to keep the background transparent where the original had no background layer?
Thank you!
Amazing!! Full support!!
Thanks so much for these, sir! Haven’t had a lot of free time to be experimenting, but I’m always down for learning something new (to make something look…old?) hmmm. Again, thanks!
Thank you, génial !
Chris, this is great! Thank you for your generosity. I am having issues making it work correctly. If you have time, a quick video of in being applied would be amazing. I’m still troubleshooting with about a 25% success rate.
Hi Chris, thank you for all your content, seriously, you are the best.
Cool effects. Thanks so much Chris.
Chris, Thanks for all the fun effects and textures you’ve shared.
Super helpful! Thanks so much for generously sharing your skills and goodies with us!
Far out! Thanks, Chris!