Videos
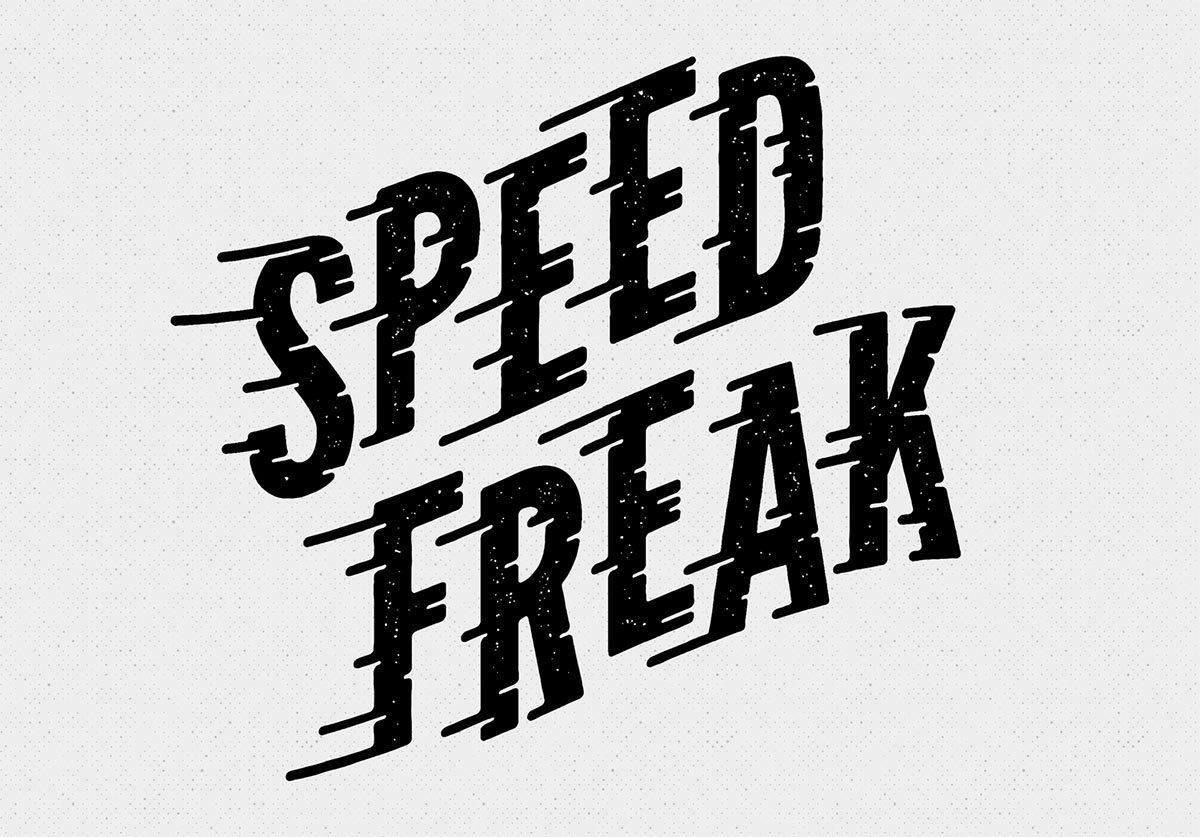
So-called “Speed Lines” seem to have become a popular type effect recently. In today’s Adobe Illustrator tutorial I’ll show you how to add these fast movement lines to create a custom type effect using Illustrator’s various shape building tools. Along the way we’ll touch on a range of useful tips and techniques that are handy time savers to help take some of the tediousness out of the process.
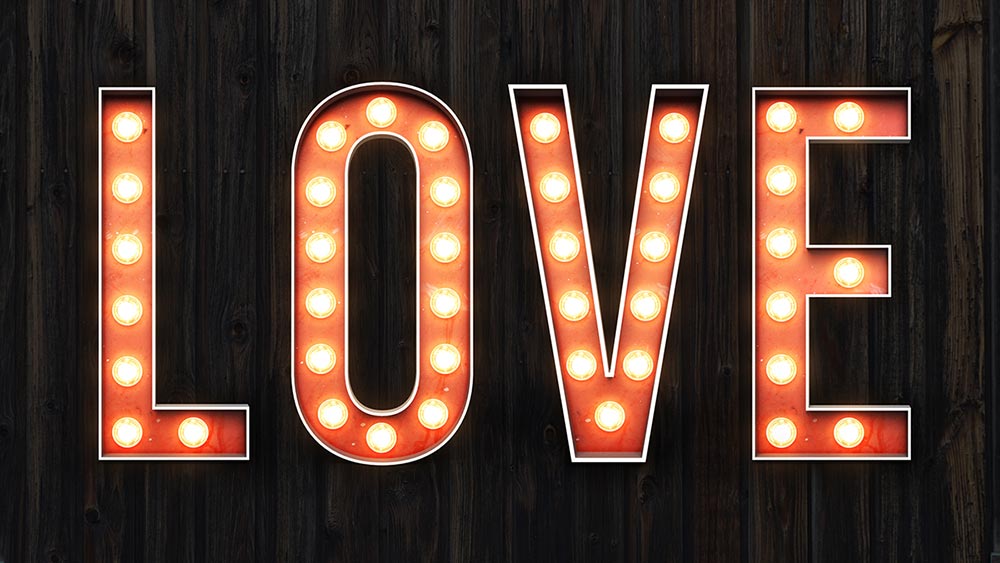
In today’s video tutorial I’m going to show you how to create a vintage style marquee bulb letter sign in Adobe Photoshop. We’ll use Photoshop’s 3D feature to quickly build each letter with realistic depth and shading, then also add realistic surface materials and illuminated bulbs using photographs of real world objects. The result is a great looking effect you can use to add broadway style type to your designs.
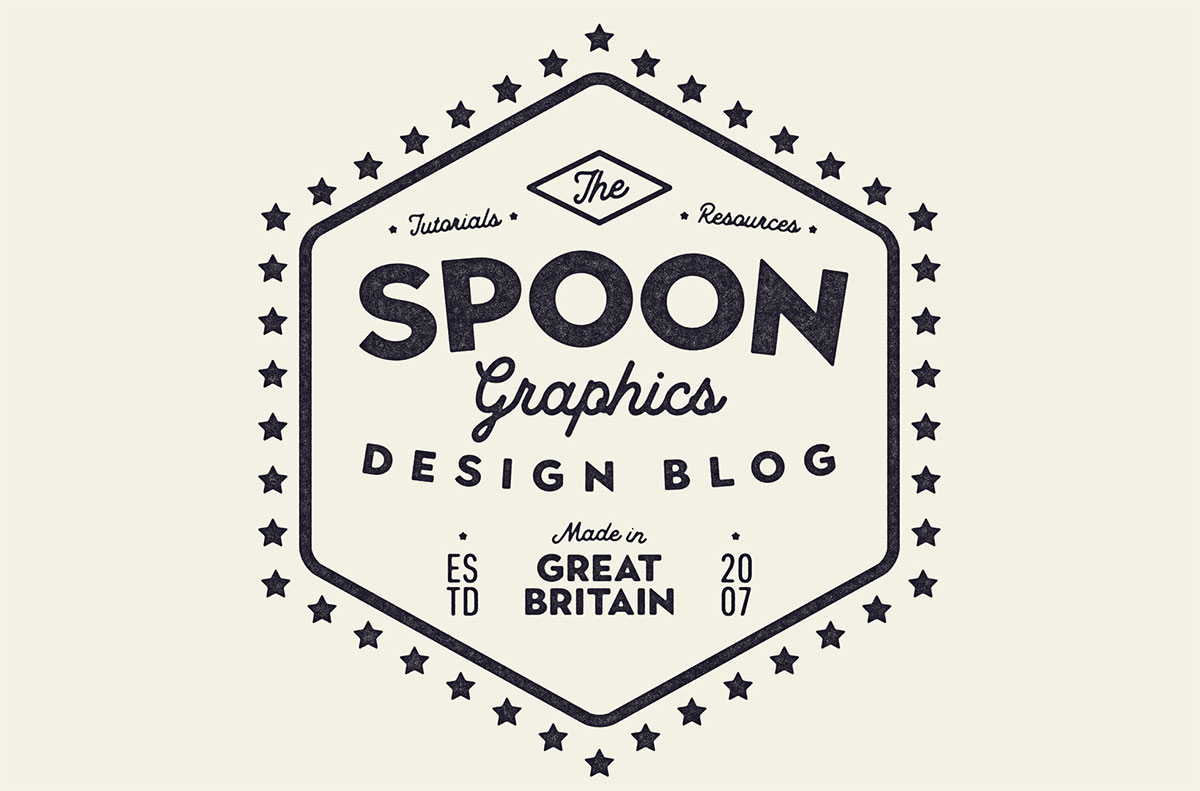
In today’s Adobe Illustrator tutorial we’re going to play around with Illustrator’s type effects to build a vintage style logo design. Modern logo designs tend to be quite minimalist with a single icon graphic or wordmark, but this classic style is still popular when used for t-shirt designs or certain hipster brands.
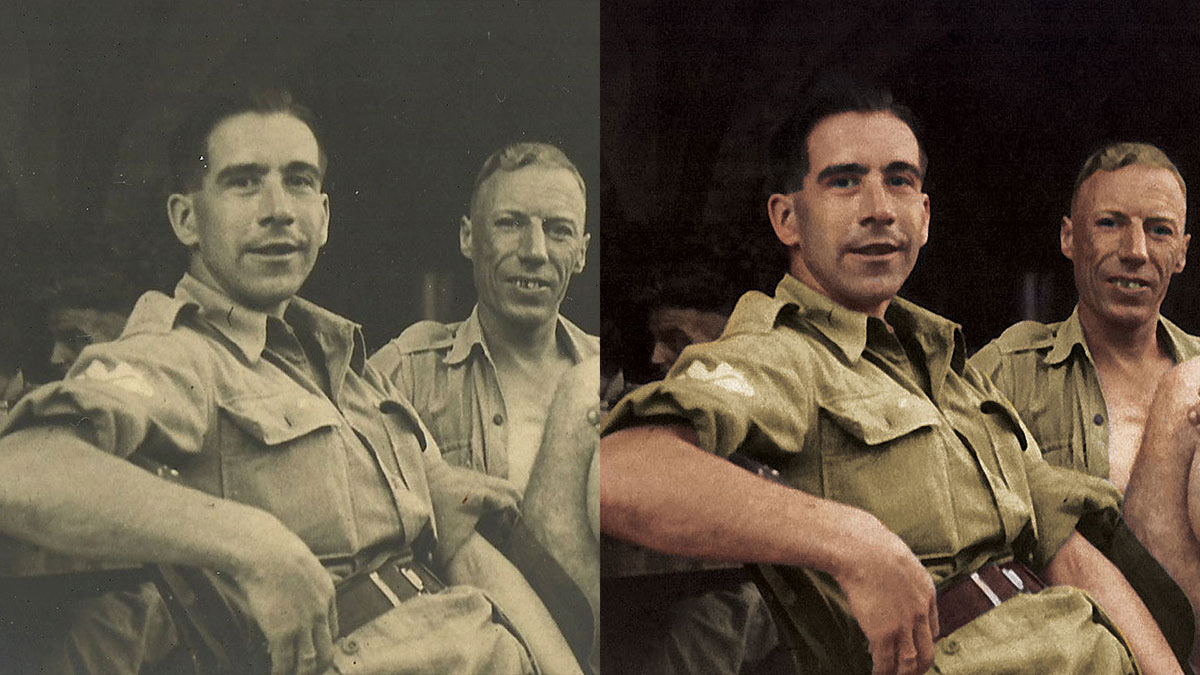
I spent some time the other day experimenting with colorizing a black and white photograph. The image I worked on is a photo of my Grandad during WW2. The original has that washed out sepia look to it, as you would expect from a snapshot from the 1940s. But after scanning and processing it in Photoshop, it’s brought to life in full colour and much better contrast, which really helps you imagine the scene for real.
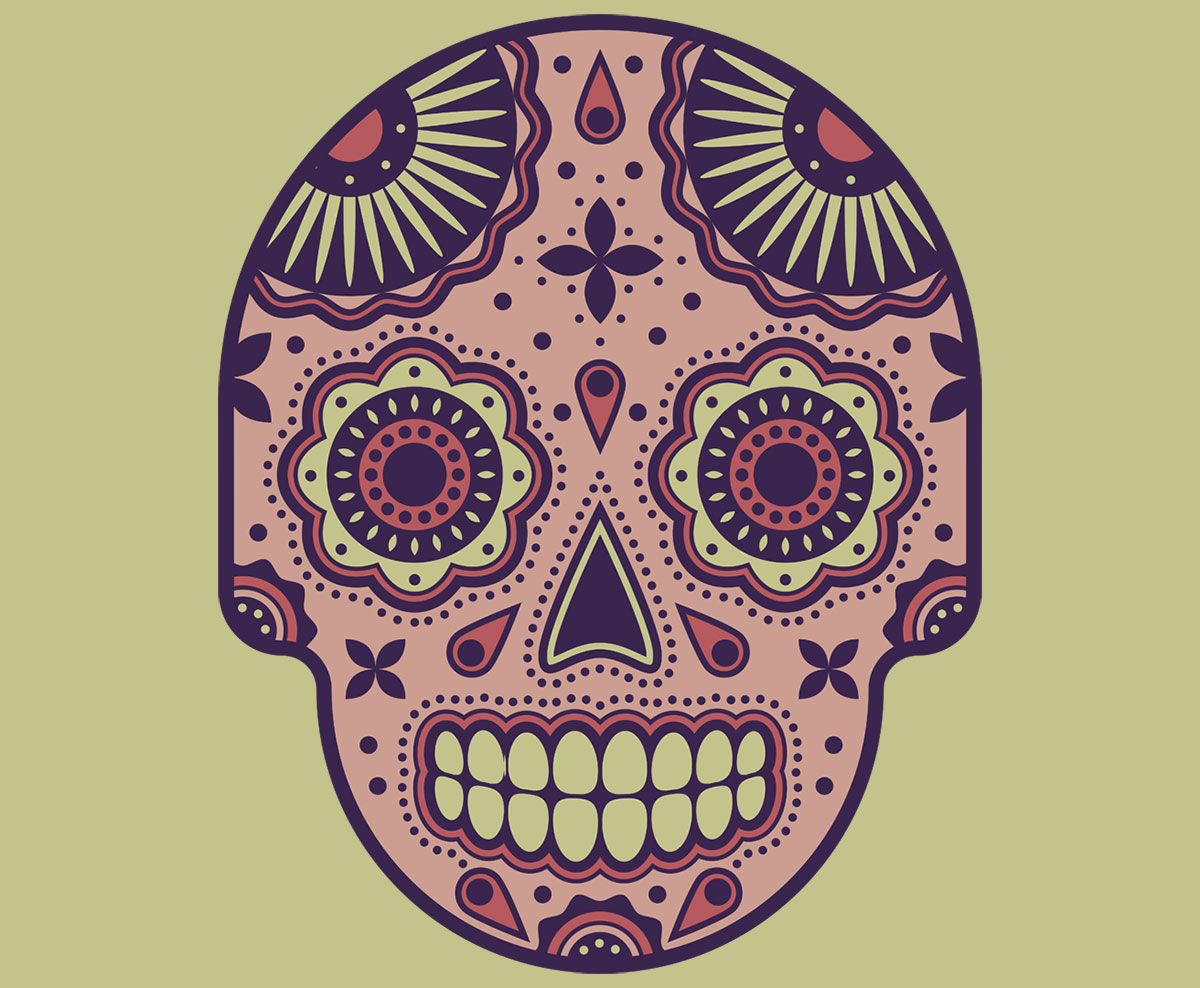
This week I posted a showcase of Day of the Dead inspired designs and artworks, which gave me the inspiration to experiment with a sugar skull illustration of my own. In real life, these are little sweet treats that are decorated with various floral patterns and shapes, but they’ve also become a popular subject for vector designers. In today’s tutorial I’ll take you through the process of creating your own vector sugar skull illustration in Adobe Illustrator. It will be entirely created out of basic shapes, which are customised and layered up to produce intricate embellishments.
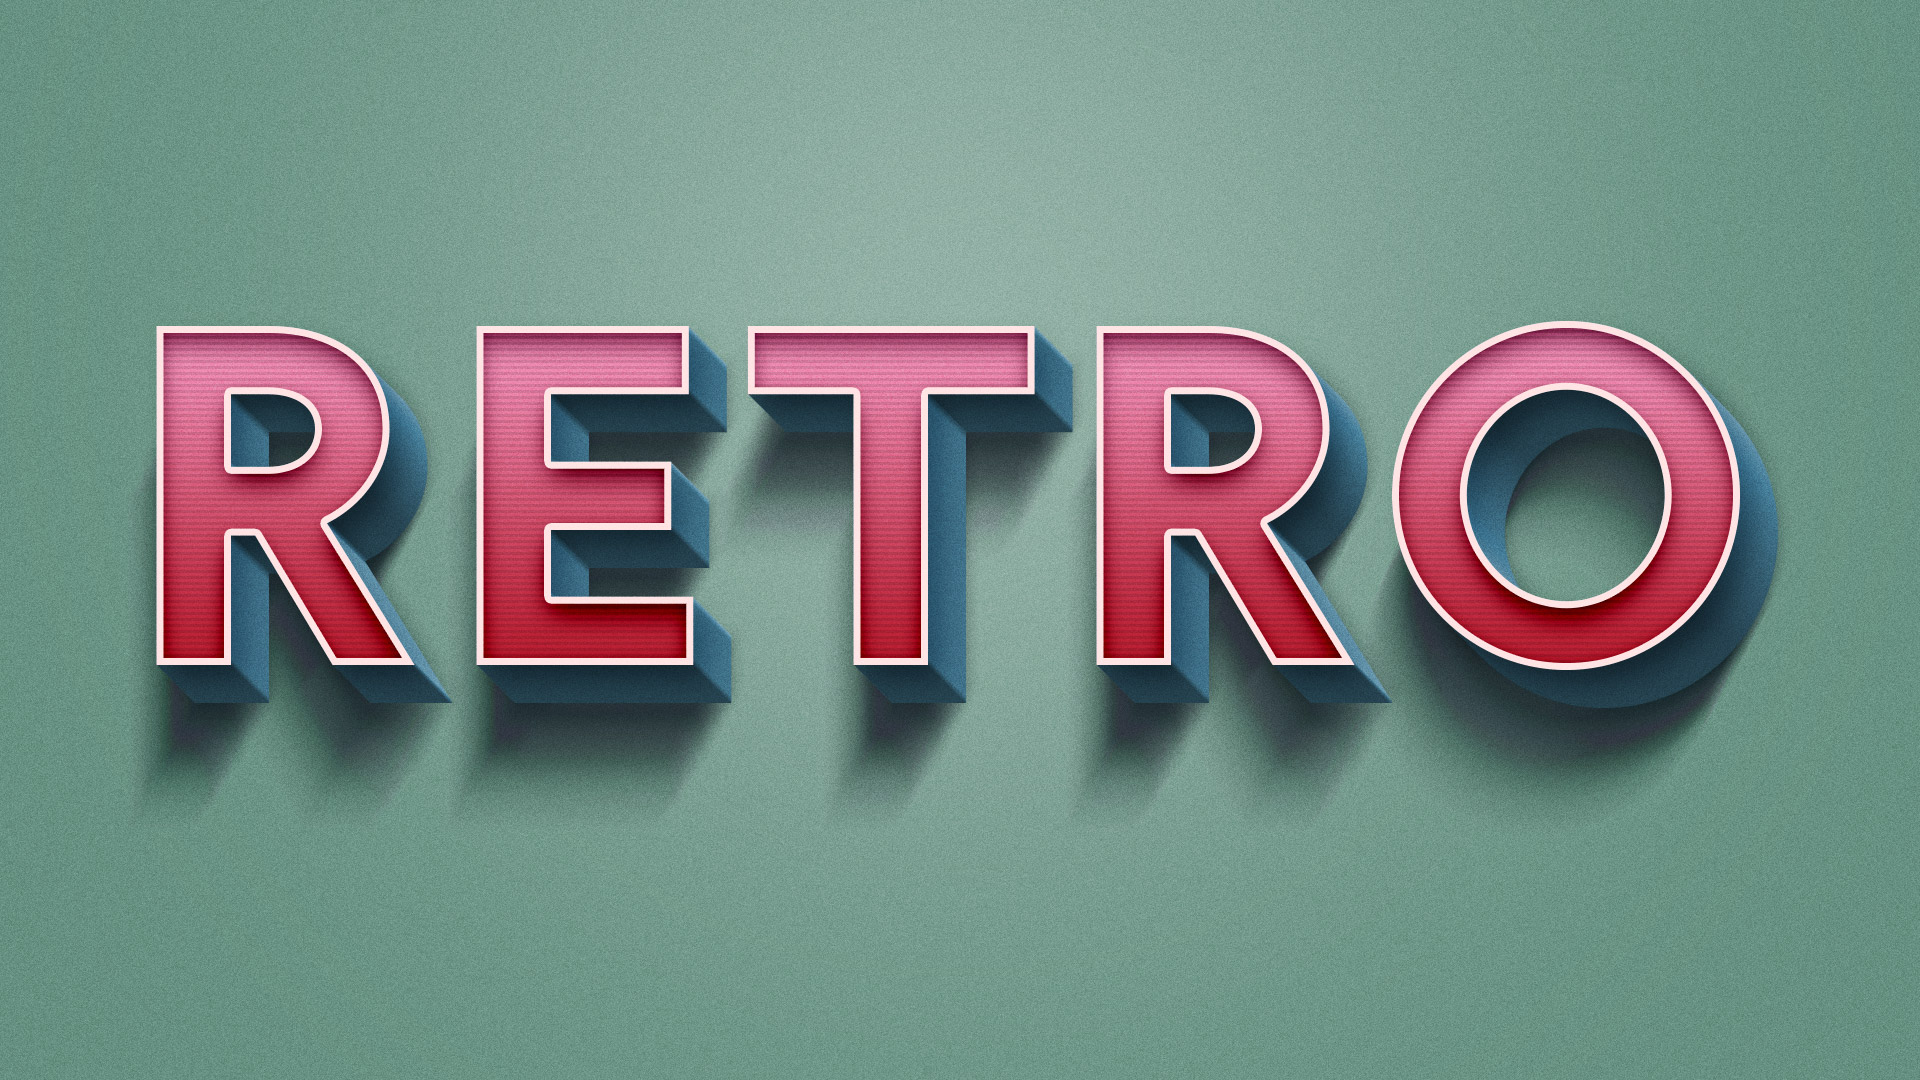
In today’s Adobe Photoshop tutorial I’ll show you how to create a great looking retro text effect. It’s made using a mix of layer styles and some clever Photoshop techniques, but the best part is it also makes use of Smart Objects to non-destructively create the effect, meaning the original type element can still be updated to change the wording.

