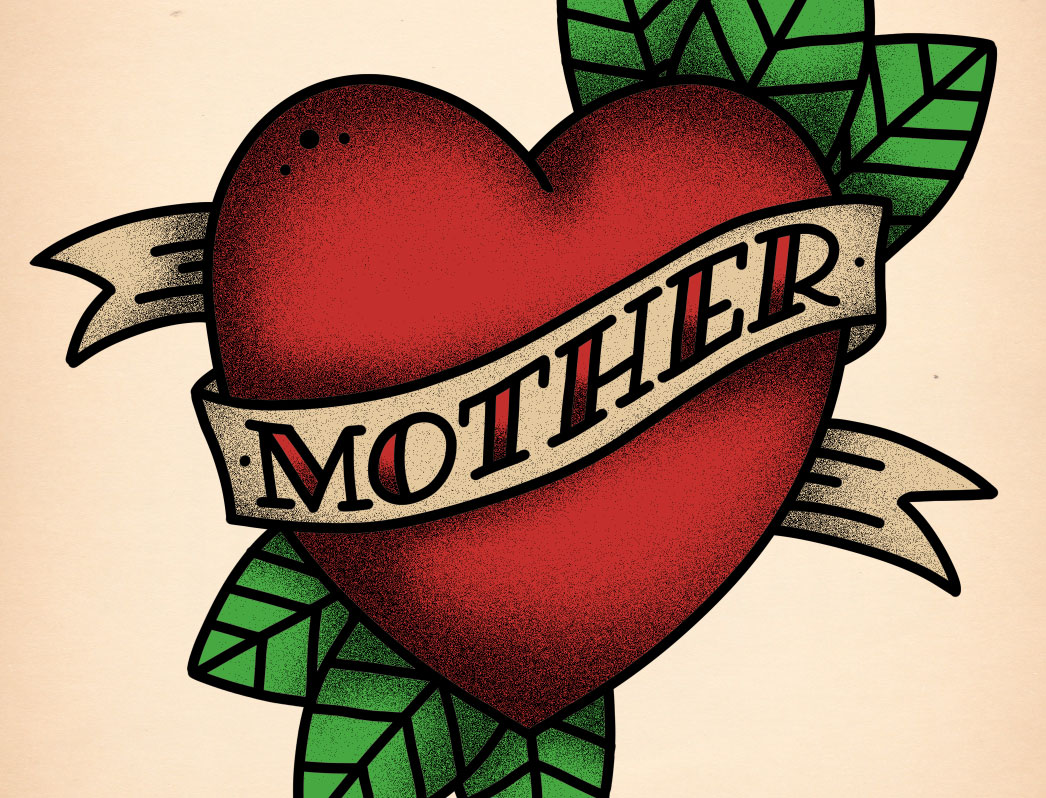
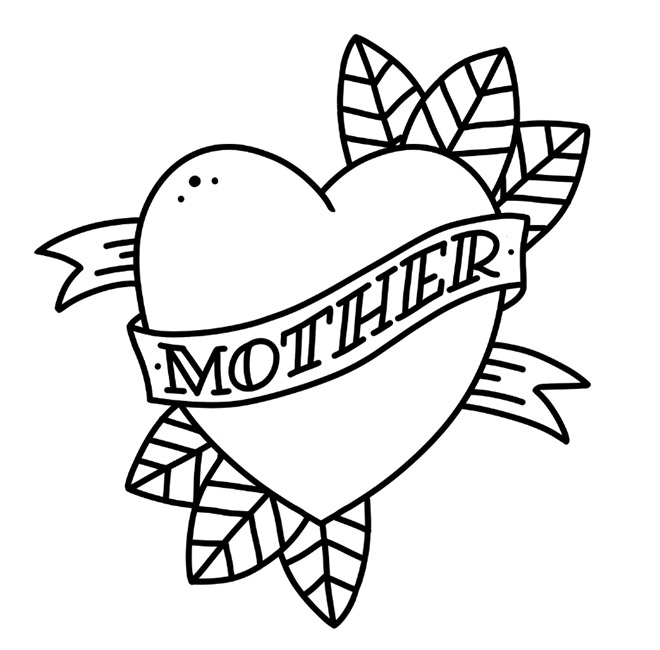
The style of ‘Old School’ tattoos is a popular aesthetic in the tattooing scene and has become an iconic illustration style in other genres of art. The stylised handmade drawings feature thick black outlines and bold colours, often depicting roses, anchors and pin-up girls from the tradition of sailor tattooing. Follow along with today’s Photoshop tutorial to produce a digital illustration inspired by the style of old school tattoos. Unlike tattooing with ink, Photoshop layers to make it easy to draw with the advantage of being able to delete and try again! We’ll then bring the design to life with colour, and apply a stippled shading effect to create a modern interpretation of a traditional tattoo flash graphic.

There are many symbols that are associated with traditional tattoos. Hearts and roses that are accompanied with a banner containing the name of a loved one is an iconic design often associated with sailors. The design I will be creating in this tutorial uses simplistic shapes, a limited colour palette and grainy shading that mimics the style of old tattoo flash graphics.
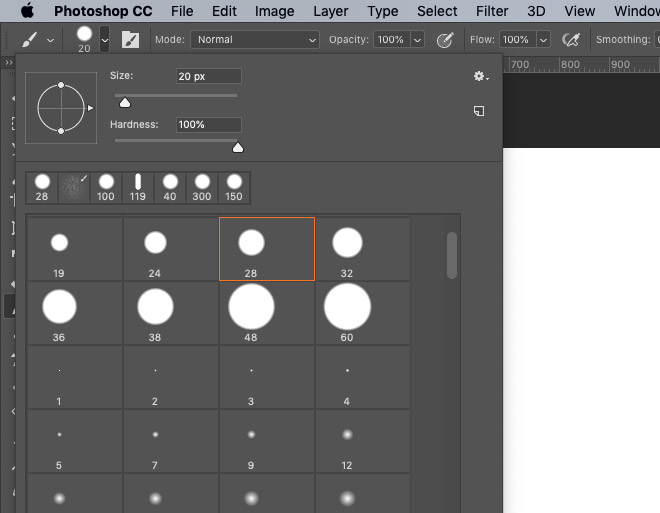
Open Adobe Photoshop and create a new document. I’m working with a canvas size of around 2000x2000px. Set up the Brush tool with an appropriately sized tip for the width of the linework (20px in my case), with the hardness value to 100%.
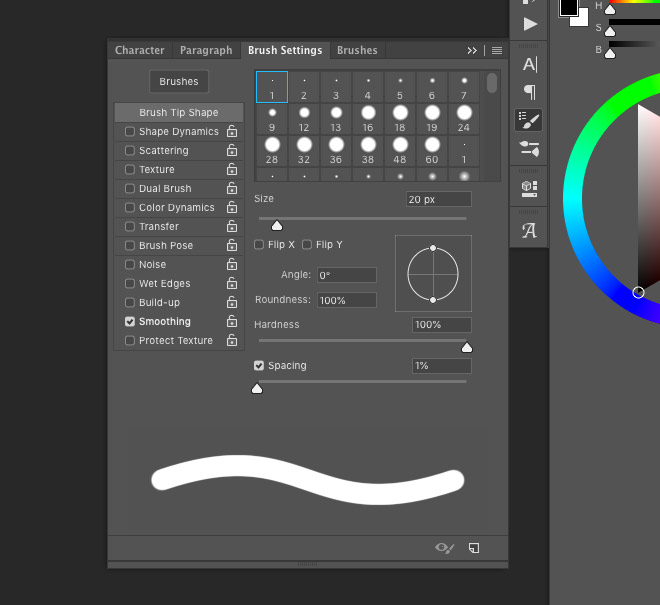
Under the Brush Settings, reduce the Spacing to 1%, then check the Smoothing option. The use of a Pen tablet will make illustrating the design much more natural, but it is possible to draw using a mouse.
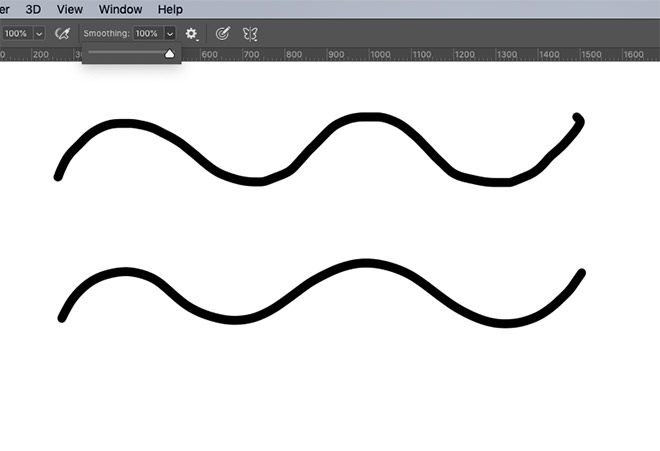
The Smoothing setting makes it easy to hand-draw your designs with neat flowing lines. Set the Smoothing value to 100% in the top toolbar to see how it helps to iron out the irregularities of a line.
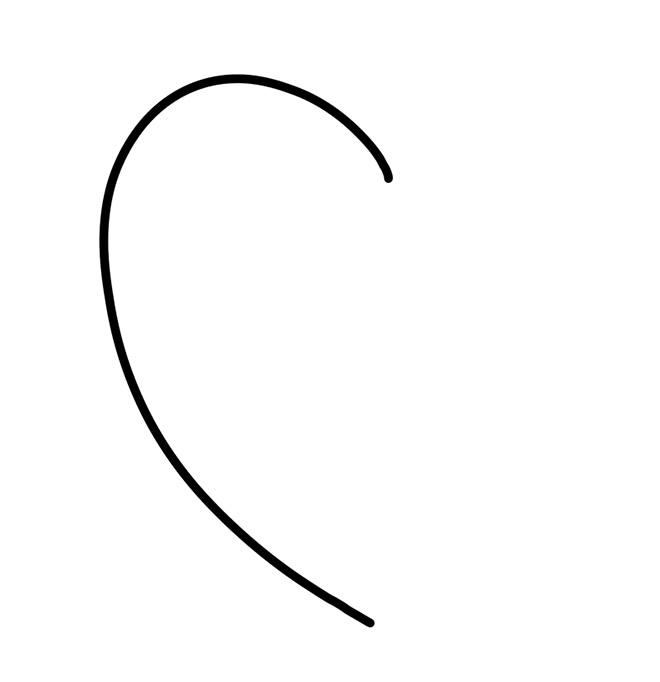
Create a new layer and draw a curved line to represent one half of the heart shape. The advantage of drawing digitally is you can use the CMD+Z key to retry as many times are you like to find the perfect shape.
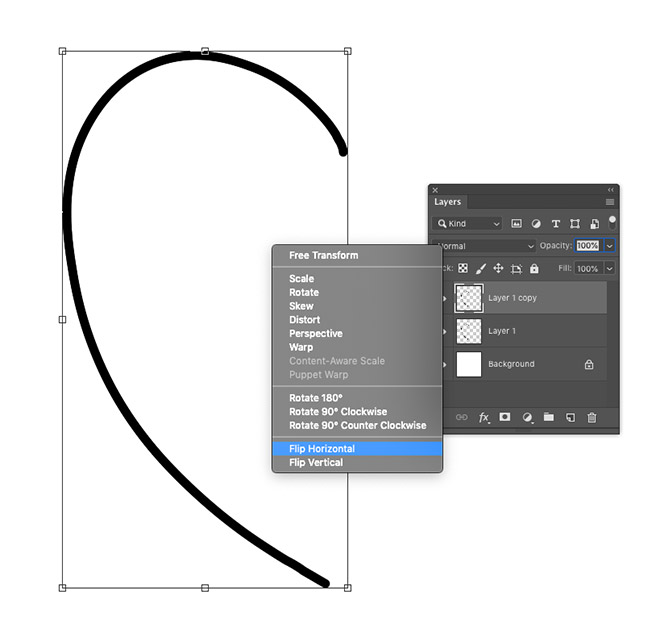
Use the CMD+J shortcut to duplicate the layer, then press CMD+T to Transform. Right click and choose Flip Horizontally to make an identical line for the other side.
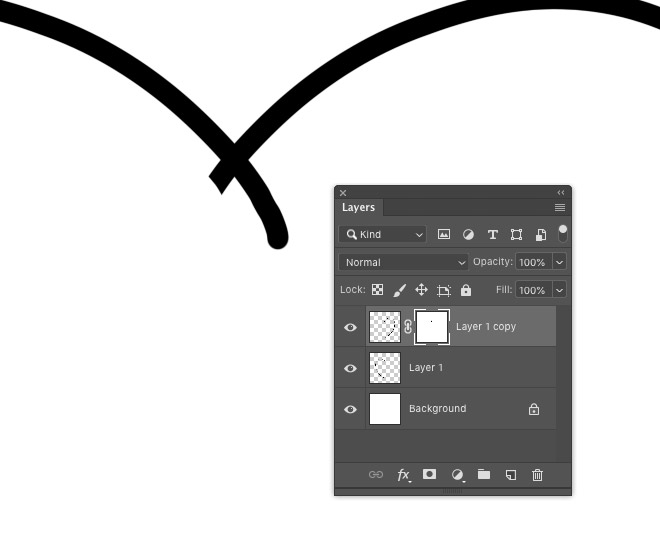
Move the new line into place to form a heart shape. Add a layer mask, then paint within the mask to erase the line where they intersect.
Add a new layer to contain the banner. Draw the shape with smooth, slow strokes. Position the brush tip exactly into place at the end of a line to continue the outline without any excess overlap.
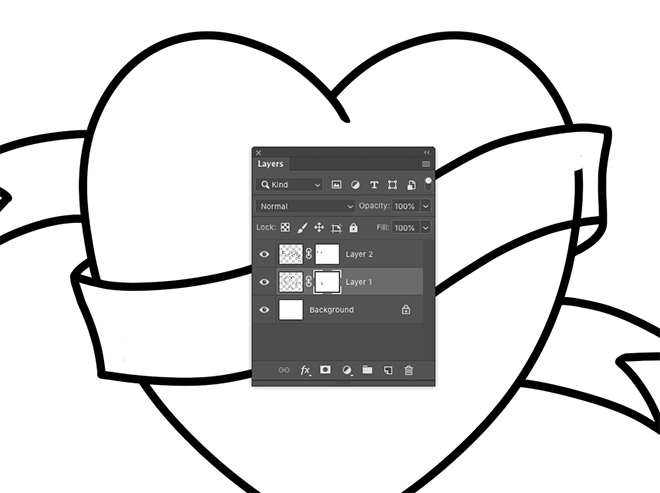
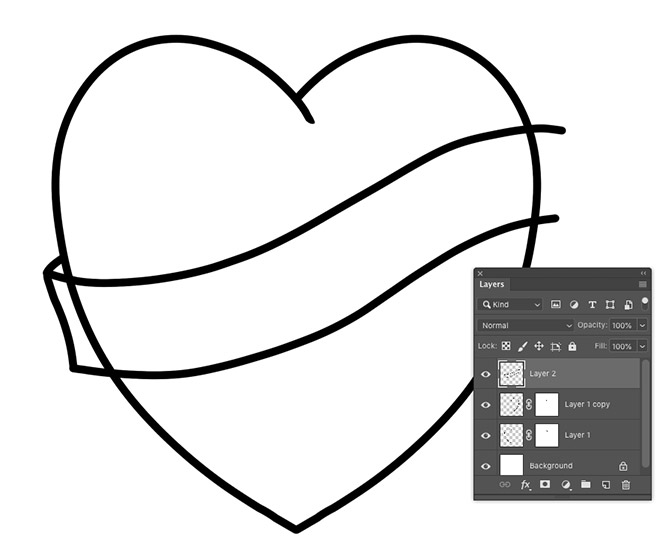
Merge the two outlines that form the heart shape into one layer, then apply a layer mask and erase the line that overlaps the banner.
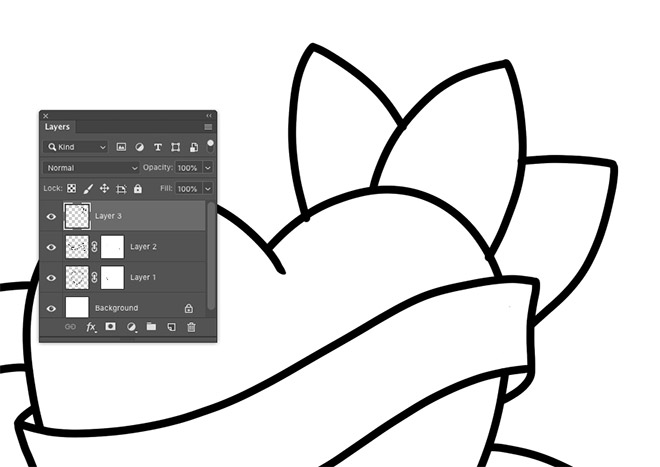
Draw a series of simplified leaf shapes on a separate layer. Use a layer mask to erase any lines where they overlap.
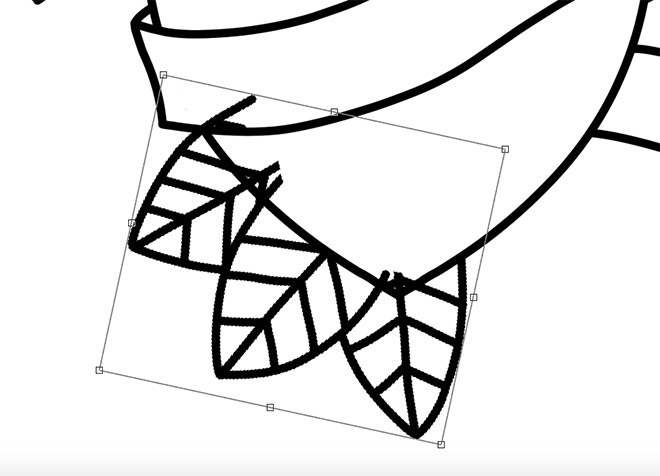
Make a duplicate of the leaves layer and use the CMD+T shortcut to rotate and reposition more leaves elsewhere in the design.
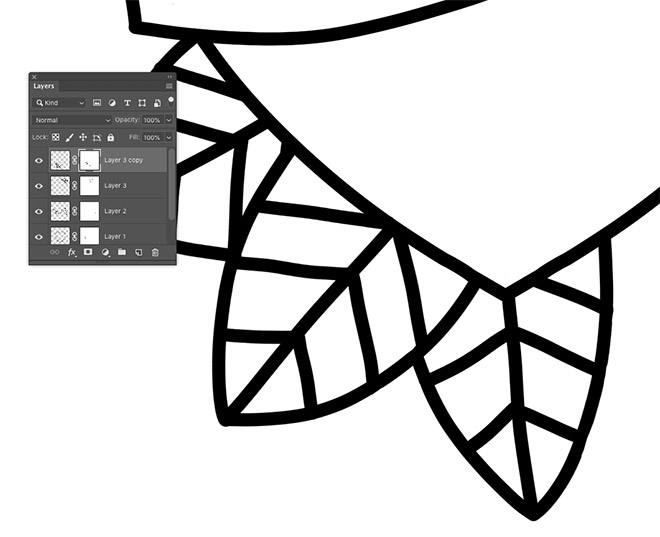
Use a layer mask to erase any overlap between the elements. Working with elements across several layers makes it easy to erase areas without affecting the other linework.
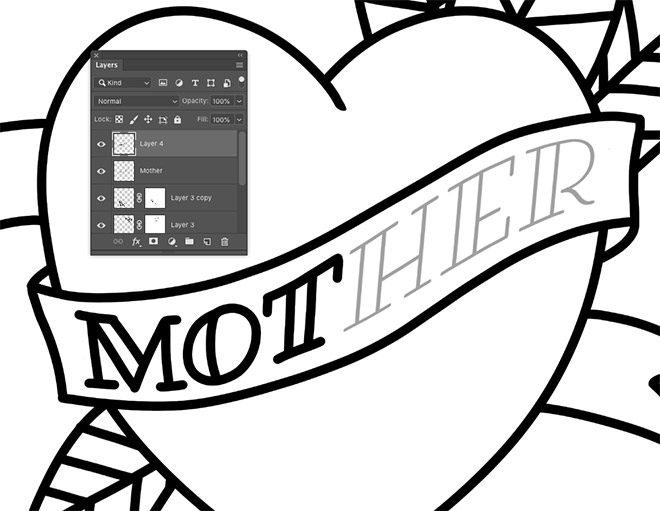
In order to produce the text within the banner, I used a font named Fairwater as a template. Press CMD+T and use the Distort and Warp options from the right-click menu to position the text, then reduce the opacity to trace the outlines on a new layer.
Draw a few additional details on a new layer to finish off the tattoo design, then merge all the linework layers into one by selecting them with the Shift key, then use the CMD+E shortcut (or choose Merge Layers from the right click menu).
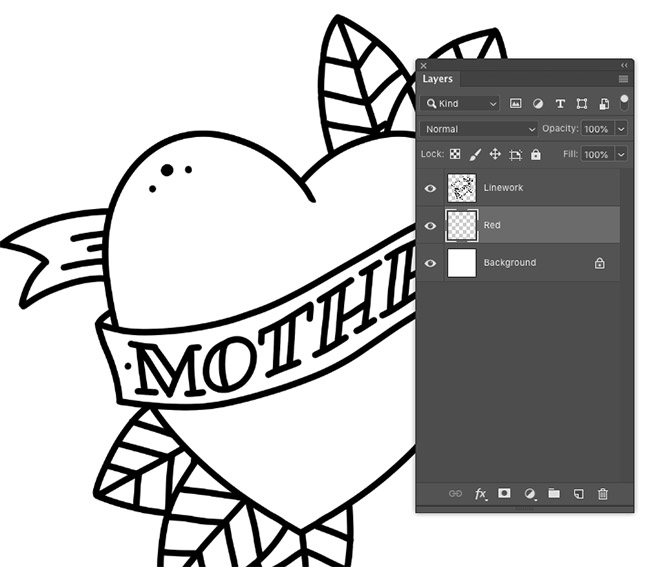
To apply colour to the design, each hue will be applied one a separate layer. Add a new layer below the linework layer and give it a name for reference.

Select the Magic Wand tool and ensure the ‘Sample All layers’ option is checked. Click to select an area, then hold the Shift key and select all other areas that require this colour fill. Choose the hue from the Foreground colour picker and use the ALT+Backspace shortcut to fill the area.
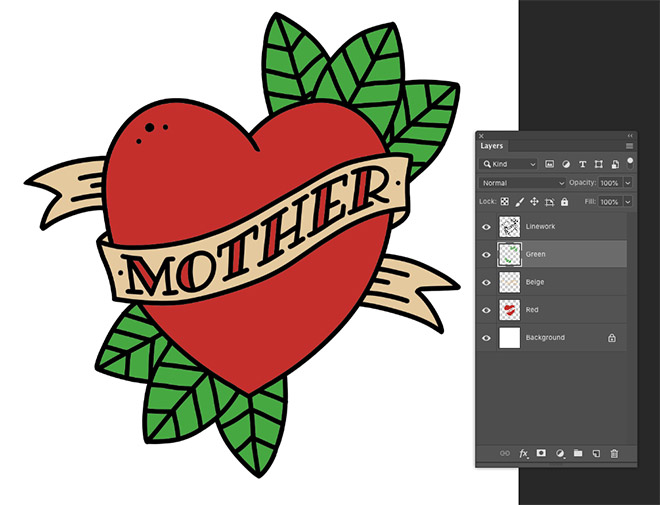
Add a new layer for each hue, then sample the area with the Magic Wand and apply the colour as a fill.
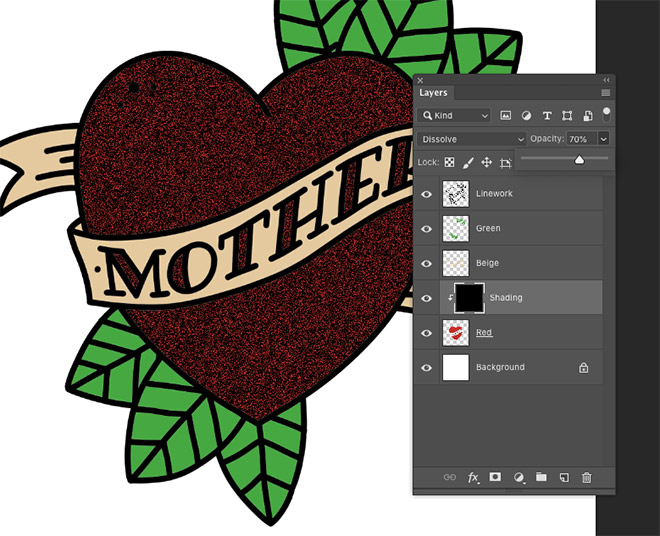
To apply shading to the design, add a new layer above the first colour and fill it with black. Hold the ALT key and click between the layers to clip the fill to just the area of the layer below. Change the blending mode to Dissolve, then reduce the opacity until the fill into a grainy appearance.

Select the Brush tool and change the tip to a much larger size with zero hardness.
Add a layer mask to the Shading layer then paint with black within the mask to erase the shading layer. The Dissolve blending mode will fade out the grain due to the softness of the brush. The large the brush, the more gradual the grain will fade.
Use the X key to switch between painting with black to erase the mask, and white to restore the mask to apply shading exactly where you want it. Also alter the brush size with the [ and ] keys to paint any intricate areas.
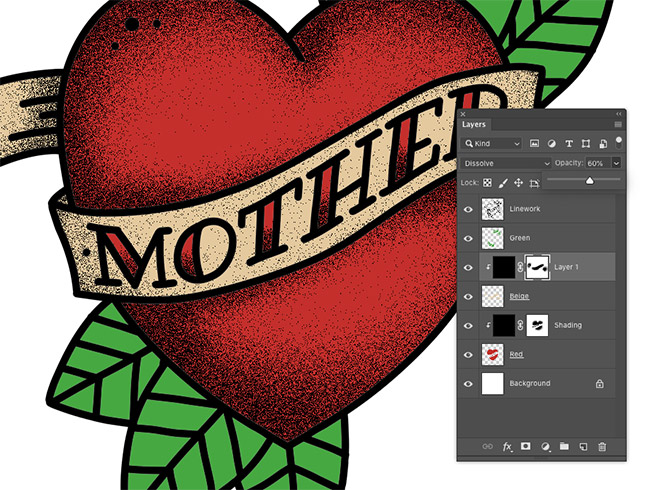
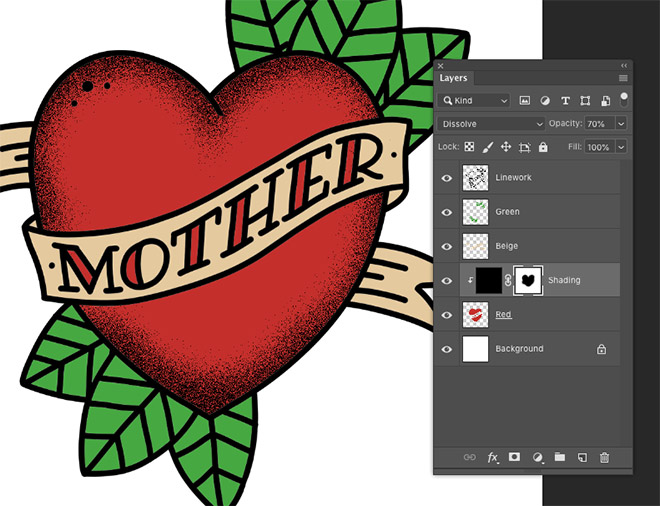
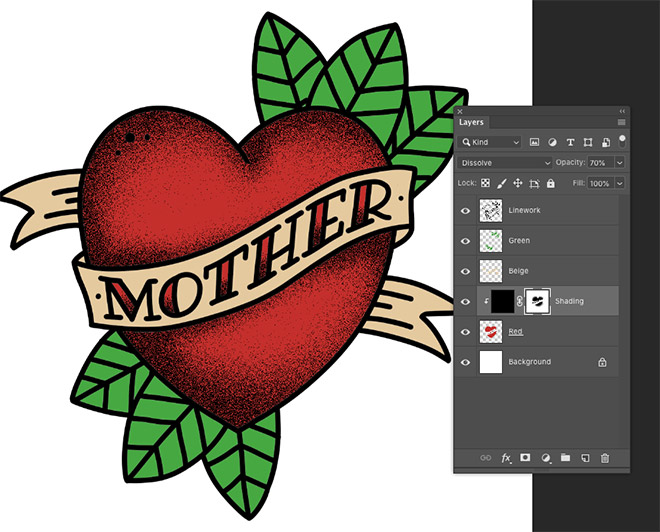
Add the same black layer above the next colour, clipped to the layer below and set to the Dissolve blending mode with reduced opacity. Apply shading to this portion of the design.
Once the design has been full coloured and shading, a finishing touch to give it the appearance of a vintage tattoo flash drawing is to add an old paper texture to the background. Scale the image to fit the canvas using the CMD+T shortcut, then alter the opacity to reduce its prominence.
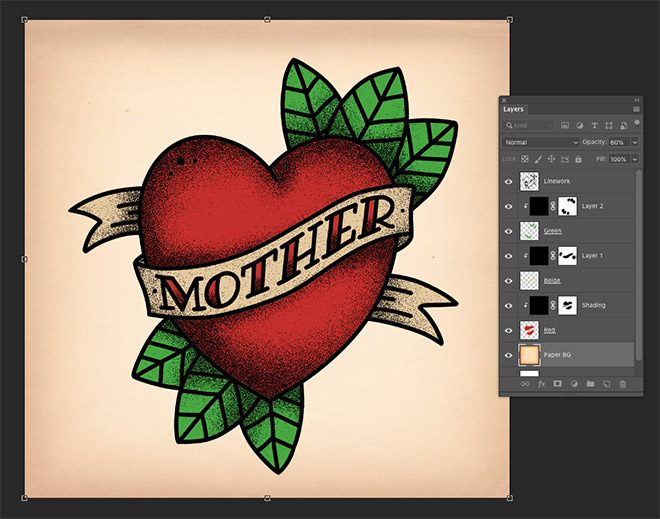
The final result is a bold design inspired by traditional old-school tattoo art, with thick black outlines, vibrant colours and strong grainy shading. Using Photoshop layers to construct the design makes it easy to draw each line without the worry of having just one permanent attempt. Applying colour just takes a few clicks, then the graphic is brought to life with grainy shading that mimics the stippling of tattoo needles.

Thanks for sharing. It is a buzzword you will keep going to hear more as the year passes. It was awesome to read…Keep up the good work. Thanks..
Halcyon Technologies
Far out! Thank you!
This helped me a lot! thank you for your time, i’m following you from argentina!
un abrazo genio!
Nice Tutorial. Great Work. keep it up
Good job